1. I cut a plastic sheet to size - roughly 5mm larger than the vehicle all around - then I smear on some good old Polyfilla! At first I just spread on a uniform 1mm layer, but as it begins to cure I start to work with it to imprint some of the mini-diorama details (like tank tracks or wheel furrows)...
[Update: It was suggested to me that you might want to roughen and score the surface of your plastic base so the Pollyfiller has something to adhere to.]
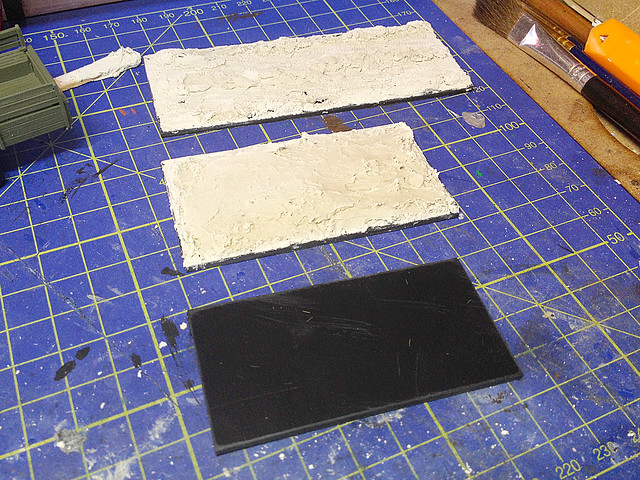
2. The polyfilla having 'cured' (hardened but not completely dry) it is easy to start applying some ground detail (I used some spare model truck wheels to print on tyre tracks)...

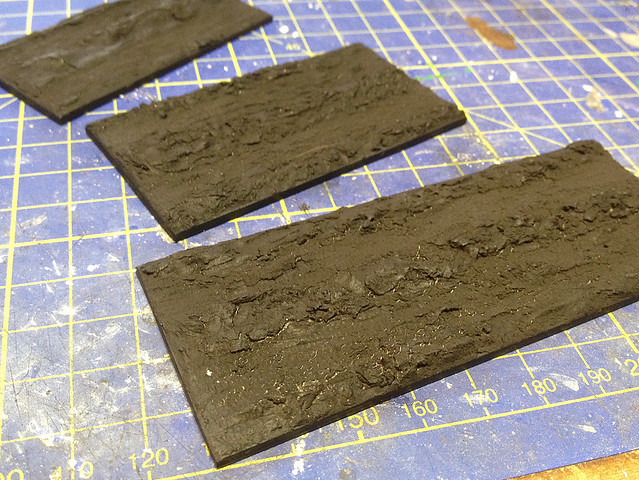
3. Once completely dry it's time to base-coat with black car-primer spray paint...
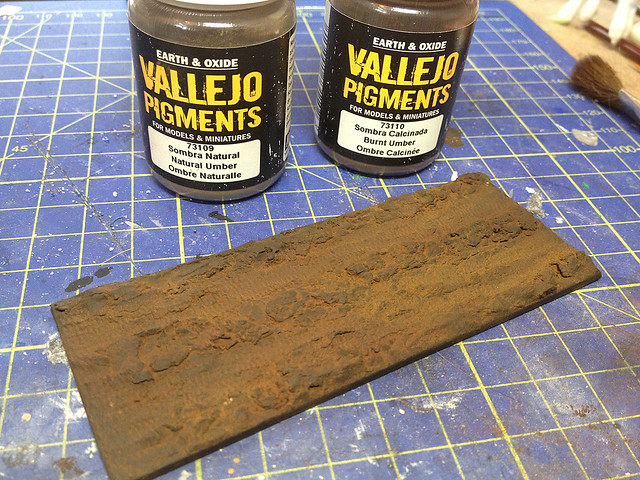
4. At this stage you could add a dark brown wash, but I really like powder colours (either AK Interactive or Humbrol powders, or the cheaper artists conte crayons ground up)...
5. After a coat of spray varnish I slap on a generous sprinkle of static grass...
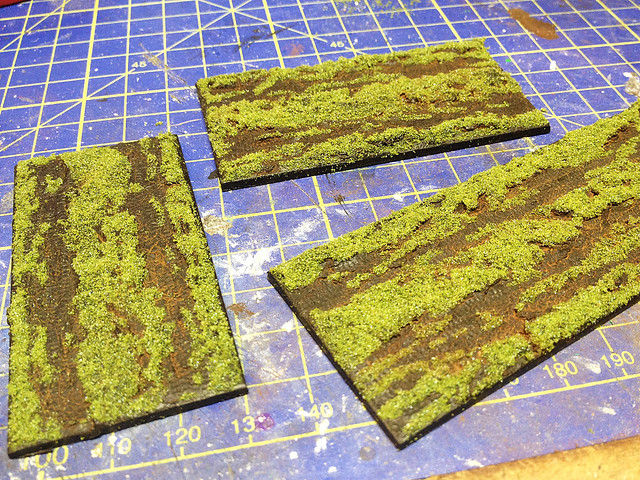
6. And then I work into the scene, giving it some highlight and shadow tones (were this a vehicle you might say that this was the 'weathering' stage)...
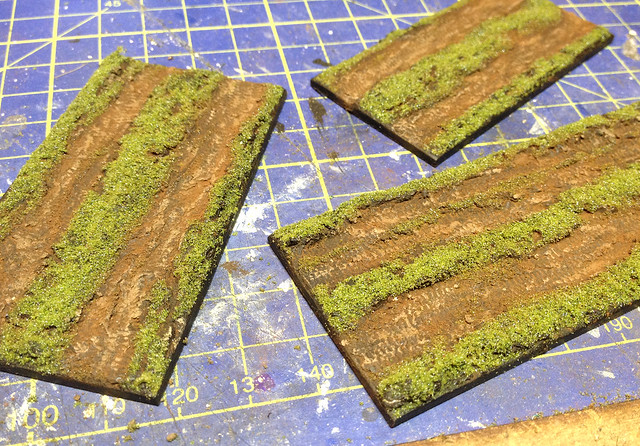
...I am now ready to base the vehicles and possibly add some final touches - like long grass or shrubs, or rocks and stones - so the next pictures you see will be the final finished models!
No comments:
Post a Comment