Showing posts with label in-box review. Show all posts

Thursday, 11 January 2018

Back for 2018!

Hooray, my modelling mojo seems to be returning! 😎


After 2017's recurring illness and major creative doldrums, I feel reenergized for the New Year and forced myself to return to the Scarborough Games Society for its first session. They kicked off the 2018 season with a painting evening, an ideal opportunity for me to dust off my little workbox and get going again.

The SGS is my local port of call for a game of Gale Force 9 'TANKS' - the tabletop tank warfare game - and the addition of a special 'paint night' to their club meetings is a great way to kick start your 'army' construction for a game. Aside from my putting together my practise tank (yes, although it was a 'paint night' model construction is allowed) there were a number of other armies being painted by other members which ranged from historical (e.g. Bolt Action) to fantasy (Warhammer and some very novel 'Toy Soldier' figures).

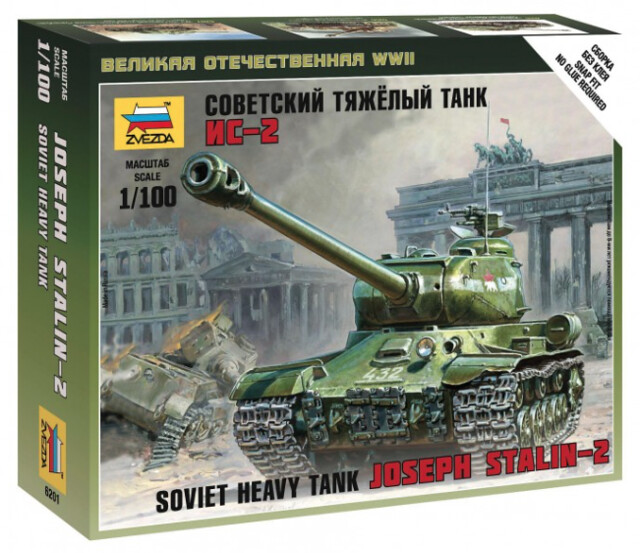
I decided to start with a very simple 15mm (1/100) Zvezda IS-2 Soviet Heavy tank. Although I have a very large backlog of other projects, I did not want to jump straight back in with an ongoing model until I had gotten some much needed modelling & painting practise again.
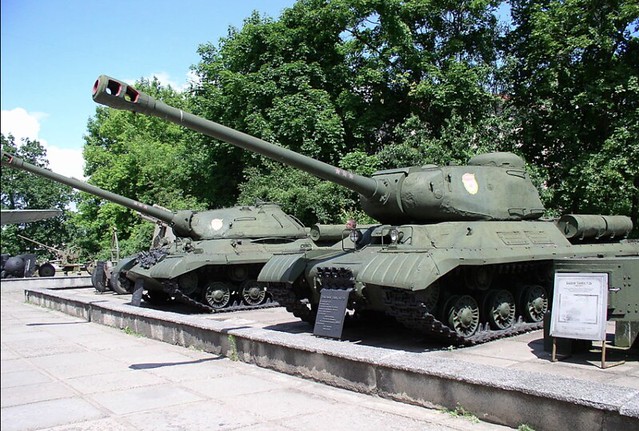
Nice comparison shot of the IS-2 (front) compared to the later IS-3 showing
how Soviet tanks were to evolve. The IS-3 arrived just too late for WW2, but
gave the West a very nasty shock and initiated a rush for heavier tank designs.
(Source: Wikipedia.)
Also, I didn't want to make a mess of one of my 'good' models, so decided to start by making a completely unrelated test model first, before re-embarcking on either my Finnish, Kursk or Pacific projects. I happened to have the IS-2 knocking about my stash so it seemed a good candidate for a guinea pig!

The Zvezda 1/100 IS-2 'Joseph Stalin' Heavy Tank
Many modellers wax lyrical about the German 'heavies' - I call it 'Tiger love' - but I have always had a bit of a crush on the Soviet IS series of tanks. It was a long lived series which spanned the whole of WW2 and beyond, and was very influential (in the end, more influential than the German heavies) the development of Cold War tanks in both the East and the West.
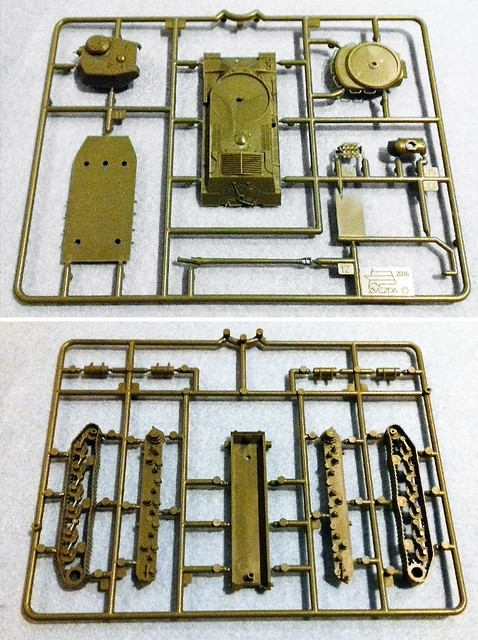
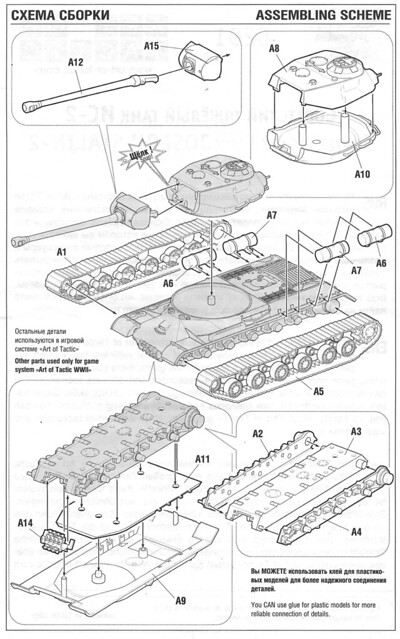
Just 2 spures with 16 parts in total, not a complex job!
(Sorry about the naff photo, the lighting plus my awful
phone camera was against me.)
As usual, Zvezda have produced a very simple 'game marker' quality tank kit, with very few parts that simply snap-together quickly. Though, as usual, I took my time about construction as I looked for ways I could improve of modify the basic model.

To be honest, aside from the addition of some small items of storage, there isn't much more I would do to this model (aside from paint it). I've looked at quite a few reference photos now and - for a Soviet tank - the IS-2s seemed to run pretty lean (no great piles of gear strapped to the hull). I'm sure there was cases where the crew added plenty of stowage to the outside, but I'm gonna go with a clean look with this one. This, incidentally, suits this test project as I don't want to over-complicate the process.

The kit is the usual Zvezda 'Art of Tactic' fair with a minimum of parts (just 16) with much of the detail being moulded onto the components.


The detail itself is crisp enough (as usual with Zvezda) but the lack of options or alternative versions is the compromises which keeps the price of this kit low. By contrast the PSC IS-2 pack gives options to build either a IS1, IS85 or a IS2 and comes with a commander figure. BUT, it also comes with 5 tank kits and costs £19.95. So, you pay you're money and takes your choice.

Personally, I find the level of detail on the Zvezda perfectly acceptable for a game of GF9 'TANKS', in fact - for a war-game player rather than a committed modeller - the simplicity of the Zvezda model is actually a positive. If you twisted my arm for a criticism, I suppose - as usual - it might be that the track treads lack detail - but that's the compromise with one-piece tracks.

The end result is a nicely intimidating heavy tank which should put the shivers up even an opposing 'German' player fielding his selection of heavies. Combined with supporting T-34/85s and perhaps a heavy tank destroyer - like the ISU-152 - or more IS-2s, this model will make an excellent spearhead for a late WW2 Soviet assault force.
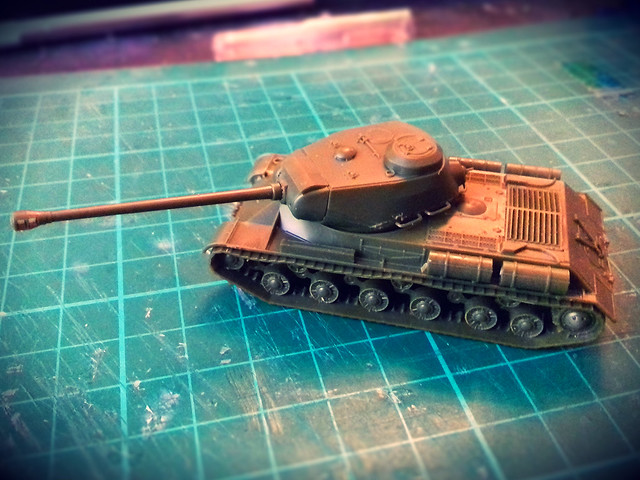
Ta-Da! Done, I will probably drill out the gun muzzle, but aside from that
she's ready for priming. Nice ease start to the year!

Next: Now to dust off my brushes!
Monday, 23 January 2017

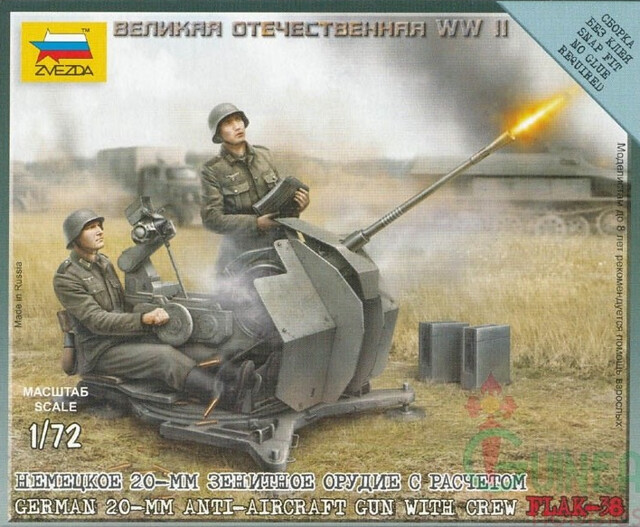
Zvezda 1/72 20mm Flak38 AA Gun

Moving along quickly (for me), I'm now beginning the next kit for my Finnish anti-aircraft contingent. The Finns had a number of German 2cm Flugabwehrkanone (Flak) 38 light anti-aircraft guns, which they designated the '20 ItK/38 BSW'. The Rapid Fire war game rules specify that my Finnish HQ Company should be equipped with one of these guns, so I looked around for a suitable model.

Finnish 20 ItK/38 in action. Photo taken in Karvala September of 1941.
(SA-kuva photo archive, photo number 53274). 
Luckily for me, Zvezda do a lovely little simplified Flak 38 model (with crew) specially designed to suit wargaming purposes. And a very nice bonus was that this little kit only cost me £2.50 plus postage!


Now, unlike my Bofors AA gun kit, the Zvezda Flak 38 comes with a crew I can use unmodified. The figures included - in German infantry uniform - would pass very well for Finns once an appropriate paint job was applied. Phew, less work.

What's in the (little) box?
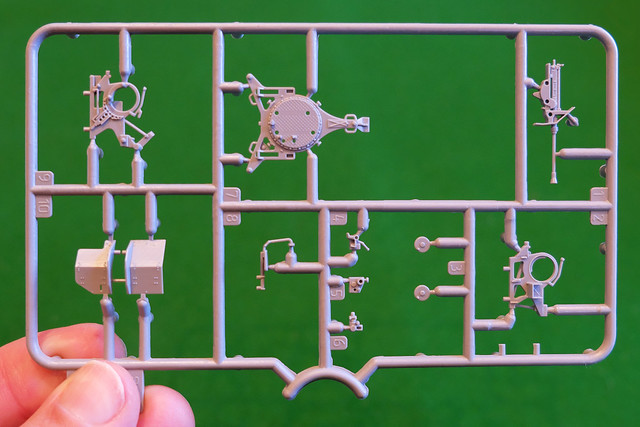
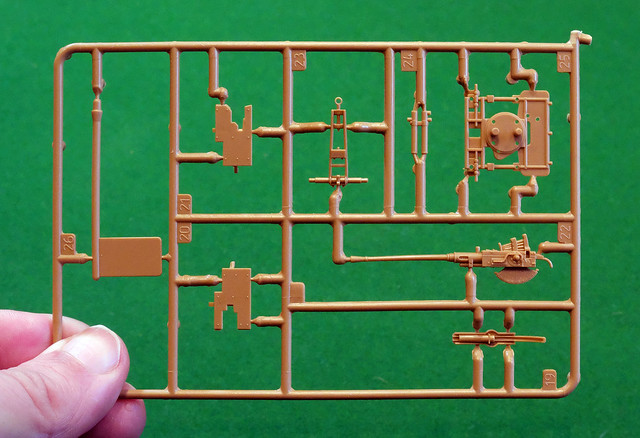
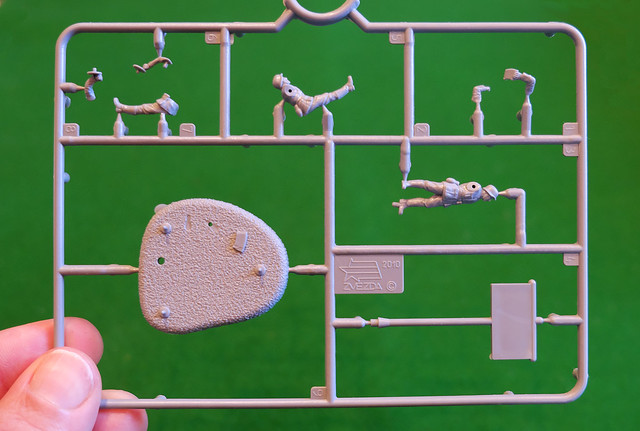
There are only two small sprues to this kit, with just 19 parts to this kit (including the two multipart figures)!


Aside from the plastic parts, there is also the usual paper instructions (a small two sided A5 sheet) and Zvezda's 'Art of Tactic' wargame card (which looks a bit complicated compared to 'Bolt Action', but I've not played AoT).

Like the Bofors kit I'm already working on, this Zvezda kit is made from a slightly softer plastic than the usual plastic injection kits.

Mobile Configuration Version?
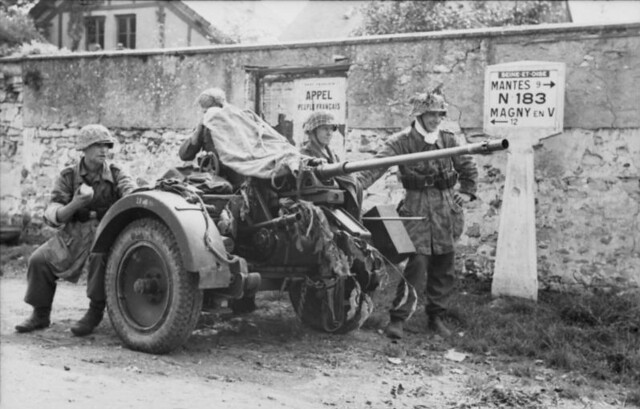
Because I am building this model using war game rules as a guide, I have to include a second version of this unit in its mobile mode. Part of the real Flak 38's strengths was its manoeuvrability, with a special two-wheeled carriage designed to carry the gun to its position at which point the gun could be removed from its trolly and deployed on the ground.

A German Flak 38 in its mobile configuration (from which it could still be used).
Seine-et-Oise, France, August 1944. Source: Wikipedia
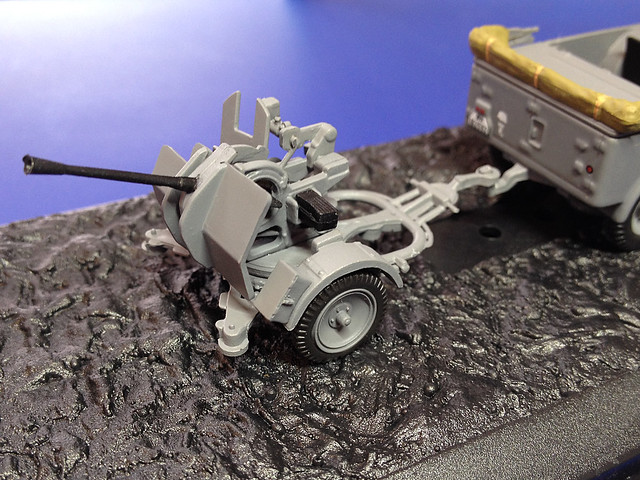
Now, the Zvezda kit does not come with the wheeled carriage, but, purely by chance, I had already solved this problem as I have a mobile Flak 38 which I got as part of a die-cast vehicle set...

My Deagostini Steyr 1500A/01 truck & 20mm Flak 38 combo. An eBay cheapy!
So, I just have to repaint the Deagostini model to match my Zvezda kit and Bob's your Uncle, static and mobile versions of the Flak 38. Albeit a little chunkier than the finely moulded Zvezda version.

Painting the Finnish Flak 38
For once, there isn't my usual puzzling over what the exact paint scheme of a piece of Finnish equipment was. I had already been informed in a post on the Axis History Forum that the Finn's guns were repainted in their Moss Green, but I also found a very nice colour photo of the gun over on the Jaegar Platoon site confirming that this was the case.

Hooray!

This looks like it should be a very quick project with no hassle at all. :)

Tuesday, 17 January 2017

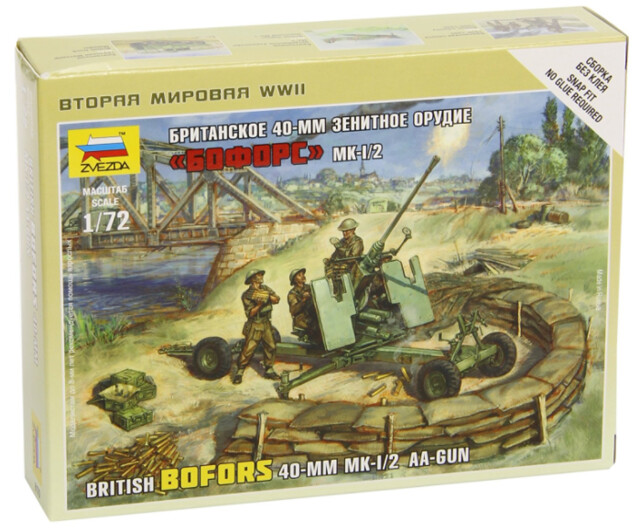
Zvezda British Bofors


I  decided that January would be 'Anti-Aircraft Month', but I'm only just getting round to making my first AA gun (so expect this project to creep into February)!

The model I had chosen to represent the Finn's '40 ItK/35-39 B Bofors' (Finnish designation for the imported Swedish Bofors) is Zvezda's 'British Mk. I/II'. I'll be honest, I bought this because it's cheap(ish) and simple, but good. I've been very impressed with all the other Zvezda models I have bought, detail and moulding is always crisp.

(I could get exactly the right 'Swedish' (style) version - minus gun-shield - if I really wanted and was willing to search one out, but the Zvezda version is readily available. An option might have been to go for the 'First to Fight' Polish Army Bofors 40mm, but they weren't available when I looked.)


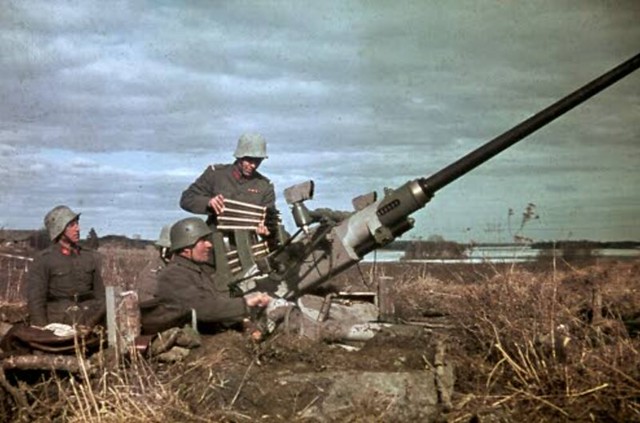
Superb original colour photo of a Finnish Bofors unit on the outskirts of Nokia
township in April 1944. Source: SA KUVA
Anyhoo, I reckon, to make the gun 'Finnish' I need only remove the gun-shield, source some different wheels (easy as I have plenty spare Gaz/Zis wheels which look about right) and change the figures. Easy-peasy-lemon-squeezy!

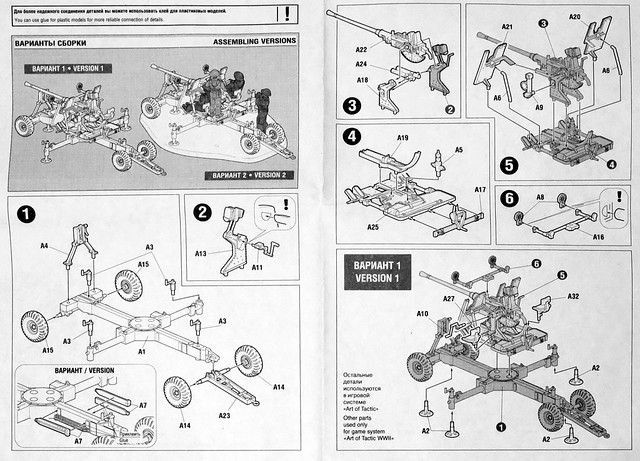
So, let's begin by having a look at the instructions...


First thing I noticed is that, this isn't the usual Zvezda simplified wargaming model, there are actually quite a few parts to this kit. And, as usual, I take their claim that this is a 'snap together' kit with a pinch of salt.

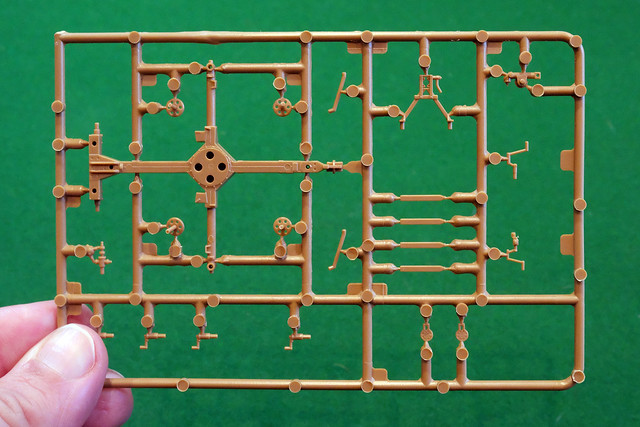
My impressions that this model is a little more than an 'easy build' was further reinforced when I started to examine the sprues. For starters, there are four sprues containing some quite small and detailed parts...

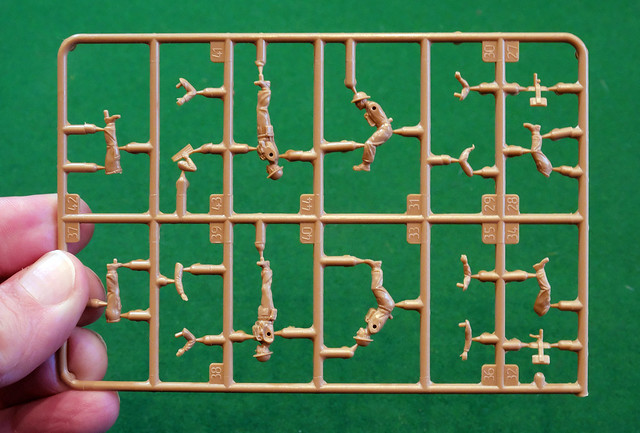
The crew sprue! Four figures, but for the Rapid Fire game rules I only need
to model three crew. We shall cross that bridge when we come to it.

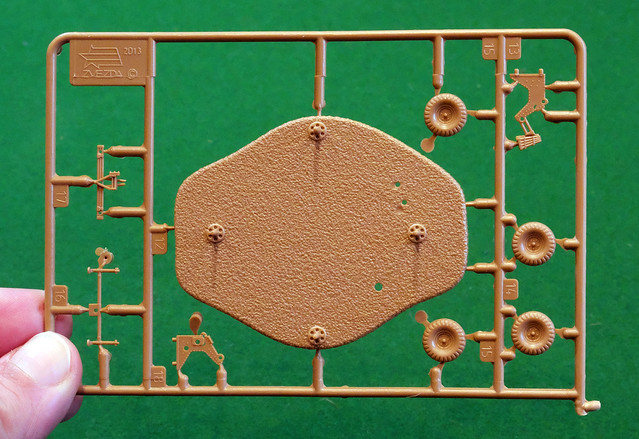
The kit comes with this base for modelling the deployed gun. Also, here we
have the 'British wheels', I will have to replace these for the Finnish variant.
The Bofors, plus gun-shield (won't need that) and a wee flag! :)
As I said, plenty of parts, which should build into quite a nice little model. And, because I am building this under the Rapid Fire game rules, I have two of these kits - one to represent a deployed AA gun and another in the transportation mode (I was thinking of building this and adding some sort of canvas cover, maybe).

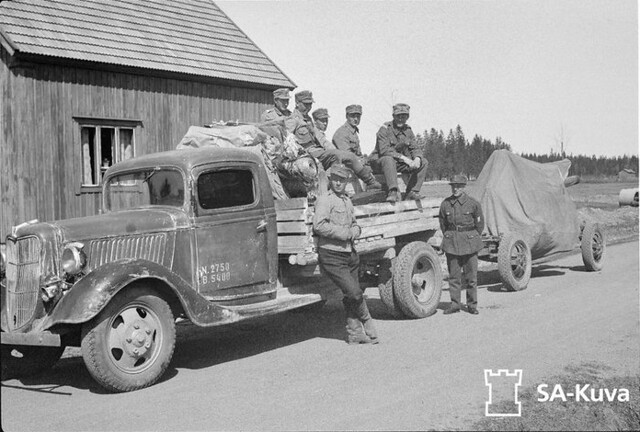
Finnish AA crew pose on a 1937 Ford truck, with a medium AA gun  (possibly
a 76 ItK/29 B, Bofors) in tow. Note the canvas gun cover. Source: SA KUVA
I'm hoping this will be a 'quick build' which will be completed about the same time as I finish my Hunor Ford M39 truck project (as this will be the towing vehicle for this gun). Luckily, the HUnor kit is turning out to be such a start and stop build - due to all the problems with the kit - that I should have plenty of time to get the Bofors built and painted...In theory...

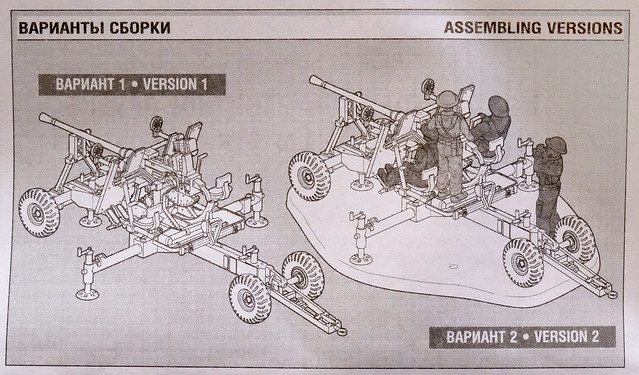
The two versions I will be building; transportation mode and deployed.

Saturday, 31 December 2016

Hunor Model 1939 Ford V8 Truck - Part 1


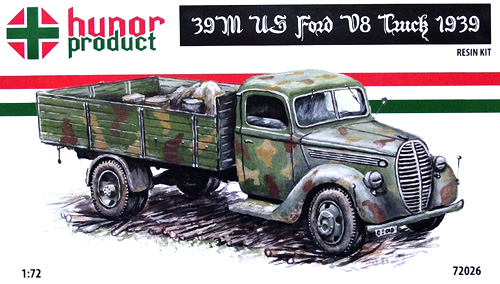
First build for 2017 will be a resin kit by the Hungarian company Hunor. It's another truck for my Finnish Continuation War project and is, once again, a little obscure pre-WW2 design that was typical of the Finn's reliance on civilian and commercial vehicles that were imported from America.

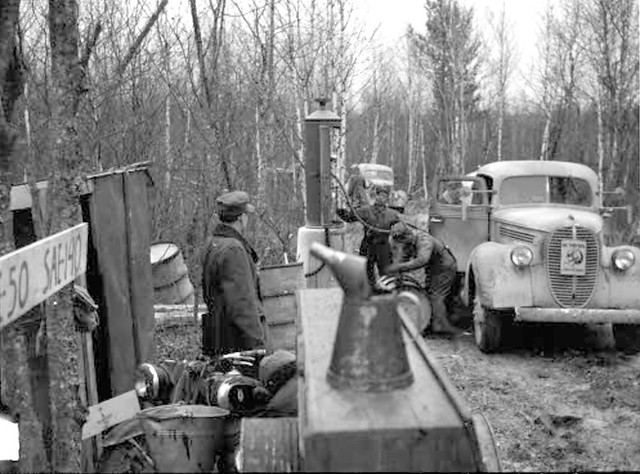
Nice photo of a Finnish Ford at what looks like a military fuel supply stop.
Dated 1941. Photo credit: SA KUVA
This will be my first Hunor model and despite unhappy memories of the last resin kit I made (by Zebrano) I am looking forward to this build as I have heard good things about Hunor.

The 1939 Ford V8 truck is fairly typical of the lighter type of commercial flat-bed cargo vehicles of this time. In truth, it was only slightly bigger than a pick-up truck and shared the same cab design across the range, from van to truck...


While this format was prevalent and popular at the time it's suitability as a military prime mover may be questionable because of its light weight. But still, it's availability and the reliability of its V8 engine was what the Finn's sorely needed at the time. These trucks just kept on going, as can be seen in this 2015 video of an American family's Ford, which has been their farm truck since 1953...


One final historical note worth mentioning is that, the 1939 Ford V8 design is yet another one of those late 1930s American vehicle designs that was manufactured both in the USA and in Germany! I *think* the Finn's M39 Fords were US imports rather than products of Germany's Fordwerkes. (Apparently, they were produced in Germany from 1939 to 1941. Like the Ford V3000 V8s, the way to tell the American from the German version is that the US-made models had a split windscreen, while the German Fords had a one-piece windscreen.)

The Hunor kit
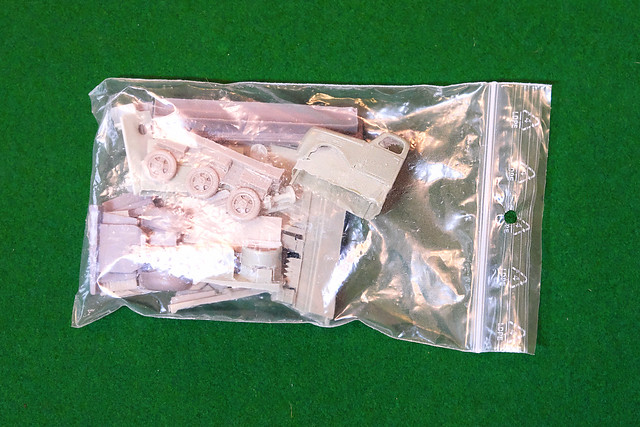
The kit comes in a nice cardboard box, but inside you will be met with some polystyrene packing and a plastic bag of parts...


While I guess it's hard to produce resin models on a sprue - like plastic kits - I always wince when I see all the delicate resin components squeezed into a loose bag like this. Fingers crossed for no broken parts!
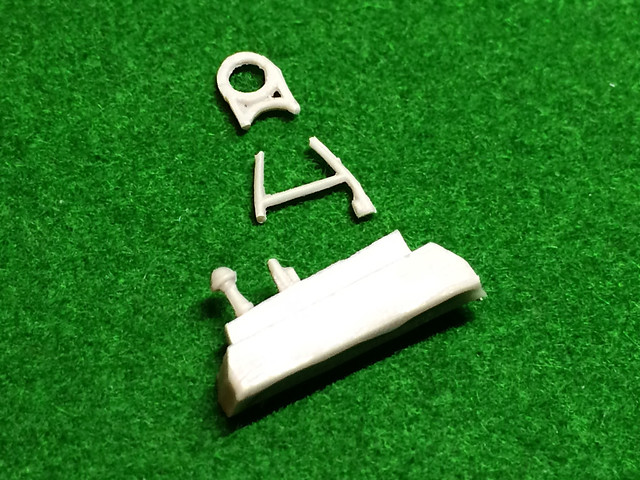
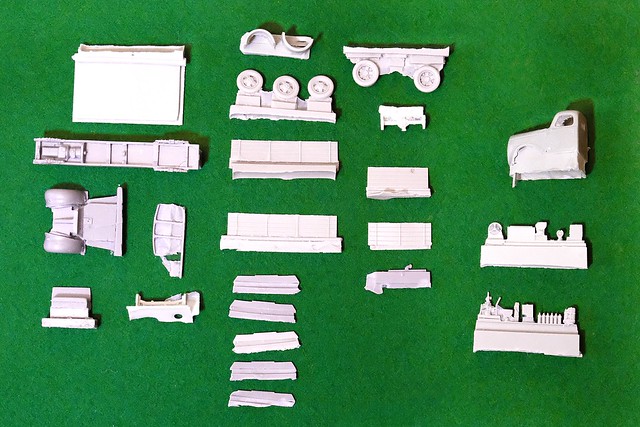
Luckily, everything seemed to be in order when I checked all the parts but there is quite a bit of flash and smaller detailed parts are attached to large blocks of resin. A lot of cutting and cleaning will be required...


One of the constant niggles (I have) with resin model manufacturers is the low quality of their printed instructions, Hunor seems to be no different...


Oh dear! Not only draw by an 8 year old child but also - when one checks the parts - a few operations are only very vaguely alluded too. For example, the flatbed supporting spars will need a lot of TLC lavished on them before they can be affixed to the underside of the flatbed.
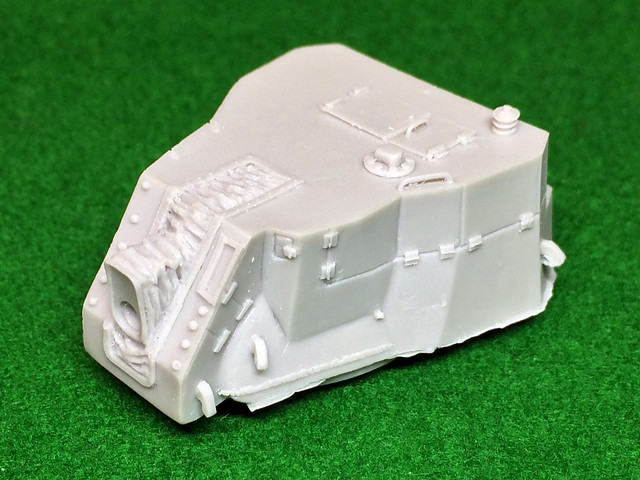
I may be being picky, but when you consider the premium price one is being asked to pay for these kits (€35 plus shipping) you would think the least they could do is spend some time on better instructions!

Well, I guess the moral when dealing with resin kits is that it's all in the prep! So, I'll be spending quite some time preparing all the parts so that they are in a finished state ready for the assembly.

Sunday, 14 August 2016

A break from planes - GAZ Ambulance

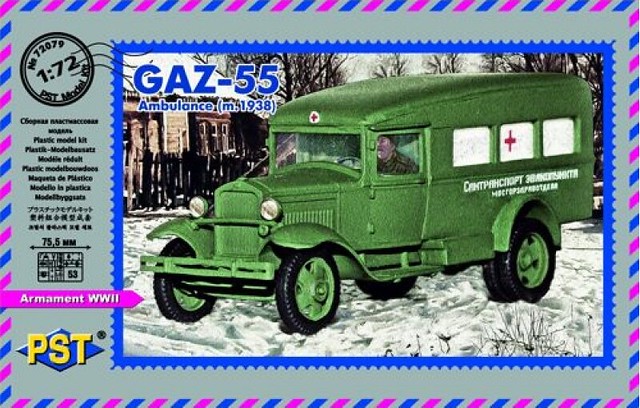
My short attention span strikes again! I need a break from aircraft so I rummaged in my stash (oh er, matron) and found a nice little PST GAZ Ambulance...


Technically, this kit will be part of my Finnish Continuation War project, although under the Rapid Fire wargame rules for this conflict there is no requirement to add an ambulance. But, I know for a fact that the Finns did have at least one of these Soviet-made vehicles in their inventory ('liberated' from the Red Army), and there is a nice photo of it available on the SA KUVA archive. So, I just fancied adding one to my collection.

Source: SA KUVA

What's in the box?
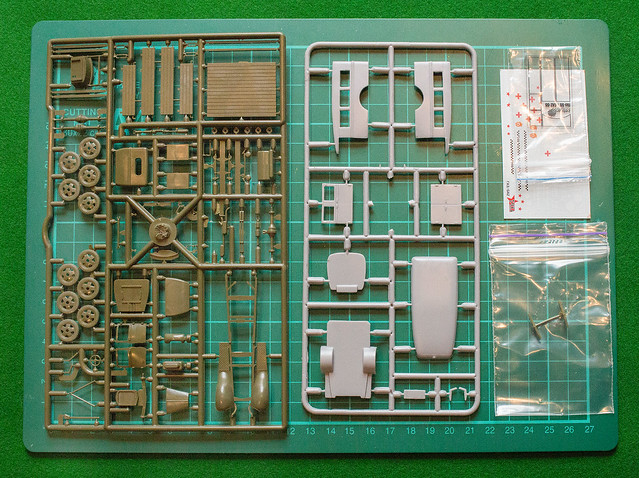
As usual with PST kits, the sprue complement is something of an eclectic mix made up from a basic sprue set from PST's GAZ light truck kit with the special additional sprue which has the ambulance components on it. I always appreciate PST's 'modular' approach to kit variations as it always means some left over parts that I can add to my spares box!

The main green sprue is PST's basic GAZ truck parts and the gray sprue is the
additional parts to convert the basic truck chassis into the ambulance version.
(Incidentally, in case you were wondering, there are enough parts on the green sprue to make up an ordinary GAZ light truck, with a cargo flatbed.)

One thing I appreciated was the inclusion of a sheet of transparent plastic with the 'glass' parts marked out on it. This will save me a lot of time making my own windshields.

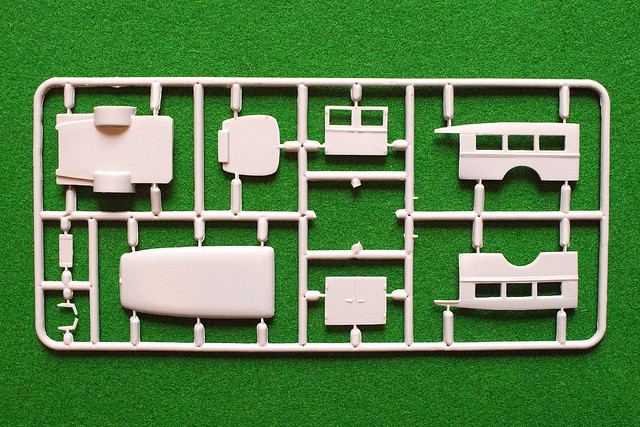
The 'ambulance sprue' has all the parts that will replace the normal cargo flatbed on the GAZ chassis. Each side has a three-panel window, but I'm still a bit unsure whether these 'windows' should be opaque white or transparent. I will have to do some research.


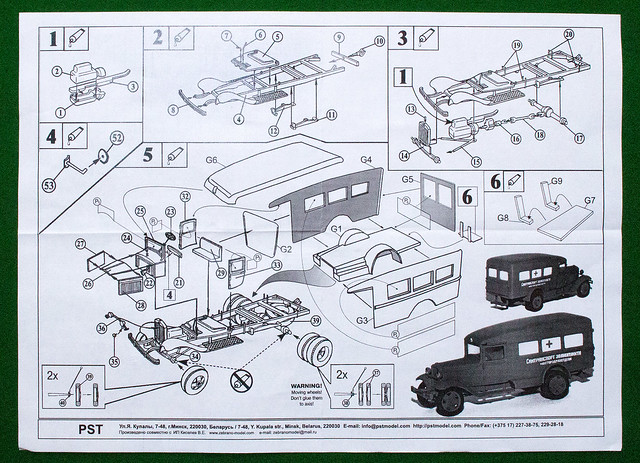
Finally, the instructions are the normal PST 'photocopied' pieces of A4 paper. Perfectly useable but the quality can vary...


Directions for decals and colour scheme are left to the box artwork I'm afraid. This is a shame as there are a reasonable amount of decals and some more precise instructions for their application would have been helpful. I suppose I will have to rely on online reference.

So, fairly much the usual pros and cons for a PST kit. But, to end on a positive note, the quality of plastic is good and there is an absence of flash or any noticeable deformations. Looking forward to making this.

Sunday, 17 July 2016

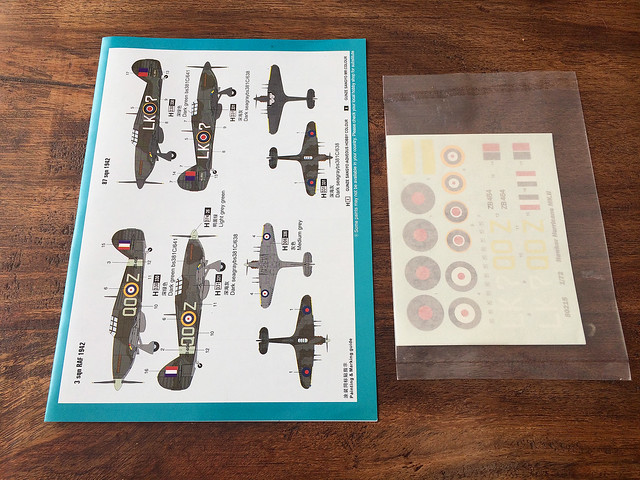
Hobby Boss 1/72 Hawker Hurricane Mk. IIC - in the box

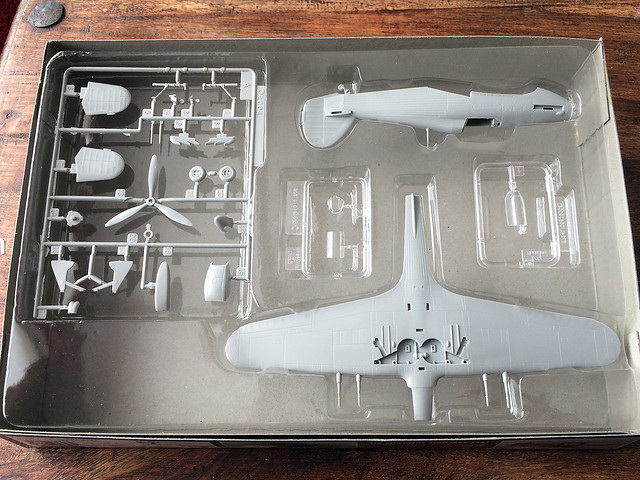
Just a quick overview of the box contents of Hobby Boss's easy build Hurricane...


For my £4.75 I got 22 components, well protected inside a clear plastic inner case. To be honest, I think this is a bit of overkill and a waste of packaging. But it does keep all the parts pristine.

As usual, Hobby Boss does do a nice job with the instruction sheet, it's well printed - in colour - and the colour scheme directions are nicely illustrated. There is an option for two different RAF schemes, both European theatre...(Pity there isn't an overseas option.)


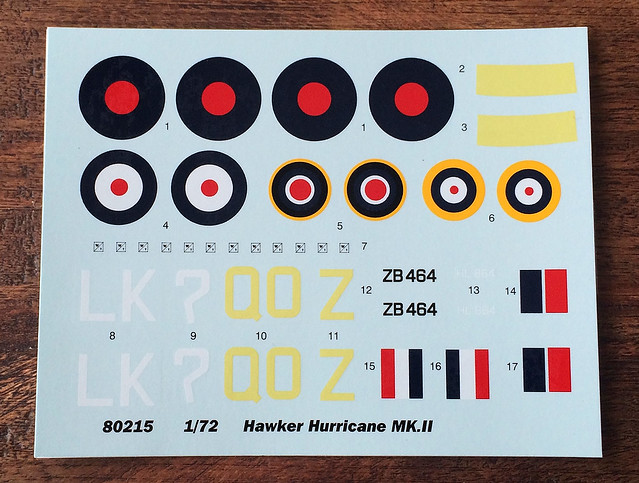
I'm a little unhappy with the colour reproduction of the included decals - some colours are just plain wrong (the registration numbers and fuselage ring of the first option are way off). But then, Hobby Boss decals are fast turning out to be my nemesis - they have a cheap and nasty glossy finish to them and don't like aggressive products like Microscale's MICRO SOL.


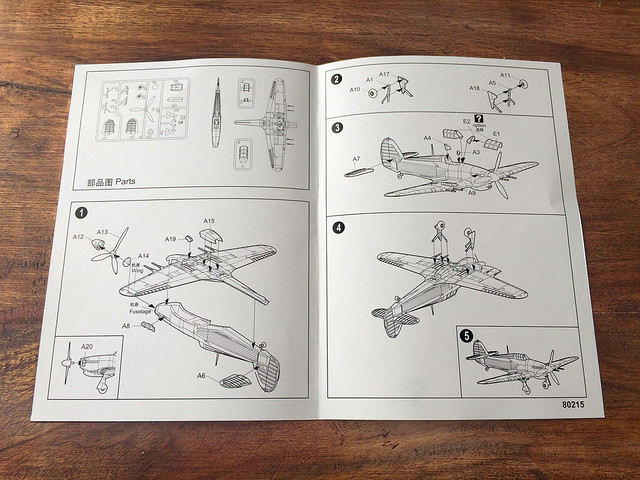
Finally, we have the instructions themselves. I do like the quality of the little colour printed leaflet that HB gives you - I wish other manufacturers would print their instructions to such quality. But, there again, in this instance the instructions are a little excessive as you could put this kit together without any diagrams at all!


My first impressions - prior to actual assembly - are that this kit looks quite nice. Again, Hobby Boss have made a nice job of the panel lines - neither too deep or too shallow. And there is nothing that immediately stands out as being particularly bad (unlike their Spitfire).

So, it's onto the construction, and I'm feeling quite positive.

Wednesday, 9 March 2016

1/72 Egyptian 122mm SPG Project - Part 3

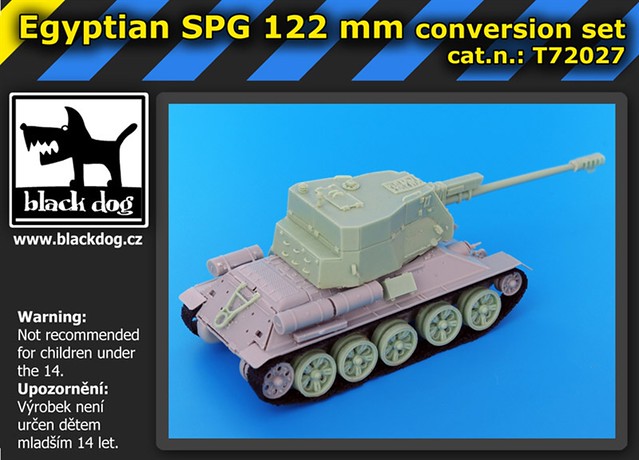
Having examined the T-34/85 tank kit that will be used in this conversion, it's time to look at the main event! Central to this project is Black Dog's Egyptian SPG 122mm conversion set [cat. no. T72027]...


It's a small collection of supplementary parts which are intended for the Revell or Dragon 1/72 T-34/85 kits, but I don't think it's vitally important that just these makes of kit are used for the conversion (they just happen to be very good models of the WW2 Soviet medium tank).

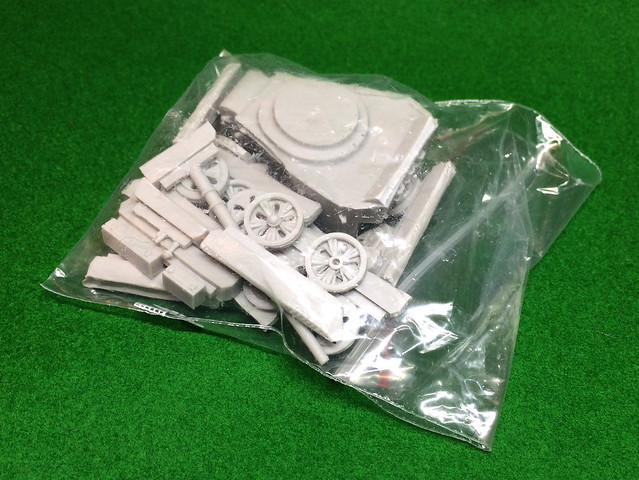
The polyurethane components come jammed in a small plastic bag, something I never like (with good reason as it turns out)...


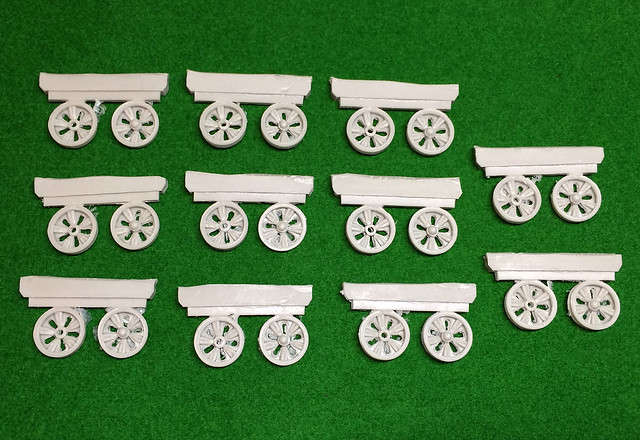
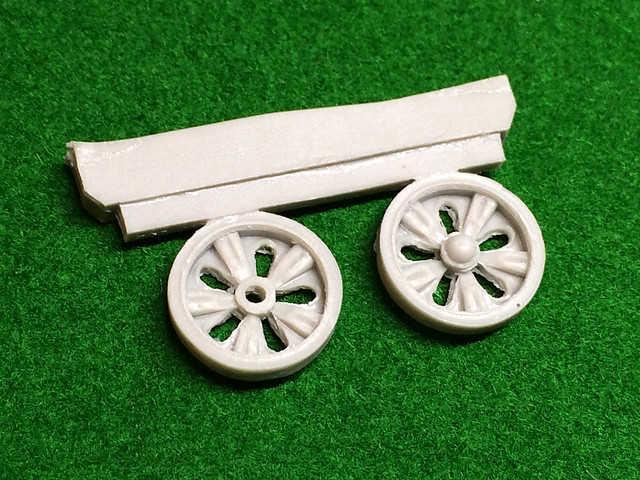
So let's see what we have. First of all, we have a set of post-war style 'starfish' T-34/85 road wheels (there are hints that these *may* have appeared very late WW2, but I haven't seen any photographs to prove this).


Patience is the key here, as all these wheels will require a varying degree of TLC. Flash is apparent on them all. I'm also a wee bit suspicious about the make-up of these wheels, as I *believe* the Starfish wheels were supposed to have a small hole in each of the raised 'spokes' [see 'Identifying variants of the T-34/85' Brett Green on Clubhyper.com].

Edit: Nothing is ever straight forward! Apparently, certain T-34/85s were retro-fitted with T-55 style 'Starfish' wheels. On this type of wheel the holes at the top of the raised 'spokes' are not so apparent (but it is still there). Also, the 1963 upgraded T-34/85 (designated T-34/85M) was fitted with these T-55 pattern wheels as standard. I have read that - and it's probably important to note - that these are T-55 *style* wheels, they are not actually T-55 wheels - as the two wheels are different diameters so not swappable. To further muddy the waters, I have seen photos of Egytian 122 SPG's with wartime T-34/85 'dish' style wheels...Go figure!

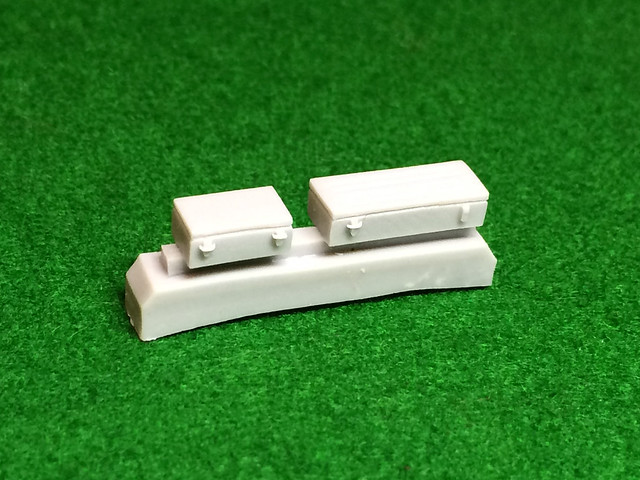
Next we have a couple of 'sprues' of hull furniture, and we see the problem with packing resin parts tightly in a plastic bag...

Nice boxes for the hull fenders, but - oh dear...
Drat! Not irreparable, but quite an annoying breakage.
The broken part I received was the delicate gun traveling lock. This component is fitted to the rear of the T-34/85's hull and is designed to hold the 122mm gun barrel securely in place for travelling (in 'travel mode' the Egyptian 122 SPG's turret is turned to the rear). Now it's not a hugely critical break, I can glue it back together OK - it's just annoying.

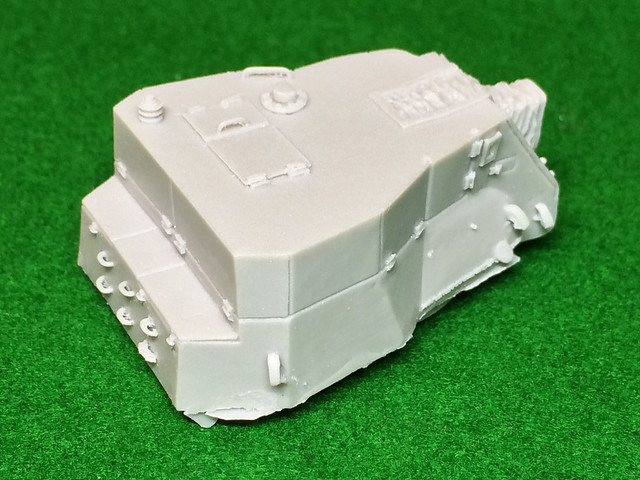
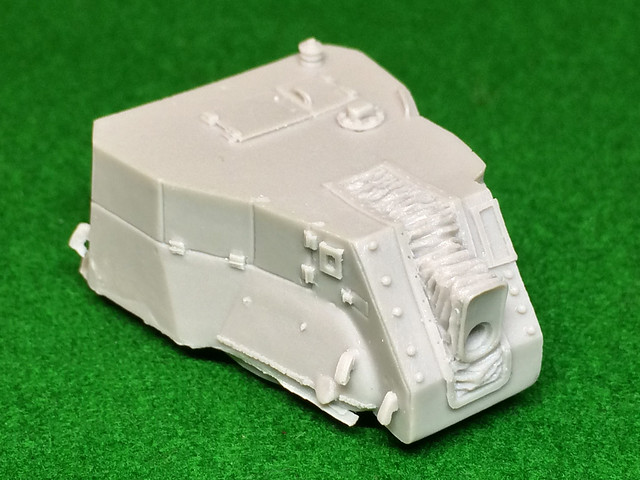
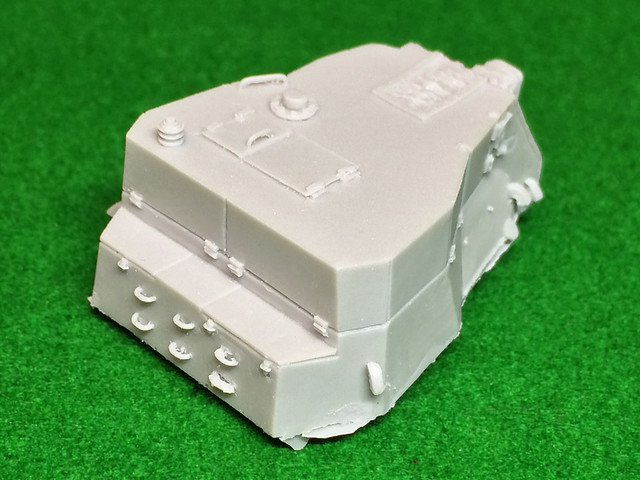
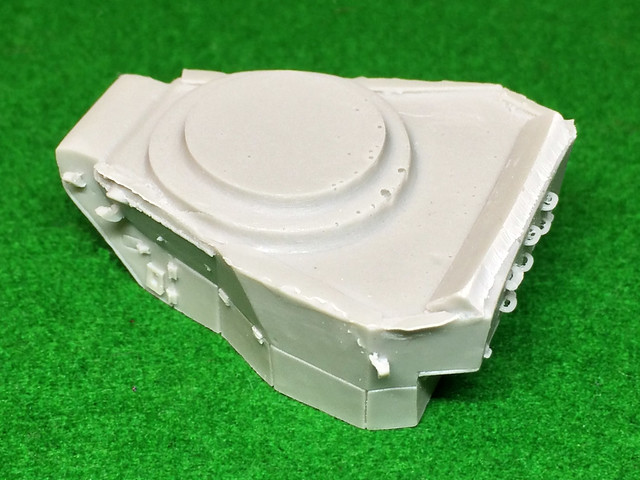
And so, we get to the mean feature...The turret...


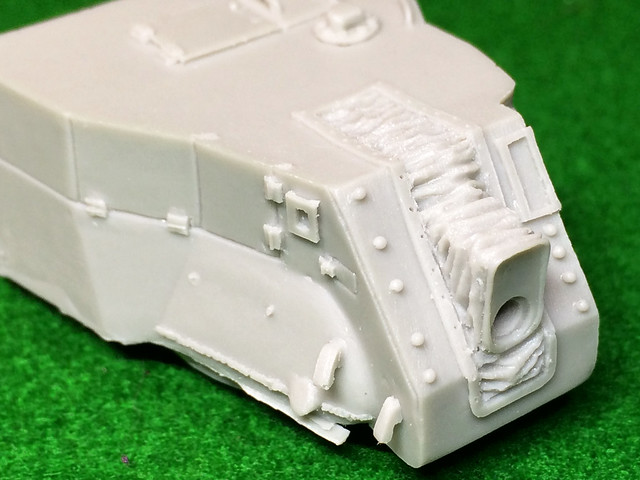
Quite a slab of resin! Again, some rough edges which will have to be cleaned up, but generally very nice detail. One of the nice things is that you can just make out the shape of the original T-34/85 turret that has been absorbed into the design of this turret...

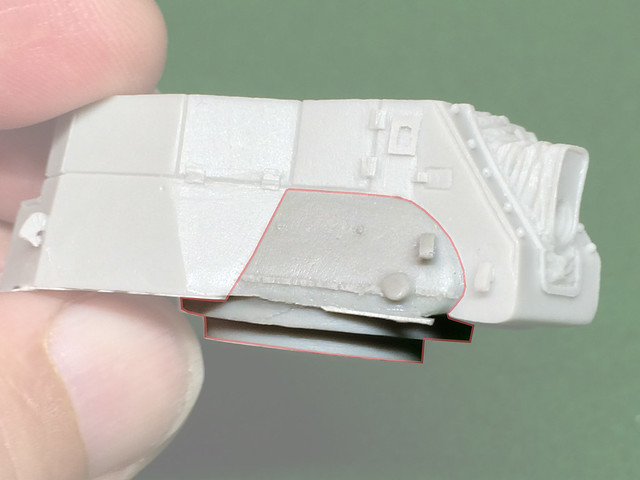
This highlighted area of the Egyptian turret conversion is the part of the original
T-34/85 turret onto which the sheet metal expansion has been constructed!
And finally, we have the 122mm howitzer itself. A Soviet 2A18 (D-30) artillery piece was used as the basis for the SPG conversion, this was originally a towed field piece which first went into service in 1963. It's probably worth noting that while this was an indirect fire gun it did have the ability to shoot AT ammunition and there were 'emergency' direct fire sights, but as desperate as the Egyptians were for armour during the Yom Kippur War it would have been a brave man (or a fool) who would have wanted to take one of these vehicles into the front line!

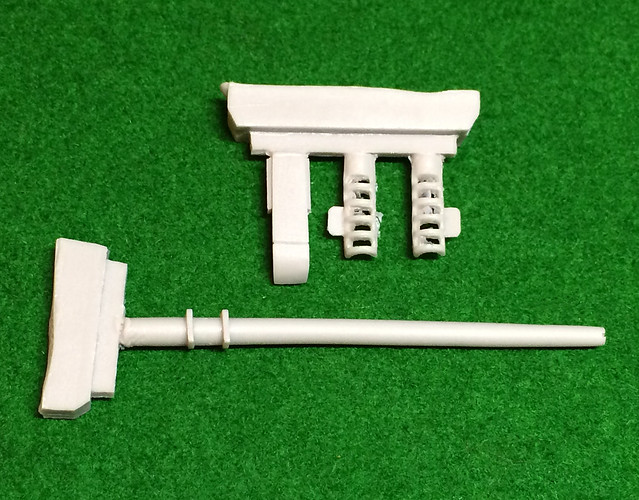
The resin gun of the kit is what it is, but - unfortunately - the very distinctive muzzle break is plagued by the same flash as some of the other parts of the kit. This flash is far harder to reach, though...


There are four parts to the gun kit, the barrel, two halves of the muzzle break and the recoil block (which sits atop the gun).

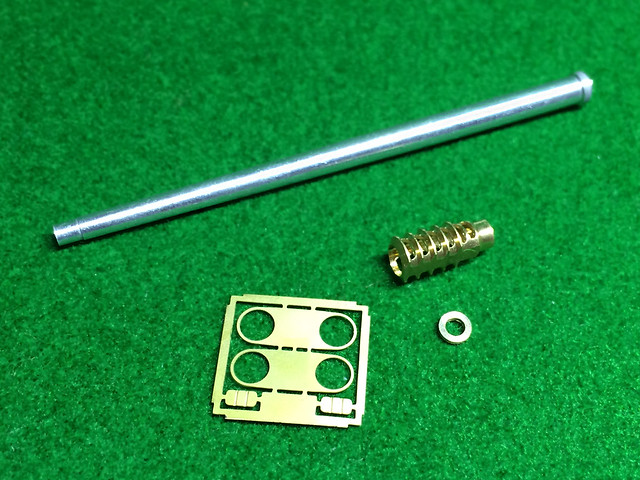
RB Models metal 1/72 D-30 122mm Howitzer
A solution to the so-so Black Dog 122mm gun is to buy a third-party metal model instead. I mean, if you've gone this far to make something a little out of the ordinary you might as well go all the way!


Now, isn't that much better?

Well, it's going to be a challenge, no doubt about it. But I want to step up a gear in my model making and this seems an interesting subject with which to do this.

Next: Checking the Black Dog turret against the Zvezda hull!