Showing posts with label tank destroyer. Show all posts

Tuesday, 27 February 2018

Skyrex 1/100 SU-122 - Part 3


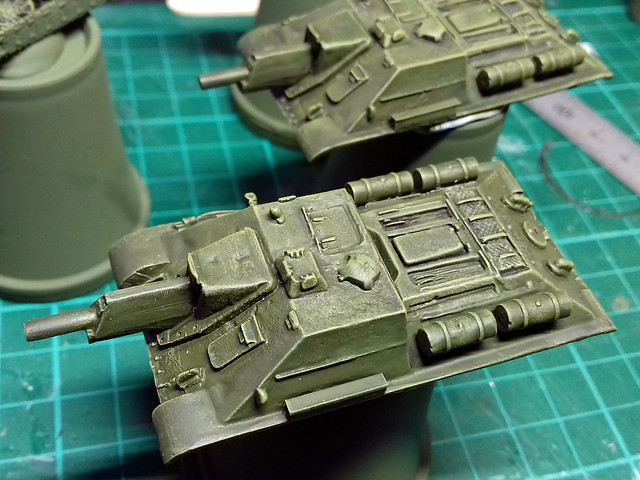
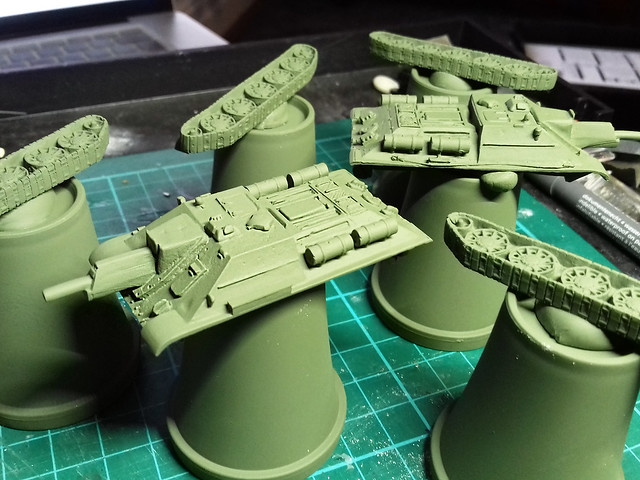
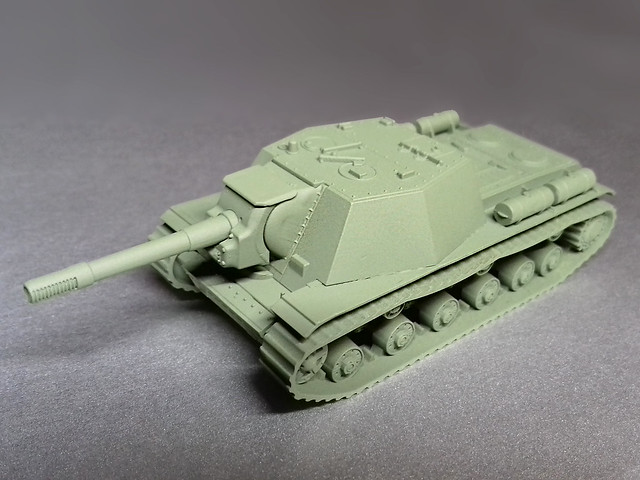
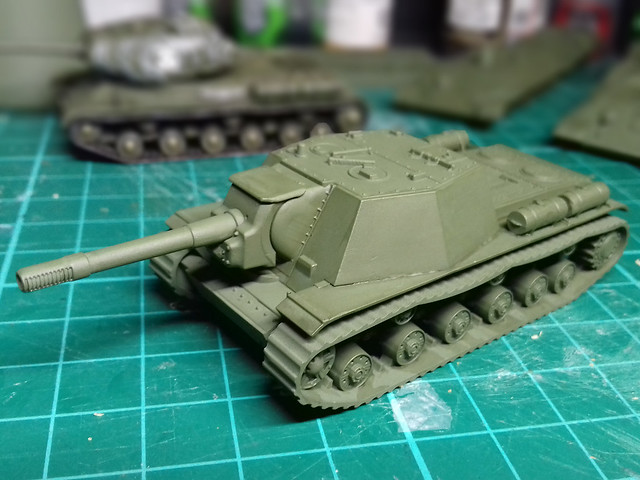
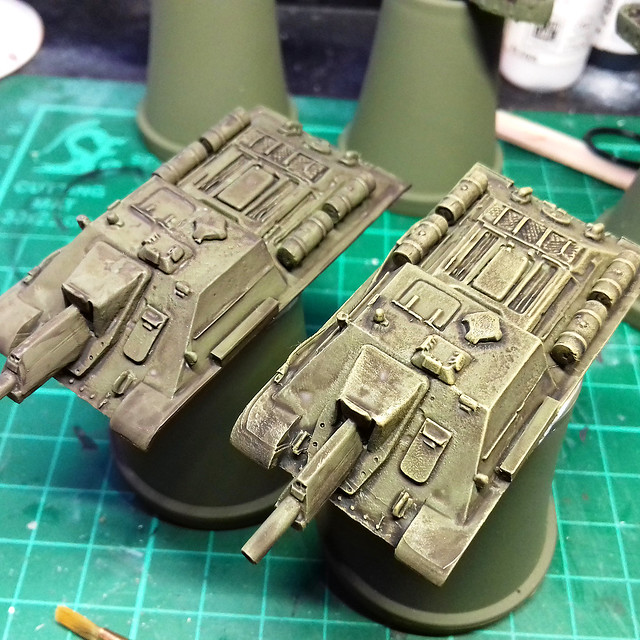
Moving on from the priming, I've applied my now standard wash procedure for WW2 Soviet armour. A dark staining wash of Citadel Agrax Earthshade, followed by a light dry brushed highlighting of Vallejo Model Color Yellow Ochre.

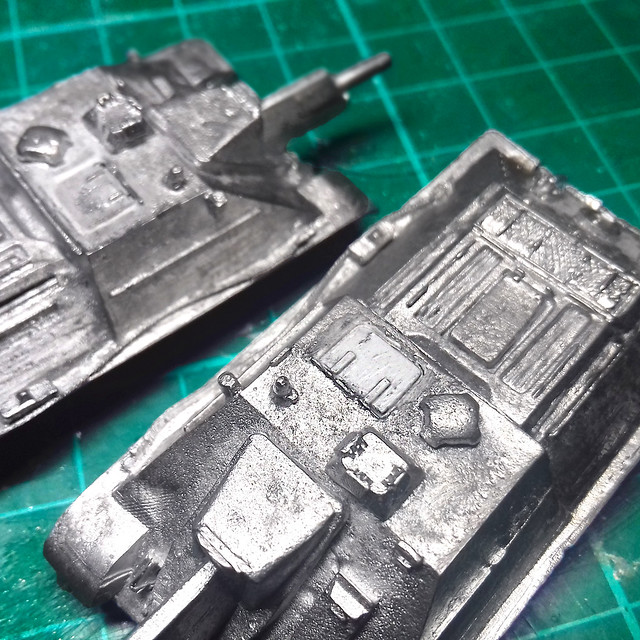
It's a subtle process, but you might just be able to tell the difference if you study this photo. The unhighlighted SU-122 is on the left and the one with the yellow ochre dry brushing applied in on the right...


It just picks out the raised edges and corners and gives some small amount of 3-D tonal contrast on raised detail. At this stage it does look a little in your face (though I have seen some war-game modellers who like 'high contrast' stop at this point), so I prefer to take a step backwards - of sorts - and smooth out this contrasty highlighting with a overall modulating wash of diluted Vallejo Model Air Russian Green.

This - to me - ties together the underlying high contrast coats and flattens them out again with a rich semi-glaze (no it isn't actually a glaze, but the Russian Green is a rich colour that gives seem transparent jewel-like coating that tones down the contrasty undercoat). It's kinda hard to explain and - again - is subtle...But I am kinda liking the effect...

The underlying contrast of the shadow wash and highlighting dry brushing
is modulated by the overall wash of Russian Green. But, you still get the
faint mottling of the darker shades showing through.

In a way I am sort of a fan of the opposite of the airbrushed 'panel shading' effect that you see on a lot of models these days, where the modeller highlights areas of panels with lighter tones to give a '3-D effect'. I prefer to work the other way, with a darkening underlying effect as I never feel comfortable with military vehicles being too bright.

Decals - We Don't Need No Sticking Badges!
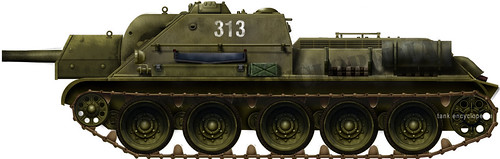
Being a Soviet tanks less is more regarding markings. As far as I can see, the SU-122s in particular - being something of a stop-gap - was one of those Red Army vehicles that only got the most    expedient of identifications...Principally a vehicle number.

Not exactly exciting markings but this seems to have been as complicated as it got for the
SU-122s around the time of the Battle of Kursk. Source: Tanks-Encyclopedia.com

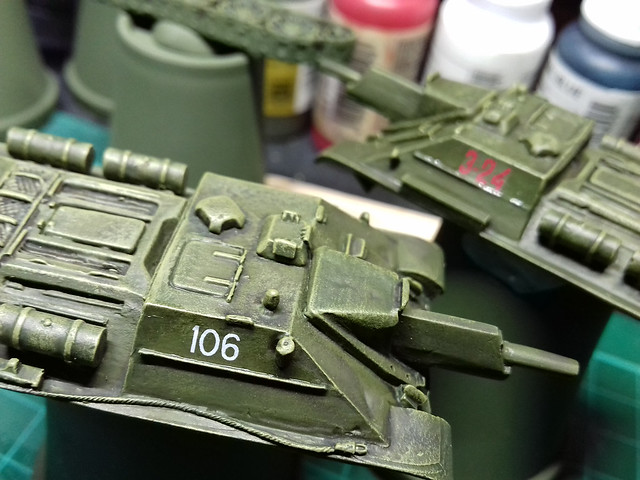
I searched through my decal stash and found a couple of numbers that looked the right size (though they are not historically correct and are really meant for other Soviet vehicle types)...

My chosen decals - '106' went on nicely, but 'Red 3-24' had a very heavy film
and silvered despite my use of MicroSet. This particular decal was made by
ACE (for one of their kits) and they are generally of poor quality, sadly.

Because these are just for wargaming and indicate examples of types I don't think we have to be too fastidious when it come to markings (they are not intended to be models of specific vehicles from specific units at a specific time). So long as they look the part I'm happy.

Next: Tracks and Mud

Monday, 19 February 2018

Skyrex 1/100 SU-122 - Part 2


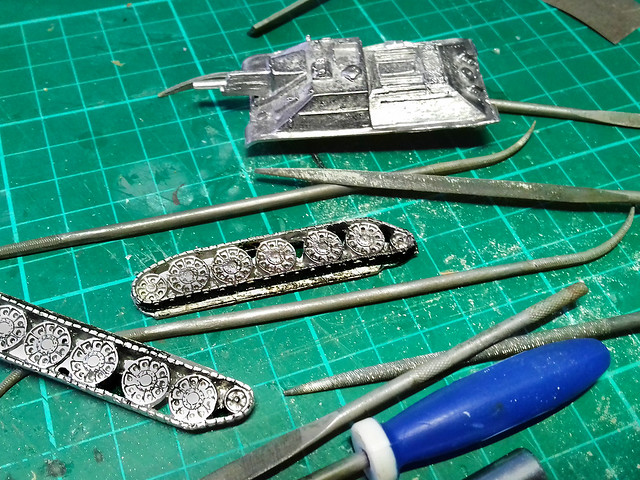
On with the prep work...This is the downside of white metal models and I find it a little tedious.

My main grumble about white-metal models is the inherent volatility of molten metal and it's propensity to distort and 'boil' (for want of a better word) during the moulding process. This effervescence of the molten metal during its transition into it's hardened state invariably results unpredictable flaws and blisters...And, sadly, such is the case with my SU-122.

I don't know why, but 'flash' always seems to form right at the most obvious point on a component, rather than at a point that is easily hidden or not seen...

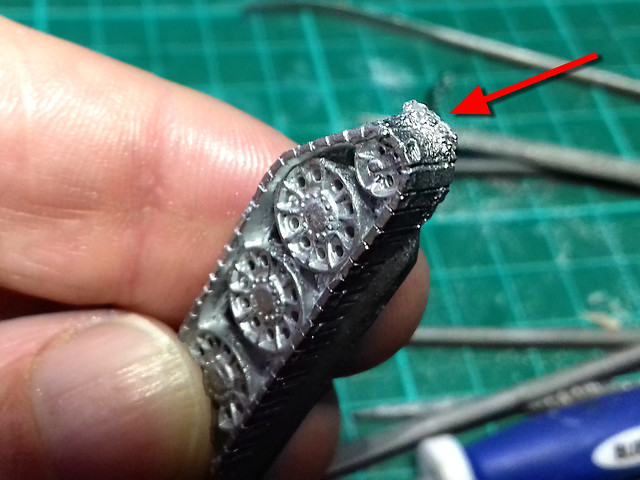
This carbuncle of metal 'flash' had to form *right* on the front of the track!
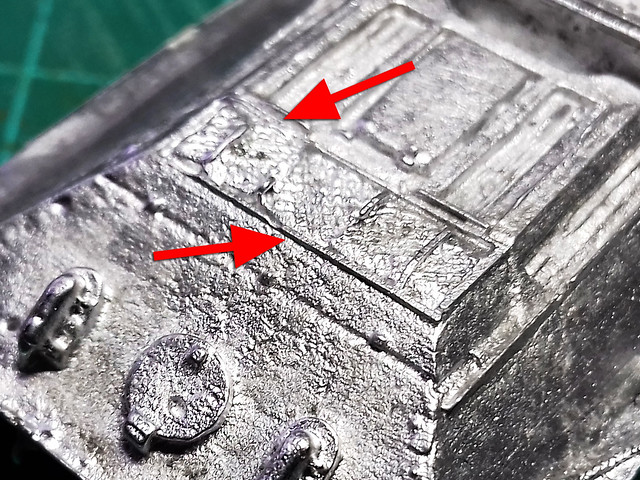
Other blemishes on the model - and there are a few - I can deal with but the imperfections on the tracks and the engine deck are very, very frustrating. All I can do is smooth the flaws down with a bit of filing and hope for the best (rebuilding the detail again with something like Milliput might be possible, but whether it is worth it when this isn't a display model is debatable).

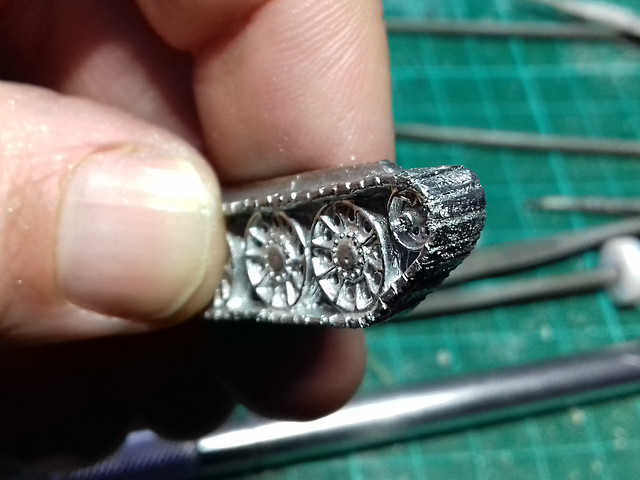
Simply removing the unsightly protuberances and neatening up may suffice for a war-game model...

Sadly, in filing down I have also lost some of the track pattern detail. :(
Though, the engine deck repair is a little more tricky and immediately noticeable (no hiding this)...


It's the same on both models and is very disappointing. As I said, I don't want to try and rebuild flaws like this using Milliput or styrene strips and filling down in preparation to rebuild might actually do more harm than good. Perhaps a bit of judicious painting might help camouflage the broken detail.

On piece of work I did have to do, though, was on of the commander's hatches which I lost to the infamous Carpet Monster! However, it was a very simple job to cut a new rectangular hatch from a piece of styrene sheet and then to glue a couple of thin hinges on...

My replacement commander's hatch.
All that's left now is to attach the external fuel tanks and any other stowage I fancy adding. I'd like to attach the unhitching logs to both tanks, but they look identical so I'll make a new 'log' myself...

Priming
Having got everything prepared (there was LOTS of labourious filing) I started to add the extras to the hull using superglue. I was a bit disappointed that the external fuel tanks had to be just glued directly to the surface of the hull - without any guide pins or holes - and the side mounted tool boxes did not fit at all (I had to make my own out of plastic). Also, it turned out that the metal unhitching logs were a bit oversized and looked a little odd so I ended up leaving them off completey.

You do have the option to leave off the fuel tanks (reference photos show the SU-122 with and without them) and if you do that there is enough space for adding an unhitching log. But I would still recommend that you make your own log out of thinner diameter plastic rod.

All that done, I primed with Humbrol's Light Olive acrylic spray, just as I have with the rest of my Soviet armour for this project...


Well, they don't look quite as bad as I had imagined that they might when I looked at these model in the raw metal. Hopefully, as I apply more painting effects they will look even better!

I do have to keep reminding myself as these models are intended to be seen at tabletop distance (say, at least two feet away - don't ask me what that is in centimeters). So, we shall see.

Next: Operation 'Disguise the shoddy detail with paint' begins!

Sunday, 11 February 2018

Skyrex 1/100 SU-122 - Part 1

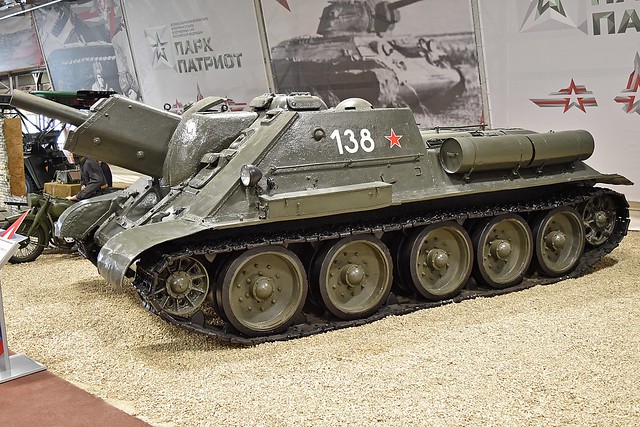
SU-122 in Kubinka Tank Museum. Source: Wikipedia.
While I wait for some decals I have ordered for my 1/100 T-34s to arrive, I thought that this would be a good opportunity to get started on the last of my mid-war Soviet tank force. While the Skyrex white-metal wargaming models don't require a lot of putting together, they do need some extra prep work to get them ready for painting.


The SU-122 was the Red Army's answer to the highly successful German Stug III assault gun/tank destroyer. This design of fixed gun housing on a medium tank chassis suited the Soviet's need for large numbers of quick to build and cheap fighting vehicles. The chief advantage of this design was that you could shoe-horn a larger gun into the housing than you could get in the equivalent vehicle with a rotating turret, thus - while normal T-34 designs were mounting a 76mm main gun - this gun carriage could mount a hefty 122mm howitzer!

The Skyrex Model Overview
While I would have preferred to have stuck with plastic models for my 'Battle of Kursk' project, sadly none of the main 1/100 plastic kit manufacturers make a SU-122 (and I didn't fancy taking on a T-34 conversion project). So, as I only required two of these models, I dug deep and splashed out on a pair of Skyrex metal models (£6.50 each plus postage).

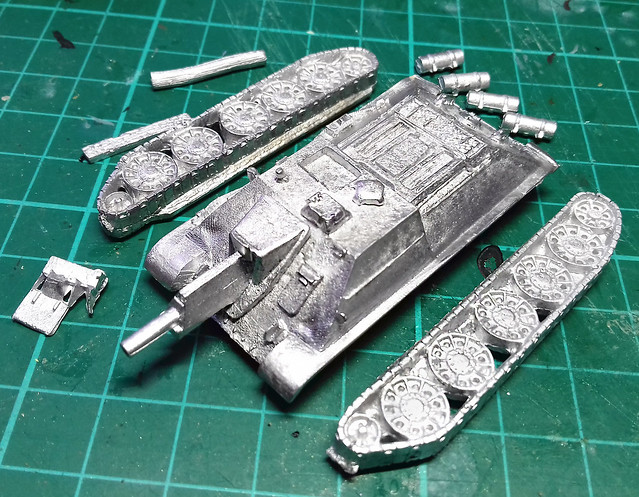
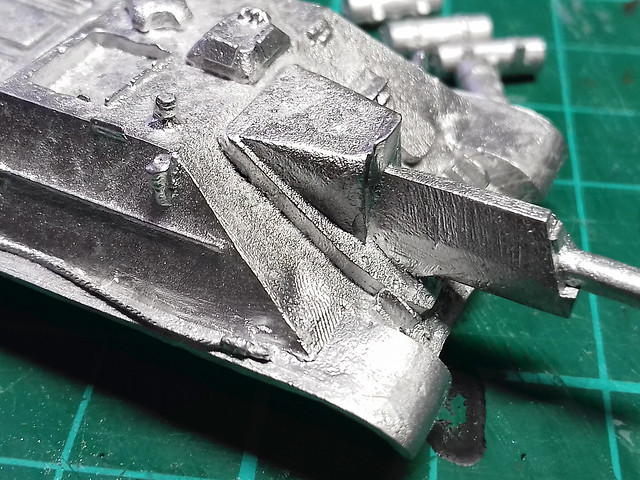
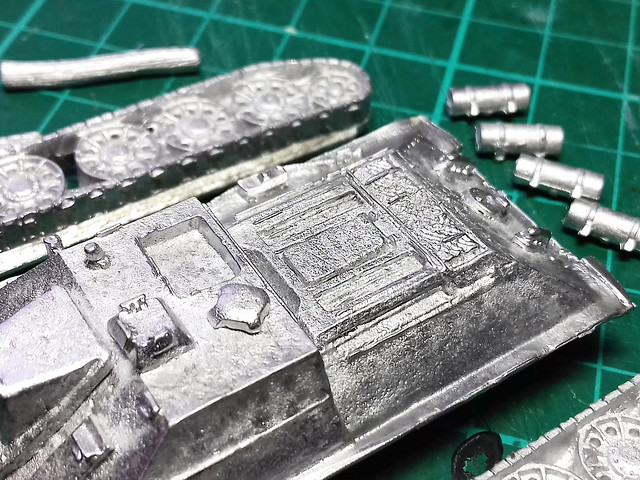
There are only four main parts (main hull, 2 x tracks and commander's hatch) plus four external fuel tanks, a tool box and a 'unditching log'. [Apologies for the lack of clarity of the photos, but bare metal is quite difficult to photograph.]


As usual, for a white-metal model, there is a little flash and a tiny bit of deformity so 'cleaning up' mainly involves smoothing out any pitting, bits of flash and scratches with some mild filing and shaving. Additionally, I've been told that it's good practise to give all surfaces a quick rub down with some 'wet and dry' paper to remove any of the moulding medium residue.

Detail wise, it's a mixed bag, but this is the compromise you make when having to resort to a low run metal moulding compared to a high volume plastic injection kit. The crispness of detail you get with plastic just isn't there, but - again - there isn't a plastic SU-122 model in this scale...So, be content! ;)


Because of the lack of definition with some of the detail (particularly the engine deck) I'm a bit worried about how the painting will pan out.

😬 <--- My worried face!

Well, I better get my file and 'wet and dry' out and get going...

Next: Priming, where I should get a better idea about how some of that detail might turn out.

Thursday, 8 February 2018

Featured Work - Carsten's 'Object 704'

It's been a while since I posted a 'featured work' and I think that's possibly because I've been working in 1/100 scale recently. There are some terrific examples of beautifully painted 1/100 scale armour around if you Google them, but not so many tutorial examples (at least, not as many as - say - 1/72 scale tutorials anyway).

So, it was great to come across this wonderful example of what can be done at this diminutive scale. Particularly so as the modeller - Carsten - uses a lot of techniques and medium that are more usually associated with larger scales...


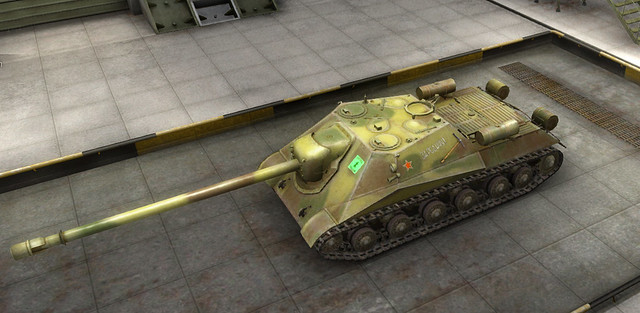
Another delightful aspect of this video is that Carsten's subject if the 'Object 704', which is a late WW2 prototype Soviet tank destroyer. I'm quite familiar with this monster as it's a tank which is available in the PC game 'World of Tanks'. Indeed, it's one of my favourite tanks to play in this game...


Computer games aside, though, this is a very useful tutorial on with some very interesting pointers about advanced painting techniques for 1/100 armour. I'll undoubtedly be trying out some of these tips in the various tanks I'm just producing.

Wednesday, 7 February 2018

Zvezda 1/100 SU-152 'Animal Killer' - Part 2

Well, this project isn't going to take long!

...So, moving along briskly, it's on with the painting. And, because I've a pretty well defined painting plan for these Soviet tanks 'briskly' is the operatively word...

[Note: I took the pictures as I went along with my mobile phone - for convenience sake - so, unfortunately, the colour reproduction varied wildly, depending on the lighting. My apologies.]

1. Priming - Humbrol Light Olive Green


2. Modulation - Vallejo 'Russian Green' Wash


3. Painting Tracks - Basics
First stage in my track painting (for these 1/100s) is to base coat the tracks with a mix of 70/30 Vallejo Model Color 'German C. Black Brown' [822] and Game Color 'Plata Silver' [052]. This just gives the tracks a vaguely rusty-metallic lustre...
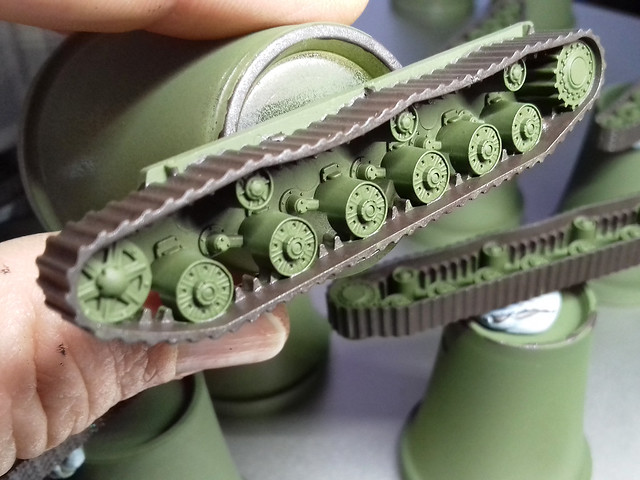
This shot shows the very basic nature of the track detail (or rather, the lack
of track detail)!
Next I brush on a dark brown wash of Citadel Agrax Earthshade (slightly diluted). But, be careful, as this wash doesn't seem to like too much water added and will sometimes dry with a white residue. I've been told that to avoid this you should dampen the surface you are applying the wash to first.

Anyway, the wash gives nice definition to detail and gives the base colour a slightly dirty look...
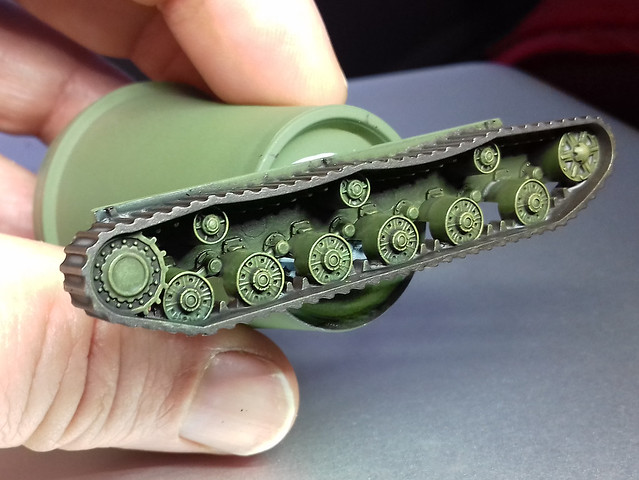
Compare this to the picture above. Notice how the wash has picked out the
details of the road wheels in particular.
On top of this I dry-brush a highlighting colour of Vallejo's Model Color Yellow Ochre [913] (mixed with a little Vallejo Model Air Russian Green for effect). This is just to make the most prominent detail 'pop' out a bit.

And finally (prior to weathering anyway), I do some pin-washing using Citadel's Nuln Oil shade [wash]. This is to deepen some of the most shaded detail in the road wheels...
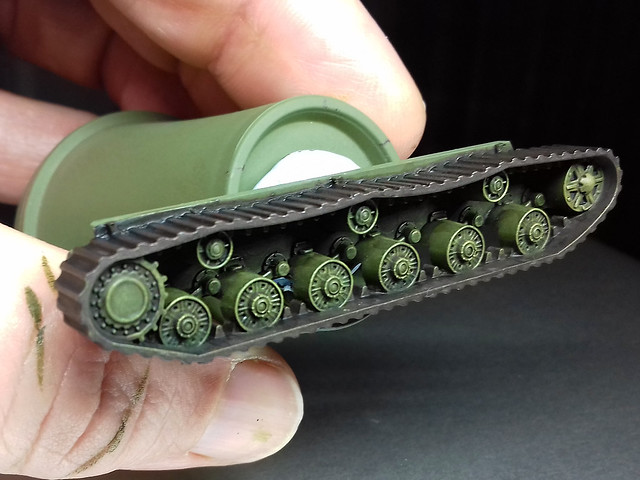
Yes, subtle I know, but believe me, some of the deeper detail is now better
defined and shaded. I may re-highlight a it, but otherwise onwards we go!
4. Highlighting (Dry Brushing) the Hull
These stages repeat the wash, highlighting and pin-wash processes described above. This stage is very subtle so I've skipped photographic it. BUT, it is worth doing as once the next stage of shading wash has been applied it gives some very subdued highlighting to raised edges and panel lines.

(As these are war-game models I've started experimenting with some high-contrast highlighting by using a little white. It's not very realistic per say  but it is a nice effect. I highlight with my yellow/green mix, then dry-brush a little whiter mix on top - just on the very most prominent features.)

5. Shadow Shading - Citadel Agrax Earthshade

6. Pin Wash - Citadel Nuln Oil
With the pin-washing done, this brings the hull and the tracks to the same stage of basic painting.


7. Decals
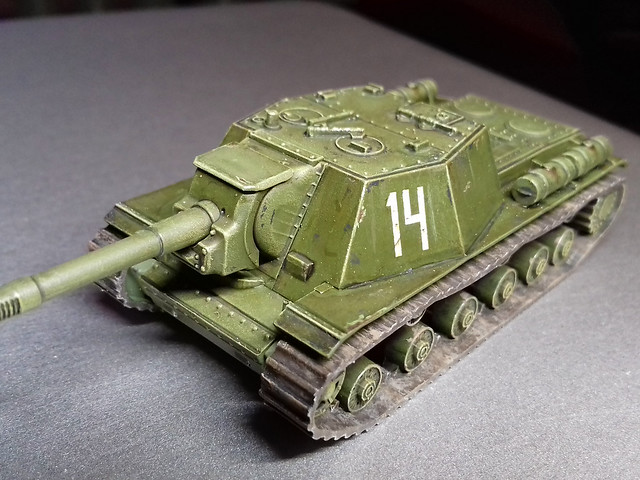
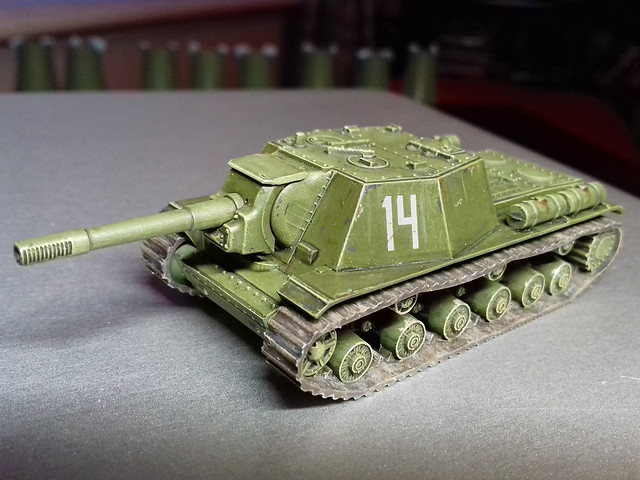
I'm not basing this tank on any specific historical vehicle, so the decals are just to add character to the model. I begin by a flicking through my collection of spare decals and found a set of - appropriately - large Cyrillic numbers ('14') that I thought would compliment such a big tank.

The model was prepped with a  light patch of Humbrol's 'Gloss Cote' on the hull where the decal would be placed. As usual, Microscope's Micro Set was used to help seat and set the decal in place...


Sometimes less is more with Red Army armour!

(Another light coat of Humbrol varnish would be applied on top of the decal to seal the transfer permanently.)

8. Chipping, Grime & Weathering
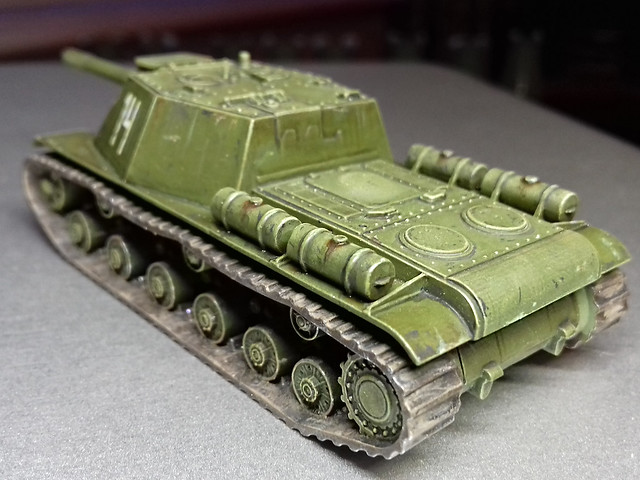
As this is a war-game model there will be plenty of character about it, and this includes a slightly exaggerated amount of weathering. This is definitely 'just for fun' and not strictly historical.

I'll start with chipping as, it seems to me that, grime and dust would naturally occur on top of chips and scratches (maybe). I use Vallejo's Panzer Aces Dark Rubber [306] and dot and dab it in minute patches and scratches on areas I think would see wear and tear...
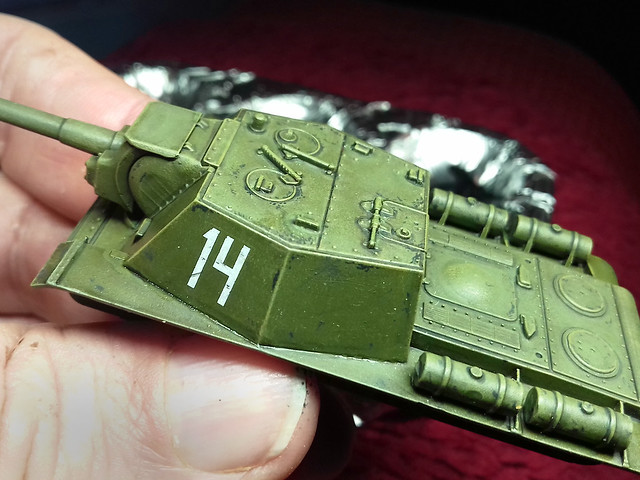
It's debatable whether - at this scale - small detail effects like chipping are
needed. I shall decide when I see the finished model.
Aside from the grey ('flakey paint') chips I'll additionally add the occasional speck of silver to simulate chips that have gone down to bare steel (like chips on hinges and wheel rims, etc). I could add some touches of graphite pencil to get that metallic look to the surface (I shall try this out on the bottom of the hull first to see if I like it.)

And finally, I'll add a few grime, stain and oil streaks to the hull and slightly discolour the decals to get rid of that 'new' looking brightness.

9. Finishing Tracks - Weathering
As above, there will be a touch of chipping and silver flecks to imply scratches (I also did a little silver dry-brushing to give a metallic sheen to the steel tracks). But the main job will be to add dust and dirt (or mud if I want a very weathered look). This is the bit I always dread as it's so easy to get carried away. So, before the mud...


(Edit: I thought the tracks looked a bit flat - in tone - so I added a wash of Vallejo's Game Color Wash in Sepia Shade [200]. This added a nice tinge of rust to the bare steel of the track links.

And, after the mud...
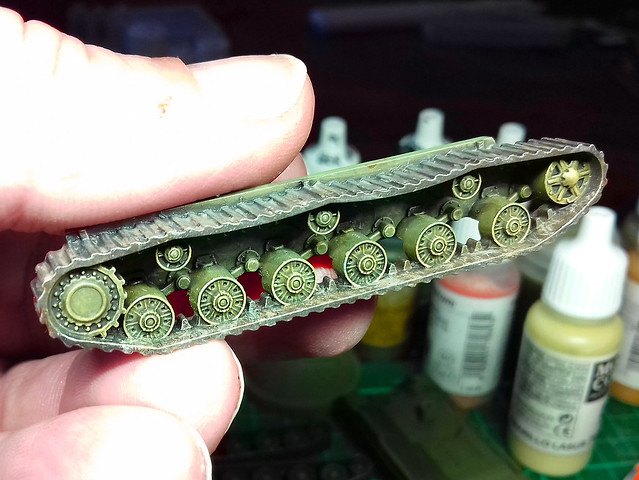
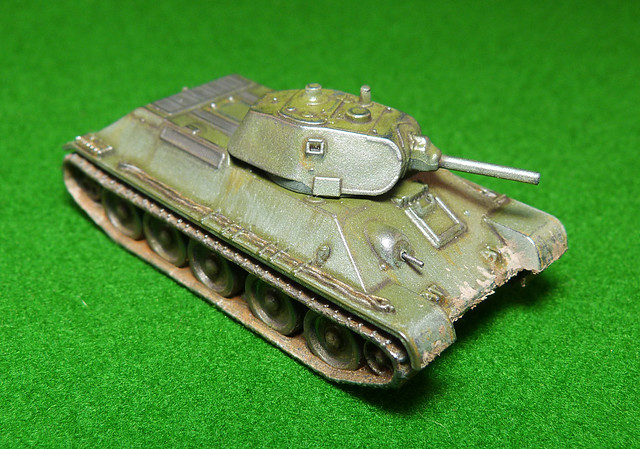
I'm not happy with my 'mud' technique yet. I keep trying out new medium, in
this case it's Tamiya's Weathering Sticks. I think I prefer powders.
10. Finishing Up...
Well, I just can't resist tinkering and I did some more chipping and streaking. But that's normal with me - I just can't leave well enough alone!


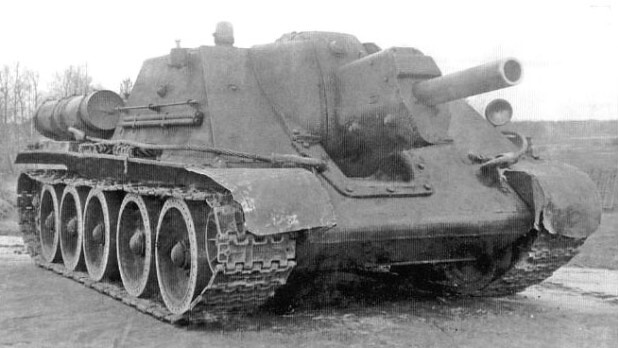
I'm fairly pleased with this model, though a little disappointed with how the tracks turned out. It's perhaps half to do with how simplified the tracks were - offering scant detail - and half my poor 'mud' painting technique (I shall have to practise with some other medium).

But, let's not get too negative...This is a perfectly fine war-game piece for GF9 Tanks, and that's the main thing.

All that's left if to varnish the model. I'll probably go with several light coats as it's intended to be handled. Other than that, it's on with the next models in this project - my T-34s.
Friday, 2 February 2018

Zvezda 1/100 SU-152 'Animal Killer' - Part 1

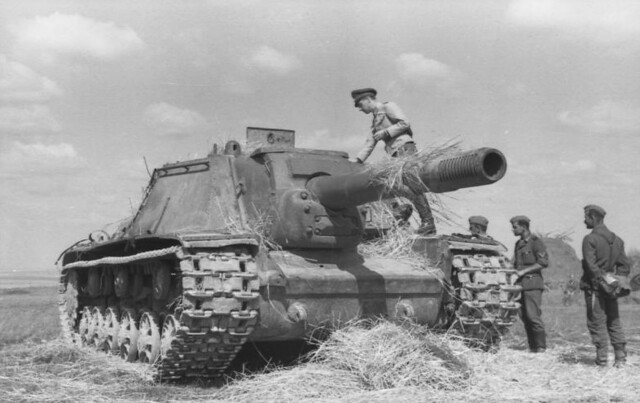
My 'Battle of Kursk' project trundles forward apace with this monstrous addition to my Soviet force. The 152mm gunned SU-152, known as the 'Animal Killer' (or 'Beast Killer') as it was designed specifically to hunt the German's Tigers, Panthers and Elephants.
An abandoned SU-152 assault gun inspected by German troops, Russia, 1943.
(These Germans must be counting their blessings!) Source: Wikipedia
Quick Overview
I've made no secret that I love Zvezda's little 1/100 range of armour. Their level of accuracy for a simple 'easy build' war-game model is excellent (bar one detail) and the cost is very attractive compared to the competition.


However, every silver lining has a grey cloud attached and Zvezda kits have two slight drawbacks; they don't tend to come with optional builds/accessories and their tracks are...Well...'Bare bones'.

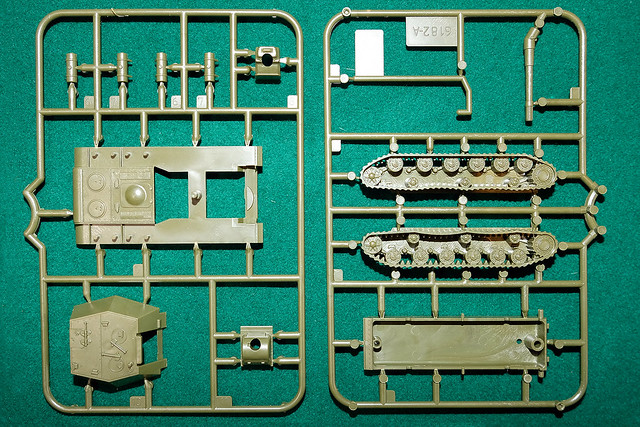
The Zvezda SU-152 follows this format, the kit has only 12 parts with no 'optionals' and the tracks are a little disappointing. BUT, these kits are what they are and as war-game markers they are more than adequate.


Unfortunately, to keep the part count down something had to give and that was the complexity (or lack thereof) of the tracks. Making the track sub-assembly one-piece - including wheels, suspension and the tracks themselves - seems to have impacted just how much detail can be included on the moulding. I guess they figured that - at 1/100 scale and being partially hidden by the fenders - the track pattern would not be a overtly noticeable feature. This is a matter of opinion.

(As mentioned in my 1/100 T-34/76 post, the best tracks are those done by Plastic Soldier Company. But they achieved their nice track components by using three-piece assemblies.)

However, the rest of the detail is well represented for the scale and is crisp and delicately moulded. (Other 1/100 armour manufacturers tend to go for a slightly exaggerated 'chunky' look so that details show up better - and are more easily painted.)

Completed in just a few minutes, at tabletop distance it's a lovely looking model.
The massive 152mm gun barrel is not 'drilled out', but that's easily remedied. I drilled a tiny pilot hole first - to ensure the hole was centred properly - before drilling out the final barrel width with a larger drill.

Options?
Although the kit does not come with options, it might be nice to add some stowage. Things like tool boxes or a piece of timber for 'unditching', which was a common practise on Soviet tanks. I could scratch build these easily.

Next: Painting.

Wednesday, 31 January 2018

The 'Cat Killers' Are Here!

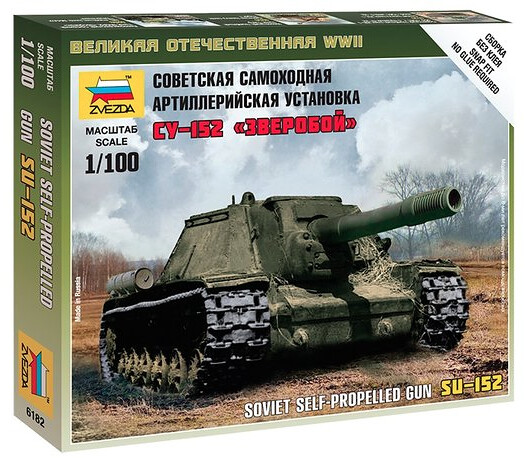
New to my stash for my 'Battle of Kursk' themed wargame are three lovely 1/100 Soviet tank destroyers. The plastic Zvezda SU-152 and two Skyrex white metal SU-122s...


Although I call them 'Cat Killers' I believe the nickname really translates from Russian as 'Animal Killers' - referring to their intended victims, the German Tigers, Panthers and Elephants - and it really was only applied to the SU-152 and it's massive gun. Still, the SU-122's big gun was nothing to be sniffed at either and had the same function - to get rid of those pesky Kraut Heavies!

These will make up the core of my Soviet force for my planned game of GF9 'TANKS!', as the Soviets fought more defensively in this battle.

Saturday, 27 May 2017

Coming Soon...More Little Tanks!

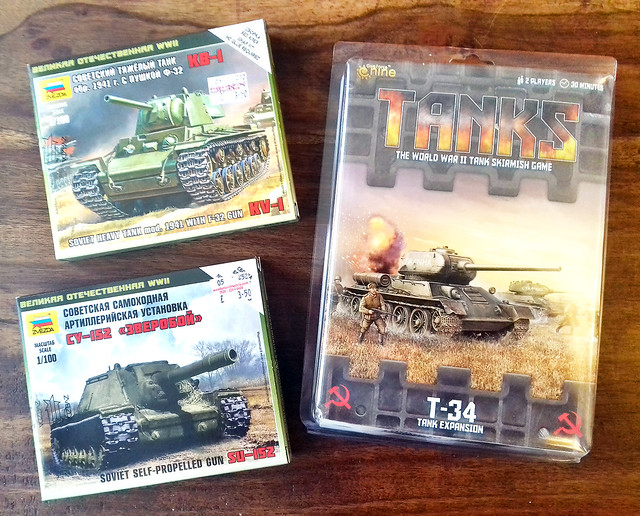
Having completed the GF9 TANKS starter set models, I'm getting back on with my 1/72 projects. But, I'm already planning my next expansion of my GF9T inventory and the postman brought these additions to my kit stash yesterday...


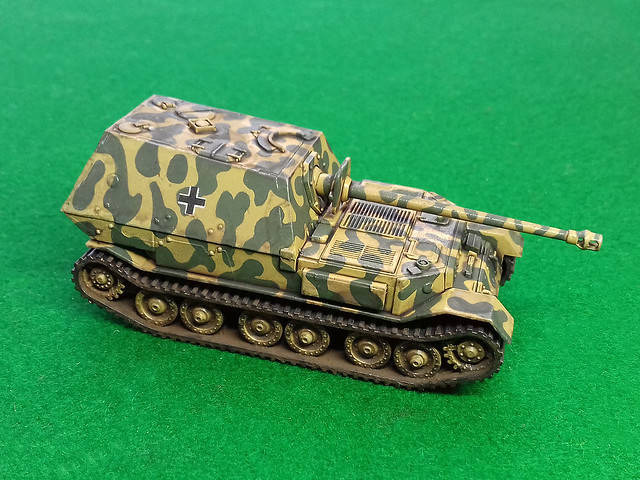
These mid-WW2 (1943) Soviet tanks will make up a small Red Army force for a 'Battle of Kursk' themed game I am currently planning. I have already built a German 'Elefant' Tank Destroyer, have a Panzer IV H in construction and have a Tiger I in my stash, so my inventory is in place for the game.

One of the German opposition that my new Soviet tanks will be up against!
My recently completed 'Elefant' (or 'Ferdinand' if you prefer).
I went for the Zvezda KV-1 m41 as it was the cheaper option than buying the rarer - and much more expensive - 1/100 Battlefront KV-1S (£9), even though by this stage in the war the KV-1 had been mostly replaced by the KV-1S. I can get away with this as I know there were at least 22 of the older KV-1 tanks at the battle (and probably more).

It will be interesting to compare the size of the Battlefront T-34 with the Zvezda T-34 I already have, as Battlefront tends to be a little larger than Zvezda's '1/100'.

My Zvezda 1/100 T-34/76 m40. How will this compare in size to my new
Battlefront T-34? Will there be much difference?

Thursday, 25 May 2017

Battlefront 15mm Panther and Jagdpanther - Part 2

Applying the Wash
With all the base colours done it's time to apply the overall wash to the model. I'm using Citadel's Agrax Earthshade (again), diluted 50/50 with water...


Aside from adding a 'dirty' film all over the model, giving the basic paint coats a stained and 'aged' appearance (which I like) the wash also gives definition to panel lines and outlines other surface detail.

This replaces, to some degree, the pin-washing technique I normally use (usually after weathering) on larger scale model projects. Though, I will still be applying pin-washing to pick out the most prominent detail (using Vallejo's Dark Brown Wash) as this is a far darker outlining medium.

The Agrax Earthshade is a medium brown wash and for most
detail, this will suffice as a replacement for pin-washing. 
While I'm quite pleased with this 'new' (to me) effect, I am aware that it does darken the base colours. I can, and do, put this down to a later of 'dirt', but I will have to be aware that if I want a fresher looking model I may have to start with lighter base colours.

Staining & Streaking?
Actually, I'm cutting out this process (where I would apply oil paint dabs and streak them) and I am using eyeshadow powders to achieve a similar, though softer, effect. This is another change in technique due to the scale of the model.

While my usual weathering effects can still look quite nice when taking closeup photos of the models I think they may be a little bit of over-kill as these small models are meant to be seen at arm's distance on a tabletop. So, I am starting to use broader, less focused weathering effects for my 1/100 gaming models.


Far Too Shiny and Chrome!
With the upper hull of both versons of the Panther done, I turn my attention to the lower hull and tracks. At the moment the tracks are far too clean and shiny. As with the upper surfaces, I am looking to a more 'cosmetic' medium to apply the effects I want.

Tracks are definitely a part of my tank models that I still have the biggest problem with. I haven't devised a satisfactory 'recipe' for painting and weathering them to a point that I am happy with the result. My previous results have all been a bit hit and miss.

So, let's have another go...


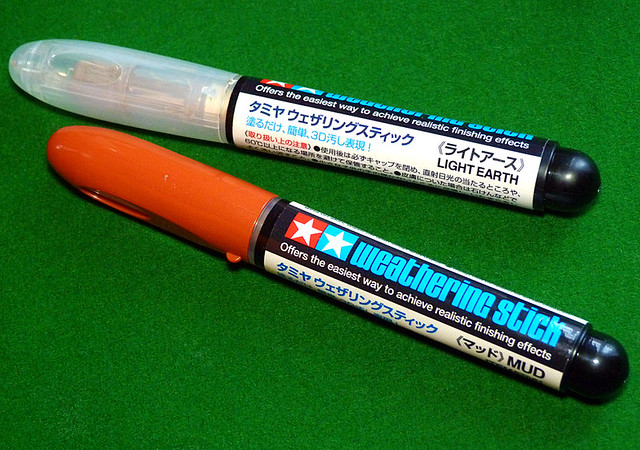
The medium I have picked to weather my tracks are Tamiya's Weathering Sticks (Light Earth and Mud). Nothing new that I haven't used before BUT I recently discovered that these cosmetic type sticks can actually be mixed with water to produce a creamy paste.

I used this technique On my 1/100 Stuart model and although I didn't quite get it right, I like how this cream approach was slightly more controllable than the powder method (with pigments) that I have been using. So, let's have a test on the bottom of the tank's chassis...


Because I wanted to add so much mud to the chassis I started by adding a thin coat of pigment mixture to give some texture, then applied the weathering stick medium over this. This saved on weathering stick and gave a mottled multinational mud effect.

So, in effect the pigments provide coverage and a base with the weathering stick medium softening the edges of where the mud ends. I haven't mastered this technique yet, and I've overdone the effect a little on this model (too much mud) but I'll go easier the next time. However, I am happier with this method than I am with the all-pigment method I used on my 1/100 Shermans where the mud was far too thick...

Pigments on the bottom, merging into Tamiya Weathering Stick medium on the
front-upper hull for a softer transition.
You'll notice what I mean by the fact that I have managed to retain the track pattern detail, instead of coering it up which I did with my heavy-handed approach on my Shermans. Here's the result...


Nearly, but not quite, happy with the result...Yet!

Next: Protective varnish and completion photos.

Sunday, 21 May 2017

Battlefront 15mm Panther and Jagdpanther


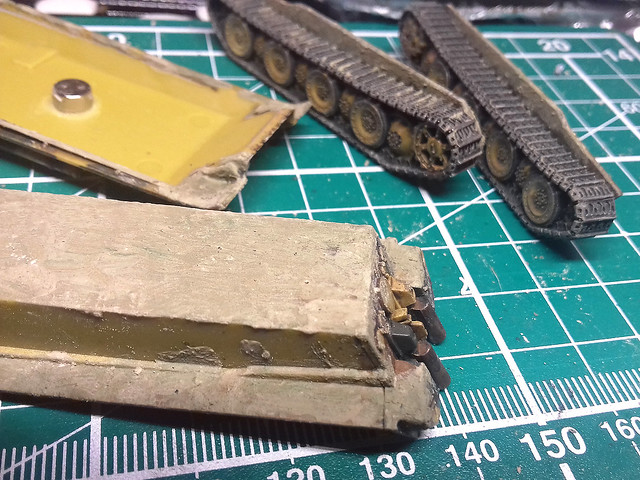
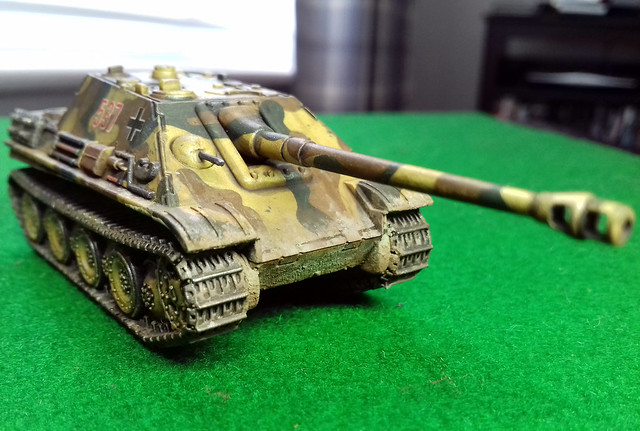
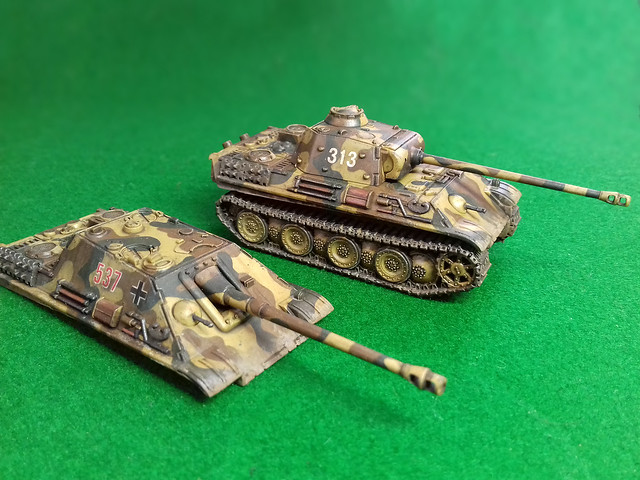
This is the final part of my 'GF9 Tanks Starter Set (Panther Vs Sherman)' series and comprises of the production of the German opposition in the game, the Panzer V Panther. However, as I mentioned in an earlier post about this game set (link to post here), there is an option to mount the Jagdpanther upper hull on the Panther chassis to get two tanks for one (with some sneaky use of mini-magnets)!

The 1/100 Battlefront Panther and Jagdpanther kits are rather nice - if somewhat 'chunky'* and simplified - models. But, they are - in my opinion - on the higher quality end of the wargaming quality kit spectrum. They have packed a good deal of nice surface detail into these little kits and have some very nice track detail.

* I have noted on several occasions, when talking about these sort of 'wargaming quality' kits that they can be a little 'chunky' and sometimes over-scaled (Plastic Soldier Company models are a prime example). Well, I've come to understand that is sort of deliberate to make the models a little more durable as playing pieces. Zvezda scales their 1/100 models more accurately, but - as I found out with their M3A1 Stuart kit - this means details like guns become very fine and therefore possibly prone to breakage. This over-scaling is sometimes referred to as 'Heroic' scaling.

Anyway, back to the job in hand. Having mad up my Panther/JP model for playing purposes (unpainted) it's now time for my GF9 panzers to follow the example of their Sherman opponents and get a lick of paint!

Choosing a Panther Camo Scheme
As I found with my 1/100 'Elefant', the choice of German WW2 is wide and wonderful, and this is particularly true of the later war panzer schemes. Starting from D-Day the variety of camouflage patterns seemed to snowball from the fairly standard - but still variable - 'three colour pattern' to - by 1945 - and almost anything goes 'let's just get the tank on the battlefield' (sometimes not painted at all) attitude!

So, I decided that the best place to start was to pick a specific period and/or theatre. This would help me pin down a sort of historic parameter for camo choices.

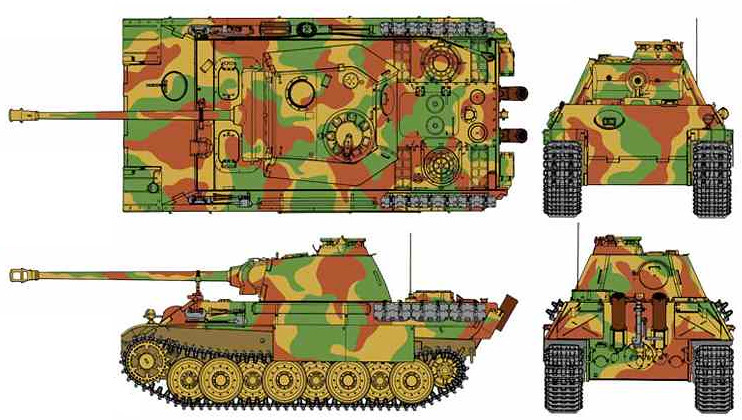
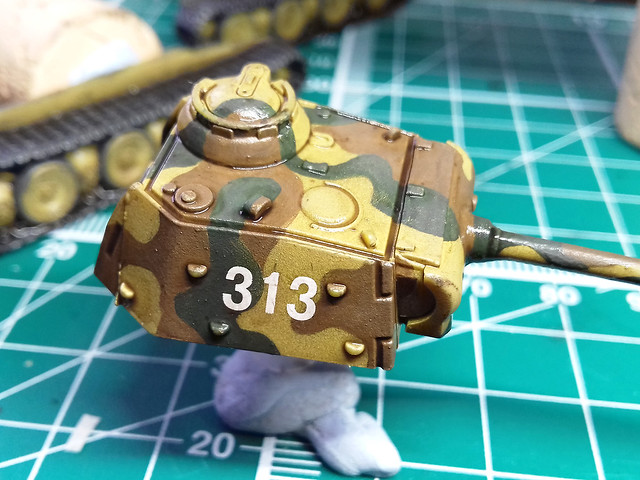
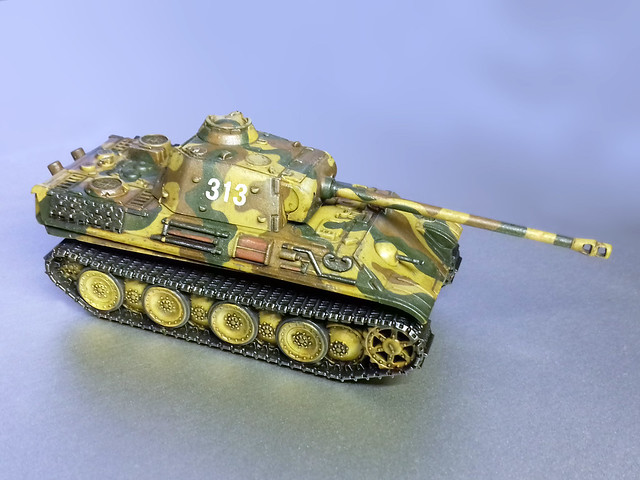
I wanted my Panther/JP to be D-Day specific - so as to be suitable opponents for my D-Day Shermans - so this ruled out a lot of the more weird and wonderful 'late war' Panther schemes. I eventually came across a 1944 3-colour paint pattern that I liked (I sort of prefer large, harder-edged patterns)...


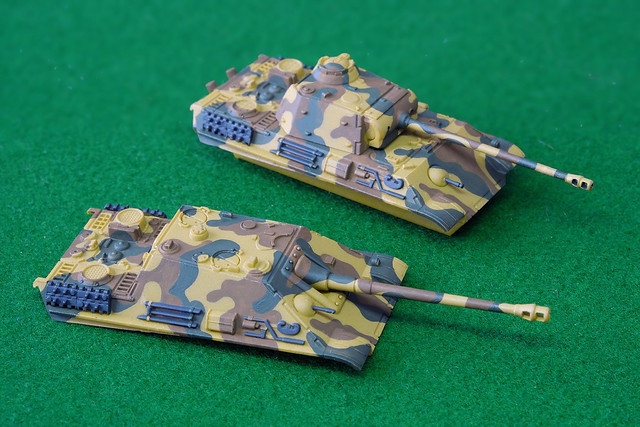
I will be using this same pattern for both the standard Panther upper hull and that of the optional Jagdpanther hull.

Hairy Stick Time
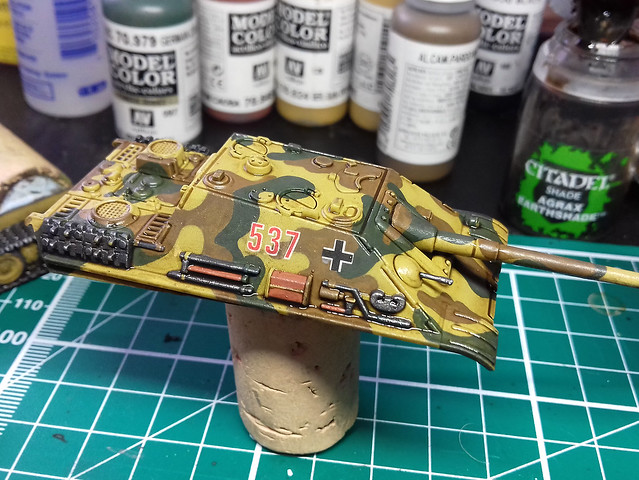
As I am still without an airbrush at the moment, it's another chance to practice my brush skills (another reason to go for a 'hard-edged' camp pattern). I began by priming the Panther hulls with Flames of War's 'Panther Yellow' and then I worked on the brown patches of camo using Vallejo Model Color 'German Cam. Med. Brown' [826]...

My LED desk lamp made these a little over saturated, the colours are actually
a little more muted than this.
I tried to follow - roughly - the same shapes on both hulls so that they would neatly join up with the pattern painted on the lower hull. One thing I like about painting patterns using a brush is that if I vary the dilution of the acrylic with water you get a semi-opaque - almost 'watercolour' - effect where the paint is not uniform and 'flat'. This can add to the impression that the camo was added over the Dunklegelb base colour in the field and also that it was 'faded' in places (that's my excuse).

Next I start to add the green 'blotches' using Vallejo's Model Color 'German Cam. Dark Green' [979]. Now, I know there is some amount of debate as to whether these two colours are true to the original German paint colours (the brown doesn't seem to be red enough and the green not green enough, allegedly) but I want a more muted effect...

Lighting was a bit dark here, but hopefully, you get the idea.
Emblems/Decals
Doing an 'authentic' scheme for Battlefront's 1/100 game tanks models is a bit of a 'DIY' process. Unlike 'display' kits these little models don't come with decals or a 'suggested scheme', so you are left to your own devices as to how you paint and decorate them.

Also, authenticity isn't, perhaps, the absolute priority here as these models are playing pieces, so there's an accepted leeway for 'artistic licence'. Basically, nobody will pull you up if your chosen camo scheme wasn't entirely correct for this or that theatre or period or unit, so long as the spirit of the national faction is adhered to for the game. Players of this game don't tend to be rivet counters or pedants (IMHO).

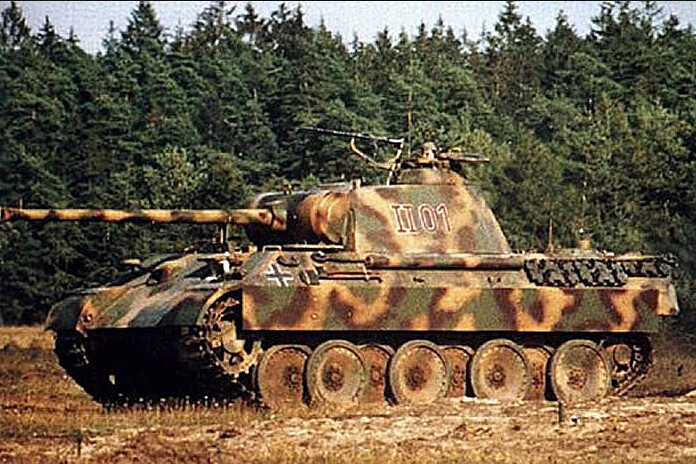
Here's an example of Panther numbering and emblem format that
I quite like. The plain white numbering suits my intention to use
dry transfer lettering as I have similar font/styles.
So, with this in mind, my camo scheme for the Panther/JP was a 'generalisation' and that's how my decoration will be as well. I'll be keeping it simple, with just a couple of German crosses and a made-up vehicle number...This model is NOT based on any actual identifiable historic tank or unit!

I'm using Woodland Scenics dry transfer numbers for the Panther and the decals for my Jagdpanther are from the Skyrex AD43 German Tank Numbers and AD28 German Crosses. I have to say, I'm not so impressed with the quality of the Skyrex decals, I think they are short run printed decals and their transfer film is quite thick so I'm having to use Microscale's Micro Sol to help settle them in nicely.

Applying one number at a time is a bit tricky as you are never completely satisfied that everything is straight and level...


And that's nearly it for the basic paint scheme and decalling. I have to go around them again to do a bit of touching up and add some metalic dry-brush effects to the bare steel part and then the everything will be real for a coat of satin varnish. This helps seal the decals and prepares and protects the paintwork for teh next stage, which is an overall wash.