QUICK BUILD T-34/85 TURRET COMPARISONS
I thought I would split the comparisons down to major components. In this part I am looking at the quick build T-34/85 turrets - next time I will look at the T-34/76 (Model 1943) versions of the turrets...
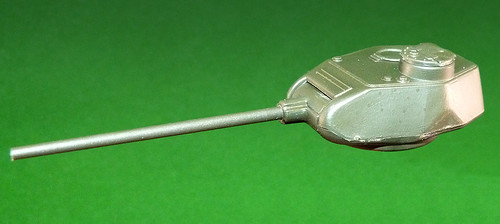
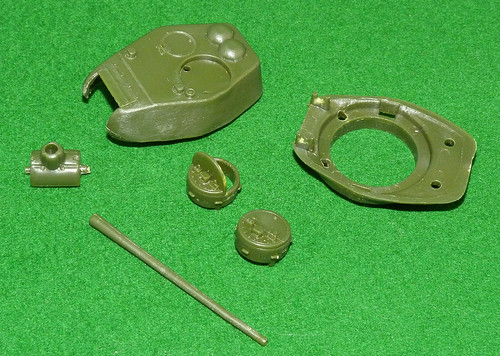
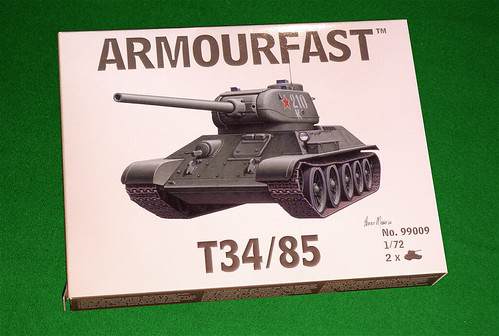
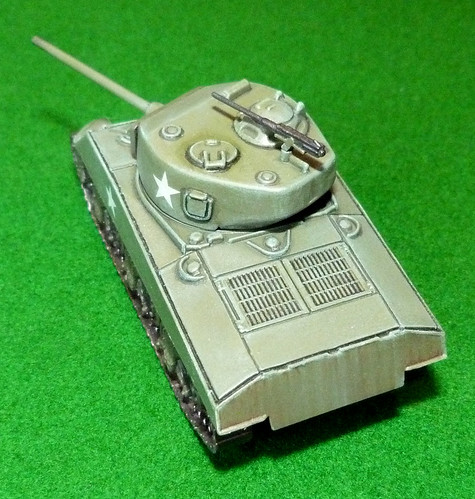
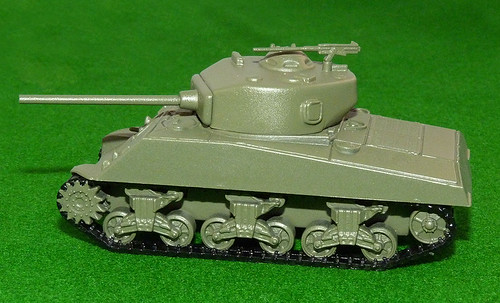
ARMOURFAST TURRET:
Number of parts: 6
This seems to be a simplified "Flattened Style" turret, summer 1945* production model (differing from the 1944 pattern - most noticeably - in the design of the commanders hatch). It has the Zis-S-53 gun mantlet collar and the 'flattened' (roughly triangular) area on the sides which give it it's name. But, part of it's simplification by Armourfast sees the bulge for the electronic traverse on the left side and the slight bulge next to the commander's cupola removed and the roof periscopes are hardly there at all...
* Despite being called the '1945' model this variant first appeared in late 1944, as if things weren't confuing enough!
UPDATE NOTE: I've found some additional references that may identify this turret as being closer to the Spring 1944 'Angled-Joined' style of turret - a good article for T-34/85 turret styles can be found here: Missing-lynx.com - The T-34-85 in WWII: A Closer Look
Pros:
- Nicely done twin roof air vents
- Both hatches can be modelled open
- Passable mantlet and nicely moulded gun (if a little large)
- Crisp moulding
Cons:
- Turret seems to be over-sized (too wide)
- 'Flattened' (triangular) facet is a little exaggerated
- Naturally - as a quick build - all rails and lifting rings and other small detail are missing
- Traverse bulge missing (this is a small square 'bump' on the left side)
- Welding (& casting) detail missing
- Gun about 2mm too long and a little thick (but not hugely so)
- Gun mantlet too wide and gun off-set too much
- Gun barrel is not drilled out
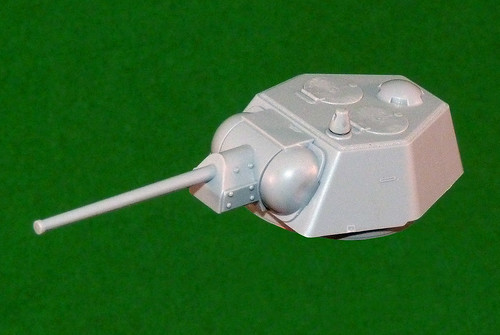
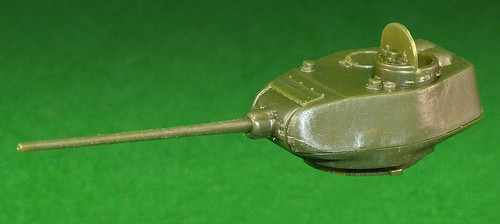
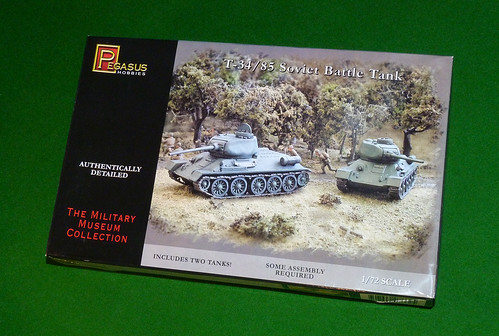
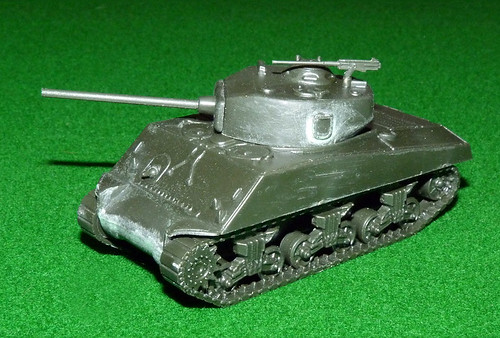
PEGASUS TURRET:
Number of parts: 5 (6 if you count alternative commander's hatch)
Again, this appears to be a 1945 pattern "Flattened" turret but unlike the Armourfast version there is some attempt to replicate the original's welding and casting marks. In particular the fluted 'fillets' are discernible near the turret collar and Pegasus have included the traverse mechanism bulge and commander's cupola bulge on the left side of the turret.
Pros:
- Passable attempt at including the distinctive welding and casting marks.
- Alternative commander's hatch is included in the open position
- Periscopes (Mk. 4s) are correctly modelled
- Turret dimensions appear to be closer to scale
- Gun is correct length and thickness
Cons:
- Secondary hatch is moulded shut
- Air vents are little too dome-like
- Naturally - as a quick build - all rails and lifting rings and other small detail are missing
- Gun is a little bent and badly moulded, includes noticeable seams
- Gun barrel is not drilled out
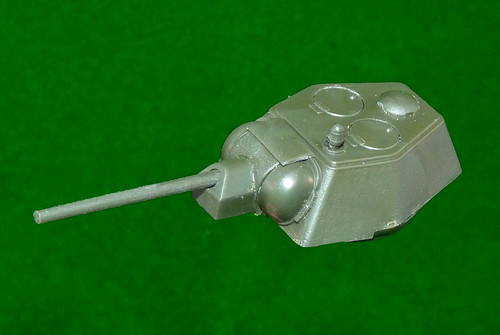
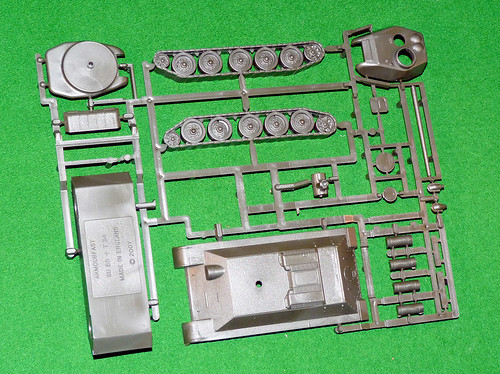
PLASTIC SOLDIER TURRET:
Number of parts: 5
This is the most simplified of all three quick-build T-34/85 turrets reviewed. It is harder to determine exactly which of the '85 turret variants the PSC model is supposed to be due to the extreme simplification, so it's perhaps kindest to say that the PSC '85 is 'generic'.
Pros:
- Crisply moulded (what detail there is is cleanly defined)
- Like the Armourfast, PS has the shape of the air vents more accurately moulded
- Turret seems vaguely the correct dimension
- Both hatches are separate components and can be modelled in the open position
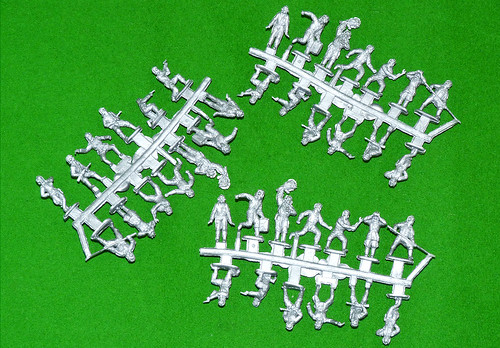
- A commander's figure is included
- Funnily enough, the PS turret is the only one to include lifting rings (albeit crude ones)
Cons:
- An amazingly bad gun and mantlet - the gun is widely out of scale
- The least detail is included and what there is is highly simplified
- The fit of the top and bottom turret parts is bad and you will have do some shaving to get a good fit
- Naturally - as a quick build - all rails and most other small detail are missing
- There is no attempt whatsoever at weld or casting details
- Gun barrel is not drilled out
CONCLUSION:
Both the Armourfast and Plastic Soldier turrets are made of good quailty plastic of a hard type (good to cut and file), they are clean and sharply moulded. However, they are the most simplified of the three turrets.
The Pegasus turret is made of what seems to be a cheaper and more brittle plastic, but it also includes the most surface detail and texture and has the best implementation of welding and casting marks.
The Plastic Soldier '85 turret is undoubtedly the worst of the three turrets. Aside from it's extreme simplicity and generic layout the dreadful gun and mantlet are no good to anyone - it has been noted by others that the gun itself looks like it is a 120mm gun! This discrepancy is so far out of scale that I doubt if even war gamers would find this turret satisfactory
(no disrespect to war gamers intended).
Therefore, I would rank the three turrets as follows - first the Pegasus, then the Armourfast and finally the Plastic Soldier turret.
The Pegasus turret has just enough surface texture and detail to make the actual variant of turret distinguishable and you could further enhance this basic model with some easily applied improvements to make a passably accurate '85 turret. The fact that this seems to be a late war 1945 variant of the turret might be a problem for some, but it would easy enough to modify the 1945 details to retro-grade the turret to the earlier - and similar - 1944 variant (though despite being called the '1945' model turret this variant appeared in late 1944!)
Were I to attempt to 'accuarize' the Pegasus turret I would probably replace the gun with a third-party metal one. Although the Pegasus 85mm gun is the nearest to scale it's very thinness make it prone to bending. And as to the secondary hatch being moulded closed, well most people will be satisfied that you can use the optional 'open' commander's hatch.
(Special note for wargamers - my comments above are based on what I percieve to be 'best accuracy' of the turrets reviewed. For wargaming purposes alone, however, the Armourfast turret is absolutely acceptable, in fact it's lack of superflous detail is probably an advantage if you have to paint a small army of them!)