 |
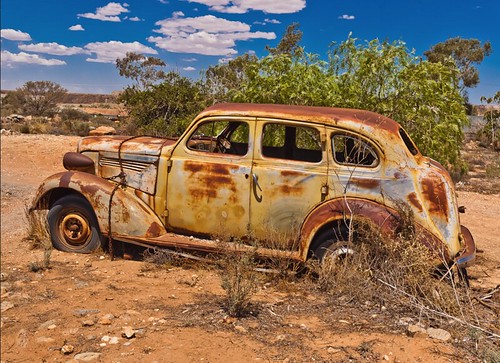
| Love this photo! And it exemplifies the sort of look that I will be going for with my 'Mad Mad' inspired car project, which is the reason why I'm doing this rust and corrosion experiment. Photo credit: 'Car Wreck in Broken Hill, Australia' by Paul's Pictures |
I was talking over the results of 'part one' with my brother and he made some very useful comments about the 'rust' colours and textures I chose and how I used them. We both agreed, I think, that the shades I used were a bit 'off' and the mottling effect too prominent so some toning down - or 'modulation' - was in order...
 |
| Before and after colour modulation using a light airbrushing of Vallejo's 'Amarantha Red'. This has toned down the rather unrealistic mottled effect. |
Some might say that this is 'obvious', but when I first painted my test jeep I was, in fact, quite pleased with my mottled browns. It only became apparent when I specifically checked reference photos from desert locations (on advise from my brother) that my 'rust' wasn't very rusty after all!
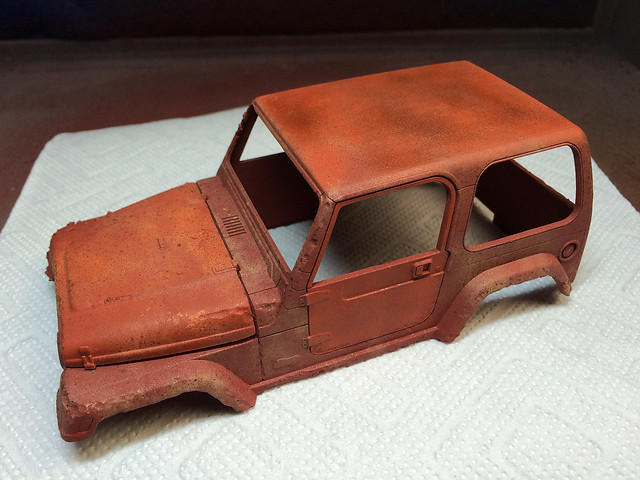 |
| Another thing I did was to alternate degrees of redness on different panels of the car's bodywork. Some I left browner while other I made more orange. I think this gives it a more interesting look. |
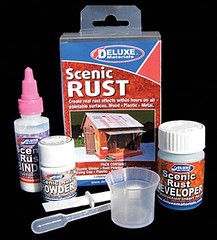 Now I have seen tutorials that have used two slightly different ways of using the chemical rusting medium. The first is to apply the DM rust under the top paint coat and flake off the paint to reveal it and the other is to paint your top coat and then to add the DM chemicals.
The difference is that the DM rust effect adds texture as well as rust effect to the model so you might want to have your rust 'bubbling' up from under your top coat paint (as it would in real life) rather than being a more superficial effect. Neither method is right or wrong as far as I can see so I decided to try both approaches.
So, I added some of the DM solution to my jeep now and will apply the top coat after having sprayed on some hairspray in order to reveal the chemical rust - and rusty base colours - by means of the good old 'salt chipping technique'.
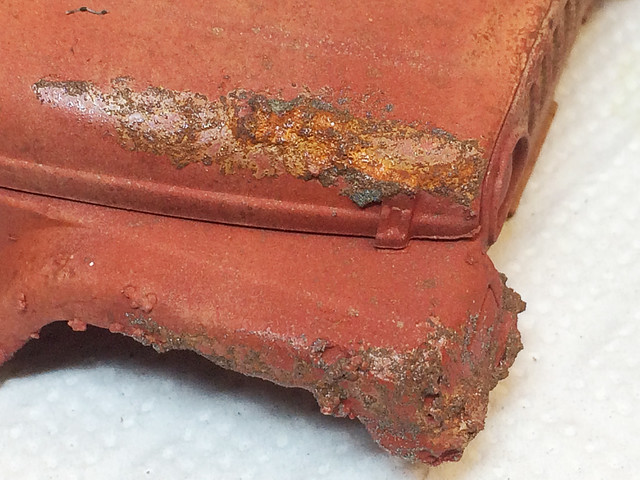
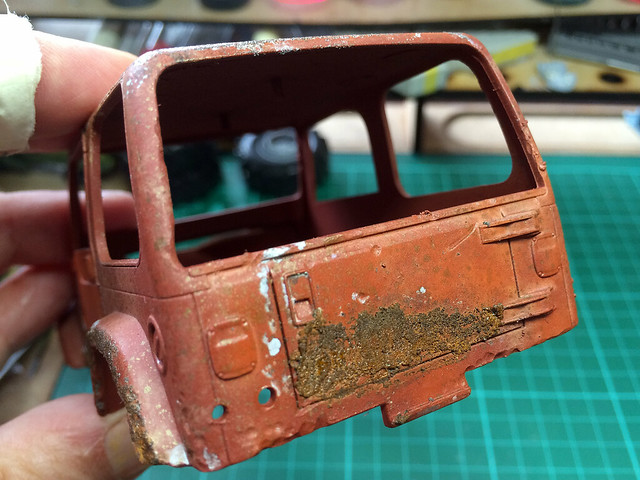
It created a crusty texture effect - perhaps too textured, but I can shave off some of the excess 'clumps' to make it smoother if I want. But in any case, I decided to try again but this time go for a really think application just to see what this would do...
OK, a little OTT for a scale model but this is an experiment after all. Again, I figured I could sand back the amount of texture - but let's see how that looked after the 'developer' chemical was added (and a 8 hour wait)...
Well, rusty yes, but far too thick and too much texture...I'm beginning to have my doubts about this technique (so far I feel I could have achieved the same effect using - cheaper - oxide powders). Still, I am curious to see what this 'rust' looks like after the top coat paint has been airbrushed on.
Salt Chipping Technique
Anyway, while not happy with the DM rust effect I continue to experiment with other rust effect techniques. I will be trying this effect out on the roof of my test vehicle and in preparation I have already masked that area off and applied a light gloss varnish coat to give the base colours a bit of protection (just in case)...
(Note: What you don't see here is that I have re-sprayed and re-painted this roof three times over the last week. It's been a bit of a Goldilocks approach as I have tried bright orange rust effects and medium brown rust effects, but finally I settled on a dark brown rust base effect.)
Getting a good 'mottled' paint effect: In part 1 of this experiment I tried using a airbrushing paint through a light dressmaking fabric gauze, which sort of worked but was a bit messy. Since then I have looked at several different materials which might be better suited to this purpose and I came across a synthetic filter material that seems to be ideal.
 |
| 'Aqua safe' filter foam sheets. |
Ok, this is turning into a bit of a marathon, so onwards...
After the base colour I sprayed the roof with a light matt varnish coat. I like to apply a varnish layer between different paint effects as it give what I have done some level of protection in case I make a mess of the next effect I put on top. I felt this was particularly important because I was worried about what salt and water might do to my paintwork.
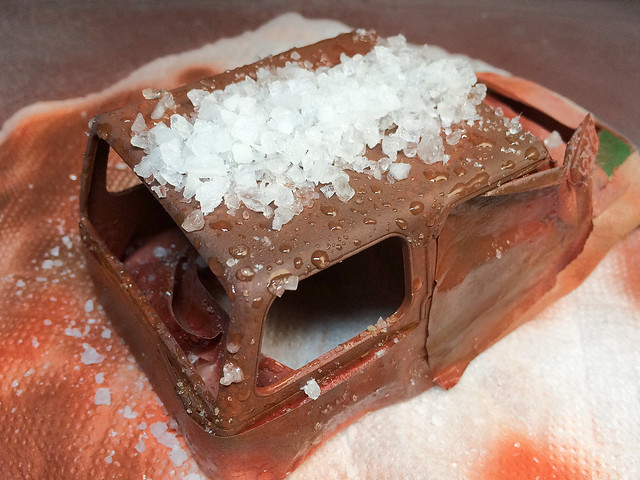
The salt is sprinkled onto the model, having sprayed the area which it will be applied with a misting of water. I used rock salt, but also ground down some to make smaller grains...
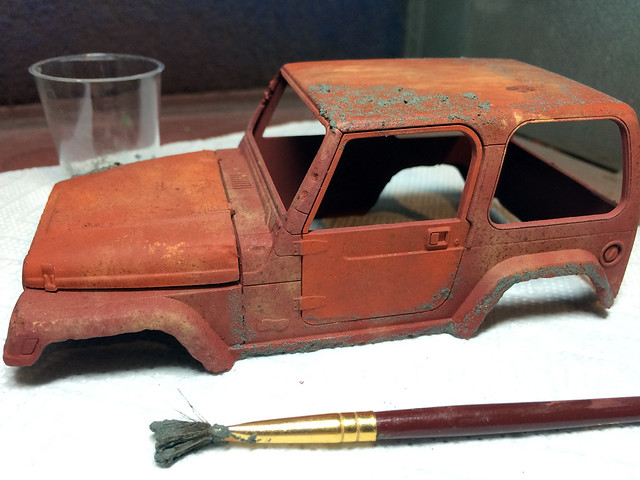
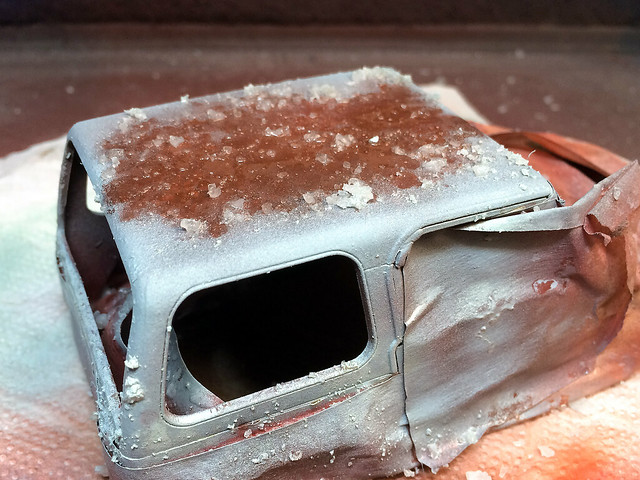
The water sticks the salt granules to the surface of the model temporarily. I found that when I moved on to the next stage - air brushing on my chosen top-coat colour (pale blue) - that the airbrush did blow off some of the salt grains, but I simple threw some salt back on and continued spraying. Once done I started to brush off the salt...
But you will find that you are better taking a fairly stiff toothbrush at the salted surface to get ride of all the salt grains. Some are quite stubborn due to being held in place by the airbrushed layer. After a good brushing this is what you end up with...
Phew! Finally got a rust effect that I'm happy with (I think)!
At this point I was going to also try the hairspray technique but in all honesty I'm losing the will to live after all that...So I'll leave that till next time!



You sure are experimenting a lot. Sofar the results look quite nice though :)
ReplyDeleteMany thanks! ...I'm working on a lot of new things with this project, so I am taking my time and trying hard to get it right (i.e. how I imagines it might look). I want to know exactly what I am doing before a put a spot of paint on the actual model! :)
Delete