Showing posts with label finished. Show all posts

Sunday, 14 May 2017

15mm Scale Shermans - Part 3

Weathering Effects...
Right, onto the creative part. Having laid down my base colours I turn to applying weathering effects, like staining, dirt and wear.

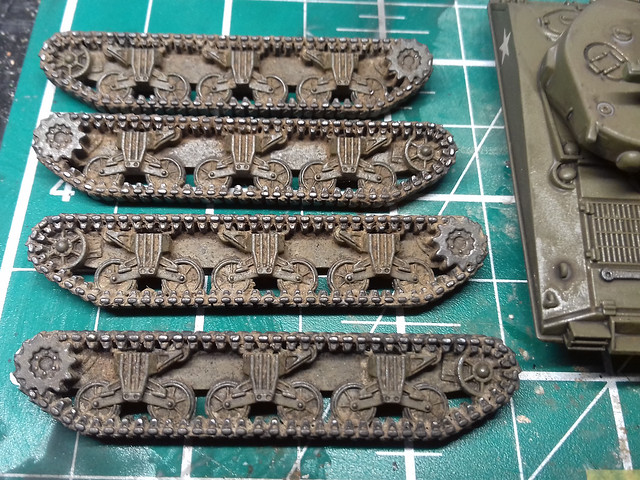
And here I came across another example of how effects that worked well for me in 1/72 scale didn't quite work out for me in 1/100 scale. I began with the tracks and set to work with my tried and tested powder pigment 'mud' mixture, but what would have been a light coat of mud on the larger scale turned out to be a thick clart (a Scottish word for a gooey mess) of mud on 1/100 tracks...
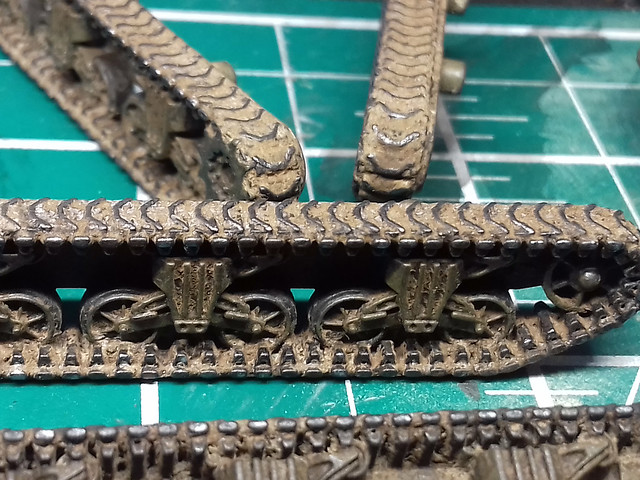

These are far muddier than I wanted but are - I suppose - realistic if the tanks had been driving through ploughed fields. It wasn't the effect I was actually after but will do, I'm happy to leave it and just modify my application for the smaller scale on future models. I suppose nobody will know that I didn't mean them to be this muddy if I don't tell them!

Staining the Sherman Hulls & Turrets
Finding that my usual 1/72 scale painting techniques were, perhaps, a little heavy handed for the smaller scale I decided to try something different for my usual 'staining' stage.

My staining and bleaching method is normally based on using oil paint which I dab on in spots then smear into streaks using thinners. I decided that this might be a little too invasive and harder to rectify if I didn't like the end result, so I looked for a 'softer' approach. I looked through my paint effects box and picked out the 'eyeshadow' set!


I've used these on a smaller scale on my previous models, as a secondary powder effect, but in this case, I will be trying them out as the primary weathering medium. These, in combination with Citadel's washes - which I am using more and more - gave me a rather more controllable (powders can be easy removed) staining technique for smaller models...
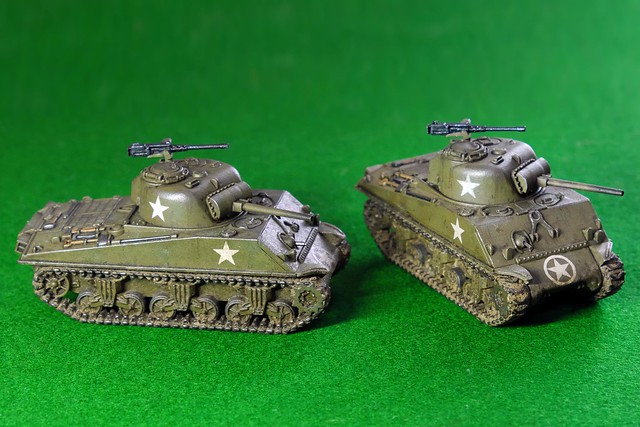

I was going for a dirty and oily, war-weary Sherman and I think I achieved this. I was quite please how well the eyeshadow effects went, so I will probably try this out on my 1/72 models now.

Conclusion
I'm really enjoying these little 1/100 tank models. The detail will probably not satisfy the most pedantic modeller, but I find the simplification takes a lot of the pressure off and I can simply relax and enjoy the painting.

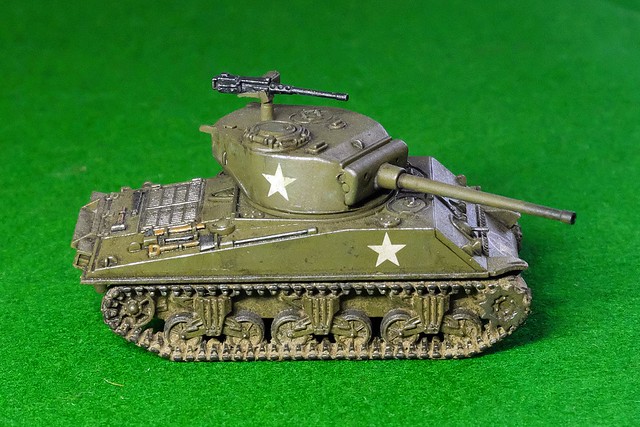
An additional benefit of these particular models is that they come with the option to swap out the turrets so I can have a 76mm gunned Sherman to 'play with' as well...

It'll be nice to get these on the gaming table as - as many wargamers point out - units always perform better when they are painted! :)
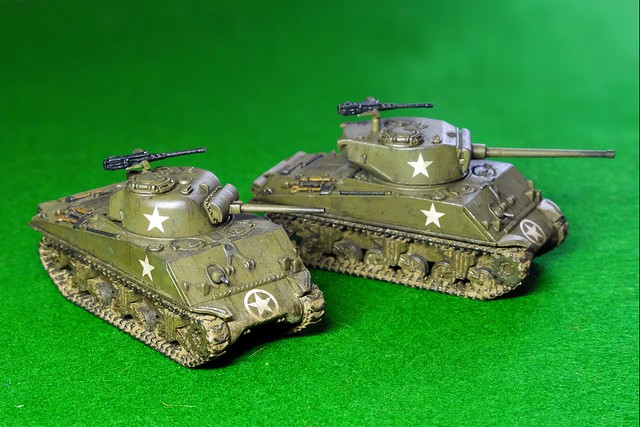
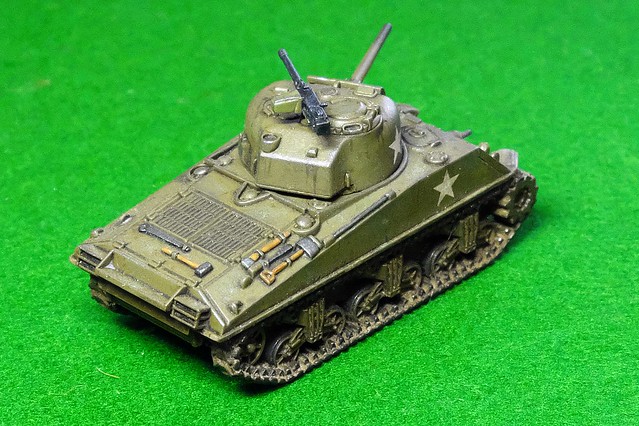
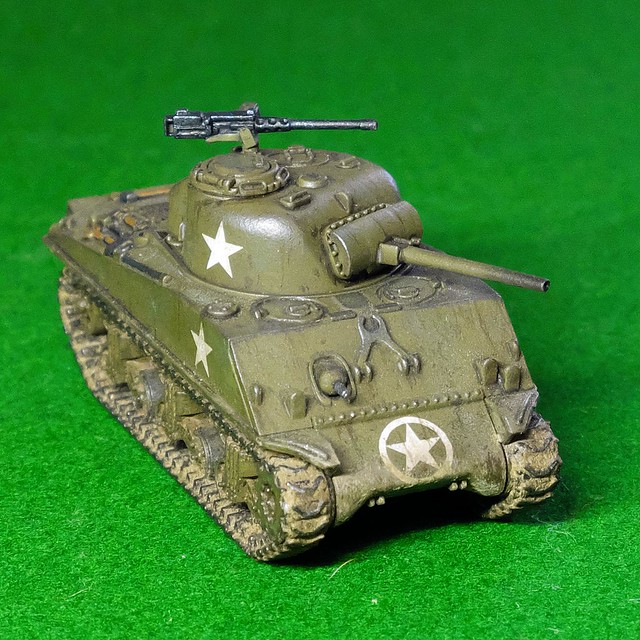

I'll be building up a few small 'armies' of tanks for the GF9 Tanks game, but my next priority to to get the 'bad guys' - the starter set Panther/Jagdpanther - painted!

Friday, 12 May 2017

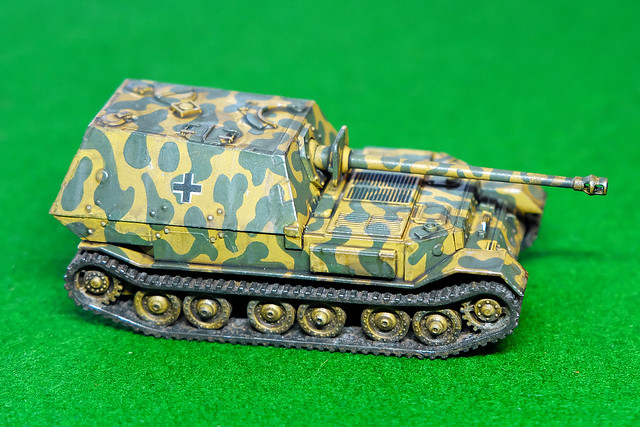
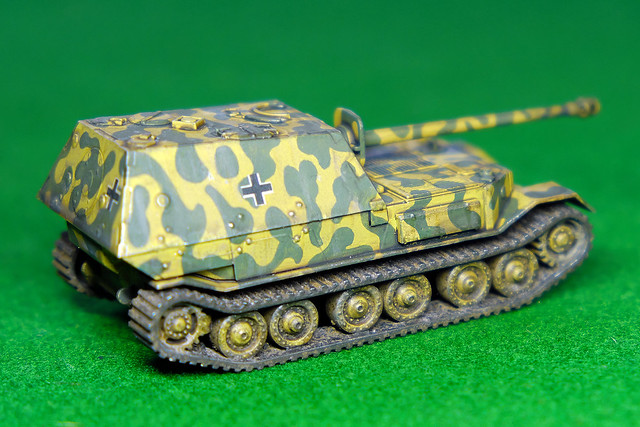
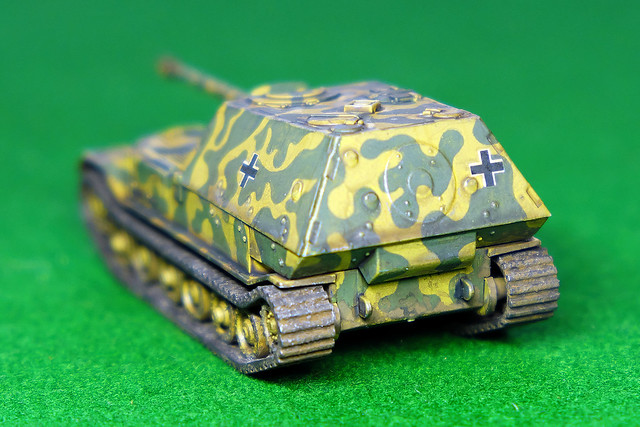
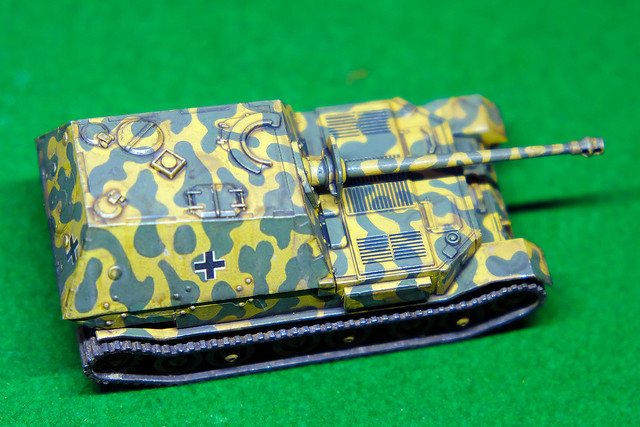
Zvezda 1/100 'Elefant' - Completion

Blimey! I finished a model. :)


Final thoughts...
These diminutive 1/100 scale tanks seem to off-set my painfully slow productivity. (Maybe I should try a 1/600 and see if I can finish something in a reasonable amount of time!) ;)

Anyway, there are quite a few things I am not quite happy with, although this has to do with my standard of painting rather than the model itself.

I actually understand why some modellers think that changing scales means modifying your technique. There were several times I tried to use my normal 1/72 painting effects on this smaller model only to find that they just didn't look right or just plain didn't work.

So, it's a learning process (again) and I will tweak my techniques for this smaller scale as I go along.

As to the Zvezda kit itself, I suppose the biggest disappointment is the overly simplified track tread. They seem to be taking a leaf out of Armafast's design manual and have just given you some slatted treads. A bit disappointing as Battlefront has proved that detailed track patterns can be done at this scale.

Not much else to say really. 1/100 scale models are *FUN* and I found it relaxing not to have to worry about the minutiae and just get on with the model (and have some fun with an attractive camo pattern). I shall certainly be doing more in this scale over the next few months.

Wednesday, 22 March 2017

MW 1/72 GAZ AA Truck - Part 4

Making a Canvas Tarpaulin
As mentioned in the previous post, I am going to make my actual canvas material using tissue soaked in PVA. However, to give this material a shape which looks like canvas draped over a frame - with all it's natural folds and wrinkles - I will be adding some texture to my 'frame' so that the wet tissue conforms to a tilt cover texture and shape.

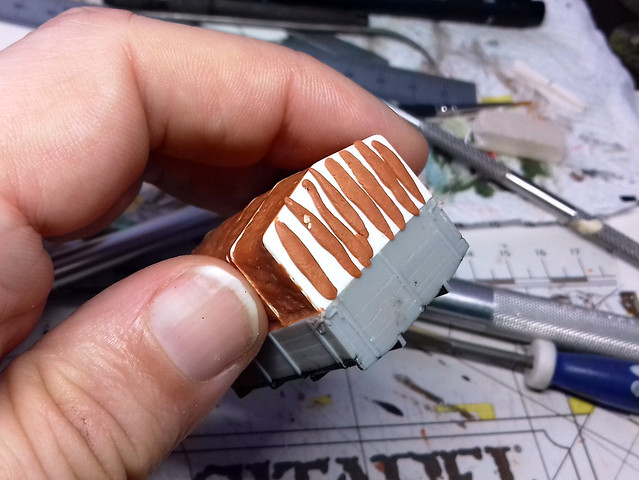
Here, I begin to add some underlaying 'fold' shapes to my framework using pieces of Milliput...


I then form these putty worms into - hopefully - waves...


Let's get sticky!
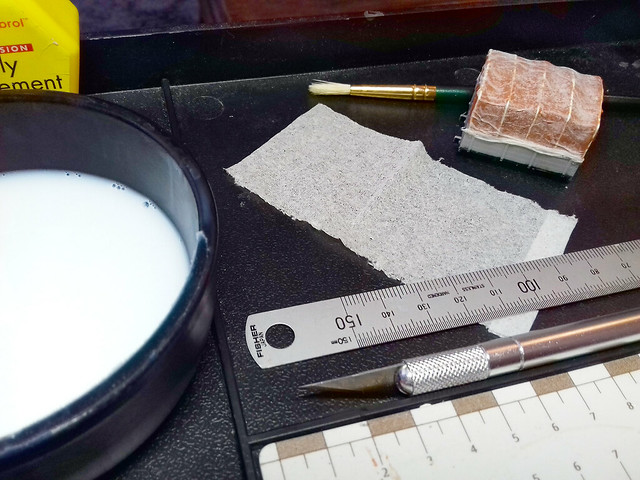
Never having done this before, I am playing this by ear! The premise is simple, soak some tissue paper - in this case a piece of Kleenex tissue - in watered down PVA glue and then wrap it over the frame I have made...Let the fun begin!


My first attempt was to dunk the tissue into the pot of glue and then try to lay it over my frame...WRONG! This was a complete disaster, as the soaked tissue started was a nightmare to handle and ended up becoming a soggy ball of mush...

So, second attempt, I laid a pre cut rectangle of tissue onto my frame and then dabbed on some of my PVA mix with a brush...Better. BUT, wet tissue stretches and I ended up with a larger 'canvas' than I needed AND wet tissue is a pig to trim, no matter how sharp your craft knife is...

Third attempt: So, what you do is carefully measure and cut your tissue to roughly the size and shape you want, taking into consideration the additional couple of millimetres that the material will stretch, then lay it on your frame, then apply the diluted PVA.

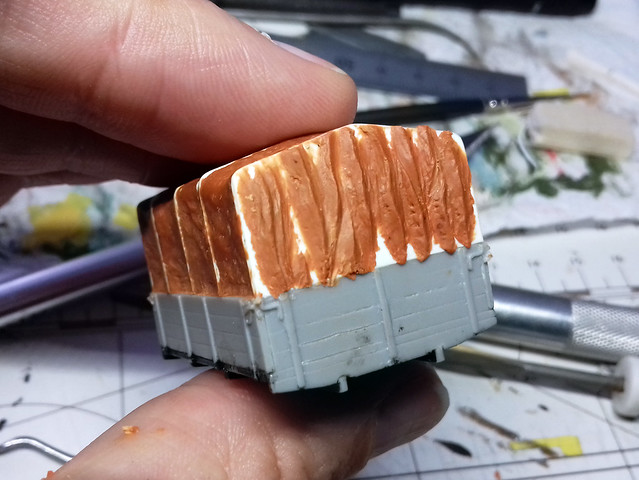
You can move the wet tissue around a bit to create little folds and wrinkles, and when you are happy with how it looks leave it to dry...


The wet tissue clings to the textured frame and so you benefit from any shapes you made with your Milliput. The tissue dries fairly solid so you don't have to worry about damaging it when handelling.

You can maybe just make out that you also get a nice texture from the paper itself, further adding to the look of canvas...Though, obviously, this will all look better when painted.

Getting the hang of it now...
By the time I applied the top and front canvas pieces and got to the rear 'flap' I began to get a feel for working with this stuff...


The trick is to wet the frame a little and then lay your tissue piece in place (the little wetness holds the tissue in place but you can still move it around to position it correctly). Then, when you are happy with the position you can then brush on extra diluted PVA over the tissue and start wrinkling it up a bit with the tip of your brush.

I suppose it's a bit like mini-wallpapering, but you are trying NOT to be neat! (Which is handy as I am rubbish at wallpapering.)

Another 'trick' I discovered is that you can add further pieces of tissue on top of tissue you have already laid if you want extra folds. This is how I made the rear flap.

Next: Well, I'll leave this to dry thoroughly now, then I'll prime it. Be interesting to see how 'realistic' the folds look with a bit of paint on them!

Wednesday, 17 August 2016

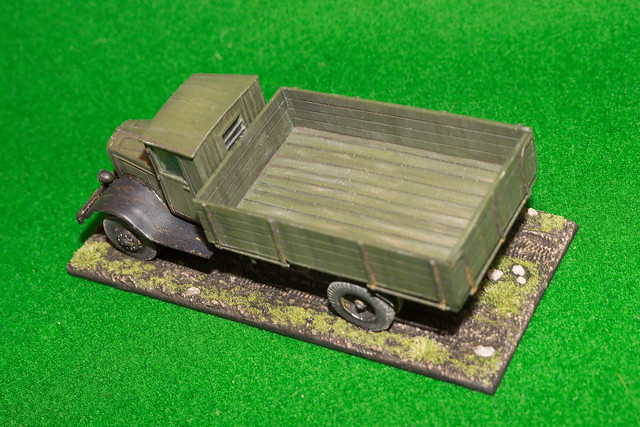
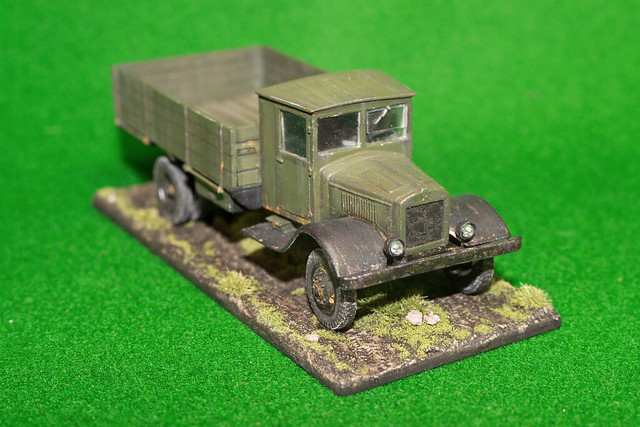
Zebrano's YAG 6 Completion photos

I mentioned my YAG 6 model in yesterday's post and while looking back on my posts on this horrible model I realised that I never did a 'completion post' for it! Now, I suspect this was because it was such a traumatic build and because I was just so pleased to finish it that I subconsciously blocked out any idea of showcasing the final model!

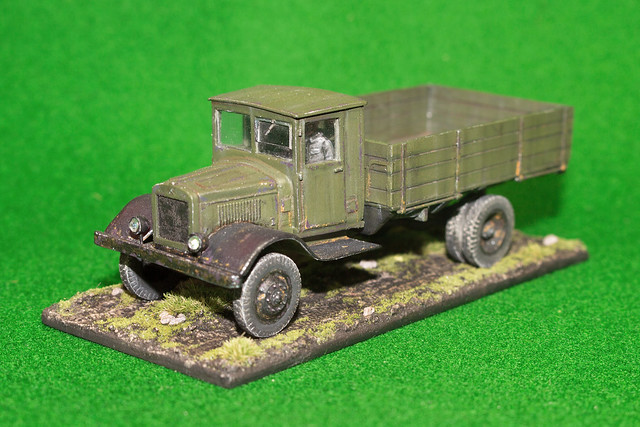
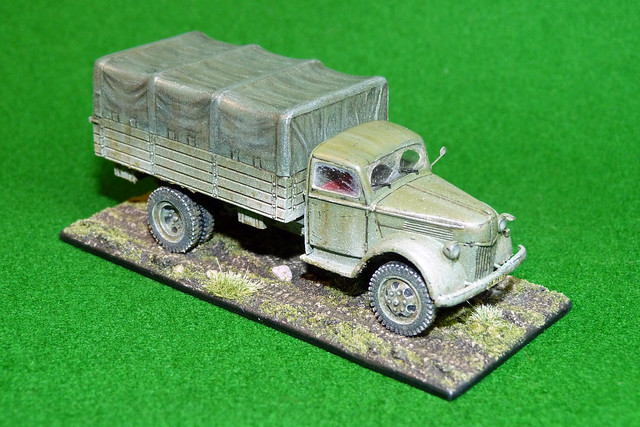
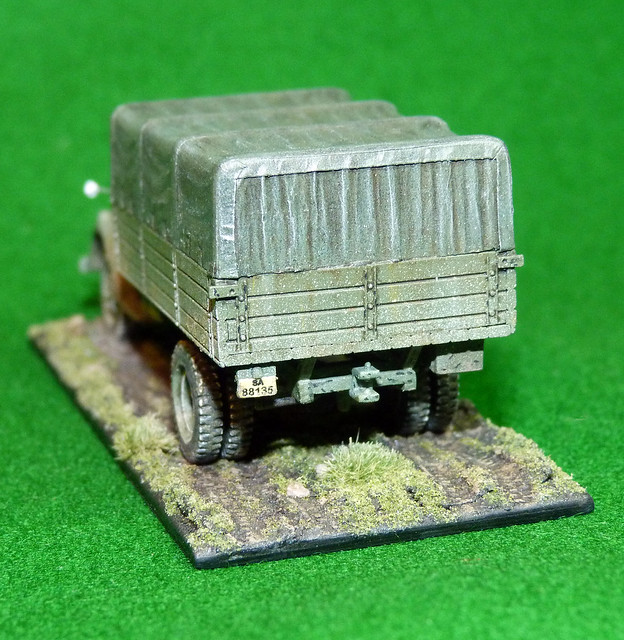
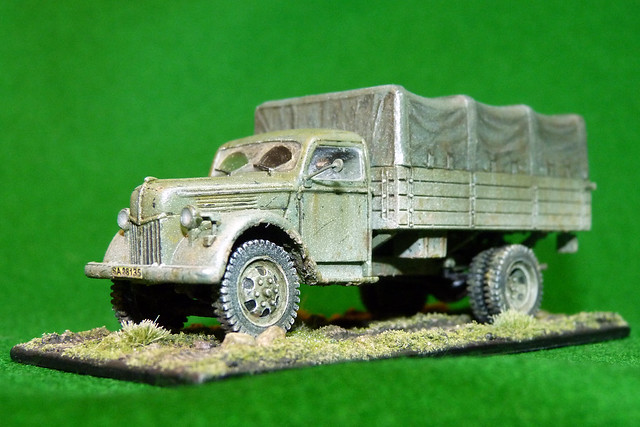
So, to rectify this, here is the finished Zebrano YAG 6 Soviet Heavy Truck (Finnish Army, 1943)...


So, there you go. The completion shots for what was undoubtedly the most horrendous kit build I have made so far! (I still shudder just thinking about it.)

If you really want to know just what was so bad about this Zebrano model - and why I will never buy another - you can look back over the build journal by following this link (posts in reverse order, last first): Zebrano 1/72 resin YAG-6 Soviet Heavy Truck.

And now, let's never talk of this model ever again!

Wednesday, 3 August 2016

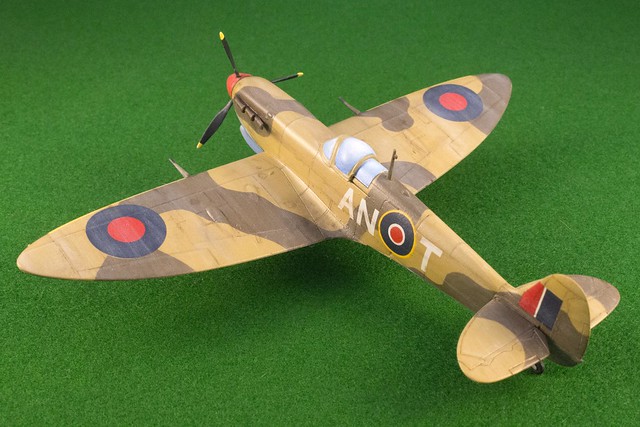
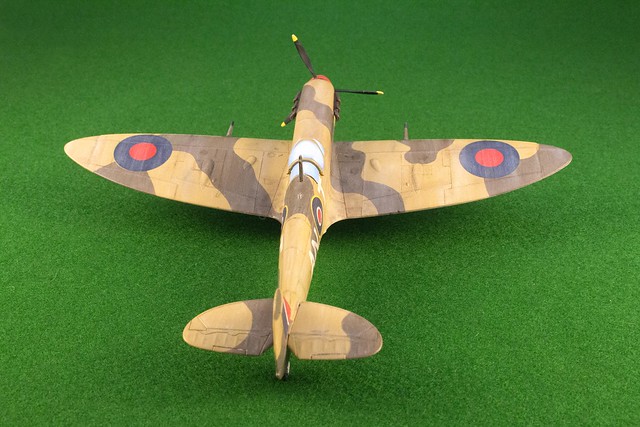
Hobby Boss 1/72 Spitfire Vb (Trop) complete.

Finally got round to taking the completion photos of my Hobby Boss desert Spit. Despite this just being a 'painting test' it turned out OK and so is worth a look...

Probably the most flattering shot as it makes the horrible canopy look 'OK'!
Classic Spitfire 'take off' shot.

The least flattering angle, as you can see the flaw with the canopy. I took
the opportunity to drill out the wing MGs, which look quite nice.
Conclusion
As I said, this was just a painting test - a practise paint job on a cheap kit before I took on a 'serious' project - but, for all that, it's turned out OK I think. I was particularly pleased with my 'eyeshadow' weathering.

As to the kit itself, it's actually an alright beginner's 'easy build', the most obvious flaw being the over-seized canopy (which is why I painted it 'wargame model style'). Minor niggles were the over-simplified undercarriage - which were designed only to be made in the 'down' position - and the very spindly propellors.

Still, as I bout this kit for just £2.95 I can't really complain all that much can I?

Wednesday, 25 May 2016

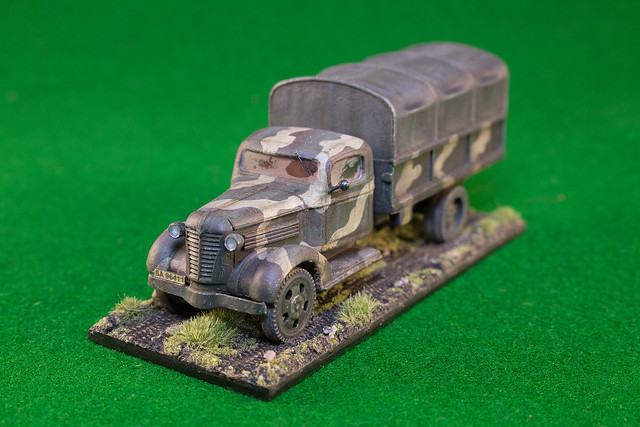
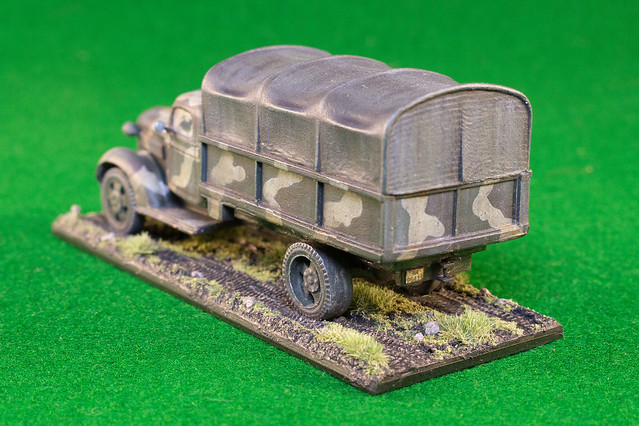
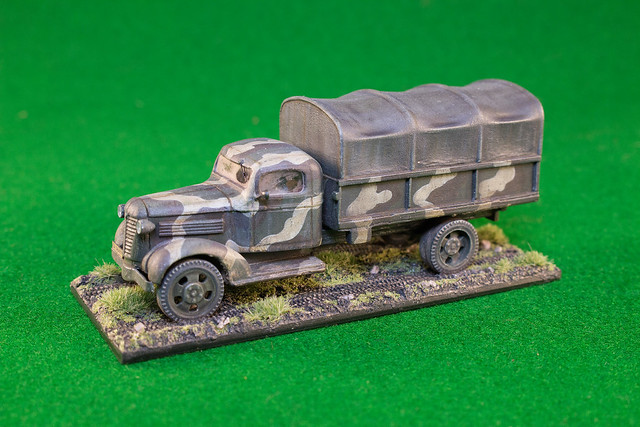
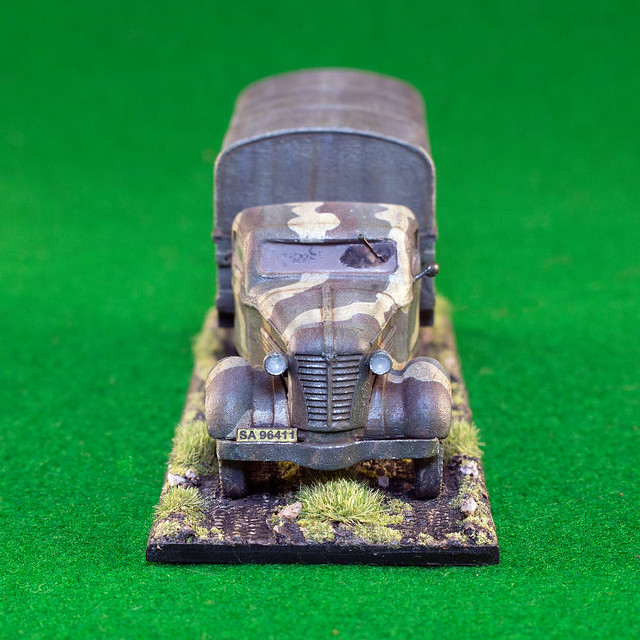
Minairons 1937 Chevrolet 1.5ton truck - Finished

Phew! Well, this has been a  bit of a marathon (even for me)! I can't believe that such a simple model as Minairon's 1937 Chevrolet has taken me so long to complete - though, to be fair, I've had a lot of 'real life' distractions this year.

Anyway, my Finnish 37 Chevy truck is done...


I'm quite pleased with some of the weathering tricks that I've learned with this one - the use of eyeshadows was a particularly interesting addition to my skill set!

Onwards and upwards!

Postscript: I nearly forgot to mention. This is the first use of my 'new' photography lamps - I'm rather chuffed with the end product!

Tuesday, 9 February 2016

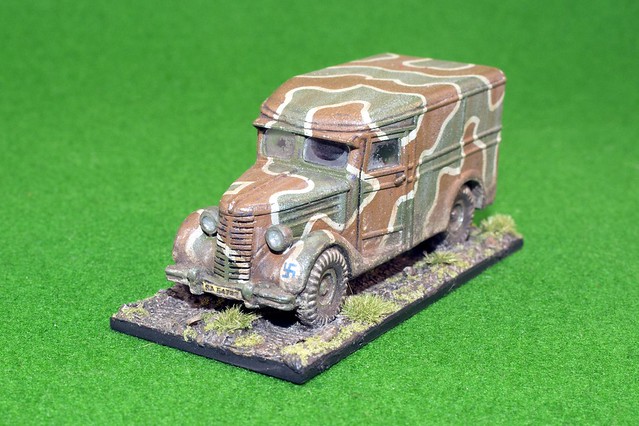
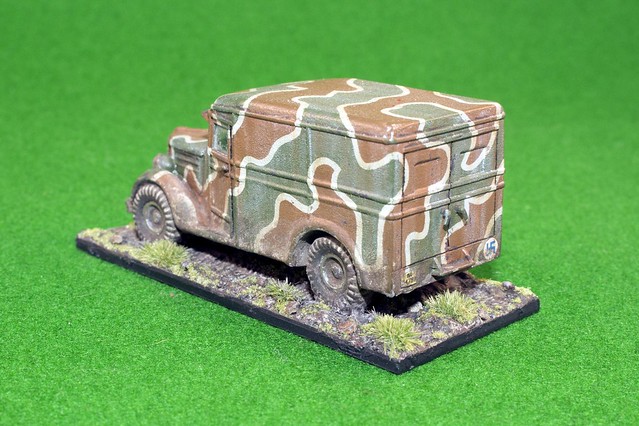
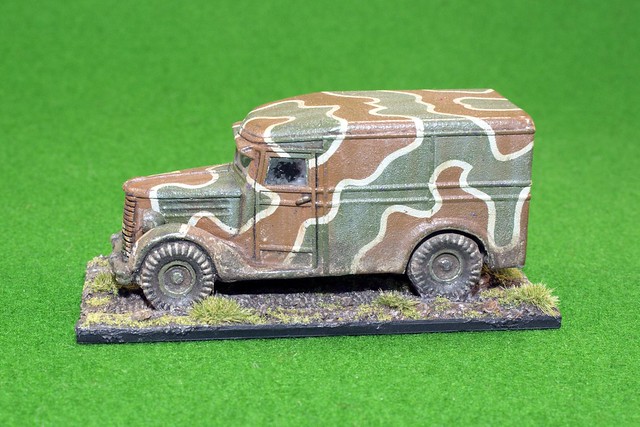
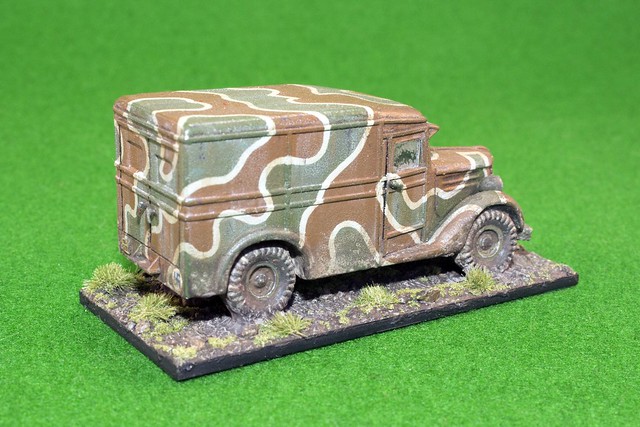
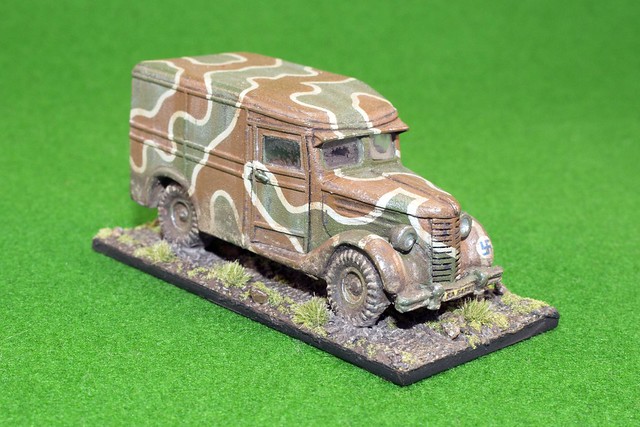
1939 Chevrolet Radio Wagon completed

At last! I have completed something. To my great relief, I finally decided that this model was finished. It seems as if, sometimes, it's quite hard to know when a model is actually finished and I could have tinkered with this one for a while longer...But, I decided enough was enough.


Despite this being something of a ham-fisted conversion, I am rather fond of it. The weathering is rather heavy-handed too, but I figured that by 1944 a pre-war vehicle would have been showing definite signs of wear and tear.

Thursday, 2 July 2015

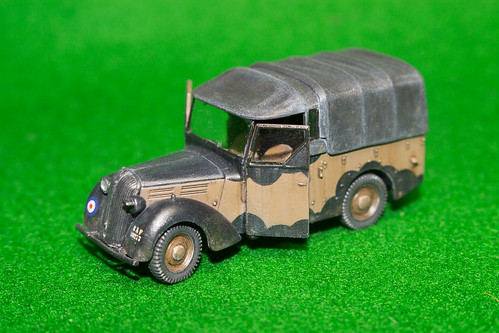
Airfix 1/72 Standard 'Tilly' - Complete!


Phew! Finally, I managed to finish a kit. But - for once - I haven't any complaints about this build whatsoever. It's been an absolute pleasure, if all kits were of this quality I would have three times as many kits built as I have.

All credit to Airfix, it's a beautifully designed little model - everything fits exactly as one would expect. So, without further ado, here's the final slideshow of the construction...


And in case you missed them, here are parts one and two...

Part 1


Part 2

Saturday, 14 February 2015

Revell 1/144 P-47 Republic Thunderbolt - Debrief


Finished! That was a LOT of time to do a little 1/144 scale 'easy build' kit. But experimental diversions aside what was the Revell Micro-Wings P-47 like to make?
I think the first thing to mention is this range of 1/144 Revell kits dates back to the 1970s and are re-issues of these venerable models. So, as you night expect, fit and quality aren't exactly up to today's expectations. To put it politely, component fit is somewhat vague.

Now, this might normally be something of an issue were it not for the fact that even at full price these little kits cost only £2.95 each. So, really, you have to give them some leeway in terms of value for money...These are not Eduard or Eastern Express 1/144 models - but neither is the price.

These little kits are ideal for beginners or even more experienced modellers who want to try out new techniques without ruining a full-sized and full-priced model. You just have to be aware that some amount of filling and sanding will be required if you want to complete these models with any degree of real satisfaction.


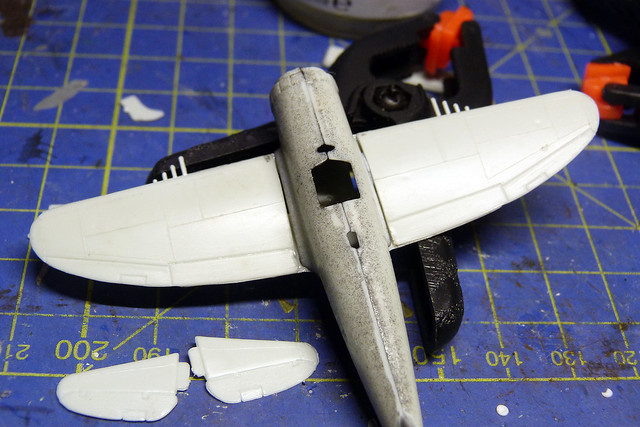
There are quite a few gaps in seams and an amount of flash to have to clean up. This is a little annoying as part of the whole premise behind these models is ease and quickness of completion. Even the most undemanding beginner will find some of the ill-fitting parts annoying.

Another frustrating aspect of these kits is that they seem to be designed *only* to be made with the landing gear down. This fits in with the lack of a pilot figure, as if the plane is meant to be parked on a runway and yet Revell supplies a 'in-flight' stand with the kit!
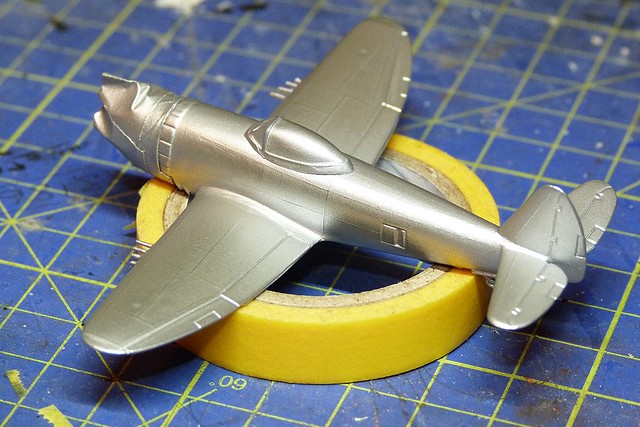
If - like me - you want to make the plane as an 'in flight' model you will have to modify the undercarriage arrangement and think about what you will do with the canopy...


With no cockpit detail of pilot your choice of modelling these planes in flying mode means they would look a little strange - I mean, who's flying the darn thing?

Anyway, this conundrum aside for a moment - let's talk about accuracy...

Even though - at just 1/144 scale - I suppose 'something has to go' by way of detail and bearing in mind these are not premium priced precision scale models you can't moan too much at some inaccuracies. Overall what you get is a small representation of a historic aeroplane that resembles the original sufficiently to satisfy the complete beginner. As these are the intended consumers for this range then I guess you could say 'job done' Revell.

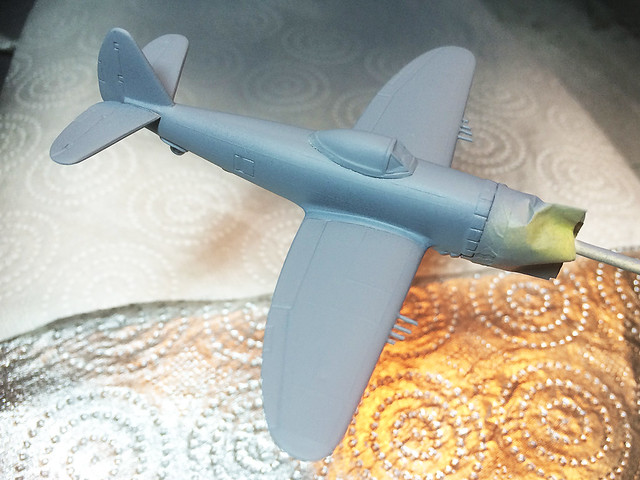
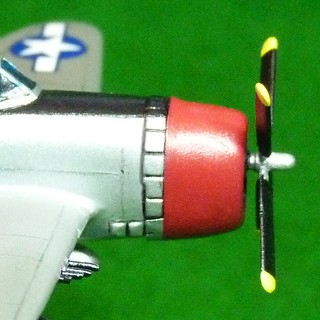
Left: Perhaps the biggest fault in the Revell model is the poor shape of the engine cowl.

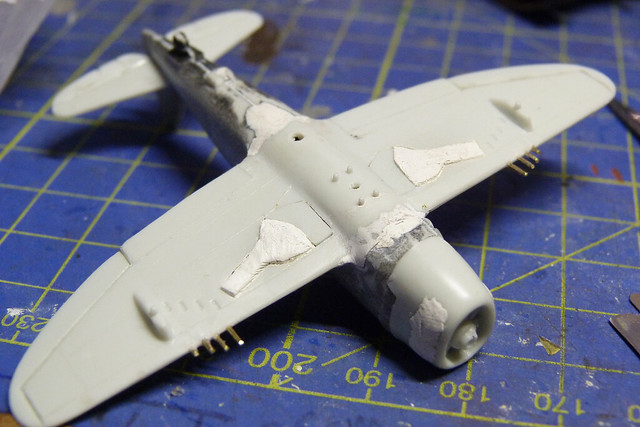
From my point of view the three issues I would highlight are the mis-shaped engine cowl, the abysmal propeller and - least serious - the raised panel lines. In particular, as the P-47's 'nose' is one of it's notable features the fact that the shape is incorrect was a disappointment - it's just slightly out, but it niggled me.


Having filled, sanded, modified and corrected the P-47 actually didn't look too bad once the base primer was applied. In the end I decided to paint the canopy, thus disguising the lack of a pilot!

Which brings up to the paint scheme...

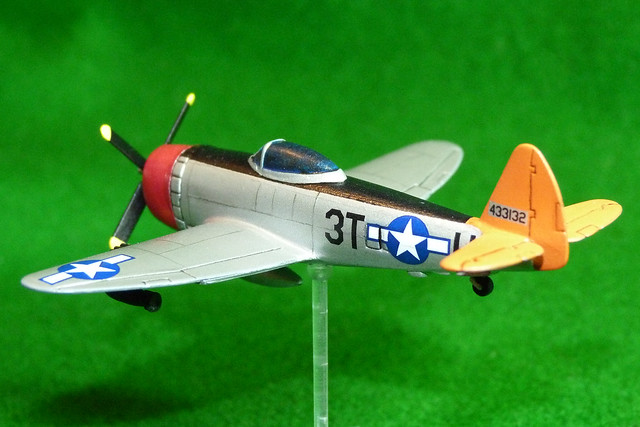
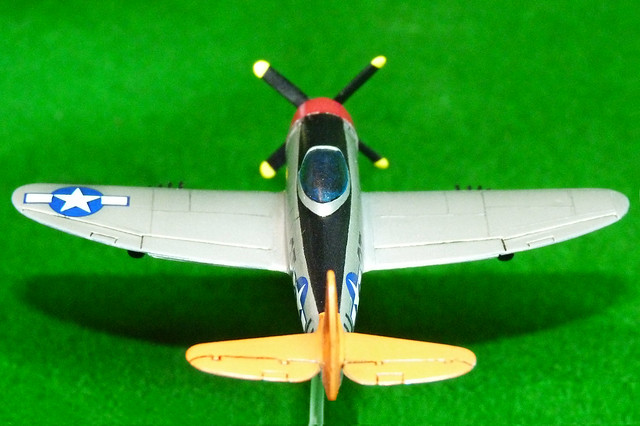
Revell just supplies a single colour/decal scheme for this Thunderbolt - it's pretty enough, though, and simple for the beginner to handle. Best of all the decals are of good quality and are printed well, in particular I was very please with how opaque the white areas were in the decals.


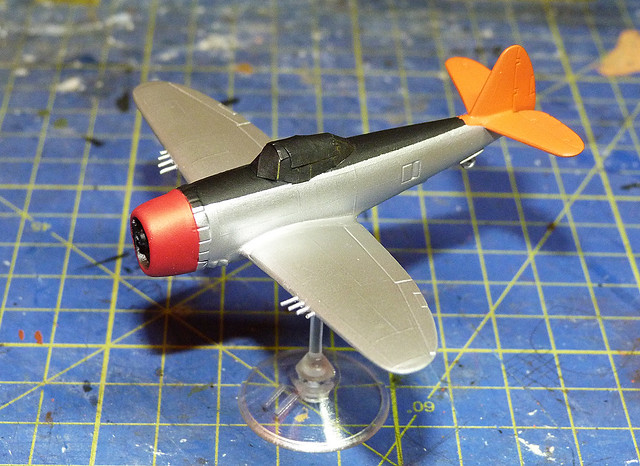
I laid down a coat of Humbrol's Aluminium Metalcote spray, this went on OK though - as an aerosol can paint - was quite textured and not as highly reflective as some of the specialist modelling metallic effects, like Alclad. But - again - for a beginner this is perhaps the easiest and cheapest way to get a bare metal finish on your kit.


As I said, the colour scheme is nice and simple for the beginner, large colour blocks that are easily masked for spraying or brush painting. Once these are done a gloss varnish will make the application of the decals easy.

And that, as they say, is about that. Easy really - an uncomplicated project (which I managed to make complicated - but that's me) and in the end a satisfactorily attractive end product.

(I didn't really bother with weathering - I just highlighted some of the panel lines by accentuating them with a graphite pencil. I also pin-washed the flaps and elevators. That's all.) 

I find myself actually inclined to recommend these Revell kits. They are fun and useful models, both for the beginner and more experience modeller, as they have something to offer either level of model-maker. Simplicity for beginner and a cheap and handy testbed for the more ambitious or meticulous modeller.