Showing posts with label German. Show all posts

Friday, 29 May 2020

The Mystery of the 'Bermuda Rectangle'!

As you know, I am just returning to the hobby of scale model making and tabletop war-gaming after a gap of two or three years. One of my main occupations at the moment, though, is cleaning up my junk-filled 'man cave' attic space so I can start making models again, but it's been a big job...

Errr, well my attic isn't quite this bad, it just seems like it sometimes! :)

I'll say this again - it's unbelievable the amount of junk that can build up in a household over just a couple of years. My attic became a store-room for box after box of crap, Christmas decorations (I think we could decorate three or four houses with the amount of crimble lights we have - not to mention the TREE Christmas trees of varying sizes) and the wife's shoe and out-of-season clothing collection.

Anyway (rant over)... Maybe. 😁

The point of this post is to highlight just one of the problems I am having with a hobby that was temporarily abandoned and that is - my forgetting just what stuff I had bought!

Example: In yesterday's post I mentioned how I would love to buy a couple of PSC 1/100 Panzer IV Ausf H tank models for my Kursk project. Well, while trawling back through my old Milgeek blog posts looking for a particular link I wanted I found the following post dated May 1st 2017...


Apparently, I had already bought a Battlefront Panzer IV H model!! BUT the irony is, it's disappeared under all the piles of rubbish I still have to clear away. Awwwww, bum-fluff!

Still, IF I can find the models it will have saved me buying new ones. Pretty handy as my finances are tighter than they were three years ago.

The sprues of my GF9 produced Panzer IV Ausf. H.... Wherever it is!

So, there you go - my attic is a either a portal to another dimension - in which case I hope the great ancient beings on the other side enjoy 1/100 model making - OR lurking underneath the remaining detritus I have the biggest 'carpet monster' ever!

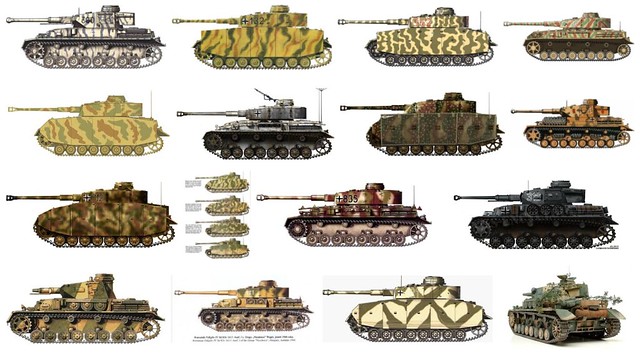
...Oh, bit of a related postscript. Having discovered I had bought this model I checked through my Flickr photo gallery and actually found some pics I had taken of the kit (see sprues above) AND I had already started researching paint schemes for this model and save a nice graphic which will come on handy...

I like the two-tone 'splinter' camo - bottom row, third along!

Thursday, 25 January 2018

Stash Update - More Bad Guys!

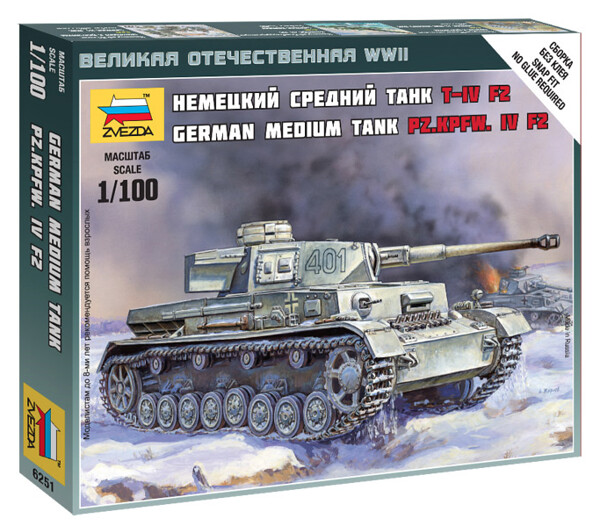
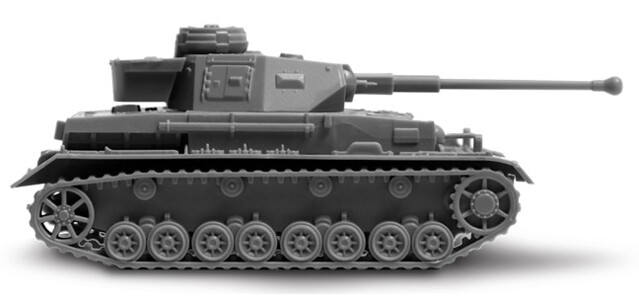
Continuing on with my 1/100 'Battle of Kursk' project for my forthcoming GF9 'TANKS!' game, I have added more 'bad guys' to the collection. These are the German's canon fodder for the battle, the venerable Panzer IV F2 - in this case, in model form by Zvezda...


Now, that may sound disparaging, but that's only because the main focus of anyone's attention when talking about the Battle of Kursk is always inevitably the 'new' German big cats - the Tiger and the Panther. It seems that the poor old Panzer IV gets a wee bit overlooked, and yet it was still the backbone of panzer formations at the time and was still a pretty good tank.


In fact, due to the Soviet's muddling about with the - by then - obviously outmoded 'KV' heavy tank line the Pzr. IV could still hold it's own with practically anything the Red Army could throw at it. It had no problem dealing with either of the Soviet's two main battle tanks, the sluggish KV-1S or even it's nippier little cousin, the T-34/76. [In fact, I have heard many people say that had the Germans churned out more Pzr. IVs instead of relying on the new heavy tank 'super cats' - which turned out to have a lot of technical and reliability problems - the outcome of the battle *might* have been different. But that's an easy thing to say and I'm sure it's not that simple.]


But, hypothetical meanderings aside, a German panzer force of 1943 still requires a base of Panzer IVs in it's mix, so I bought two. Once again, I have gone with the budget option and plumped for Zvezda kits. At £3.50 each they fit the bill as 'canon fodder' for my game and I can easily get the GF9 TANKS!' data cards offline.

The Zvezda model is specifically the F2 variant of the tank, which was really seeing it's last hurrah at the the Battle of Kursk (the 'G' variant beginning to come into prominence). But despite this, with it's KwK 40 L/43 75mm gun, the F2 was still superior to the KV-1 and T-34 in terms of ballistics.

As with Zvezda's T-34s - which I am just working on - both PSC and Battlefront do offer more options and the ability to model more variants of the tank with their Pzr. IV kits. But I just don't need this flexibility, so the cost savings was of the greatest importance to me.

Here's a rather nice YouTube review of the Zvezda Pzr. IV F2 by Modeldads...

Thursday, 6 July 2017

Zvezda 1/100 Tiger I - Finished

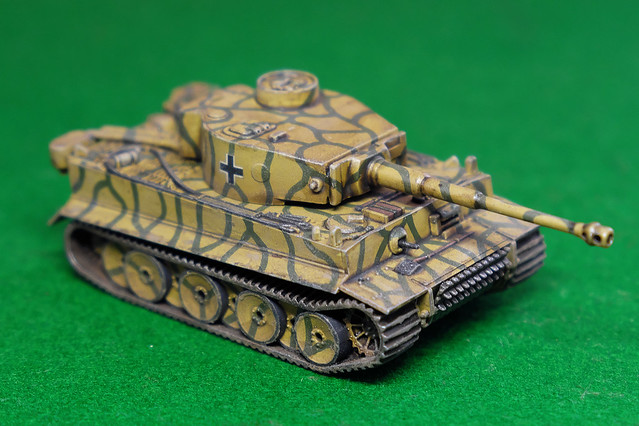
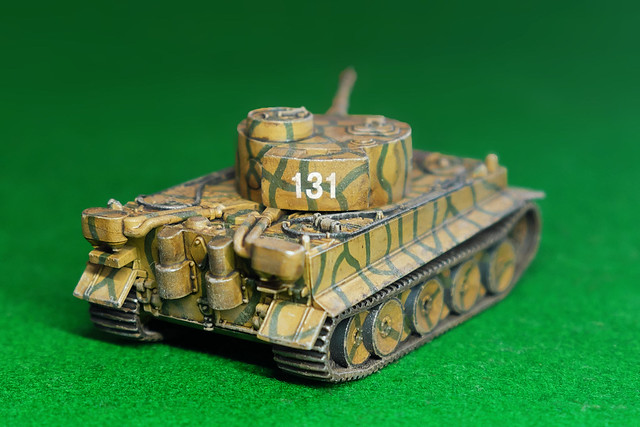
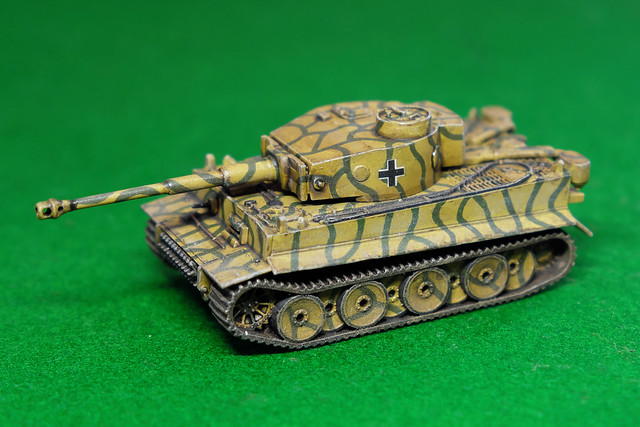
Finally managed to get my Kursk Tiger I finished off. Phew, I made a meal out of this one (I blame the wife giving me loads of jobs around the house)!


I'm reasonably pleased with it, but Zvezda's simplified tracks niggle me. Still, that's half my German force done for my TANKS! Kursk scenario, I just need to make a couple of Panzer IVs for cannon fodder! :)

Thursday, 8 June 2017

Zvezda 1/100 Tiger I - Part 2


Before I got down to priming the model I decided to have a go at drilling out the model's muzzle break as that feature (or rather lack of feature) is the one major gripe I have with this kit. The tracks are a bit oversimplified as well, but I can live with them as this is pretty standard for Zvezda.

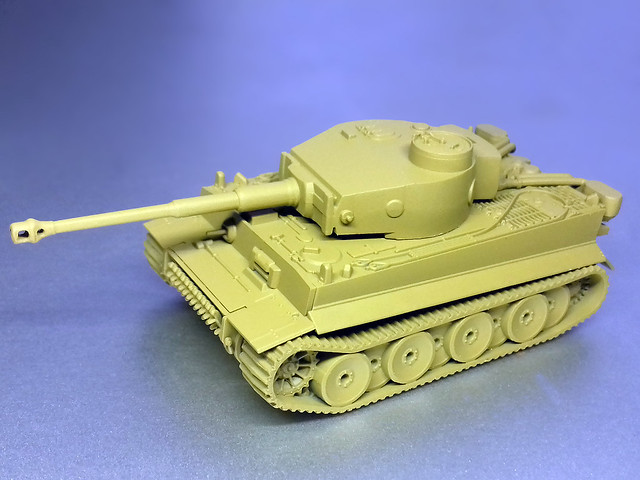
Anyway, muzzle improvement done, I primed the Tiger with Flames of War's 'Panther Yellow'...


I was really pleased with how this primer goes on, for a rattle can it lays down quite a thin and smooth coat. That said, i'll be glad when I have an airbrush again as it's a lot more cost effective than the Flames of War spray can at £7.50 a pop.

Tiger Stripes?
OK, now what camo scheme? Since this Tiger is intended for my planned 'Battle of Kursk' GF9 TANKS game, it won't be one of the more familiar post-D-Day 3-colour patterns (or popular 'Ambush' pattern). I want a pattern that's specifically not D-Day-ish.

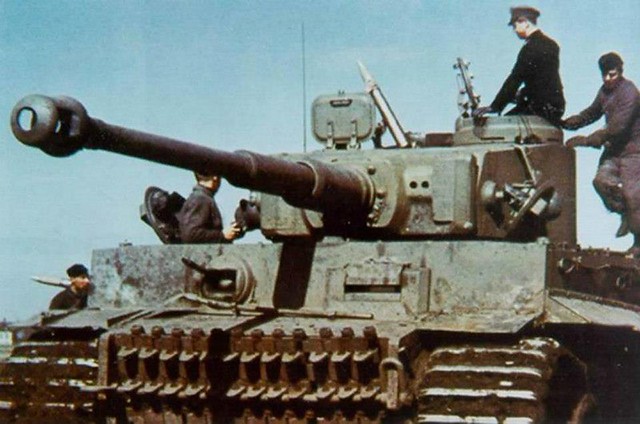
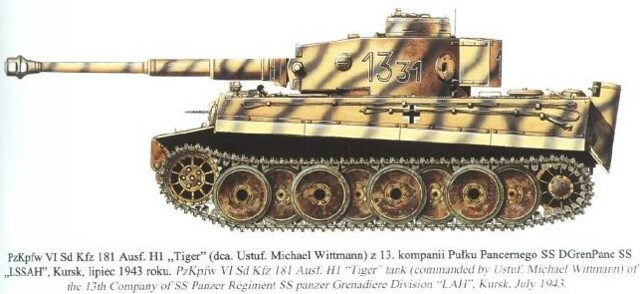
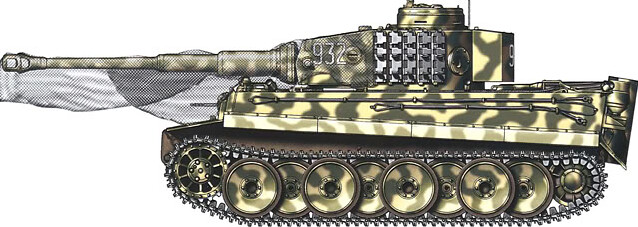
Something like this...


And NOT because it's Michael Wittmann's tank, by the way! I just fancy a simpler 'tiger stripe' pattern...Because, it's a tiger! (I won't go as far as making it black and orange though.) Here's another example of green 'stripes'...


The only issue, if you can call it that, is that I will be using a brush to apply these stripes, whereas it would normally be tempting to reach for an airbrush for these stripes. However, the second example I have (above) looks like it is hard-edged, so a brush should be perfectly fine.

Finally, my choice of green will be Vallejo's German Cam. Dark Green [979].

Keeping Track
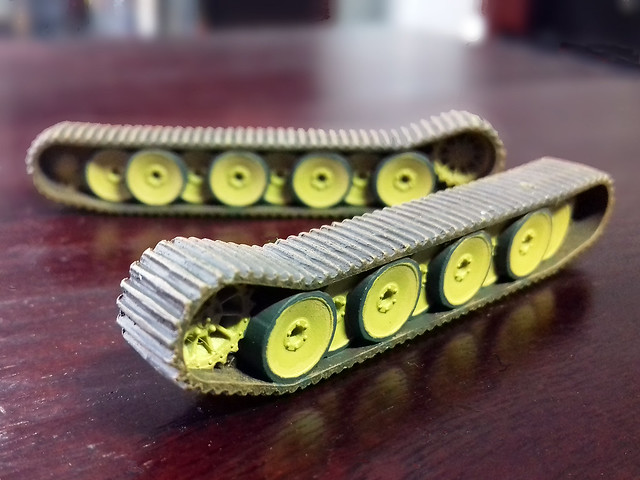
I'd like to get the tracks out the way before I launch into the hull painting. With this Tiger - as it is for a 'Russian Front' game - I want to produce a similar reddish coloured mud effect that I did for my recent 'Ferdinand' (which is for the same game). I may be wrong but I equate the eastern front with a redder mud, I admit this may just be my false impression (as I guess mud is mud really).

I used Vallejo pigments for my Ferdinand's tracks but I am trying something different this time and I'm following a tutorial from the Flames of War website called: 'Changing A Tiger's Stripes'.

Not the tidiest job - those road wheel edges were a nightmare - but it should
all smooth out once I apply a wash. I'm still not sure about starting with a
brown base for tracks, but let's see how it turns out.
The Zvezda tracks are very simple 'slats' and this is where - as mentioned previously - where Battlefront's (and possibly the 15mm models of the Plastic Soldier Company) have the advantage in the level of detail. How much this will mean if you are primarily a gamer and not a modeller is something each buyer will have to decide for themselves...I had my gamer hat on when I bought this.

The Tiger Onesie!
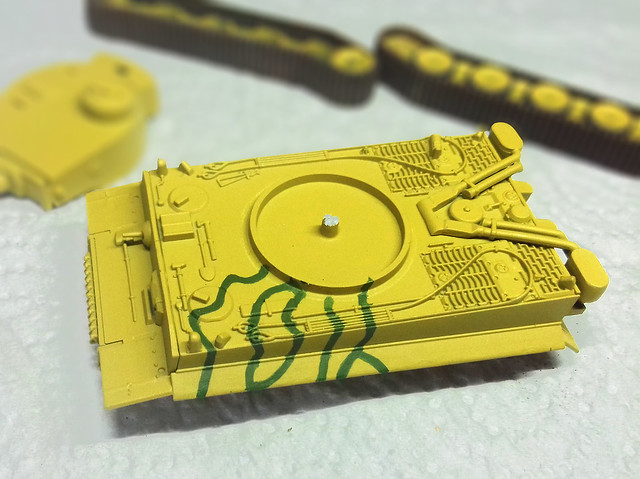
Back to camouflage now and the striped scheme should be, technically, a pretty simple pattern to reproduce. I'm not a confident freehand painter but in this case sketching out the pattern lightly using a pencil seems a little unnecessary, so I'm jumping straight in with a slightly random pattern...


Next: Hopefully this Tiger will have all its stripes and I can move on to the decals!

Saturday, 3 June 2017

Zvezda 1/100 Tiger I

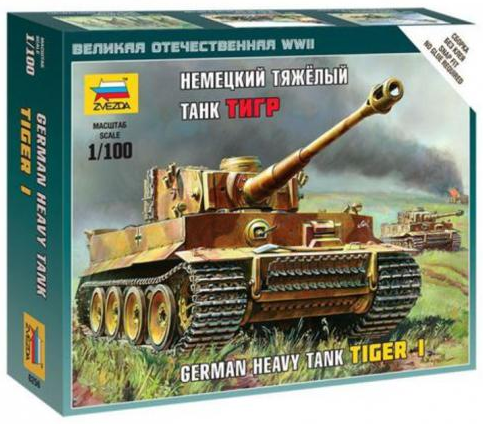
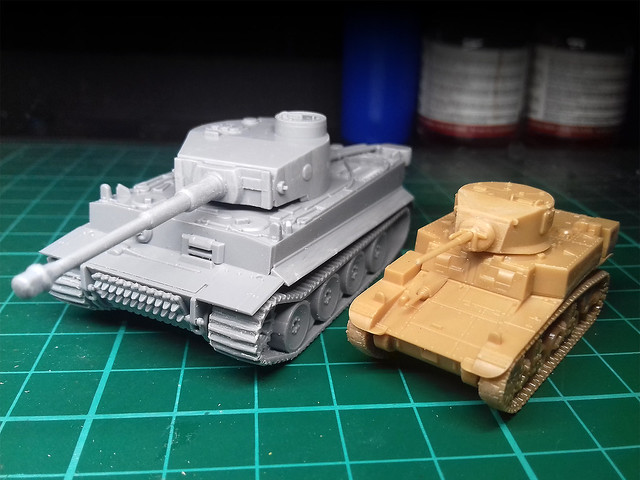
Another quick weekend project, this time the mighty Panzerkampfwagen VI Tiger for my Kursk scenario (and another M3 Stuart for my Pacific Tanks game scenario project). This is Zvezda's 1/100 scale Tiger I and like all Zvezda's models in it's 'Art of Tactic' series it's detail is simplified as it is intended as a gaming piece.


I won't go through the construction as it will probably take longer for me to type out the process than it actually took me to put the kit together (there were only 12 component parts). Instead, here's a picture of the instructions which tells you all you need to know...

Once again, Zvezda's 1/100 kits are a bit more
complicated than they perhaps should be because
they are 'snap together'.
I've done a few of these Zvezda 1/100 kits now - and, indeed, made a second example of their M3 Stuart while I was making this Tiger - and I have to say that I'm a little disappointed in this take on the legendary 'big cat'.

It's not a horrendous and neither is it hard to put together - in fact, the fit quality is very good - but the combination of Zvezda's usual oversimplified tracks together with a turret with a prominent moulding seam (and an awful mussel break).

In short, it's my least favourite Zvezda so far...

Muzzle break, what muzzle break? (And, oh, isn't the Stuart small!)

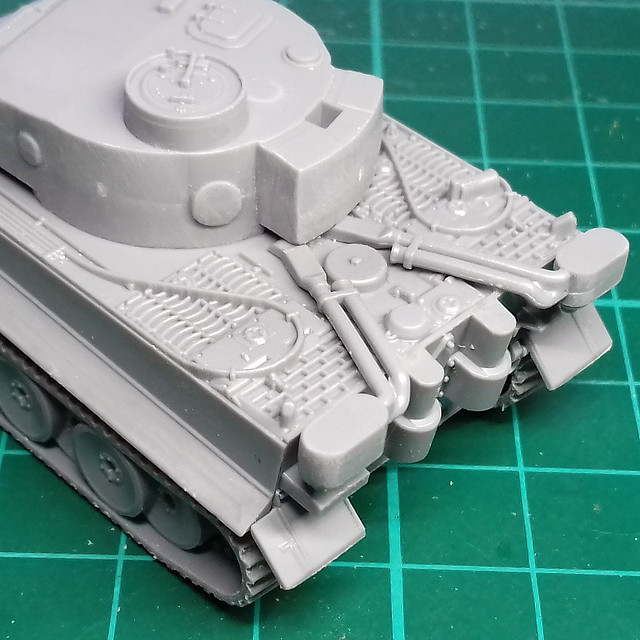
Zvezda's Tiger is a bit soft looking and although it's a small thing that excuse for a muzzle break really spoils the infamous '88'. That said, there is some nice detail on the engine deck, it's just a shame that they didn't carry that on to the turret and the tracks.

A nice level of detail on the Tiger's engine deck. Tow cables
are moulded on, but at this scale that is more usual.
Still, it is a wargame model and meant to be seen at tabletop distance, so let's see how she paints up.

Note price: Zvezda 1/100 models are usually very competitively priced - I just bought one of their mighty KV-1s for just £3.50 - but the Tiger I is one of their more expensive kits, at £6.50. Now, this negates the advantage of buying Zvezda's kits instead of the official Galeforce 9 (Battlefront) ones. The Galeforce Tiger I is exactly the same price. I only bought the Zvezda version because my local model shop had it (so I benefitted from not having to pay shipping). But at this price level Zvezda has less of an advantage over the Galeforce 9 kits (which are generally better quality anyway).

Thursday, 25 May 2017

Battlefront 15mm Panther and Jagdpanther - Part 2

Applying the Wash
With all the base colours done it's time to apply the overall wash to the model. I'm using Citadel's Agrax Earthshade (again), diluted 50/50 with water...


Aside from adding a 'dirty' film all over the model, giving the basic paint coats a stained and 'aged' appearance (which I like) the wash also gives definition to panel lines and outlines other surface detail.

This replaces, to some degree, the pin-washing technique I normally use (usually after weathering) on larger scale model projects. Though, I will still be applying pin-washing to pick out the most prominent detail (using Vallejo's Dark Brown Wash) as this is a far darker outlining medium.

The Agrax Earthshade is a medium brown wash and for most
detail, this will suffice as a replacement for pin-washing. 
While I'm quite pleased with this 'new' (to me) effect, I am aware that it does darken the base colours. I can, and do, put this down to a later of 'dirt', but I will have to be aware that if I want a fresher looking model I may have to start with lighter base colours.

Staining & Streaking?
Actually, I'm cutting out this process (where I would apply oil paint dabs and streak them) and I am using eyeshadow powders to achieve a similar, though softer, effect. This is another change in technique due to the scale of the model.

While my usual weathering effects can still look quite nice when taking closeup photos of the models I think they may be a little bit of over-kill as these small models are meant to be seen at arm's distance on a tabletop. So, I am starting to use broader, less focused weathering effects for my 1/100 gaming models.


Far Too Shiny and Chrome!
With the upper hull of both versons of the Panther done, I turn my attention to the lower hull and tracks. At the moment the tracks are far too clean and shiny. As with the upper surfaces, I am looking to a more 'cosmetic' medium to apply the effects I want.

Tracks are definitely a part of my tank models that I still have the biggest problem with. I haven't devised a satisfactory 'recipe' for painting and weathering them to a point that I am happy with the result. My previous results have all been a bit hit and miss.

So, let's have another go...


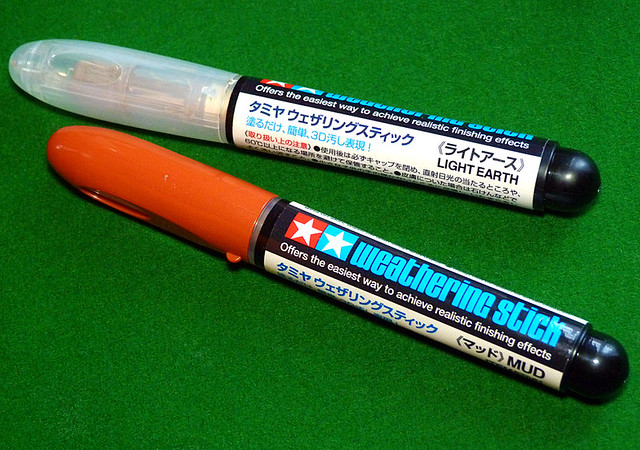
The medium I have picked to weather my tracks are Tamiya's Weathering Sticks (Light Earth and Mud). Nothing new that I haven't used before BUT I recently discovered that these cosmetic type sticks can actually be mixed with water to produce a creamy paste.

I used this technique On my 1/100 Stuart model and although I didn't quite get it right, I like how this cream approach was slightly more controllable than the powder method (with pigments) that I have been using. So, let's have a test on the bottom of the tank's chassis...


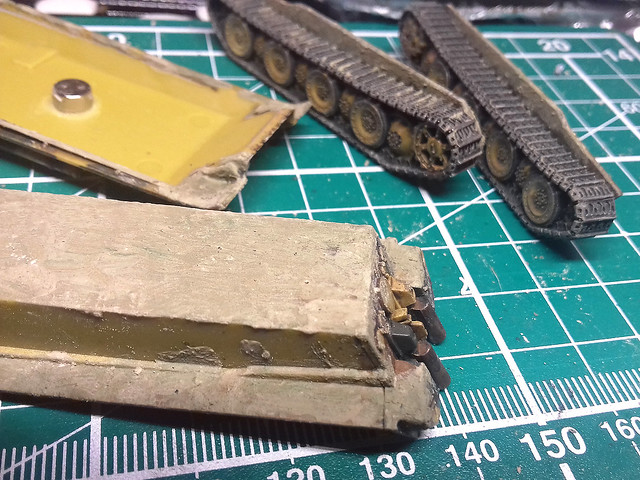
Because I wanted to add so much mud to the chassis I started by adding a thin coat of pigment mixture to give some texture, then applied the weathering stick medium over this. This saved on weathering stick and gave a mottled multinational mud effect.

So, in effect the pigments provide coverage and a base with the weathering stick medium softening the edges of where the mud ends. I haven't mastered this technique yet, and I've overdone the effect a little on this model (too much mud) but I'll go easier the next time. However, I am happier with this method than I am with the all-pigment method I used on my 1/100 Shermans where the mud was far too thick...

Pigments on the bottom, merging into Tamiya Weathering Stick medium on the
front-upper hull for a softer transition.
You'll notice what I mean by the fact that I have managed to retain the track pattern detail, instead of coering it up which I did with my heavy-handed approach on my Shermans. Here's the result...


Nearly, but not quite, happy with the result...Yet!

Next: Protective varnish and completion photos.

Sunday, 21 May 2017

Battlefront 15mm Panther and Jagdpanther


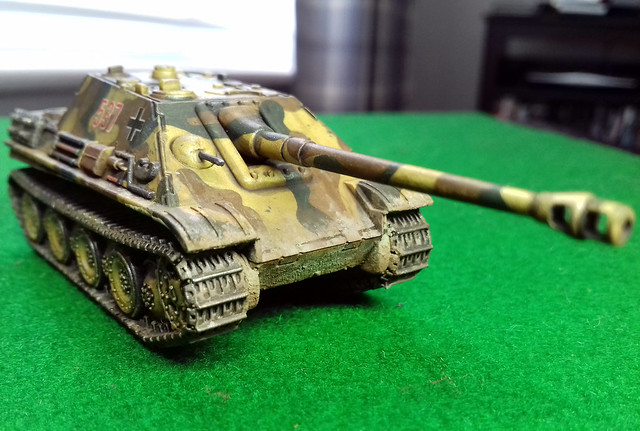
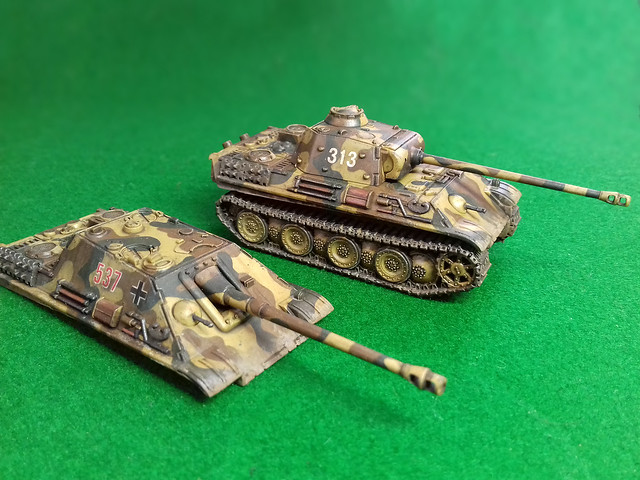
This is the final part of my 'GF9 Tanks Starter Set (Panther Vs Sherman)' series and comprises of the production of the German opposition in the game, the Panzer V Panther. However, as I mentioned in an earlier post about this game set (link to post here), there is an option to mount the Jagdpanther upper hull on the Panther chassis to get two tanks for one (with some sneaky use of mini-magnets)!

The 1/100 Battlefront Panther and Jagdpanther kits are rather nice - if somewhat 'chunky'* and simplified - models. But, they are - in my opinion - on the higher quality end of the wargaming quality kit spectrum. They have packed a good deal of nice surface detail into these little kits and have some very nice track detail.

* I have noted on several occasions, when talking about these sort of 'wargaming quality' kits that they can be a little 'chunky' and sometimes over-scaled (Plastic Soldier Company models are a prime example). Well, I've come to understand that is sort of deliberate to make the models a little more durable as playing pieces. Zvezda scales their 1/100 models more accurately, but - as I found out with their M3A1 Stuart kit - this means details like guns become very fine and therefore possibly prone to breakage. This over-scaling is sometimes referred to as 'Heroic' scaling.

Anyway, back to the job in hand. Having mad up my Panther/JP model for playing purposes (unpainted) it's now time for my GF9 panzers to follow the example of their Sherman opponents and get a lick of paint!

Choosing a Panther Camo Scheme
As I found with my 1/100 'Elefant', the choice of German WW2 is wide and wonderful, and this is particularly true of the later war panzer schemes. Starting from D-Day the variety of camouflage patterns seemed to snowball from the fairly standard - but still variable - 'three colour pattern' to - by 1945 - and almost anything goes 'let's just get the tank on the battlefield' (sometimes not painted at all) attitude!

So, I decided that the best place to start was to pick a specific period and/or theatre. This would help me pin down a sort of historic parameter for camo choices.

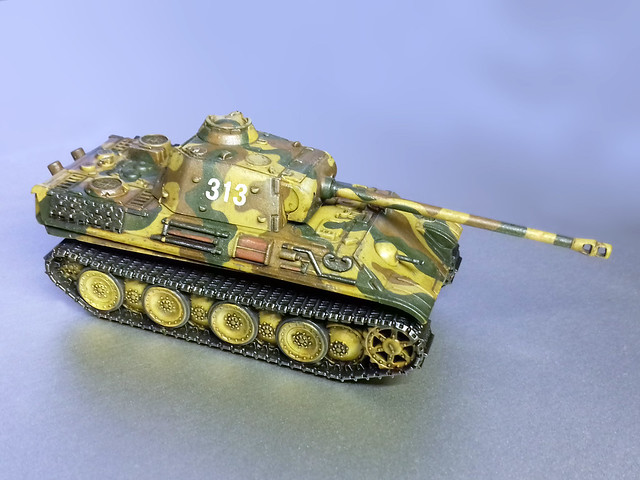
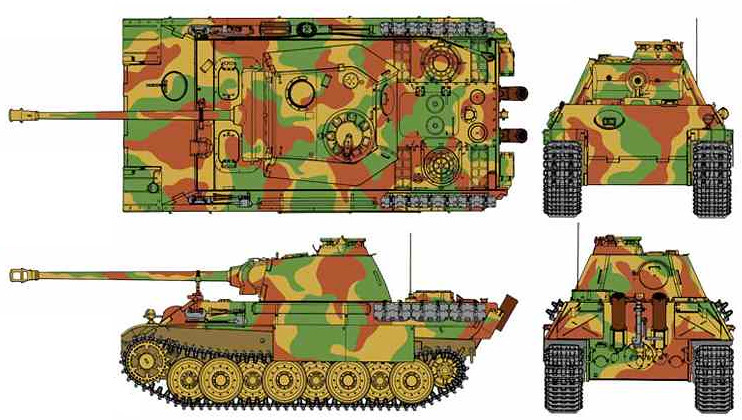
I wanted my Panther/JP to be D-Day specific - so as to be suitable opponents for my D-Day Shermans - so this ruled out a lot of the more weird and wonderful 'late war' Panther schemes. I eventually came across a 1944 3-colour paint pattern that I liked (I sort of prefer large, harder-edged patterns)...


I will be using this same pattern for both the standard Panther upper hull and that of the optional Jagdpanther hull.

Hairy Stick Time
As I am still without an airbrush at the moment, it's another chance to practice my brush skills (another reason to go for a 'hard-edged' camp pattern). I began by priming the Panther hulls with Flames of War's 'Panther Yellow' and then I worked on the brown patches of camo using Vallejo Model Color 'German Cam. Med. Brown' [826]...

My LED desk lamp made these a little over saturated, the colours are actually
a little more muted than this.
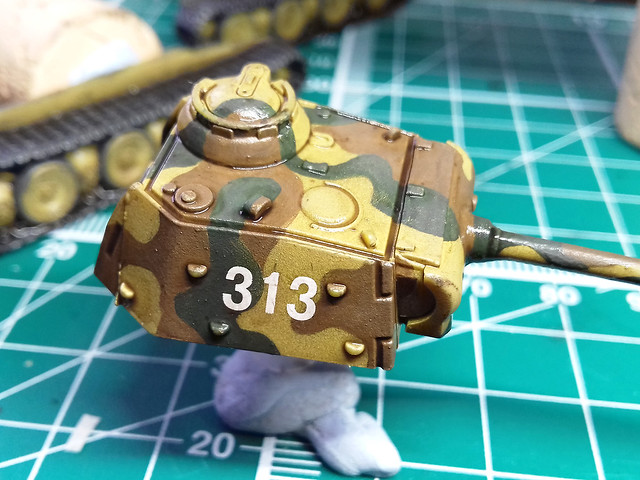
I tried to follow - roughly - the same shapes on both hulls so that they would neatly join up with the pattern painted on the lower hull. One thing I like about painting patterns using a brush is that if I vary the dilution of the acrylic with water you get a semi-opaque - almost 'watercolour' - effect where the paint is not uniform and 'flat'. This can add to the impression that the camo was added over the Dunklegelb base colour in the field and also that it was 'faded' in places (that's my excuse).

Next I start to add the green 'blotches' using Vallejo's Model Color 'German Cam. Dark Green' [979]. Now, I know there is some amount of debate as to whether these two colours are true to the original German paint colours (the brown doesn't seem to be red enough and the green not green enough, allegedly) but I want a more muted effect...
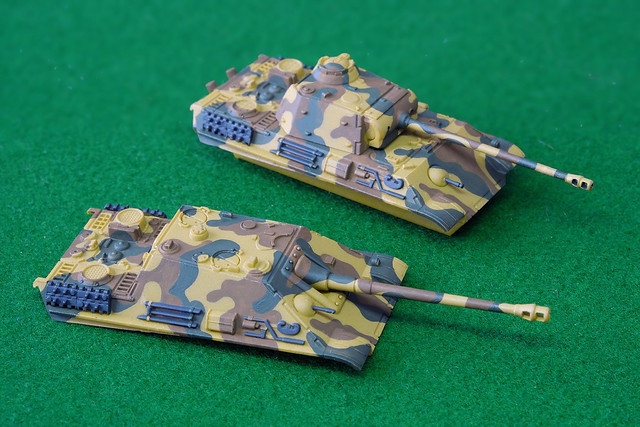
Lighting was a bit dark here, but hopefully, you get the idea.
Emblems/Decals
Doing an 'authentic' scheme for Battlefront's 1/100 game tanks models is a bit of a 'DIY' process. Unlike 'display' kits these little models don't come with decals or a 'suggested scheme', so you are left to your own devices as to how you paint and decorate them.

Also, authenticity isn't, perhaps, the absolute priority here as these models are playing pieces, so there's an accepted leeway for 'artistic licence'. Basically, nobody will pull you up if your chosen camo scheme wasn't entirely correct for this or that theatre or period or unit, so long as the spirit of the national faction is adhered to for the game. Players of this game don't tend to be rivet counters or pedants (IMHO).

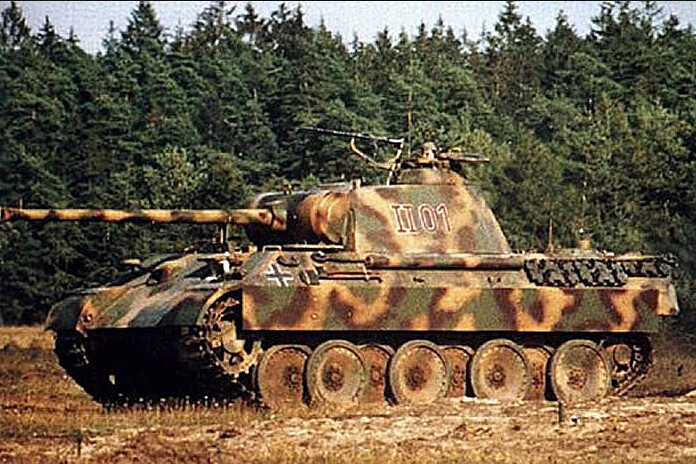
Here's an example of Panther numbering and emblem format that
I quite like. The plain white numbering suits my intention to use
dry transfer lettering as I have similar font/styles.
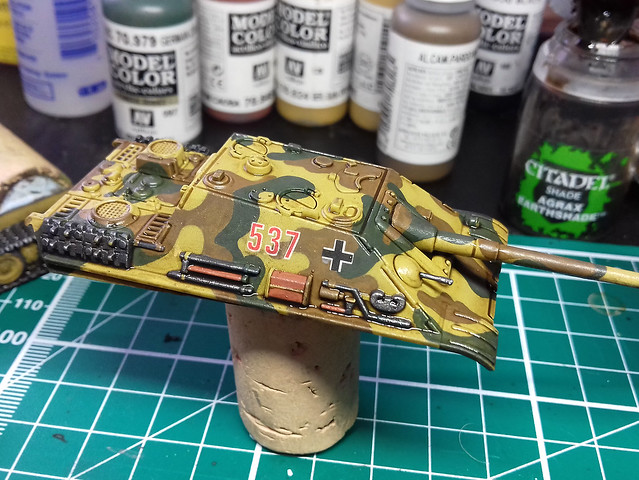
So, with this in mind, my camo scheme for the Panther/JP was a 'generalisation' and that's how my decoration will be as well. I'll be keeping it simple, with just a couple of German crosses and a made-up vehicle number...This model is NOT based on any actual identifiable historic tank or unit!

I'm using Woodland Scenics dry transfer numbers for the Panther and the decals for my Jagdpanther are from the Skyrex AD43 German Tank Numbers and AD28 German Crosses. I have to say, I'm not so impressed with the quality of the Skyrex decals, I think they are short run printed decals and their transfer film is quite thick so I'm having to use Microscale's Micro Sol to help settle them in nicely.

Applying one number at a time is a bit tricky as you are never completely satisfied that everything is straight and level...


And that's nearly it for the basic paint scheme and decalling. I have to go around them again to do a bit of touching up and add some metalic dry-brush effects to the bare steel part and then the everything will be real for a coat of satin varnish. This helps seal the decals and prepares and protects the paintwork for teh next stage, which is an overall wash.

Friday, 12 May 2017

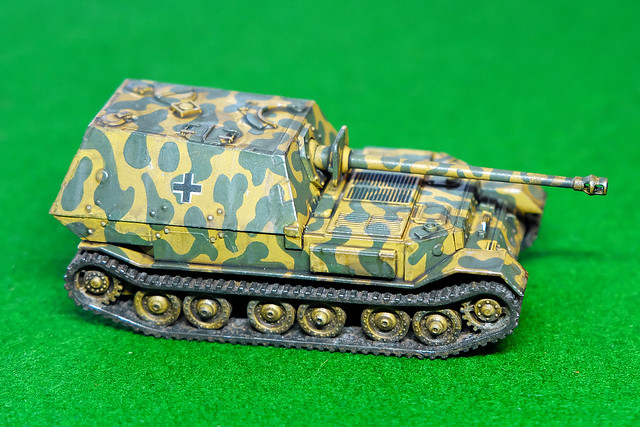
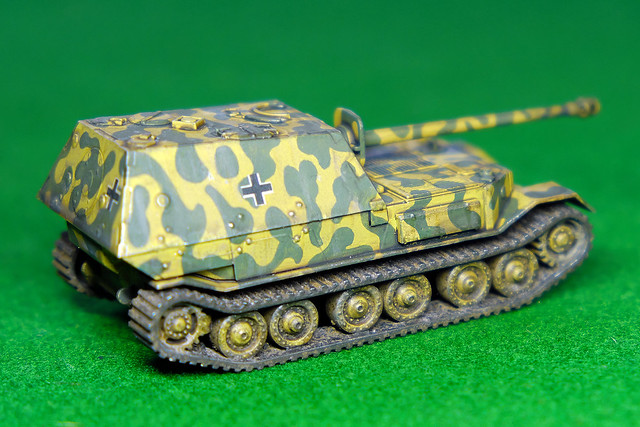
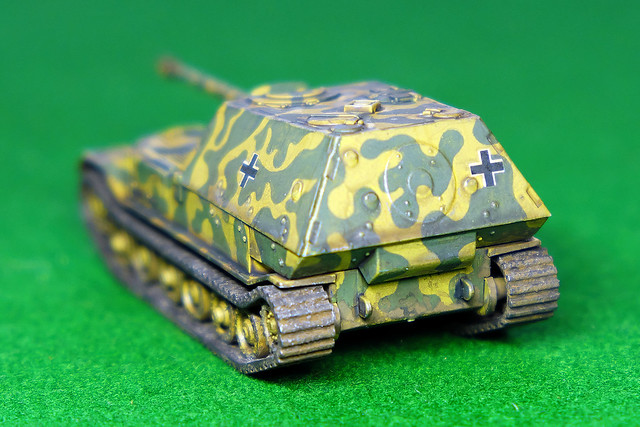
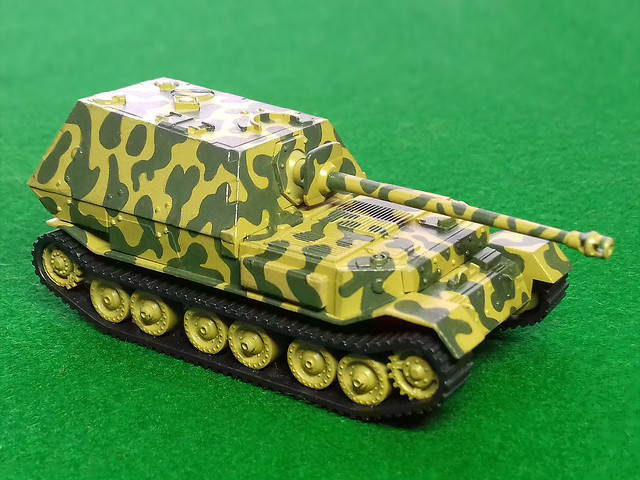
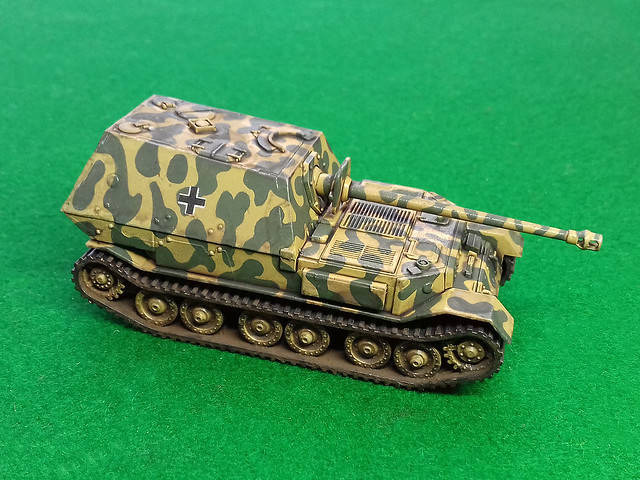
Zvezda 1/100 'Elefant' - Completion

Blimey! I finished a model. :)
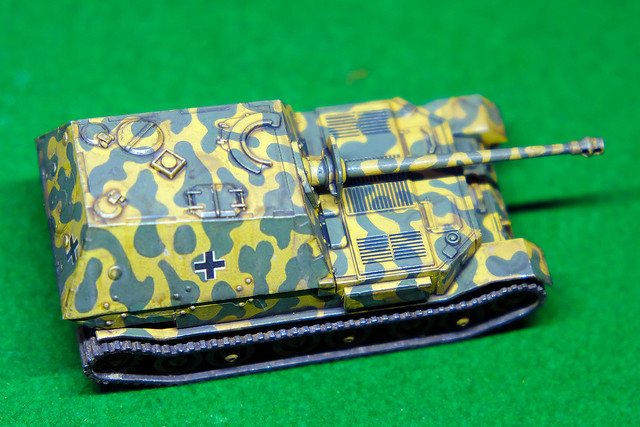


Final thoughts...
These diminutive 1/100 scale tanks seem to off-set my painfully slow productivity. (Maybe I should try a 1/600 and see if I can finish something in a reasonable amount of time!) ;)

Anyway, there are quite a few things I am not quite happy with, although this has to do with my standard of painting rather than the model itself.

I actually understand why some modellers think that changing scales means modifying your technique. There were several times I tried to use my normal 1/72 painting effects on this smaller model only to find that they just didn't look right or just plain didn't work.

So, it's a learning process (again) and I will tweak my techniques for this smaller scale as I go along.

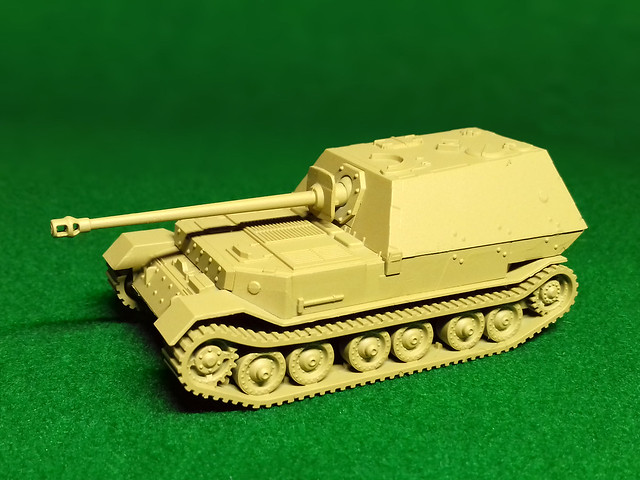
As to the Zvezda kit itself, I suppose the biggest disappointment is the overly simplified track tread. They seem to be taking a leaf out of Armafast's design manual and have just given you some slatted treads. A bit disappointing as Battlefront has proved that detailed track patterns can be done at this scale.

Not much else to say really. 1/100 scale models are *FUN* and I found it relaxing not to have to worry about the minutiae and just get on with the model (and have some fun with an attractive camo pattern). I shall certainly be doing more in this scale over the next few months.

Thursday, 11 May 2017

Zvezda 1/100 'Elefant' - Part 2

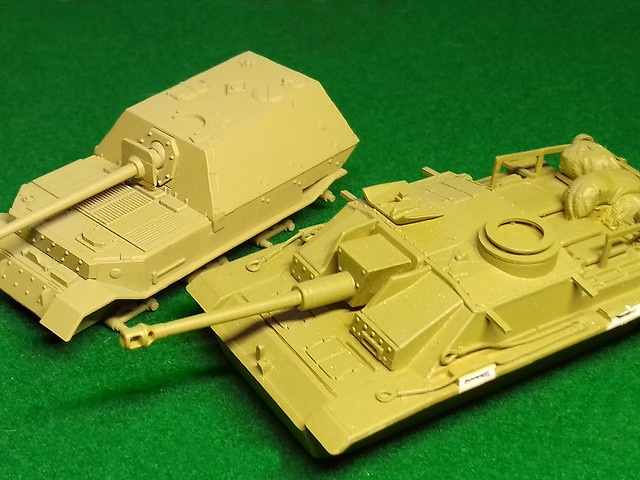
As my airbrush is out of action (I may have to buy a new one) I am back to using 'rattle cans'. I did look around for a good acrylic spray 'Dunkelgelb' - German Dark Yellow - but the only one I could find was by Flames of War in their War Paint range. Called 'Panther Yellow' it seemed to go on as well as Humbrol's excellent sprays...


Had my airbrush still been working I would have used Vallejo's excellent water-based polyurethane German Dark Yellow Primer. This has a tinge of pea-green to it, rather than the sand-yellow of the Flames of War paint...

Left: FoW's 'Panzer Yellow'. Right: Vallejo's 'German Dark Yellow'.
Choosing a Camouflage Pattern
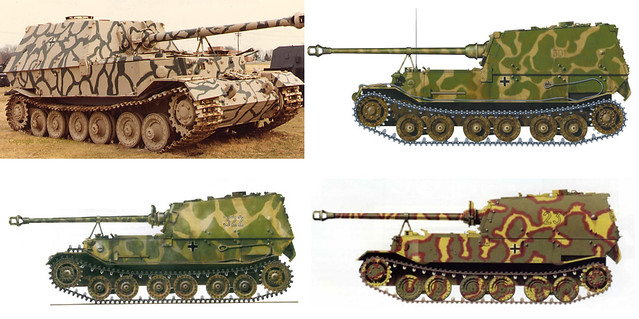
Now to the hard part, choosing a camo scheme. The Zvezda Elefant is the early model typical of the type that first saw action on the Russian Front in 1943, still, there are some very attractive patterns to chose from...


As I am keeping this model, exclusively, for games against mid-war Soviet opposition I don't mind that it won't get as much play as - say - a Panzer IV or a StuG III. It's just such an attractive model to have in my collection, and I am such a sucker for tank destroyers (I really want to build more)!

So, let's get cracking with my chosen camo type (with some poetic licence)...

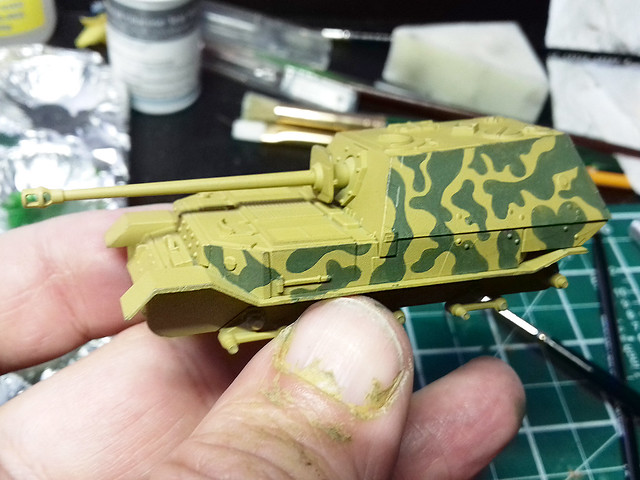
As my airbrush is bust, it's back to good old brush painting. This may take
some time!
Phew...Boy, I am rusty, but it's getting there!
Track Record
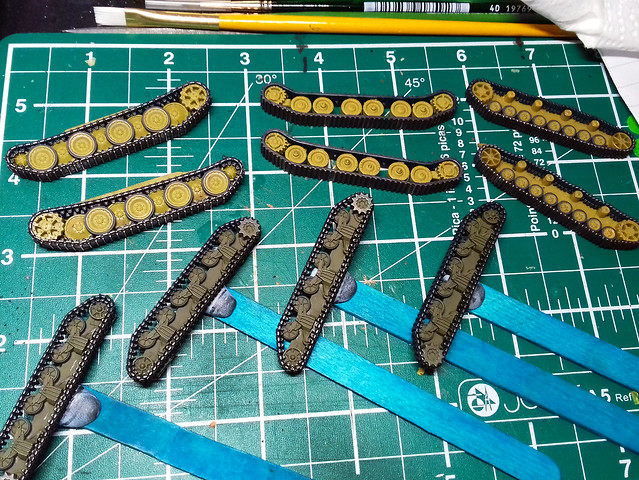
Just a little aside, because I have several of these little 15mm tank kits on the go at the same time I had the unusual sight of five sets of tracks on my small workbench at the same time!

As well as the 'Elefant' tracks - top middle - I am currently working on four
other sets; a Panther set, Panzer IV set and two sets of Sherman tracks!
After base painting these tracks a dark colour - black for the Shermans and German Grey for the panzers - I painted the outside of the roadwheels with Vallejo's Dark Rubber (except the Elefant's which seems to have all steel road wheels/rollers).

Then I gave all the tracks a rub with a graphite pencil to give the impression of bare steel. Then it's off for a light coat of gloss varnish in preparation for the application of some German insignia...

Oooops, I forgot (having learned this before) that doing the graphite pencil
work *before* glossing is a bad idea. The shiny 'steel' effect disappears
after a coat of gloss varnish! Du-oh! 

Decal Stage & 'Pre-Weathering'

Well, there are actually that many decals to apply, just three German crosses and two sets of vehicle numbers. I don't have 1/100 scale decals to hand so I'm hoping my smallest 1/76 German decals will work (I know the crosses will be a little too large). There was some poetic licence to my application of decals and they are not historically accurate but are intended to be suitable for tabletop gaming purposes.

With the decals quickly applied I moved on to a new process that I have just started applying to my models - 'pre-weathering' prep. The idea is to lay down a thin wash of peaty brown to indicate surface dirt and to take the 'newness' off the pristine painted model prior to more intensive weathering.

An added bonus of this 'pre-weathering' wash was to modulate the basic FoW
Panzer Yellow - which I thought was a little too bright - and make it more like
what I think Dunkelgelb is supposed to be like.
I have also started to apply some 'mud' (Humbrol Dark Earth Powder) to the tracks, so it's starting to look something like a finished model, but I have still some focused weathering to apply.

I am pleased with this newly added phase in my painting and will start to use it on more of my models. In fact, I had occasionally already been experimenting with a sort of weathering prep using powder pigments, but this was very hit and miss and I was never really satisfied with it. Using a light - diluted - wash is far more effective.

Next: Deep weathering - chipping, etc.

Wednesday, 3 May 2017

15mm Battlefront Panzer IV

You could argue that you cannot have a mid-to-late WW2 German armour force without including a Panzer IV. This tank was the bread and butter of German tank formations on every front right up to the end of the war (despite more advanced and formidable tank designs being available).

Historical aside: I won't get into the whole 'if Germany had only concentrated on the Panzer IV instead of playing about with 'super tanks' controversy. I'm glad the Germans wasted huge resources on their so-called super weapons, their constant tinkering hastened their ultimate and inevitable defeat.

Anyway, about the model...This is another 15mm (approx. 1/100) wargaming quality kit and is designed to compliment the GF9 TANKS game I am currently playing. It's made by a company called Battlefront which pretty much concentrates on military vehicles for the more complex 'Flames of War' 15mm wargame (GF9's TANKS is seen as an introduction to Flames of War).

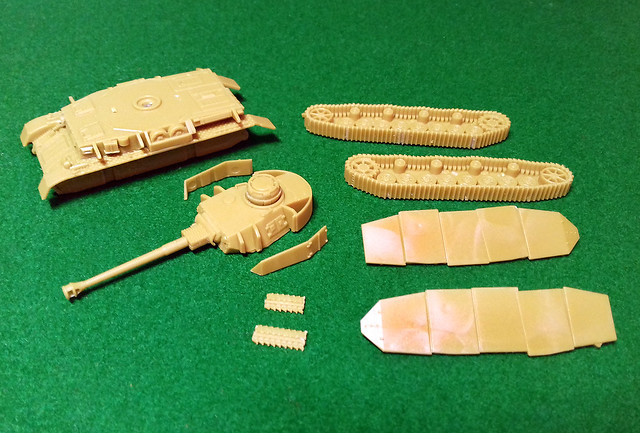
I enjoy these tiny kits as there isn't as much pressure on detailing and you can just get on with some relaxing painting. These models are just 'game tokens' and not intended on display items and extraneous detail is a bad thing, anyway, because they are designed to be handled. So, component wise, there isn't much to this panzer...


However, it is a quite nice model with a respectable level of detail and could be prettied up to an impressive level if you wanted to. As with the rest of the GF9 tanks I have, I'm quite impressed with the quality of the kit's one-piece tracks, the tread pattern is quite detailed when you consider it's just a 1/100 scale piece (again - Armourfast take note).

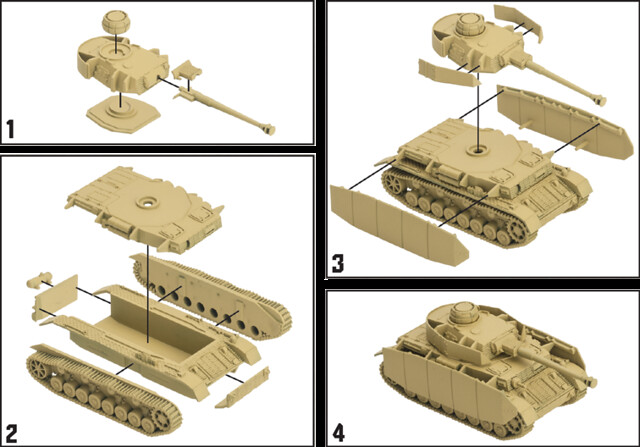
I won't run through a load of pictures of the construction because I suspect it took me about as long to put together as it did for me to type this sentence!

OK, bit of an exaggeration, but you get the idea. In readiness for painting, I glued together the major sub-assemblies to make it easier to spray everything and get the paint into all the nooks and crannies...


I opted for the rather hastily put together looking armour 'skirts' as they have a bit of character (I'm going to paint a bit of a battered looking war horse), but the kit does come with a set of pristine side shielding too.

And that's it! Ready for priming, I just have to choose a suitable camo pattern for a Panzer IV of the Normandy campaign. But as the common German three-colour camo scheme of this period was applied in the field you have a lot of latitude of some free-hand painting.

A quick Google will provide you with a plethora of camo pattern options!
Next: Priming and painting the camo.