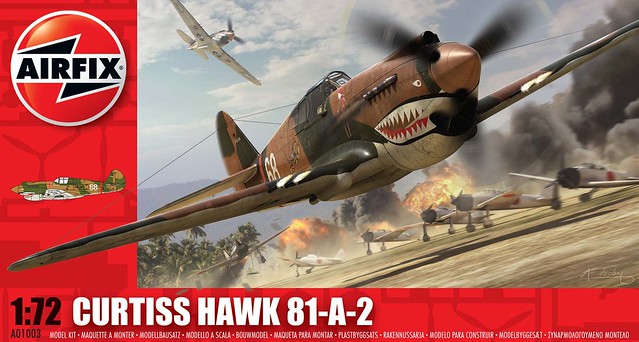
Before I start I should point out an elementary faux-pas that I made. I thought it would be nice to buy the other Curtiss Hawk based kit in Airfix's catalogue, the Curtiss Hawk 81-A-2 (#A01003) to go with my Christmas Curtiss Tomahawk IIB (#A55101) Both models sport the famous 'Shark Mouth' nose art and I liked the idea of a matched pair of 'sharks'...
 |
| The American Volunteer Group - 'Flying Tigers' Hawk. |
 |
| The RAF's 112 Squadron - originators of the 'Shark Mouth'. |
So don't make the mistake I made and think they are totally different versions of the P-40, from the Airfix model point of view they aren't! (I checked, they are indeed the same sprues!)
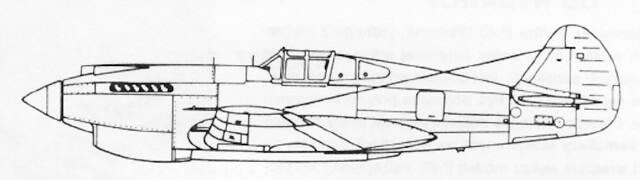 |
| The Curtis P-40B (or export 81-A2) was the second model in the P-40 series with only minor internal differences with the third - Tomahawk IIB - making the Airfix kits identical. |

Confused? I was, but if you really want your brain to explode then consider this - Airfix have released the 81-A2/Tomahawk IIB kit as a Warhawk P-40B with USAAC Pearl Harbour decals in a 'Dogfight Doubles' set with a Mitsubushi Zero! So they are using the same kit for three - albeit very closely related - variations of the Curtis Hawk series of fighters!

...Sorry, can't resist and add that I've discovered there are actually FOUR Airfix P-40s! Airfix Club members had exclusive access to an additional P-40 scheme...
Research - Readying for the build
Right, variant confusion aside the first job is to start researching my build. I started with the Tomahawk as I am currently reading Derek Robinson's 'A Good Clean Fight' (boy's own adventure in North Africa in 1942 for grown up chaps).
Now, I've already mentioned in an earlier post that I have collected together some very nice book reference about the real P-40 series of fighters, of which I can thoroughly recommend Osprey's series of books on the fighter. But the most useful research I conducted was to see what other people had done with the Airfix Hawks, and we start with a real beauty...
 |
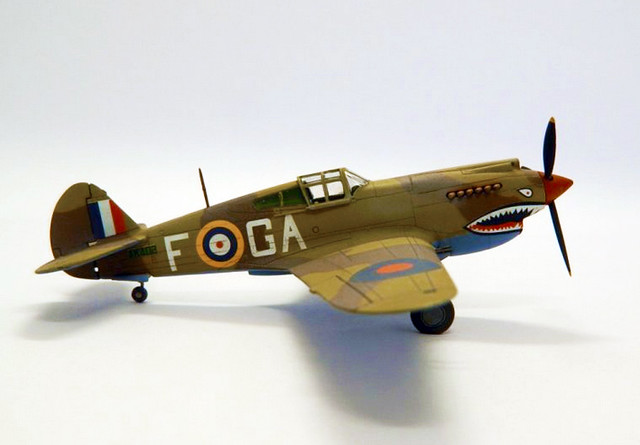
| This immaculate example of a Tomahawk IIA illustrates, as it happens, the variant quagmire I outline above! Although the modeller has chosen to do a Tomahawk IIA he has used the Airfix Curtiss Hawk 81-A-2 (#A01003) to do it (which is technically correct). Photo source: 'McCoy' from kiwimodeller.com |
 |
| Lovely clean build of the Airfix Tomahawk IIA by Paul A H. Source: Britmodeller.com |
And finally, here's a lovely build by 'Yak Face' on Scale-Models.co.uk of the actual Airfix Tomahawk IIB. This is a nice illustration of an 'out the box' build of the Airfix kit...
 |
| Credit: 'Yak Face' over at Scale-Models.co.uk |
Out the Box or Accurised?
The last part of my preparation was to consider how much work to put into this kit. I don't mean how sloppy I intend to build this but rather to what extra lengths I might go to 'super accurise' the model by adding additional third-party accessories. As well done as this Airfix kit is said to be there are certain aspects that aren't - apparently - quite up to snuff as far as the purists are concerned.

To be honest, this shouldn't bother the beginner or intermediate modeller - the Airfix Tomahawk looks great to me (bearing in mind what I remember of the old Airfix Kittyhawk), but display modellers and competition modellers might want to take the basic kit to the next level.
It didn't take me long to track down a plethora of add-ons and up-grade kits specifically for the Airfix Tomahawk, and this says to me that it is a kit worth accurising. A quick search over at Hannants.co.uk for 'P-40' at 1/72 scale will reward you with several pages of Warhawk and Tomahawk bits and bobs of all types - resin and photo-etched parts, decals, internal and external up-grades and even vacu-form canopies.
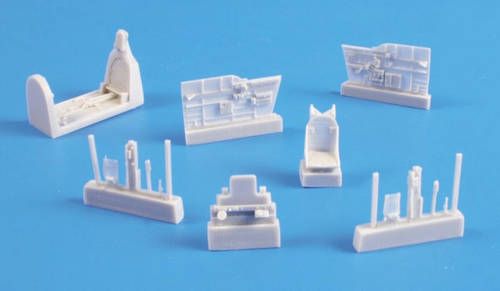 |
| If you really want to push the boat out how about this Czech Master kits P-40B/C resin interior upgrade kit. It's specifically made for the Airfix kit but costs more than the Tomahawk kit itself! |
 |
| Just the sort of kit 'bling' that advanced modellers like! This replacement P-40B propeller kit is by QuickBoost and improves the accuracy of this component - which is perhaps important to the display and competition modeller. |
PS... I meant to add that for a laugh I popped all the relevant possible third-party upgrades that you could add to the Airfix P-40B into the Hannants shopping cart - the total came to forty-four Pounds! Ten times the price of the original Airfix kit itself.
What next?
Well, that's all my preparation thoughts laid out so it's on to the box review. And at this point I will get a chance to compare both of Airfix's Hawks side by side...Are they really identical?
I am glad you decided for a OOB build Stephen, however I am sure you still will put he rest of us to shame!
ReplyDeleteThat's really nice of you Paul - but I will be trying a few new effects that will make this project a bit of a gamble. I will be trying aircraft panel-line shading for the first time! To make this work I will have to make use of my airbrush more than I have on any other model so far - and apply very thin coats. I'm glad you like the idea of my doing the out the box build. After thinking about it - quite aside from the added expense - adding a lot of third-party accessories just seemed to be a too easy way of getting bragging rights. I'd far rather scratch build any modifications I think are necessary (but I don't see many).
Delete