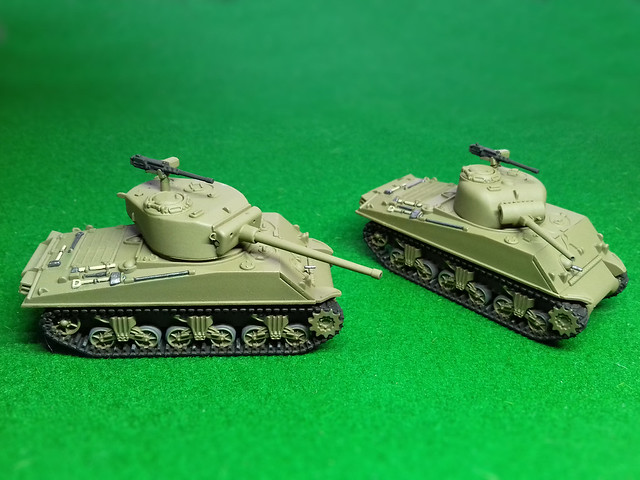
Weathering Effects...
Right, onto the creative part. Having laid down my base colours I turn to applying weathering effects, like staining, dirt and wear.
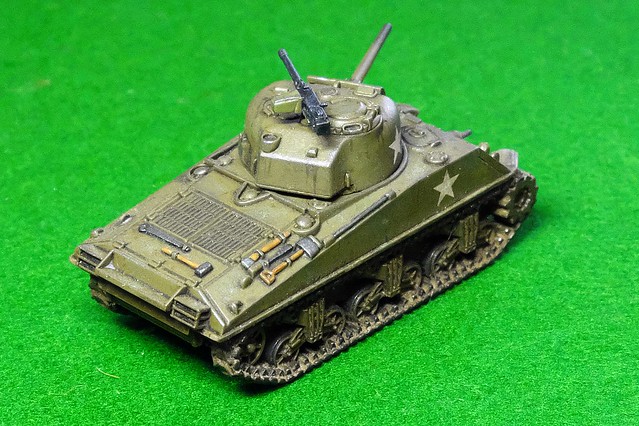
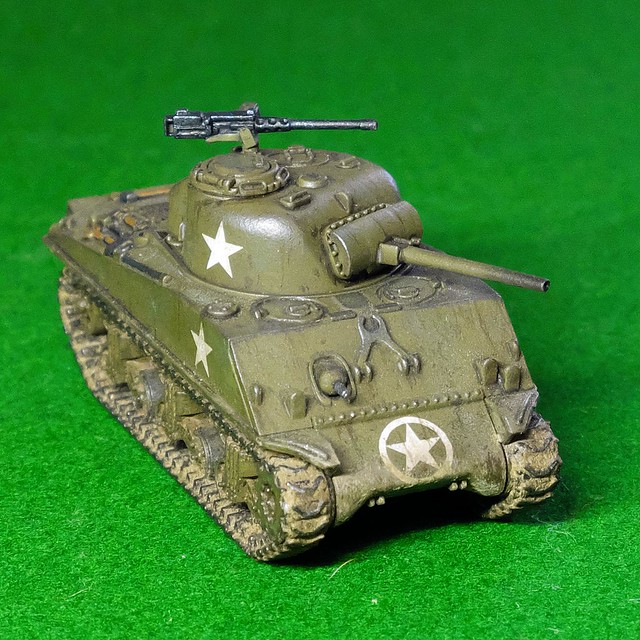
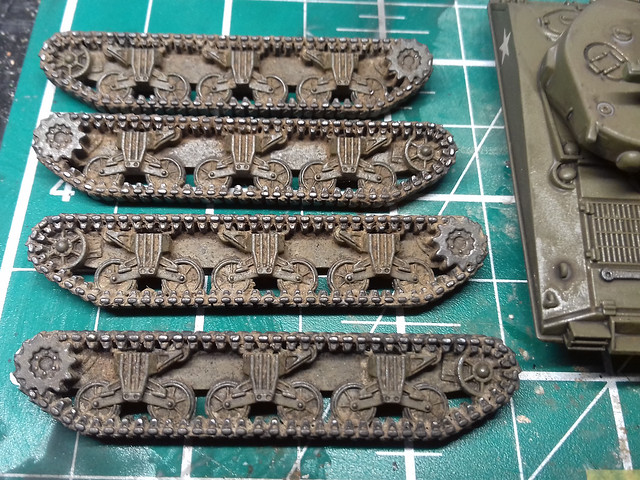
And here I came across another example of how effects that worked well for me in 1/72 scale didn't quite work out for me in 1/100 scale. I began with the tracks and set to work with my tried and tested powder pigment 'mud' mixture, but what would have been a light coat of mud on the larger scale turned out to be a thick clart (a Scottish word for a gooey mess) of mud on 1/100 tracks...
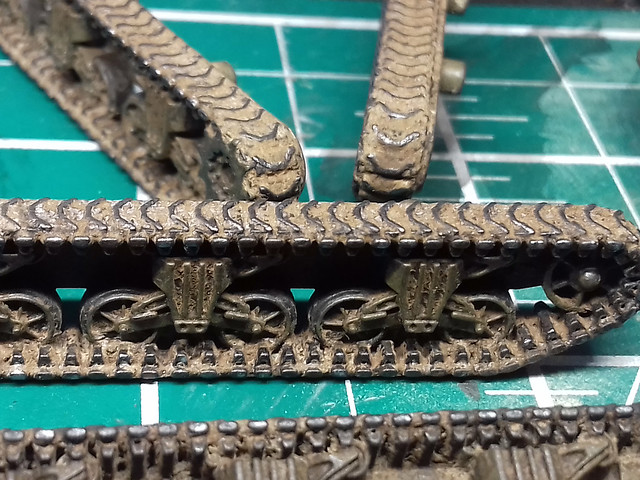
These are far muddier than I wanted but are - I suppose - realistic if the tanks had been driving through ploughed fields. It wasn't the effect I was actually after but will do, I'm happy to leave it and just modify my application for the smaller scale on future models. I suppose nobody will know that I didn't mean them to be this muddy if I don't tell them!
Staining the Sherman Hulls & Turrets
Finding that my usual 1/72 scale painting techniques were, perhaps, a little heavy handed for the smaller scale I decided to try something different for my usual 'staining' stage.
My staining and bleaching method is normally based on using oil paint which I dab on in spots then smear into streaks using thinners. I decided that this might be a little too invasive and harder to rectify if I didn't like the end result, so I looked for a 'softer' approach. I looked through my paint effects box and picked out the 'eyeshadow' set!
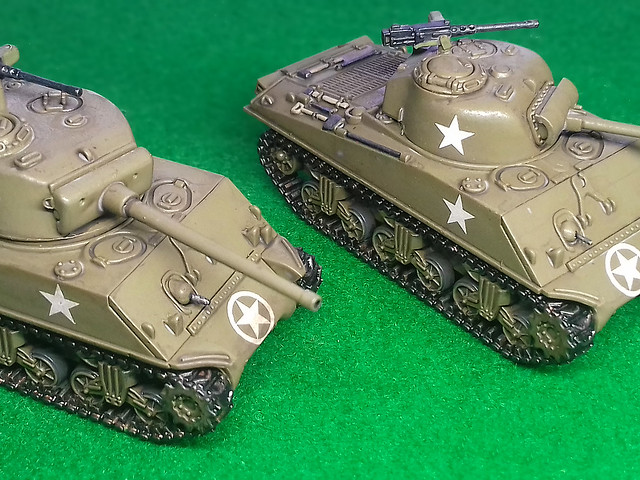
I've used these on a smaller scale on my previous models, as a secondary powder effect, but in this case, I will be trying them out as the primary weathering medium. These, in combination with Citadel's washes - which I am using more and more - gave me a rather more controllable (powders can be easy removed) staining technique for smaller models...
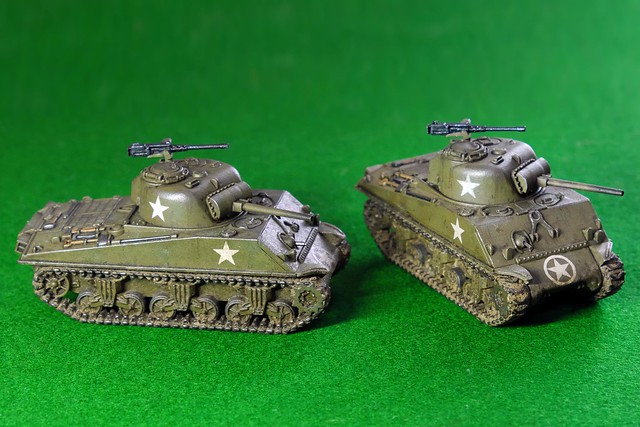
I was going for a dirty and oily, war-weary Sherman and I think I achieved this. I was quite please how well the eyeshadow effects went, so I will probably try this out on my 1/72 models now.
Conclusion
I'm really enjoying these little 1/100 tank models. The detail will probably not satisfy the most pedantic modeller, but I find the simplification takes a lot of the pressure off and I can simply relax and enjoy the painting.
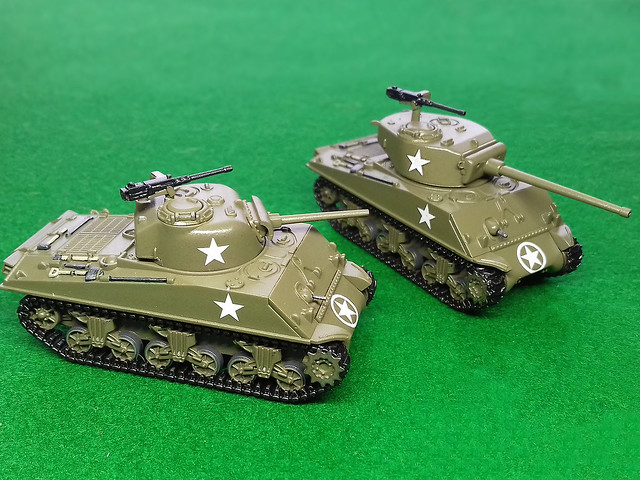
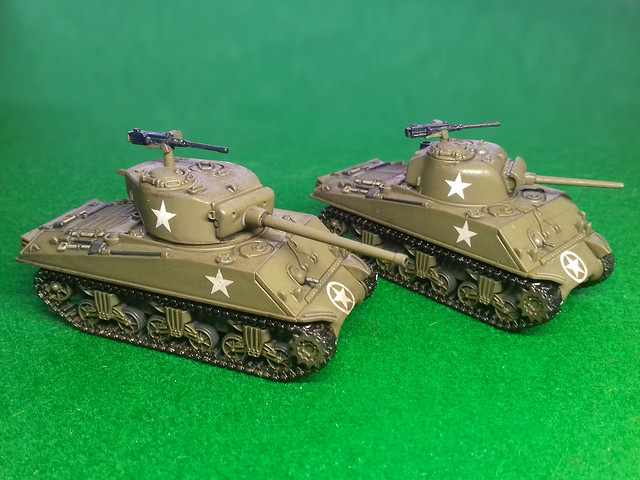
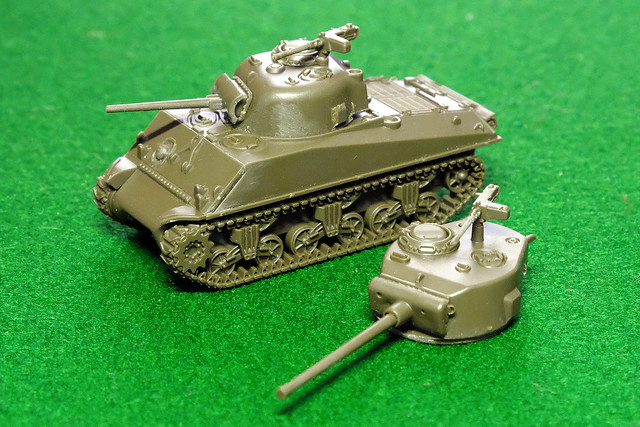
An additional benefit of these particular models is that they come with the option to swap out the turrets so I can have a 76mm gunned Sherman to 'play with' as well...
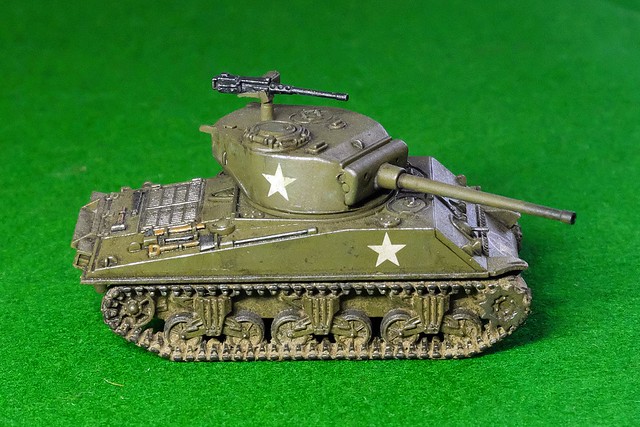
It'll be nice to get these on the gaming table as - as many wargamers point out - units always perform better when they are painted! :)
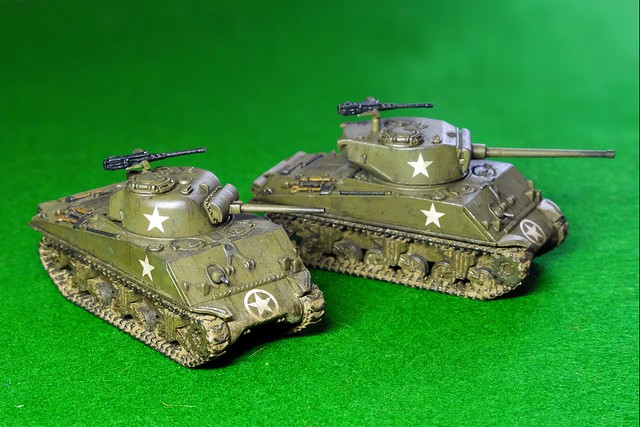
I'll be building up a few small 'armies' of tanks for the GF9 Tanks game, but my next priority to to get the 'bad guys' - the starter set Panther/Jagdpanther - painted!
Diary of a novice scale model maker and his adventures in the wacky world of Braille Scale.
Showing posts with label X-Ref: BF/M4A3US/0517. Show all posts
Sunday, 14 May 2017
Wednesday, 10 May 2017
15mm Scale Shermans - Part 2
I'm experimenting with and modifying slightly my 1/72 scale painting techniques for the smaller 15mm scale models. Because of the smaller scale, and commensurately smaller detail, painting is a little more 'impressionistic' and I am doing things with broader brush strokes than normal.
I have seen plenty of very experienced 15mm scale model veterans paint in this scale to a very high degree, to the point where you think they are working on a larger scale. But, as I am fairly new to this diminutive scale I am going for a wider picture and fudging the minutiae a bit.
So, here's the process I've planned...
1. Taking the Shine Off
My newly base painted Shermans look a little too factory fresh for my liking. Sure, they might have looked something like this fresh straight off the landing craft (if not so glossy) but I prefer the dustier 'seen some action' look to my tanks.
So, the first job is to take the shine off by applying a very light overall wash of Citadel's lovely Agrax Earthshade. I dilute the wash slightly with some water as I want a soft surface dirt effect and not the deeply ingrained mucky look that neat Agrax normally gives...
Next: Stage 2 - Staining & Streaking with Oils.
![]() |
| Here's where I left off. A bit too clean and sparkling for my tastes. |
So, here's the process I've planned...
1. Taking the Shine Off
My newly base painted Shermans look a little too factory fresh for my liking. Sure, they might have looked something like this fresh straight off the landing craft (if not so glossy) but I prefer the dustier 'seen some action' look to my tanks.
So, the first job is to take the shine off by applying a very light overall wash of Citadel's lovely Agrax Earthshade. I dilute the wash slightly with some water as I want a soft surface dirt effect and not the deeply ingrained mucky look that neat Agrax normally gives...
Next: Stage 2 - Staining & Streaking with Oils.
Monday, 8 May 2017
15mm Scale Shermans
Time to slap some paint on the little M4A3 Sherman models I got in the GF9 TANKS starter set. I'm not going to town with these, I pretty much want a generic vanilla US Army Sherman without all the bells and whistles (so no applique armour or hodge-podge of stowage).
This should be as simple and easy a modelling project as it gets and takes me right back to when I started modelling again as my first kit was a very unsophisticated 1/72 Armourfast M4A3...
It will be interesting to see how the little 15mm Shermans compare to the above attempt as - for simplicity of detail - both makes of model have a lot in common and are designed to do the same job, just in different scales.
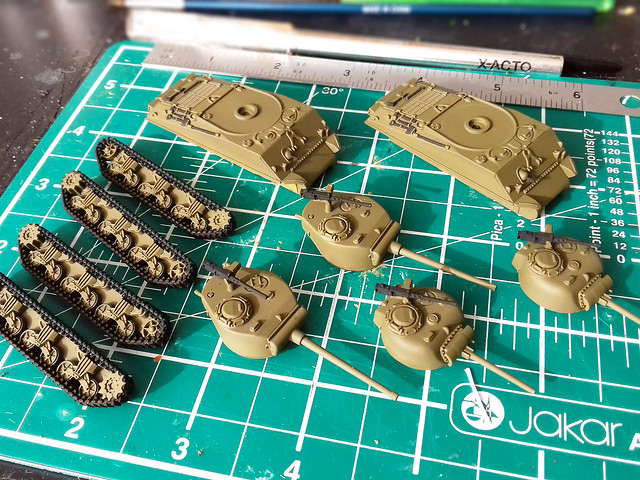
I primed my GF9 M4s (make by Battlefront, I believe) with Humbol Olive Drab acrylic spray - as I no longer have an airbrush, so it's back to basics. This is a lovely warm, slightly yellow tone, US OD, and as usual, the Humbrol paint goes on nice and smooth despite coming out a rattle can...
I chose to prime these models in their main sub-assembly groups, rather than a complete model. This is mainly so I can get at all the fiddly nooks and crannies in the track components. I masked off parts of the components that I knew I would later want to glue together with poly glue.
After priming I started to pick out all the black base coat areas and bits that I wanted an underlying coat of black (like the tools). I'm trying out a black base for the tracks, as Sherman's tracks are characterised by large black rubber pads over the steel links. We'll see how that goes (they will be finished off with a coat of mud anyway.)
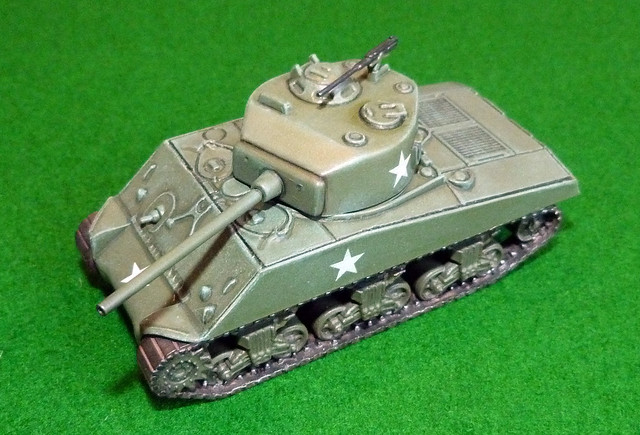
Once everything is base painted it's time for a quick coat of gloss and then the addition of the decals. The GF9 TANKS starter set does not include any decals, which is a wee bit annoying but I guess they are aiming the game at people who are maybe not so interested in modelling as gaming?
Luckily, I had plenty of spare US Army stars in my scraps box, the only downside is the set I have has no 'US ARMY' & vehicle registration number decals for the side (towards the rear). However, I had it in mind that I wanted these Shermans to be pretty generic/anonymous so I could use them as a basis for any Western Allied force I build (US Army, US Marines, French, Polish, British Commonwealth), so not having the 'US ARMY' lettering is a good thing...
A light squirt of gloss varnish over the decals to seal them and that's a job done. The gloss also is the preparatory coat for the next stage which is streaking and staining with oil paints.
Next: The 'weathering' phase...We are getting there!
Subscribe to:
Posts (Atom)