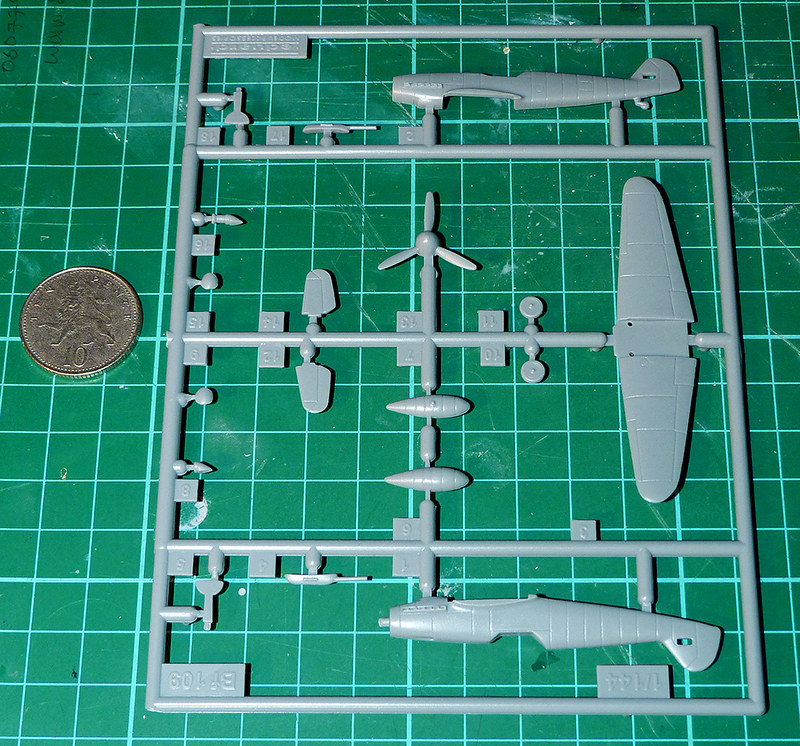
Well, there are only 18 parts plus two canopies (why two I don't know, as they appear to be the same type), with some of the parts being optional - like the wing mounted cannons and the fuel drop tank.
Initial construction was very straight forward, particularly as there are no cockpit details to worry about, just a blank cover hiding the interior.
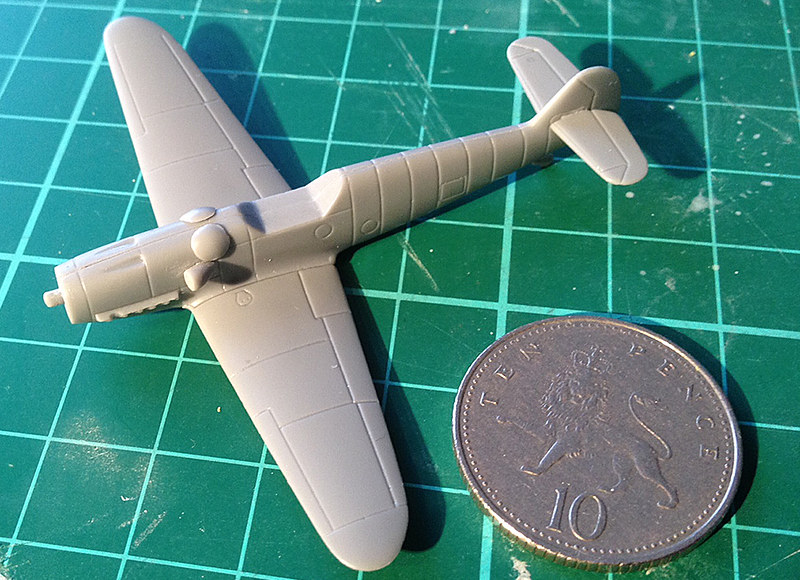
I did find the nose accessories (sorry not sure what they are) a little over-sized and not a terrific fit. In particular, the 'bumps' will need some filler to make them seamlessly blend into the fuselage. There are no wireless ariels, which is probably a good thing at this scale.
There is a noticeable seam join down the middle of the fuselage which I will have to fill.
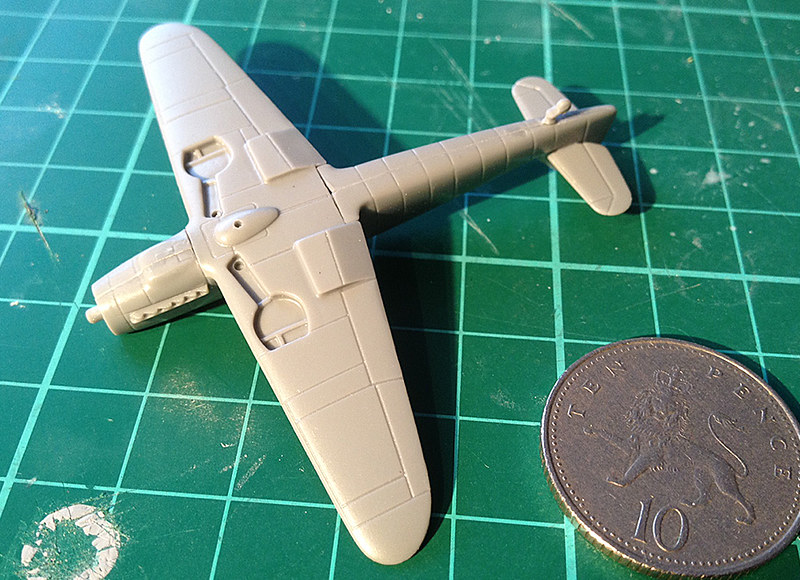
A bit more filling will have to be done underneath where the wing joins the fuselage. But the major problem with this kit - from my point of view - becomes apparent when you start to put together the underside. Eduard only supply an undercarriage which is designed to be fitted in the down position.
Now this is a problem because I want to mount my model in a flying pose, undercarriage up. However, the parts provided do not fit into the undercarriage 'wells' as they are - some modifications have to be done if you want your Me 109 in the flying state.
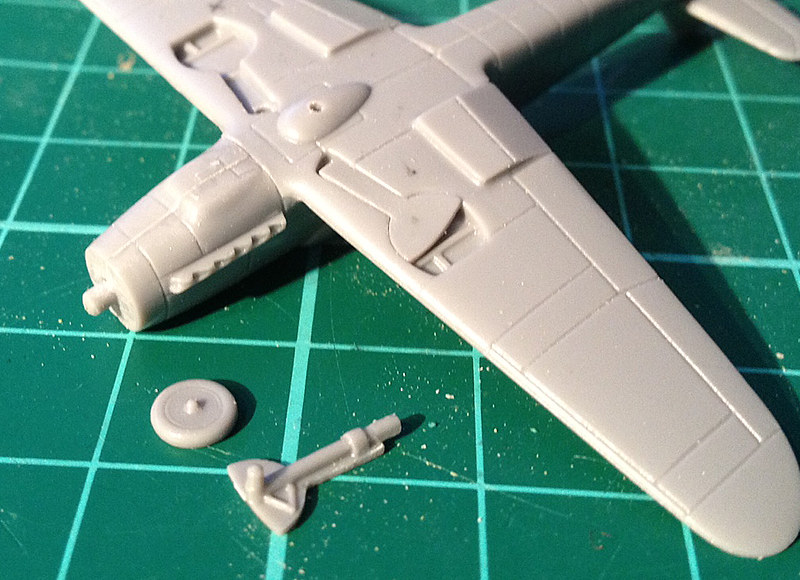
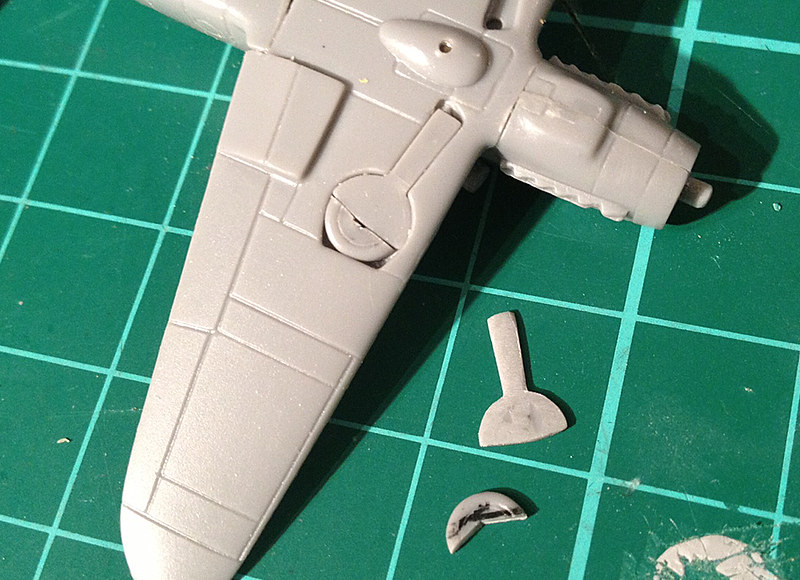
In the above photo you can see an unmodified undercarriage group of components next to a wing where I have inserted one of the wheel struts which I already modified by trimming off the landing gear.
Having removed the gear from the struts, so they lay flush in the gear wells, I will have to slim down and cut my wheels so they fit in the wells next to the struts. In the above picture you can see how I am most of the way through doing this to the right undercarriage. I will have to take some more off the thickness off the wheel though, so it appears to be under the strut rather than flush with it.
As I mentioned, I will not be fitting the optional 20mm wing mounted cannon or the drop tank. Instead I will be fitting some sort of flight stand, and I will also be making a piece of circular transparent plastic to represent the rotating propeller. That's what I'll be doing next.
Read Part 2 -->

Bloody small, isn't it?
ReplyDeleteI'll say! Thank goodness my JU-88 is a wee bit bigger. Still, it's a new experience. :)
DeleteThe 'bumps' are bulges for the ammo on the BF109G6. If you are building a Bf109F or a Bf109G1-5 just leave them off. (As I did on Tim's model).
ReplyDeleteDon't worry too much about the undercart. The simplest way for a wargame model in 'flight mode' is to throw away the kit parts and just fill the recess with putty. (no one is ever going to look at the underside of aircraft during a game)