Showing posts with label weathering. Show all posts

Wednesday, 7 February 2018

Zvezda 1/100 SU-152 'Animal Killer' - Part 2

Well, this project isn't going to take long!

...So, moving along briskly, it's on with the painting. And, because I've a pretty well defined painting plan for these Soviet tanks 'briskly' is the operatively word...

[Note: I took the pictures as I went along with my mobile phone - for convenience sake - so, unfortunately, the colour reproduction varied wildly, depending on the lighting. My apologies.]

1. Priming - Humbrol Light Olive Green
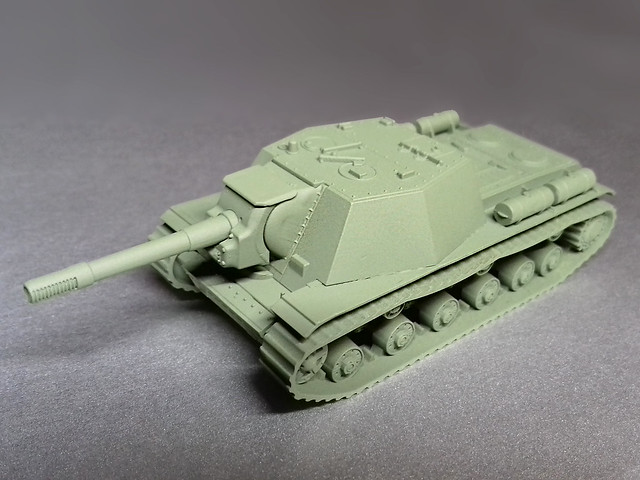

2. Modulation - Vallejo 'Russian Green' Wash
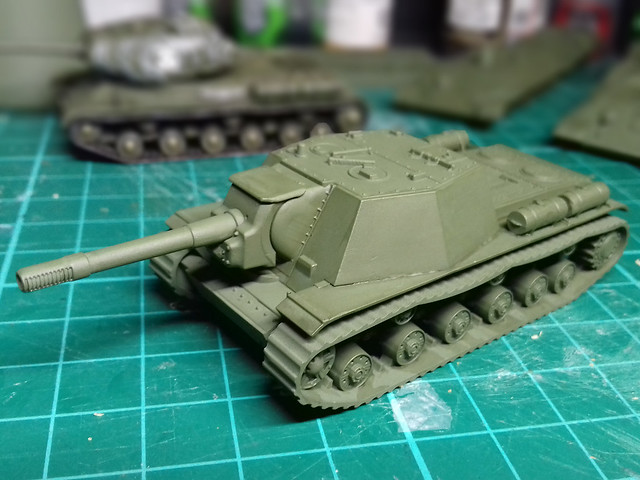

3. Painting Tracks - Basics
First stage in my track painting (for these 1/100s) is to base coat the tracks with a mix of 70/30 Vallejo Model Color 'German C. Black Brown' [822] and Game Color 'Plata Silver' [052]. This just gives the tracks a vaguely rusty-metallic lustre...
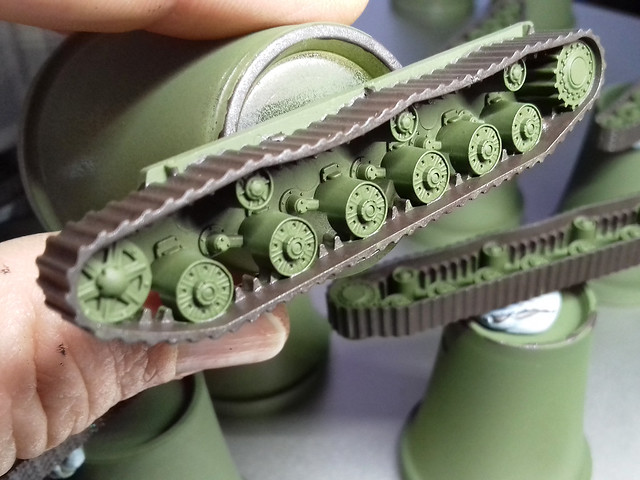
This shot shows the very basic nature of the track detail (or rather, the lack
of track detail)!
Next I brush on a dark brown wash of Citadel Agrax Earthshade (slightly diluted). But, be careful, as this wash doesn't seem to like too much water added and will sometimes dry with a white residue. I've been told that to avoid this you should dampen the surface you are applying the wash to first.

Anyway, the wash gives nice definition to detail and gives the base colour a slightly dirty look...
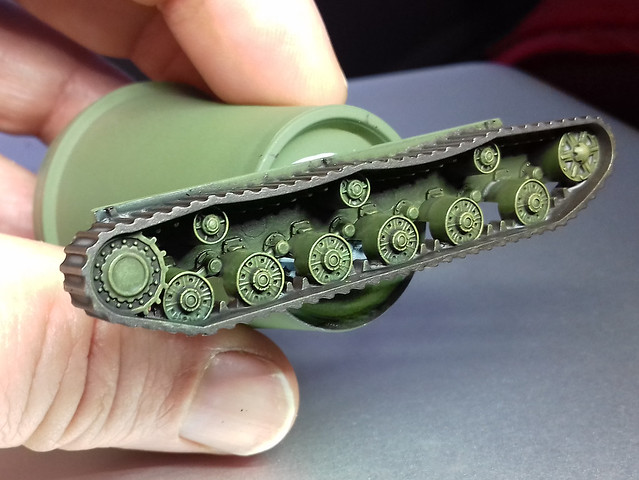
Compare this to the picture above. Notice how the wash has picked out the
details of the road wheels in particular.
On top of this I dry-brush a highlighting colour of Vallejo's Model Color Yellow Ochre [913] (mixed with a little Vallejo Model Air Russian Green for effect). This is just to make the most prominent detail 'pop' out a bit.

And finally (prior to weathering anyway), I do some pin-washing using Citadel's Nuln Oil shade [wash]. This is to deepen some of the most shaded detail in the road wheels...
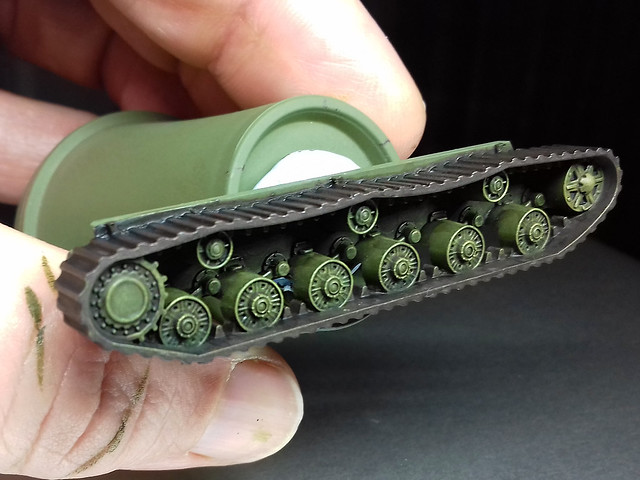
Yes, subtle I know, but believe me, some of the deeper detail is now better
defined and shaded. I may re-highlight a it, but otherwise onwards we go!
4. Highlighting (Dry Brushing) the Hull
These stages repeat the wash, highlighting and pin-wash processes described above. This stage is very subtle so I've skipped photographic it. BUT, it is worth doing as once the next stage of shading wash has been applied it gives some very subdued highlighting to raised edges and panel lines.

(As these are war-game models I've started experimenting with some high-contrast highlighting by using a little white. It's not very realistic per say  but it is a nice effect. I highlight with my yellow/green mix, then dry-brush a little whiter mix on top - just on the very most prominent features.)

5. Shadow Shading - Citadel Agrax Earthshade

6. Pin Wash - Citadel Nuln Oil
With the pin-washing done, this brings the hull and the tracks to the same stage of basic painting.


7. Decals
I'm not basing this tank on any specific historical vehicle, so the decals are just to add character to the model. I begin by a flicking through my collection of spare decals and found a set of - appropriately - large Cyrillic numbers ('14') that I thought would compliment such a big tank.

The model was prepped with a  light patch of Humbrol's 'Gloss Cote' on the hull where the decal would be placed. As usual, Microscope's Micro Set was used to help seat and set the decal in place...


Sometimes less is more with Red Army armour!

(Another light coat of Humbrol varnish would be applied on top of the decal to seal the transfer permanently.)

8. Chipping, Grime & Weathering
As this is a war-game model there will be plenty of character about it, and this includes a slightly exaggerated amount of weathering. This is definitely 'just for fun' and not strictly historical.

I'll start with chipping as, it seems to me that, grime and dust would naturally occur on top of chips and scratches (maybe). I use Vallejo's Panzer Aces Dark Rubber [306] and dot and dab it in minute patches and scratches on areas I think would see wear and tear...
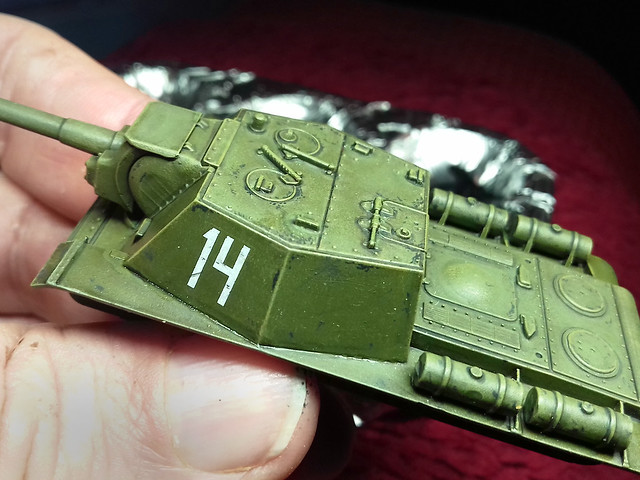
It's debatable whether - at this scale - small detail effects like chipping are
needed. I shall decide when I see the finished model.
Aside from the grey ('flakey paint') chips I'll additionally add the occasional speck of silver to simulate chips that have gone down to bare steel (like chips on hinges and wheel rims, etc). I could add some touches of graphite pencil to get that metallic look to the surface (I shall try this out on the bottom of the hull first to see if I like it.)

And finally, I'll add a few grime, stain and oil streaks to the hull and slightly discolour the decals to get rid of that 'new' looking brightness.

9. Finishing Tracks - Weathering
As above, there will be a touch of chipping and silver flecks to imply scratches (I also did a little silver dry-brushing to give a metallic sheen to the steel tracks). But the main job will be to add dust and dirt (or mud if I want a very weathered look). This is the bit I always dread as it's so easy to get carried away. So, before the mud...


(Edit: I thought the tracks looked a bit flat - in tone - so I added a wash of Vallejo's Game Color Wash in Sepia Shade [200]. This added a nice tinge of rust to the bare steel of the track links.

And, after the mud...
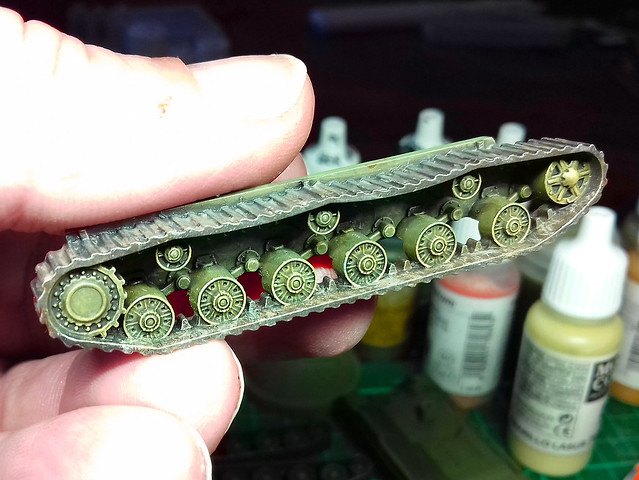
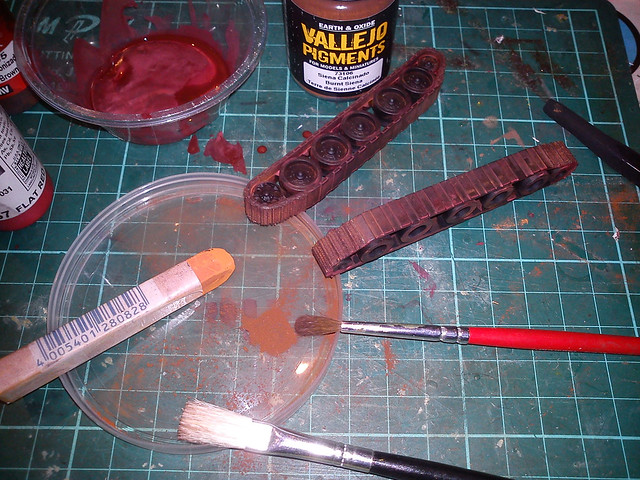
I'm not happy with my 'mud' technique yet. I keep trying out new medium, in
this case it's Tamiya's Weathering Sticks. I think I prefer powders.
10. Finishing Up...
Well, I just can't resist tinkering and I did some more chipping and streaking. But that's normal with me - I just can't leave well enough alone!
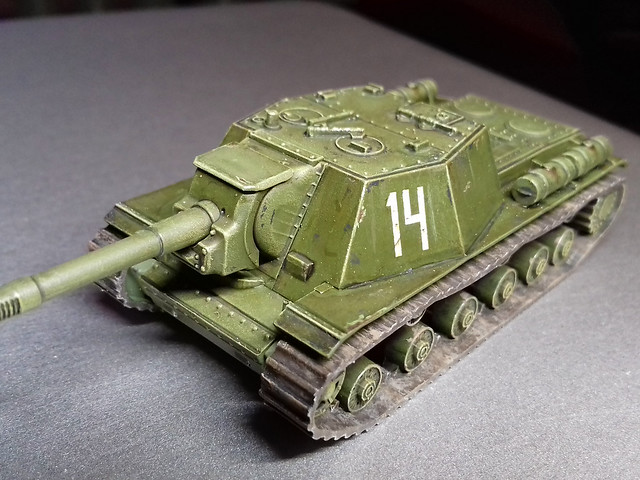
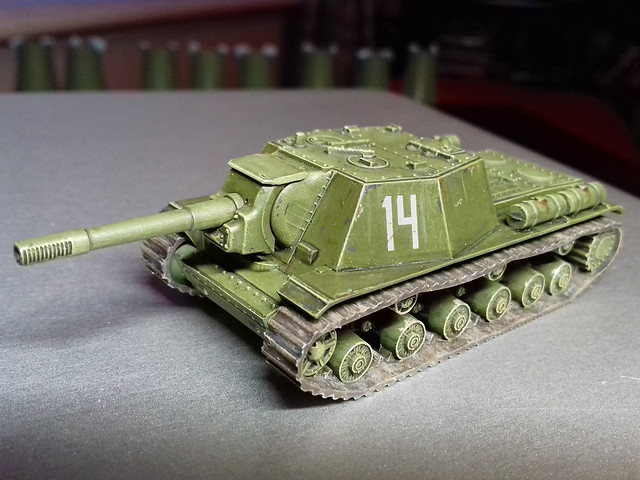
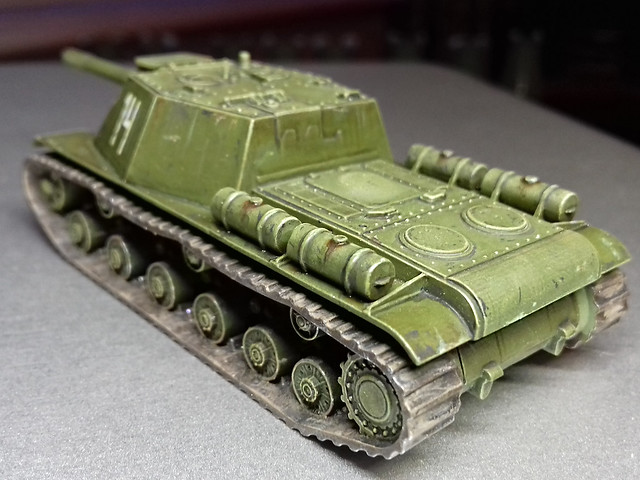

I'm fairly pleased with this model, though a little disappointed with how the tracks turned out. It's perhaps half to do with how simplified the tracks were - offering scant detail - and half my poor 'mud' painting technique (I shall have to practise with some other medium).

But, let's not get too negative...This is a perfectly fine war-game piece for GF9 Tanks, and that's the main thing.

All that's left if to varnish the model. I'll probably go with several light coats as it's intended to be handled. Other than that, it's on with the next models in this project - my T-34s.

Tuesday, 30 May 2017

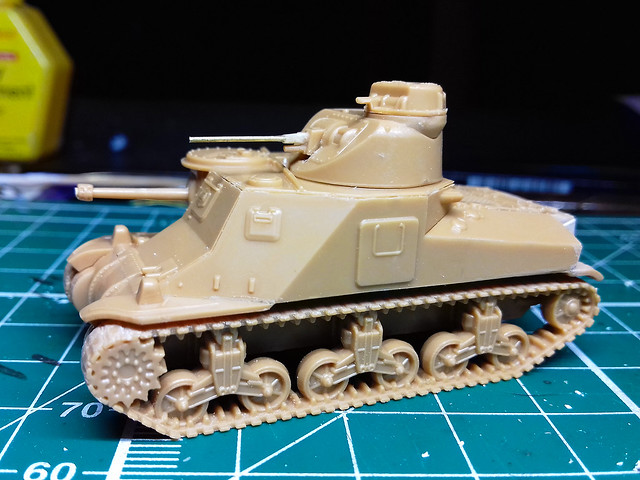
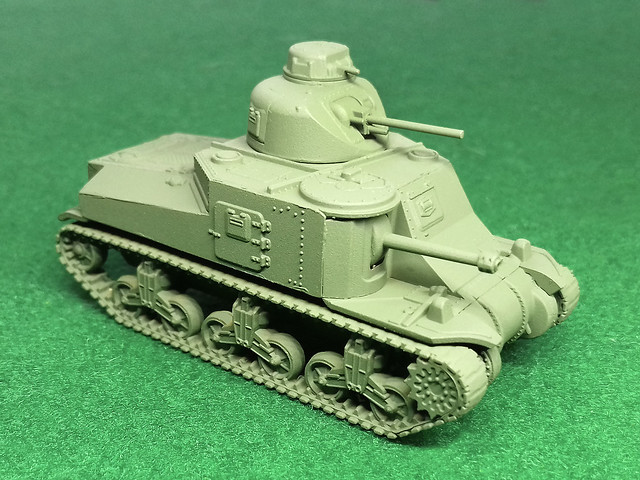
Zvezda 1/100 M3 Lee - Part 2

Before moving on, I decided that I needed to do something about the kits exceedingly flimsy 37mm gun barrel. There's no doubt in my mind that this would quickly break off while being handled during a game so I am replacing the plastic barrel with a piece of brass rod of roughly the same diameter...


The Painting Process
Onto my usual painting regime now; priming, base coating, (decaling), wash, staining/streaking, pin-wash outlining and then varnishing. Priming will be done using Humbrol's [86] Light Olive Matt - Acrylic Spray Paint, this should give a slightly faded US Olive Drab suitable for the Pacific theatre.


Amusing note: You'll probably be thinking 'that 37mm looks thicker than it did in the last picture'. And you'd be right, I broke off my first attempt at 'improving' the barrel! So, I had to have another go and this time I drilled right into the turret and superglued in a thicker brass rod. LOL

Decal Scheme
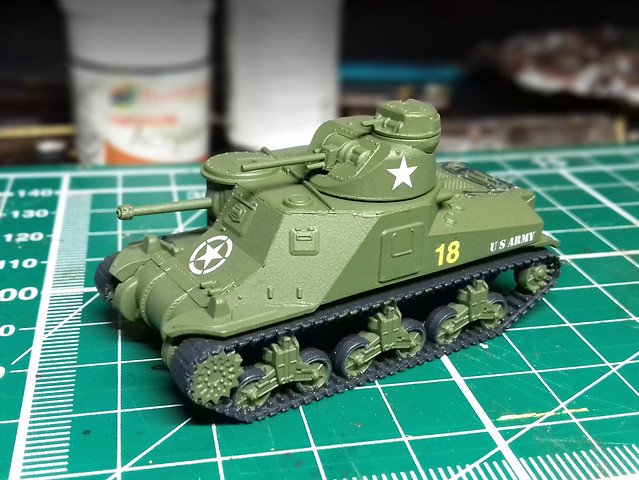
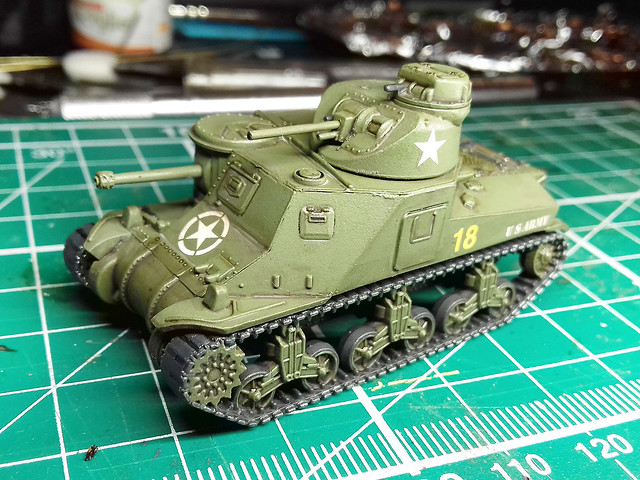
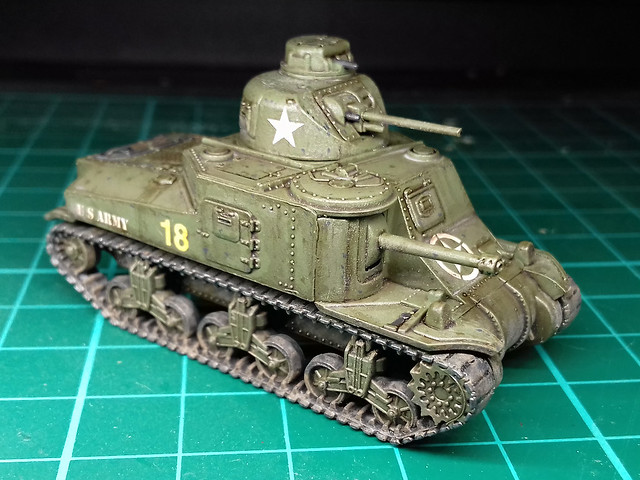
Because this model is for a game and will be used in a few different scenarios representing completely different WW2 combat theatres, I am using a little artistic licence with the decals in order to create a generic representation of 'a' M3 Lee tank in US Army service. The scheme is fictional...


Wash, Weathering & Mud
I'm going to try and go easy with the weathering and particularly with the amount of mud I will be applying this time. I was quite pleased with Tamiya's Weathering Sticks - which I used on my last 1/100 model - as I like this softer, more blendable medium. (Apparently, Tamiya's Sticks are just normal weathering powder pigments but mixed with a sort of cream or oil preparation. This makes them into something akin to cosmetic creams, like cheek blusher crème...Not that I'm an expert on lady's make-up you understand!)

But, before I start the weathering, I'll be applying what has become my 'usual' pre-weathering preparation of a wash of Citadel's Agrax Earthshade...


I'd like to try and go for dusty rather than overly muddy this time. I've never really mastered realistic dust and I'm thinking that I might play with eyeshadow powders and maybe some pigments (but added 'dry' onto the surface)...


The eyeshadow powder is a little bit granular compared to Tamiya's Master Weathering kit and their Weathering Sticks. I prefer the cream mediums a little better as the blend really well, creating a nice smooth - non-gritty - pigment film over the surface.
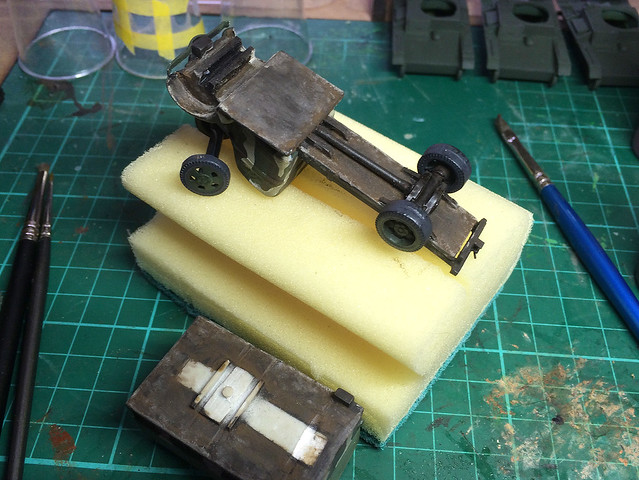
I added a little pin-washing effect with more Agrax Earthshade carefully painted into the panel lines and then finished off with some very fine line work using black ink for deep lines and the edges of doors and armoured windows and hatches.

And that's that for now, the tracks need some more attention before I finish this model off with a coat of matt varnish.

Thursday, 25 May 2017

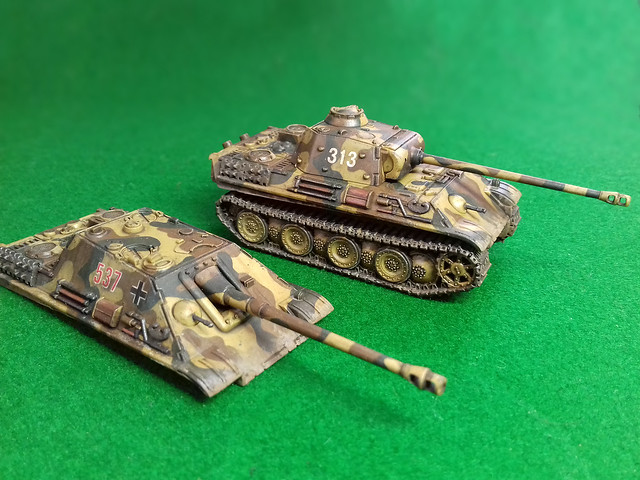
Battlefront 15mm Panther and Jagdpanther - Part 2

Applying the Wash
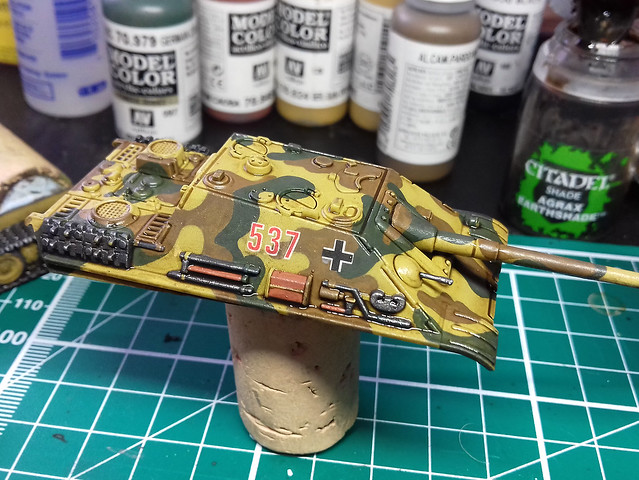
With all the base colours done it's time to apply the overall wash to the model. I'm using Citadel's Agrax Earthshade (again), diluted 50/50 with water...


Aside from adding a 'dirty' film all over the model, giving the basic paint coats a stained and 'aged' appearance (which I like) the wash also gives definition to panel lines and outlines other surface detail.

This replaces, to some degree, the pin-washing technique I normally use (usually after weathering) on larger scale model projects. Though, I will still be applying pin-washing to pick out the most prominent detail (using Vallejo's Dark Brown Wash) as this is a far darker outlining medium.

The Agrax Earthshade is a medium brown wash and for most
detail, this will suffice as a replacement for pin-washing. 
While I'm quite pleased with this 'new' (to me) effect, I am aware that it does darken the base colours. I can, and do, put this down to a later of 'dirt', but I will have to be aware that if I want a fresher looking model I may have to start with lighter base colours.

Staining & Streaking?
Actually, I'm cutting out this process (where I would apply oil paint dabs and streak them) and I am using eyeshadow powders to achieve a similar, though softer, effect. This is another change in technique due to the scale of the model.

While my usual weathering effects can still look quite nice when taking closeup photos of the models I think they may be a little bit of over-kill as these small models are meant to be seen at arm's distance on a tabletop. So, I am starting to use broader, less focused weathering effects for my 1/100 gaming models.


Far Too Shiny and Chrome!
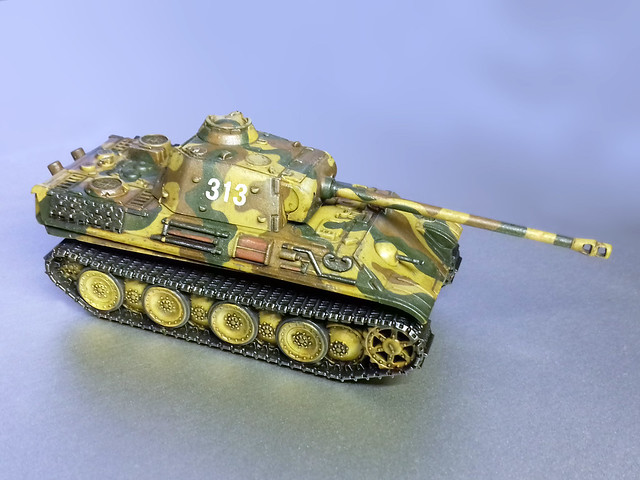
With the upper hull of both versons of the Panther done, I turn my attention to the lower hull and tracks. At the moment the tracks are far too clean and shiny. As with the upper surfaces, I am looking to a more 'cosmetic' medium to apply the effects I want.

Tracks are definitely a part of my tank models that I still have the biggest problem with. I haven't devised a satisfactory 'recipe' for painting and weathering them to a point that I am happy with the result. My previous results have all been a bit hit and miss.

So, let's have another go...


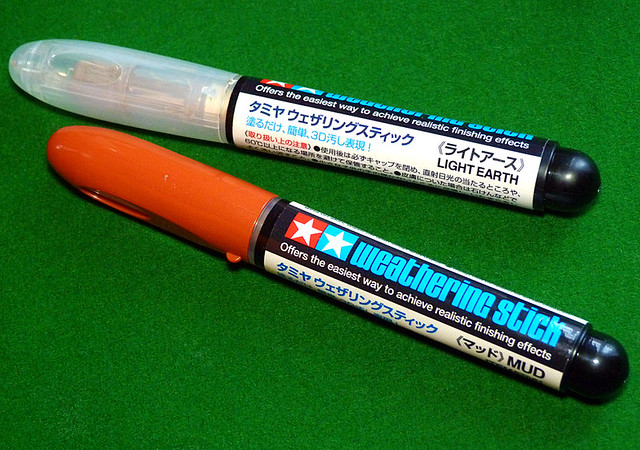
The medium I have picked to weather my tracks are Tamiya's Weathering Sticks (Light Earth and Mud). Nothing new that I haven't used before BUT I recently discovered that these cosmetic type sticks can actually be mixed with water to produce a creamy paste.

I used this technique On my 1/100 Stuart model and although I didn't quite get it right, I like how this cream approach was slightly more controllable than the powder method (with pigments) that I have been using. So, let's have a test on the bottom of the tank's chassis...


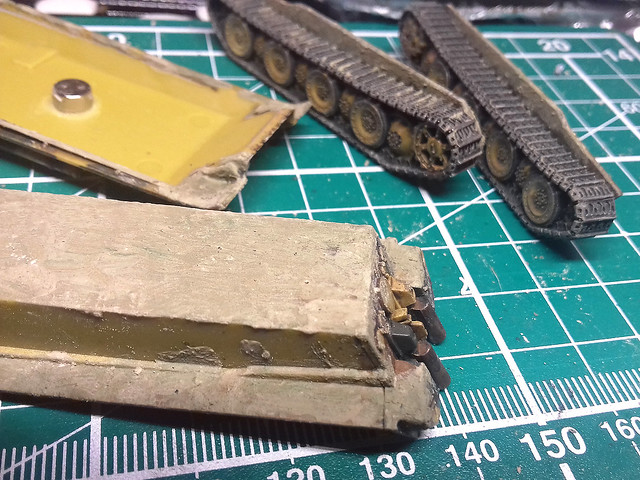
Because I wanted to add so much mud to the chassis I started by adding a thin coat of pigment mixture to give some texture, then applied the weathering stick medium over this. This saved on weathering stick and gave a mottled multinational mud effect.

So, in effect the pigments provide coverage and a base with the weathering stick medium softening the edges of where the mud ends. I haven't mastered this technique yet, and I've overdone the effect a little on this model (too much mud) but I'll go easier the next time. However, I am happier with this method than I am with the all-pigment method I used on my 1/100 Shermans where the mud was far too thick...

Pigments on the bottom, merging into Tamiya Weathering Stick medium on the
front-upper hull for a softer transition.
You'll notice what I mean by the fact that I have managed to retain the track pattern detail, instead of coering it up which I did with my heavy-handed approach on my Shermans. Here's the result...


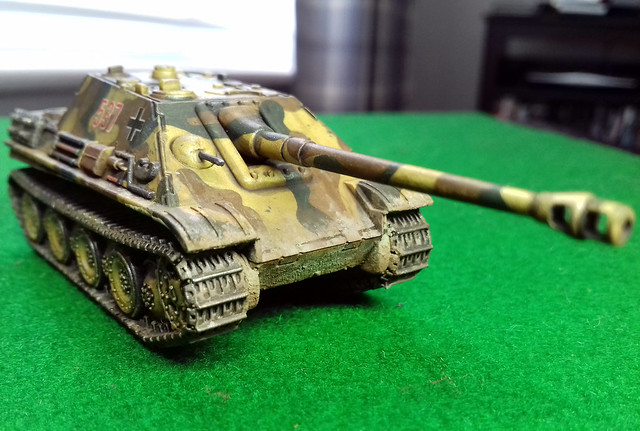
Nearly, but not quite, happy with the result...Yet!

Next: Protective varnish and completion photos.

Wednesday, 10 May 2017

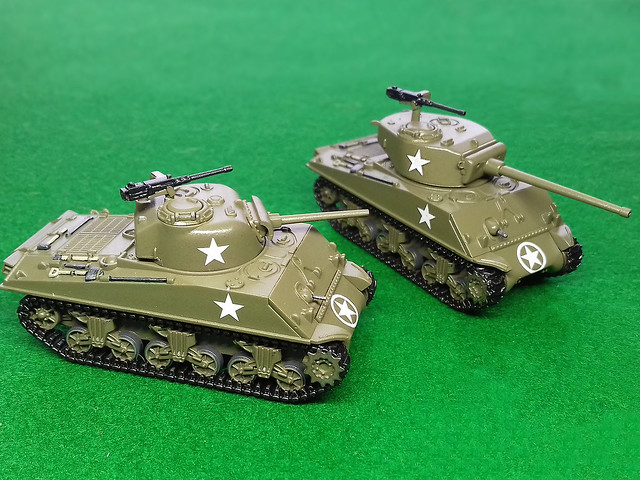
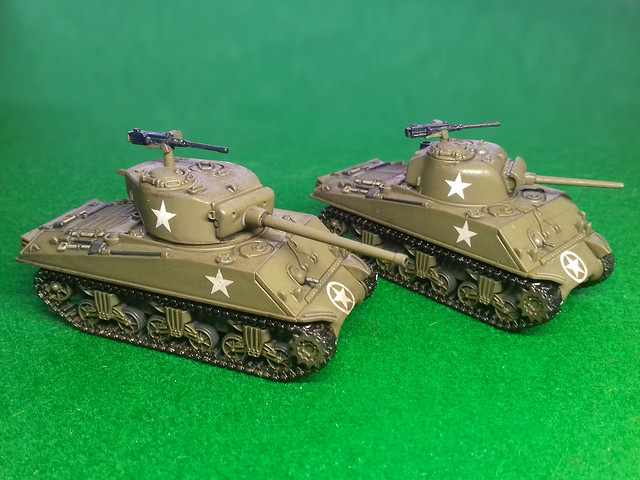
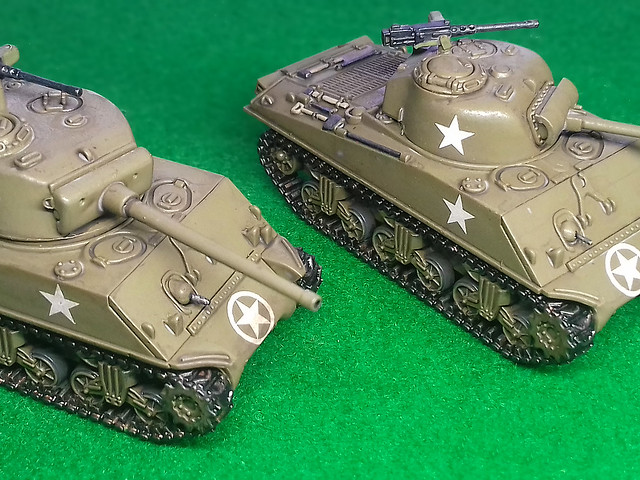
15mm Scale Shermans - Part 2

I'm experimenting with and modifying slightly my 1/72 scale painting techniques for the smaller 15mm scale models. Because of the smaller scale, and commensurately smaller detail, painting is a little more 'impressionistic' and I am doing things with broader brush strokes than normal.

Here's where I left off. A bit too clean and sparkling for my tastes.
I have seen plenty of very experienced 15mm scale model veterans paint in this scale to a very high degree, to the point where you think they are working on a larger scale. But, as I am fairly new to this diminutive scale I am going for a wider picture and fudging the minutiae a bit.

So, here's the process I've planned...

1. Taking the Shine Off
My newly base painted Shermans look a little too factory fresh for my liking. Sure, they might have looked something like this fresh straight off the landing craft (if not so glossy) but I prefer the dustier 'seen some action' look to my tanks.

So, the first job is to take the shine off by applying a very light overall wash of Citadel's lovely Agrax Earthshade. I dilute the wash slightly with some water as I want a soft surface dirt effect and not the deeply ingrained mucky look that neat Agrax normally gives...


The wash effect is subtle, but it just scuffs off the shine so they don't look like
brand new tanks. The wash also defines some of the detail (like a sort of pre-
pin wash) and you could leave your tanks like this, as if they were just off
the landing craft. But I want to go a step further - say D-Day + 30 days.
This stage is - in effect - a 'pre-weathering' preparation, so I conclude this phase with a light coat of gloss varnish to protect and preserve it.

Next: Stage 2 - Staining & Streaking with Oils.

Sunday, 24 July 2016

Hobby Boss 1/72 Spitfire Mk. Vb - Part 5

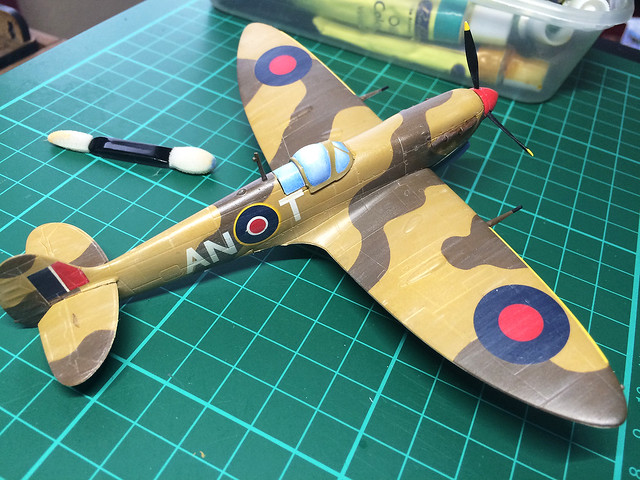
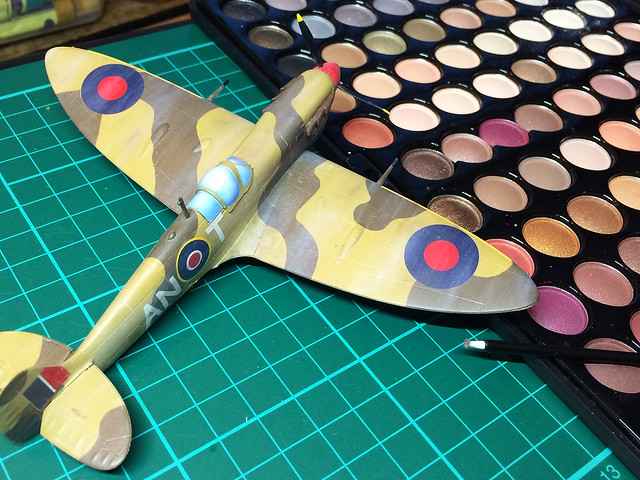
Continuing on with the first stages of the weathering of my desert Spitfire, I've applied the 'bleaching' on the top-side of the model using oil paints...


Once this was done, I decided I wanted to apply a little more bleaching - best to do a little at a time so that it's easier to gauge when 'enough is enough'. But, this time, I decided to turn to the eyeshadow makeup medium that I started using recently...


That's better - I'll stop there. I have to bear in mind that there are proceeding stages of weathering (shading, pin-washing, chipping and highlighting), so the overall effect will be cumulative so easy does it).

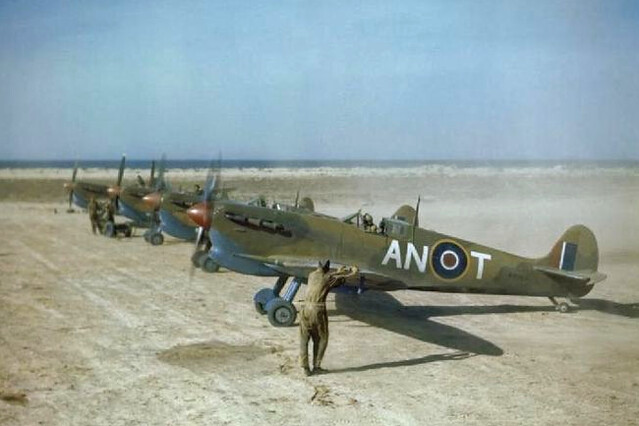
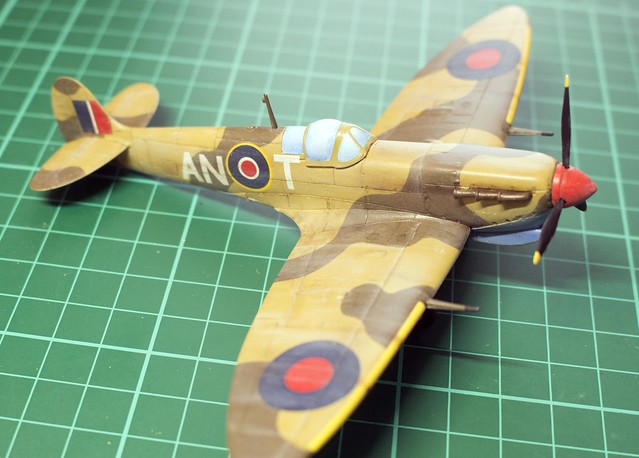
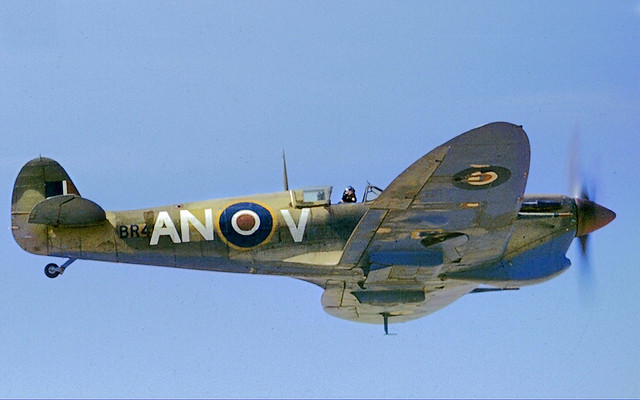
Oh, look who it is! AN-T - RCAF Spits in Tunisia, 1943.

Pin washing...How much?
I'm not quite sure how much or how aggressive my pin-washing should be on an aircraft. Looking around at what other aircraft modellers are doing the intensity of pin-washing seems to vary enormously - from modellers who deem it completely unnecessary, to others who pin-wash heavily - to the point that they nearly outline ever panel in near-black!

I'm going to try out the middle ground, with some mild pin-washing in a subtle complementary colour...


I'll stop there,  I've tried to be subtle, not aggressively outlining every panel. I used AK Interactive's Enamel Wash Dark Brown as this is my tried and tested 'go to' product for pin-washing. I like it's greasy brown colour whatever the base colour as it's about adding grime into recesses.

You'll notice I also used the AK wash to add darker streaks and some light 'shading' to accentuate panel shapes. It's not such a delineating a technique as pre-shading, which precisely marks out the division between each panel with subtle shading, but the translucent 'grid' effect pre-shading creates is not to everyone's taste.


Highlighting - accentuating panel contrast
As it stands, the effect is a little 'flat' so the final stage of this shading stage is adding the highlights. By adding some very light, contrasting colours, I hope to give the surface an enhanced 3-dinesional aspect or depth. Well, that's the theory anyway.

I'll be using coloured pencils for this, with the ability to sharpen pencils to a very sharp, precise point I should be able to add very delicate highlight lines around small areas...


Well, that's about it I think. I could add some chipping, but I don't think it really needs it. All I really need to do now is seal my weathering by giving it a very light coat of matt or satin varnish and I think I'll call it quits on this one.

Next: Completion photos.

Friday, 22 July 2016

Hobby Boss 1/72 Spitfire Mk. Vb - Part 4 (ish)

Losing track of installments now, what with all the little niggling hic-cups. But, back on course now...

Weathering - bleaching and staining with oils
My post-shading attempt having failed I will have to do all my shading 'post' and I'm simply going to follow the same steps as I have with my vehicles. Not being all that experienced with aircraft models I'm playing things by ear.

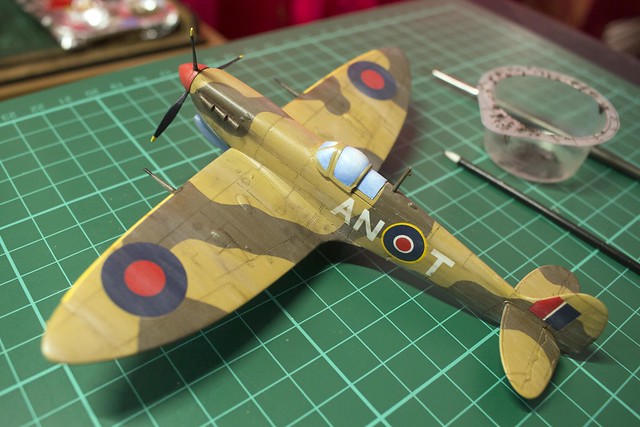
RCAF Spitfire Mk V, 1943, No 417 Squadron, flying over the Tunisian desert.
So, as usual, I'm starting by 'bleaching and staining' using oil paints. As this is a desert aircraft I'm assuming there was certain amount of sand and sun damage to any paintwork.

While I don't know that much about the RAF's Desert Airforce I do remember what Derek Robinson wrote in his story of WW2 North African air warfare - 'A Good Clean Fight'.  He described the effect that the desert had on aircraft, he said that they looked like they had been 'sanded'.

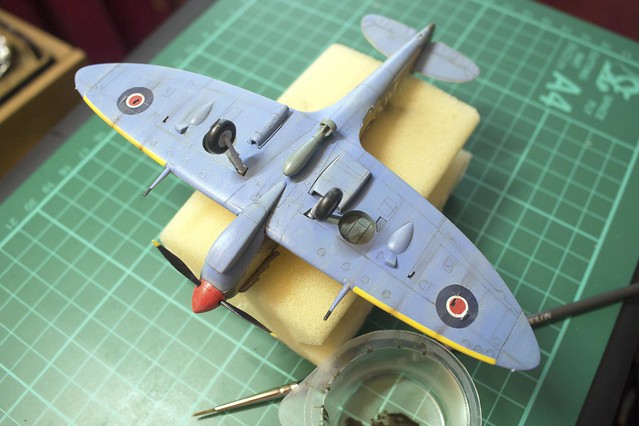
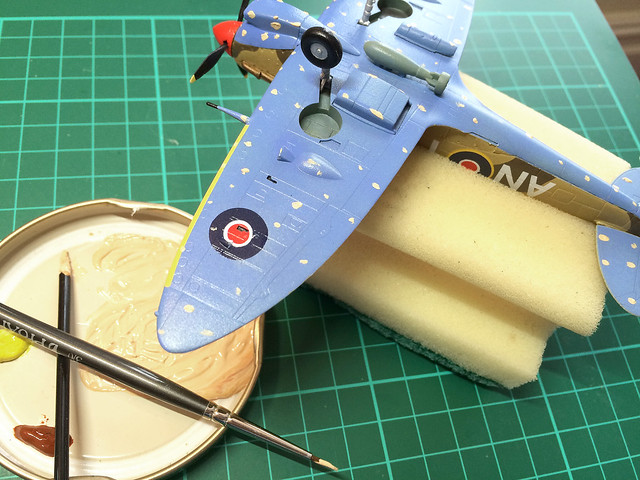
I mixed some of my oils into a cream colour - I was hoping that this would give a sandy tone to the weathered underside...


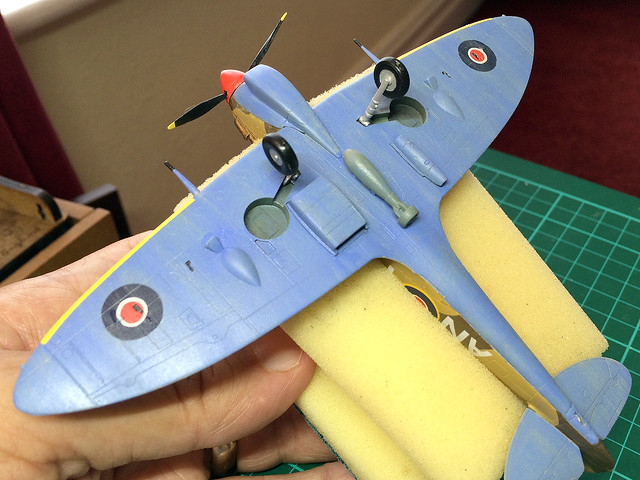
Then using a brush wetted with thinners I smeared the paint across the model, giving the surface blue a faded and blemished look (hopefully)...


The effect is subtle, but the original Vallejo Azure Blue has been toned down quite a bit. Of course, depending on how beat up you want your model you could add more spots of poil paint and more streaks. If I want darker stains I'll add some small darker brown spots and smear them.

A quick, light coat of Humbrol Matt acrylic varnish should seal the oil paints (which would smear if not sealed) and then I can move on - add additional weathering or apply shading or highlighting.

Next: The top side - same treatment, but with slightly darker coloured oils.

Sunday, 3 July 2016

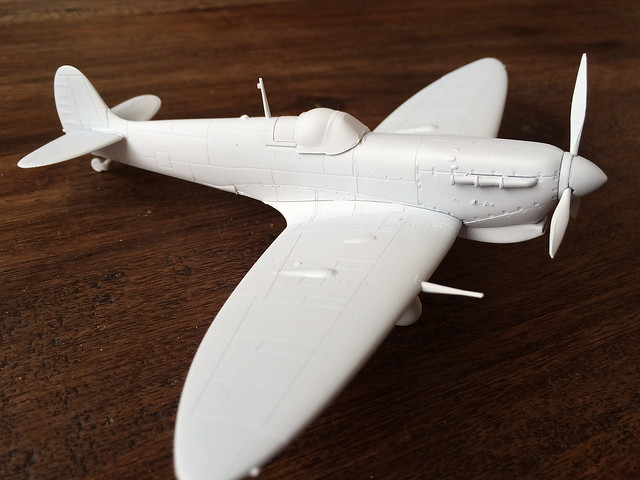
You live and learn...Airbrushing fail!


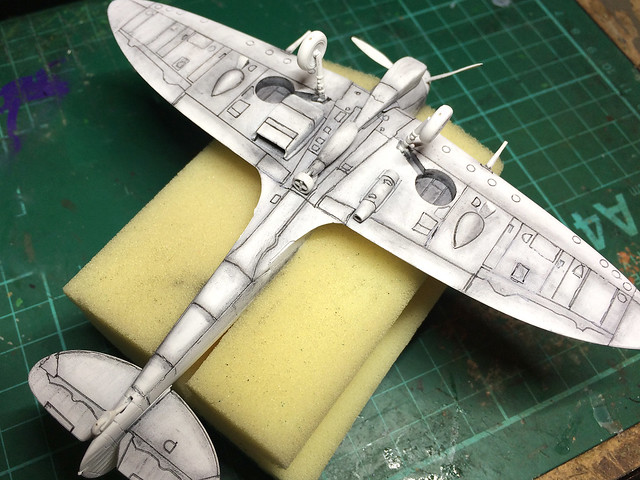
I fancied getting a bit fancy with my Spitfire Vb paint test model and do a bit of pre-shading. It all started out very well, outlining panels and applying powders to get a dirty panel look...


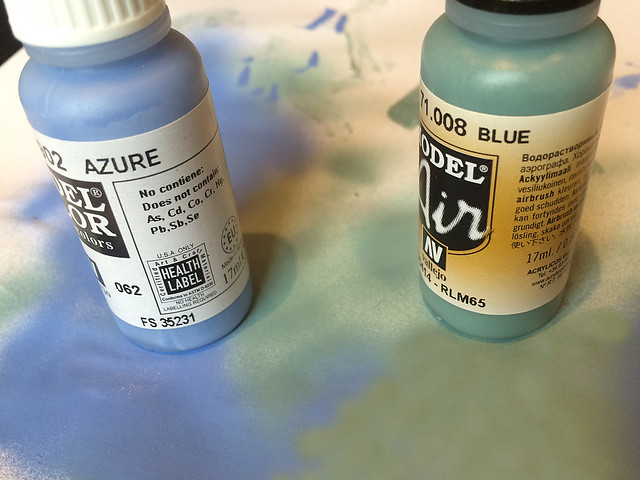
But, unfortunately, there were a couple of flaws in my cunning plan. First of all, I made a schoolboy error in choosing my paint for the underside - though, to be fair, I consulted a couple of forum threads on the subject of WW2 RAF desert schemes and was convinced that VAllejo's Model Air 'Blue' (xxx) was an appropriate colour for the underside of my Spit...Wrong!


Yes, I did think, at the time, 'that looks a little green', but I thought it might dry a little different. It didn't - so I had to rectify my mistake by over-spraying the green with Vallejo's Model Color Azure (proper blue) instead!


Of course, after two coats of colour I had completely obscured my carefully applied pre-shading.

But, hey-ho, that's what a colour test is for I suppose - it would have been worse if this was the actual project model. Also, I have now come to the conclusion that subtle air-brush effects like semi-transparent pre-shading are beyond my entry-level Revell airbrush.

It's a great brush for applying flat coats and a step up from the rattle-cans I used to use, but a bit ham-fisted for anything delicate of that demands fine control.

I'm afraid it's back to the drawing board, and I will revert to my tried and tested post-shading process using powders and oils (which I am quite comfortable with having had some successes using these mediums with my vehicle models).

You live and learn.

Monday, 20 June 2016

'Quick' (Really?) Paint Test

As mentioned in my last post, I'd like to pause my Tiger Cartoon P-40 in order to experiment with some painting techniques and styles. I also mentioned that one of my local stores (Boyes of Yorkshire, England) have had Hobby Boss aircraft kits on discount for a while now (£4.75), making them cheap and cheerful 'guinea pigs' for modelling projects.

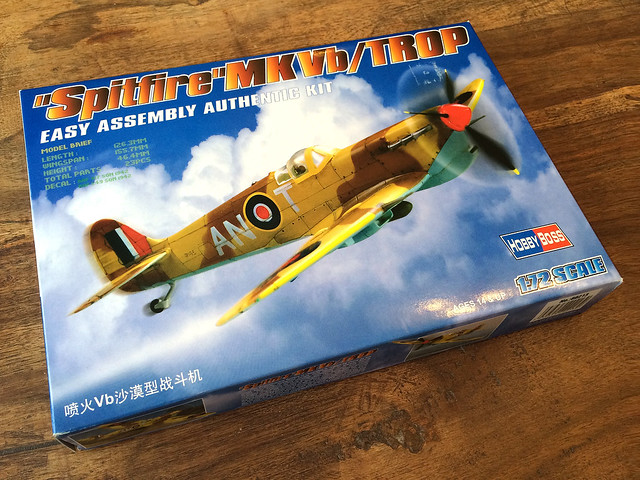
Well, I left work early today and popped down to Boyes only to find that they were having a sale. Not only that but one of the Hobby Boss kits available was a Desert RAF Spitfire Vb (my favourite mark of Spitfire)...


Guess how much? ...Only £2.25!

Now, experienced kit builders might say 'that's about how much some of the Hobby Boss kits are worth' (ironically, their Spitfires, in particular, are dubious representations). But, for a 'test canvas', they are an absolute bargain.

Quite pleased with myself (...And they had a Wildcat and a Tempest too, may have to go back on Wednesday if there are any left!)

By the way, this is quite a nostalgic 'mini-project' as this is the first time I have made a Spitfire since I made one of the venerable Airfix Series 1 Spits when I was a kid!

Oh and, PPS, for those that asked me how Hataka paints go on using a brush, I will be finding out with this kit!

Thursday, 19 May 2016

Weathering products - cheap and cheerful

I have been very fond of Tamiya's Weathering Sticks...


This soft, oily crayon type medium adheres very well to the surface of your model, either as greasy layer or in clumps. As such it's great for creating mud effects. But it's not exactly subtle, for more even semi-opaque dust effects I have been using powder pigments.

But getting powders to stick to a surface means you have to add some form of binder (or fix the pigment using a spray varnish).

Powder pigments - whether specialist makes like Vallejo or Humbrol or my cheap
variation using artists chalks - require a fixing agent to adhere the medium permanently.
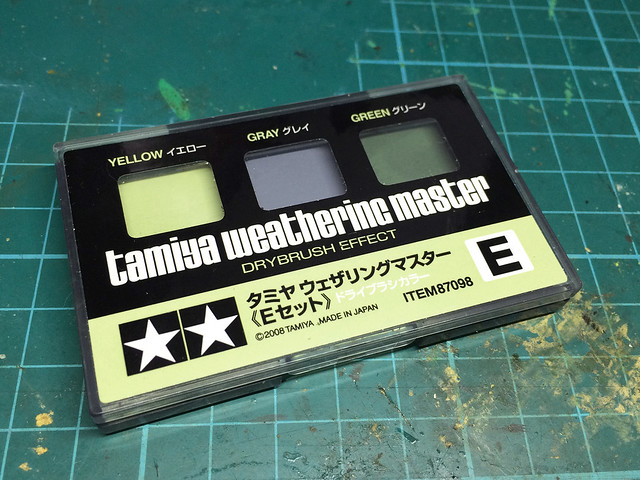
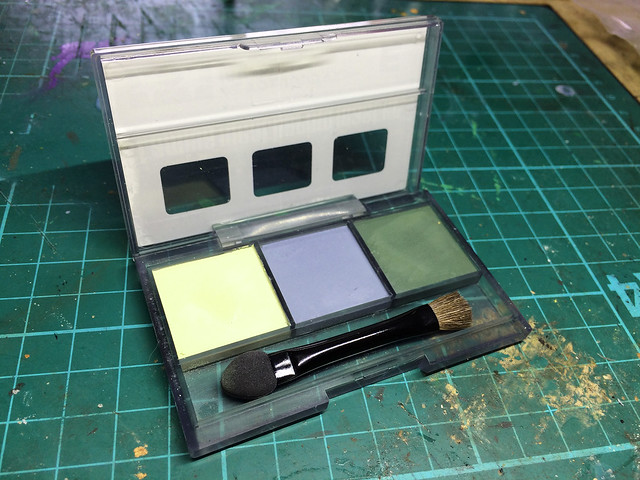
I recently came across another Tamiya weathering product that has some of the properties of both pigments and weathering stick, called Tamiya Weathering Master 'Drybrush Effect' (£6.98).


This medium has the consistency of powder but incorporates a very mild binder so that it sticks to the surface to which you apply it. It isn't oily - like the weathering stick medium - and can be brushed on delicately (like a dust) or applied a little thicker (like a cream).

In fact, this medium reminded me of something...

I had shown the Tamiya set to my daughter and she agreed that it did look like eyeshadow (or cosmetic powder/cream of some sort). I'm sure it's not, but the similarity in texture was hard to ignore, so I popped into Boots and picked up a box of very cheap eyeshadow (£2.99).

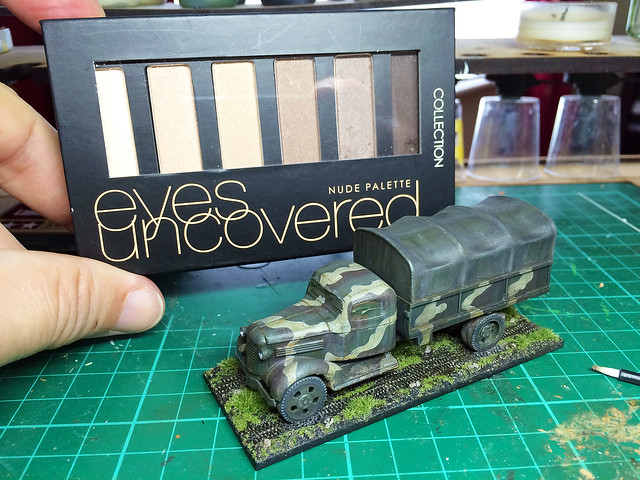
For my £2.99 I got a set of 6 eyeshadow colours (as opposed to just the 3 in the Tamiya weathering set). However, the very first ting I noticed were that a couple of these were vaguely 'metallic' or glittery!

Another quick chat with my daughter informed me that you can get matt eyeshadow, so that's something to be aware of if you decide to try this out for yourself. I tried out the colours that were matt(ish) on my 37 Chevrolet model, and got some reasonable results.


There is a difference between the Tamiya weathering medium and eyeshadow (unsurprisingly, otherwise that would be a huge rip-off)! The main difference being the consistency of the binding agent used - the Tamiya medium is a little more sticky than eyeshadow, eyeshadow being more powdery.

I'd say that eyeshadow, then, is halfway between pigment powders and the Tamiya weathering medium. It's actually quite nice to use, just having that slight adherence that powders only bearly have (without adding a binder or fixing agent, powders tend to wipe off as easily as they go on).

Eyeshadow can 'smear', being a tiny bit oily. But they are a little more subtle or translucent than Tamiya's weathering 'cream' (sorry - I'm struggling here to describe the various mediums precisely).


So...Is Tamiya's Weathering Master Drybrush Effect set just expensive eyeshadow? No. It's subtle but the levels of binding and translucency are different and the Tamiya product is obviously designed with modelling specifically in mind (as it should be).

But...Eyeshadow is an interesting medium in its own right and does offer some unique properties that compliment you other weathering mediums. It's all a sliding scale and depends on how 'sticky' and how translucent and how much you want the medium to spread, but eyeshadow will be a part of my weathering toolbox from now on.

...Oh...And one more advantage of eyeshadow, when you compare it to Tamiya's set. You do get a lot more bang for your bucks...


Above: Having satisfied myself that eyeshadow is worth adding to my weathering palette I splashed out on a larger set. The set shown includes 88 colours, and despite about 20% of them being a bit glittery or metallic the £8.99 they cost me still makes eyeshadow a very cost-effective weathering medium when compared to 'specialist' modelling mediums. Note the subtle gradation in colours and tones.

Sunday, 24 April 2016

Minairons 1937 Chevrolet 1.5ton truck - part 8

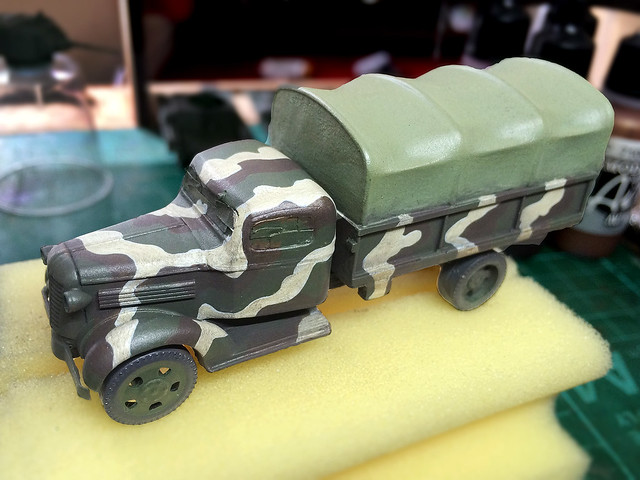
I'll start this episode by taking a step back. In Part 7 of this project, I was left feeling quite unhappy with the colours I painted my Chevy. They just weren't right - so I had to do some tinkering!

Now, this can be a gamble, as over-painting unsatisfactory paint coats (rather than stripping them back and starting again) has all sorts of pit-falls. But, primarily, slapping on an additional coat is bad in that - obviously - it thickens the amount of paint you have on your model...


Well, it doesn't look too bad (from a distance) but you can make out a bit of streakiness. This is because I attempted to off-set the paint thickness issue but using a thinned (near wash) consistency of the paint I used to rectify my colours. Close-up, it is a little 'bumpy' in places, but hopefully the varnish coat - which I will apply next - will smooth this effect out a little.

There's very little to see on the underside of the model - Minairons keeping this very simple - and so I didn't bother too much with painting and weathering. I just applied a couple of dark and muddy looking layers, after all, it's underneath and will be hidden once mounted on its base...


Weathering the Chevy
Before weathering, you have to decide what look you are going for. This entails you - the modeller - giving your model a back story. Is your truck old or new, what were the conditions in which it served, what was the weather like, etc, etc. This will dictate just what kind of state the truck would be in.

I decided that - by 1944 - my 1937 Chevy would have been a little beaten up. But I wanted it to be more dirty than neglected, so less rust and chips and more grime and dust!

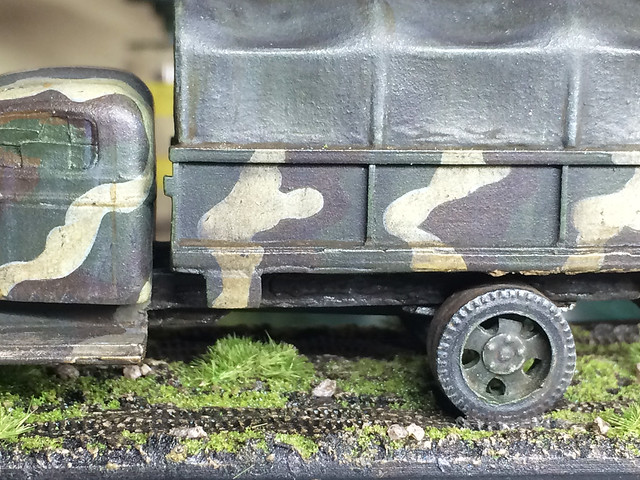
The first part of this process was to apply the base dirt layer, and for this started with a dusting of Humbrol's 'Smoke' pigment (I could have used charcoal powder as an alternative)...


This gives a nice 'grubby' effect, and tones down the pristine camo scheme a bit.

The next phase in the weathering is my oil paint 'staining and bleaching' work. The usual process where I dab the model in a variety of 'dots' of oil colours, then I smear them into streaks using a wide brush which has been wetted with some thinners.

Going dotty! Yeah, a bit over the top here.
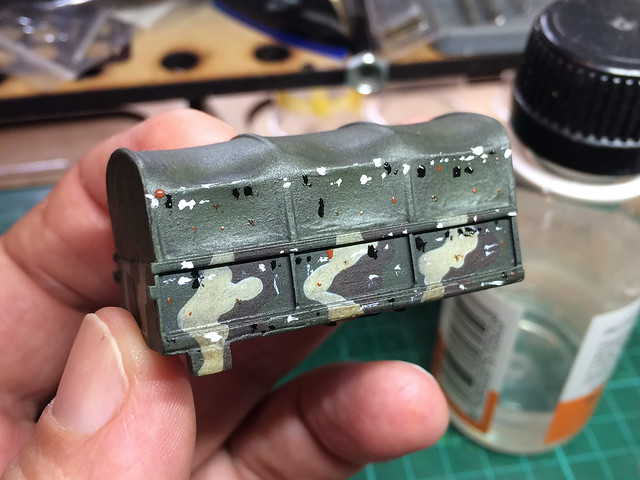
The above picture gives you and idea how I begin my oil streaking and staining - by applying a multitude of colored dabs of oil paint. I've probably gone a bit over the top here (I normally just do a few dots at a time) but I wanted to experiment with a multi-tonal effect.

The great thing about staining with oils is that you can more or less scrap the whole thing and start again if you are unhappy. So long as you have a good underlying varnish layer to protect the work that has gone before, you can wipe off your oils with a tissue which is damp with thinners.

You then just streak your dots in the pattern you want with a broad brush which is damp with thinners...

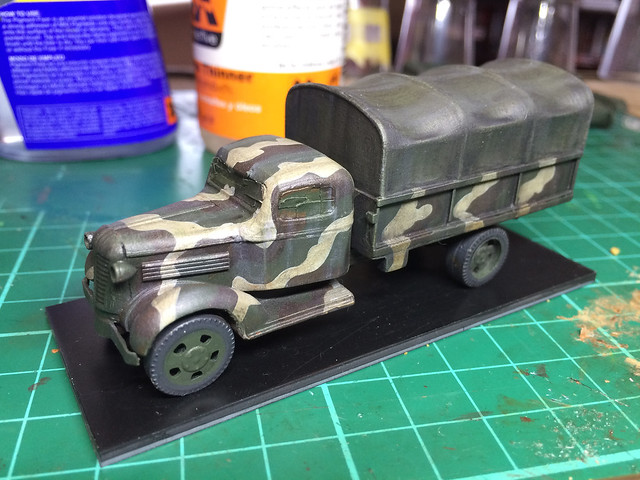
You dirty, dirty truck!
Oils give a nice greasy and oily stain (naturally enough) which looks particularly nice on tarpaulins. Overall, this truck is as dismal and filthy as I imagined I would like it now. The Finns actually took very good car of their vehicles (as getting new ones was nigh on impossible for them), but as a frontline vehicle I guess there wasn't a lot of time for a wash and scrub up!

Next: Chipping and pin-washing stage (plus, I make a start on the base).