Friday, 12 May 2017

Something for the Weekend, SIr?

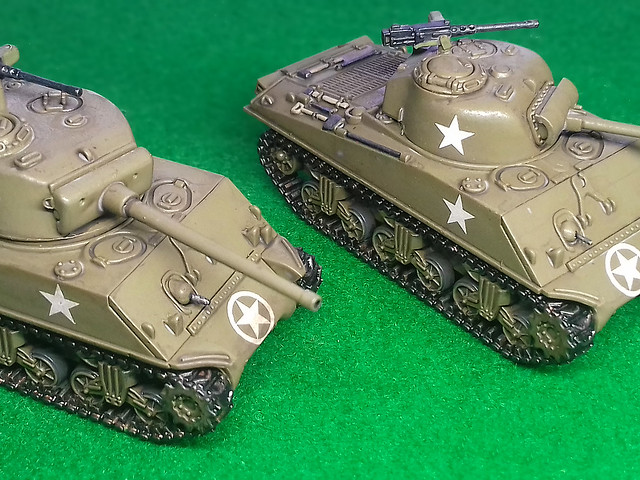
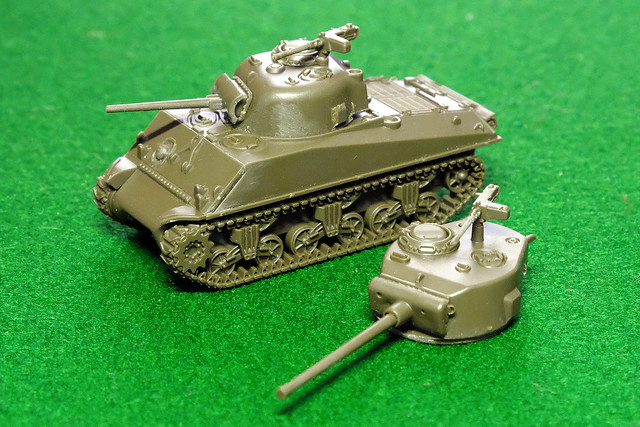
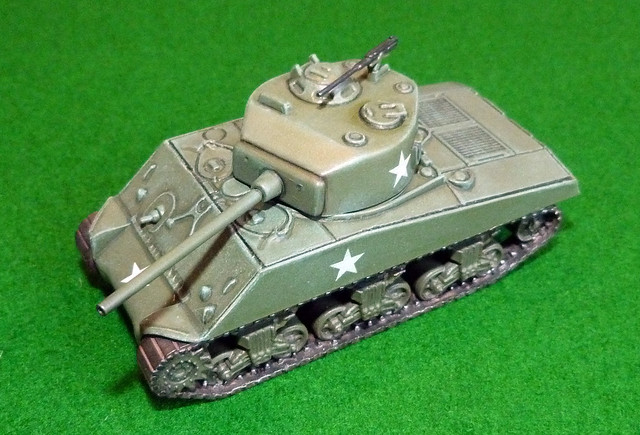
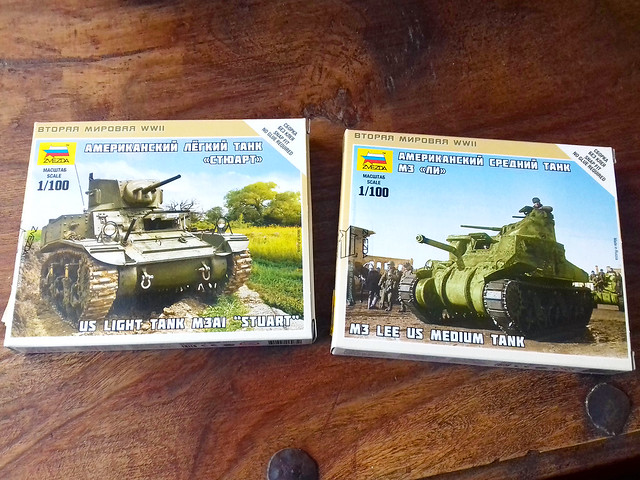
These 1/100 kits are stupidly cheap...God damn them!


...And the Stuart and Lee are soooooo cute! ;)

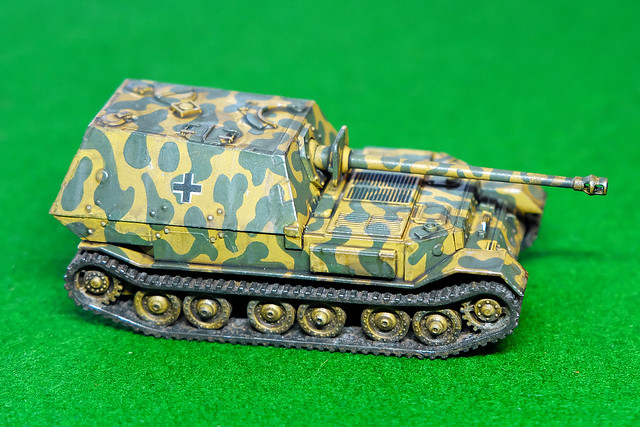
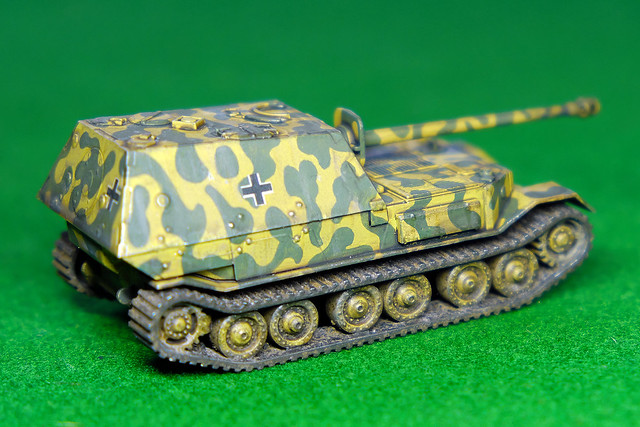
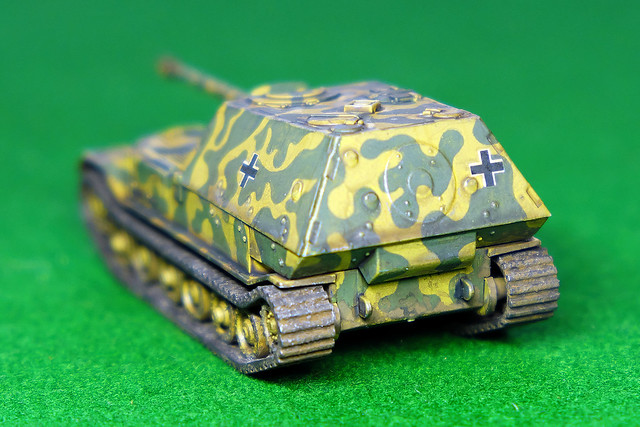
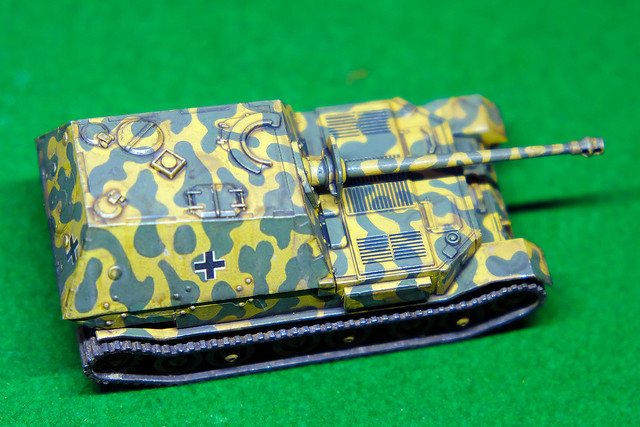
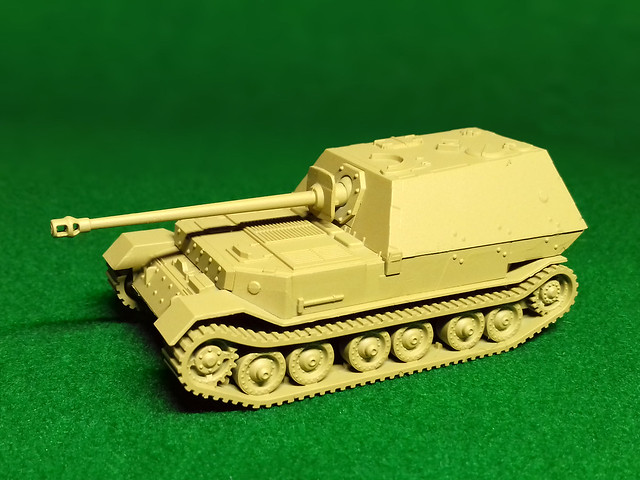
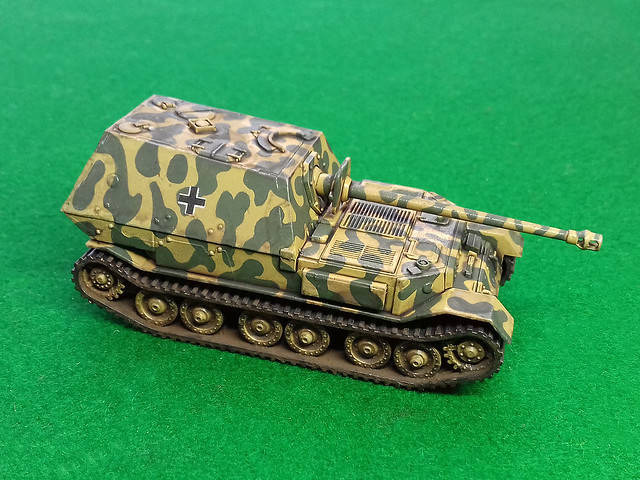
Zvezda 1/100 'Elefant' - Completion

Blimey! I finished a model. :)


Final thoughts...
These diminutive 1/100 scale tanks seem to off-set my painfully slow productivity. (Maybe I should try a 1/600 and see if I can finish something in a reasonable amount of time!) ;)

Anyway, there are quite a few things I am not quite happy with, although this has to do with my standard of painting rather than the model itself.

I actually understand why some modellers think that changing scales means modifying your technique. There were several times I tried to use my normal 1/72 painting effects on this smaller model only to find that they just didn't look right or just plain didn't work.

So, it's a learning process (again) and I will tweak my techniques for this smaller scale as I go along.

As to the Zvezda kit itself, I suppose the biggest disappointment is the overly simplified track tread. They seem to be taking a leaf out of Armafast's design manual and have just given you some slatted treads. A bit disappointing as Battlefront has proved that detailed track patterns can be done at this scale.

Not much else to say really. 1/100 scale models are *FUN* and I found it relaxing not to have to worry about the minutiae and just get on with the model (and have some fun with an attractive camo pattern). I shall certainly be doing more in this scale over the next few months.

Thursday, 11 May 2017

Zvezda 1/100 'Elefant' - Part 2

As my airbrush is out of action (I may have to buy a new one) I am back to using 'rattle cans'. I did look around for a good acrylic spray 'Dunkelgelb' - German Dark Yellow - but the only one I could find was by Flames of War in their War Paint range. Called 'Panther Yellow' it seemed to go on as well as Humbrol's excellent sprays...


Had my airbrush still been working I would have used Vallejo's excellent water-based polyurethane German Dark Yellow Primer. This has a tinge of pea-green to it, rather than the sand-yellow of the Flames of War paint...
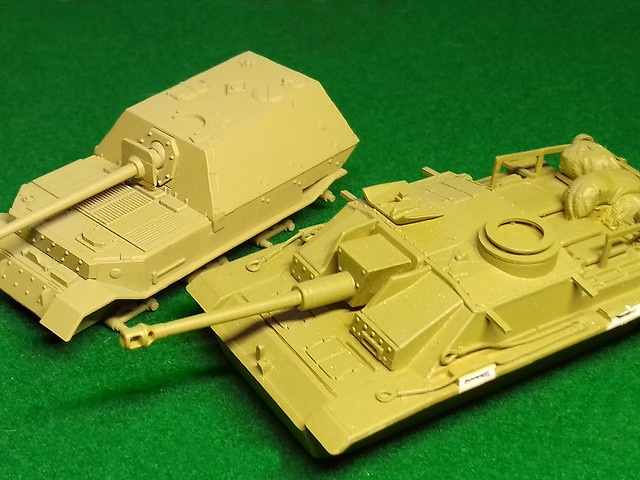
Left: FoW's 'Panzer Yellow'. Right: Vallejo's 'German Dark Yellow'.
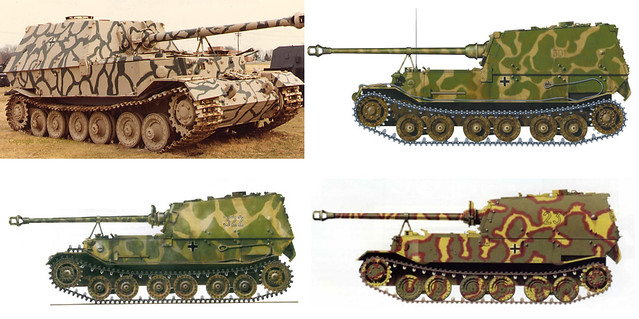
Choosing a Camouflage Pattern
Now to the hard part, choosing a camo scheme. The Zvezda Elefant is the early model typical of the type that first saw action on the Russian Front in 1943, still, there are some very attractive patterns to chose from...


As I am keeping this model, exclusively, for games against mid-war Soviet opposition I don't mind that it won't get as much play as - say - a Panzer IV or a StuG III. It's just such an attractive model to have in my collection, and I am such a sucker for tank destroyers (I really want to build more)!

So, let's get cracking with my chosen camo type (with some poetic licence)...
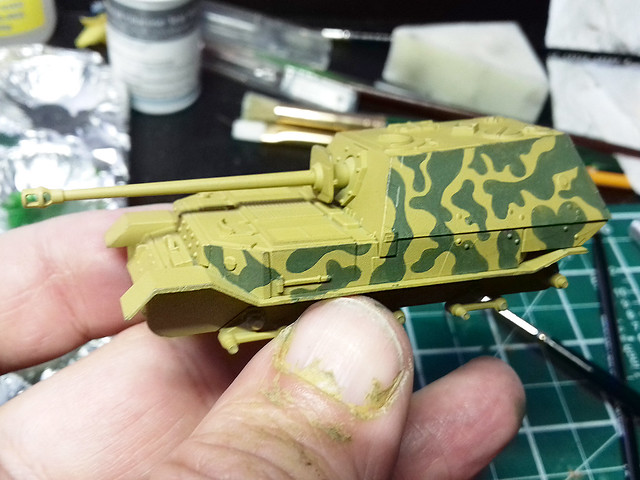
As my airbrush is bust, it's back to good old brush painting. This may take
some time!
Phew...Boy, I am rusty, but it's getting there!
Track Record
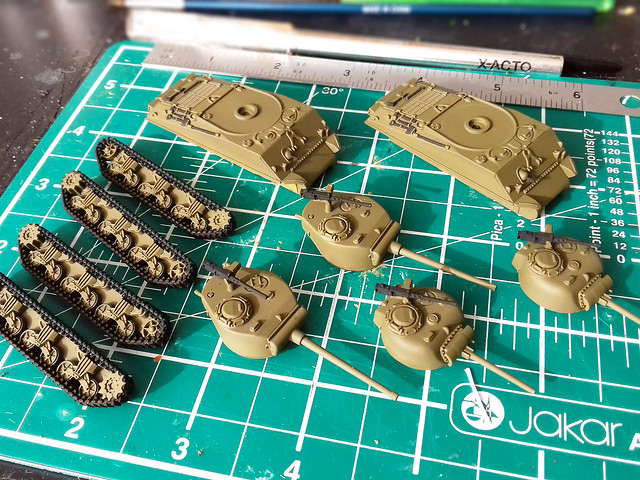
Just a little aside, because I have several of these little 15mm tank kits on the go at the same time I had the unusual sight of five sets of tracks on my small workbench at the same time!
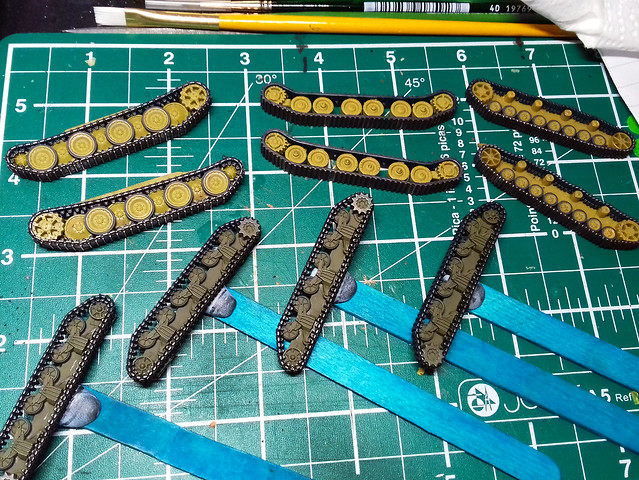
As well as the 'Elefant' tracks - top middle - I am currently working on four
other sets; a Panther set, Panzer IV set and two sets of Sherman tracks!
After base painting these tracks a dark colour - black for the Shermans and German Grey for the panzers - I painted the outside of the roadwheels with Vallejo's Dark Rubber (except the Elefant's which seems to have all steel road wheels/rollers).

Then I gave all the tracks a rub with a graphite pencil to give the impression of bare steel. Then it's off for a light coat of gloss varnish in preparation for the application of some German insignia...
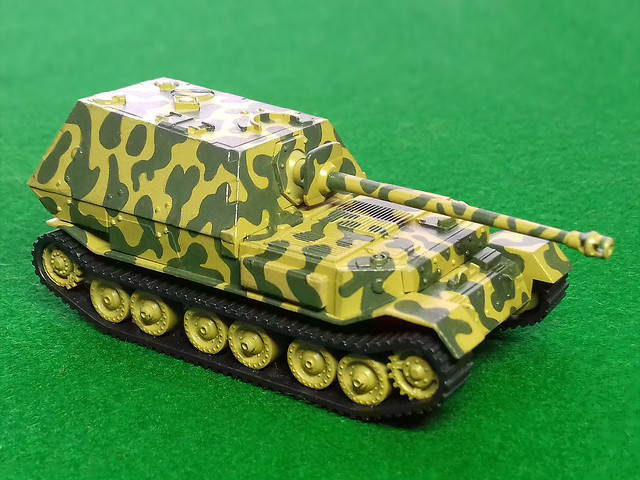
Oooops, I forgot (having learned this before) that doing the graphite pencil
work *before* glossing is a bad idea. The shiny 'steel' effect disappears
after a coat of gloss varnish! Du-oh! 

Decal Stage & 'Pre-Weathering'

Well, there are actually that many decals to apply, just three German crosses and two sets of vehicle numbers. I don't have 1/100 scale decals to hand so I'm hoping my smallest 1/76 German decals will work (I know the crosses will be a little too large). There was some poetic licence to my application of decals and they are not historically accurate but are intended to be suitable for tabletop gaming purposes.

With the decals quickly applied I moved on to a new process that I have just started applying to my models - 'pre-weathering' prep. The idea is to lay down a thin wash of peaty brown to indicate surface dirt and to take the 'newness' off the pristine painted model prior to more intensive weathering.
An added bonus of this 'pre-weathering' wash was to modulate the basic FoW
Panzer Yellow - which I thought was a little too bright - and make it more like
what I think Dunkelgelb is supposed to be like.
I have also started to apply some 'mud' (Humbrol Dark Earth Powder) to the tracks, so it's starting to look something like a finished model, but I have still some focused weathering to apply.

I am pleased with this newly added phase in my painting and will start to use it on more of my models. In fact, I had occasionally already been experimenting with a sort of weathering prep using powder pigments, but this was very hit and miss and I was never really satisfied with it. Using a light - diluted - wash is far more effective.

Next: Deep weathering - chipping, etc.
Wednesday, 10 May 2017

15mm Scale Shermans - Part 2

I'm experimenting with and modifying slightly my 1/72 scale painting techniques for the smaller 15mm scale models. Because of the smaller scale, and commensurately smaller detail, painting is a little more 'impressionistic' and I am doing things with broader brush strokes than normal.

Here's where I left off. A bit too clean and sparkling for my tastes.
I have seen plenty of very experienced 15mm scale model veterans paint in this scale to a very high degree, to the point where you think they are working on a larger scale. But, as I am fairly new to this diminutive scale I am going for a wider picture and fudging the minutiae a bit.

So, here's the process I've planned...

1. Taking the Shine Off
My newly base painted Shermans look a little too factory fresh for my liking. Sure, they might have looked something like this fresh straight off the landing craft (if not so glossy) but I prefer the dustier 'seen some action' look to my tanks.

So, the first job is to take the shine off by applying a very light overall wash of Citadel's lovely Agrax Earthshade. I dilute the wash slightly with some water as I want a soft surface dirt effect and not the deeply ingrained mucky look that neat Agrax normally gives...


The wash effect is subtle, but it just scuffs off the shine so they don't look like
brand new tanks. The wash also defines some of the detail (like a sort of pre-
pin wash) and you could leave your tanks like this, as if they were just off
the landing craft. But I want to go a step further - say D-Day + 30 days.
This stage is - in effect - a 'pre-weathering' preparation, so I conclude this phase with a light coat of gloss varnish to protect and preserve it.

Next: Stage 2 - Staining & Streaking with Oils.

Monday, 8 May 2017

15mm Scale Shermans


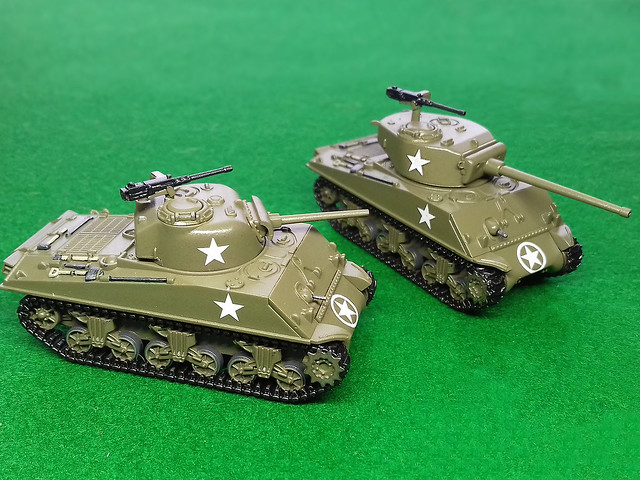
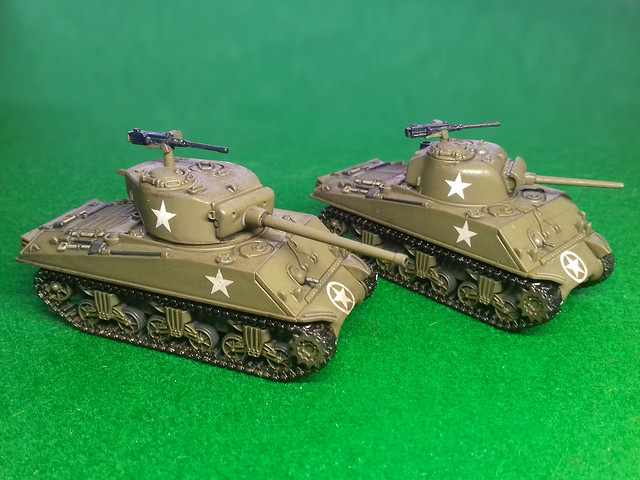
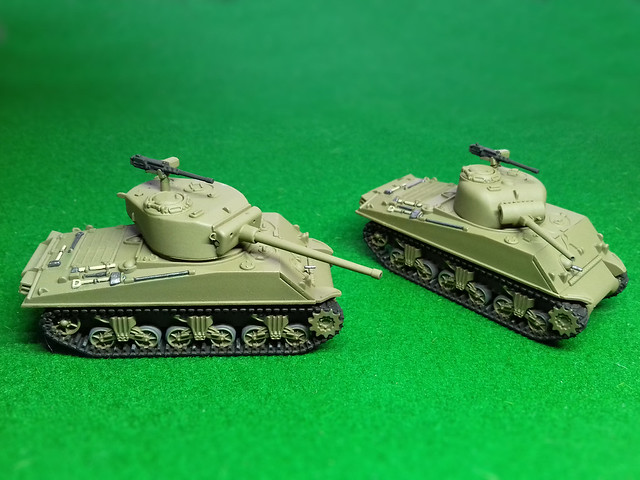
Time to slap some paint on the little M4A3 Sherman models I got in the  GF9 TANKS starter set. I'm not going to town with these, I pretty much want a generic vanilla US Army Sherman without all the bells and whistles (so no applique armour or hodge-podge of stowage).

This should be as simple and easy a modelling project as it gets and takes me right back to when I started modelling again as my first kit was a very unsophisticated 1/72 Armourfast M4A3...


It will be interesting to see how the little 15mm Shermans compare to the above attempt as - for simplicity of detail - both makes of model have a lot in common and are designed to do the same job, just in different scales.

I primed my GF9 M4s (make by Battlefront, I believe) with Humbol Olive Drab acrylic spray - as I no longer have an airbrush, so it's back to basics. This is a lovely warm, slightly yellow tone, US OD, and as usual, the Humbrol paint goes on nice and smooth despite coming out a rattle can...


I chose to prime these models in their main sub-assembly groups, rather than a complete model. This is mainly so I can get at all the fiddly nooks and crannies in the track components. I masked off parts of the components that I knew I would later want to glue together with poly glue.

After priming I started to pick out all the black base coat areas and bits that I wanted an underlying coat of black (like the tools). I'm trying out a black base for the tracks, as Sherman's tracks are characterised by large black rubber pads over the steel links. We'll see how that goes (they will be finished off with a coat of mud anyway.)


Once everything is base painted it's time for a quick coat of gloss and then the addition of the decals. The GF9 TANKS starter set does not include any decals, which is a wee bit annoying but I guess they are aiming the game at people who are maybe not so interested in modelling as gaming?

Luckily, I had plenty of spare US Army stars in my scraps box, the only downside is the set I have has no 'US ARMY' & vehicle registration number decals for the side (towards the rear). However, I had it in mind that I wanted these Shermans to be pretty generic/anonymous so I could use them as a basis for any Western Allied force I build (US Army, US Marines, French, Polish, British Commonwealth), so not having the 'US ARMY' lettering is a good thing...


A light squirt of gloss varnish over the decals to seal them and that's a job done. The gloss also is the preparatory coat for the next stage which is streaking and staining with oil paints.

Next: The 'weathering' phase...We are getting there!

Thursday, 4 May 2017

15mm Scale 'Countryside' Battle Mat - Part 1

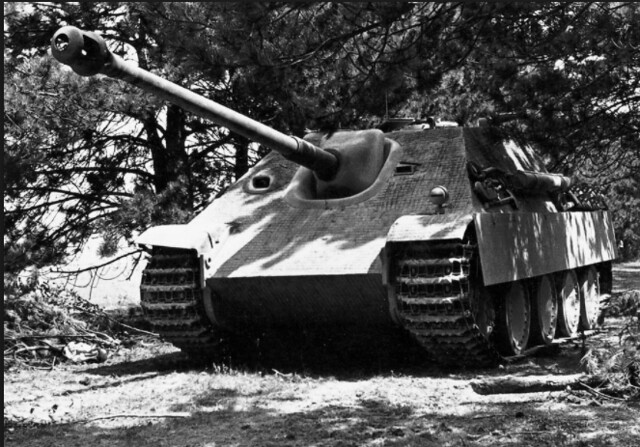
For my next game of GF9's 'TANKS' I would like to have a rural setting for my little tanks to battle over. In particular, I want to try out my Jagdpanther in a defensive ambush scenario.


For this, I will have to put together some bits and pieces of homemade scenery quickly (and cheaply), so I've been looking about my workbench for 'things' to make countryside features with. It's all going to be very 'Blue Peter' cardboard and glue soft of stuff and my first priority was trees.

Scale model trees are readily available - my local model railways store has an excellent assortment - but the trouble is that ready-made model railway scenery can be a little bit expensive and my budget for this project is exactly *zero*.

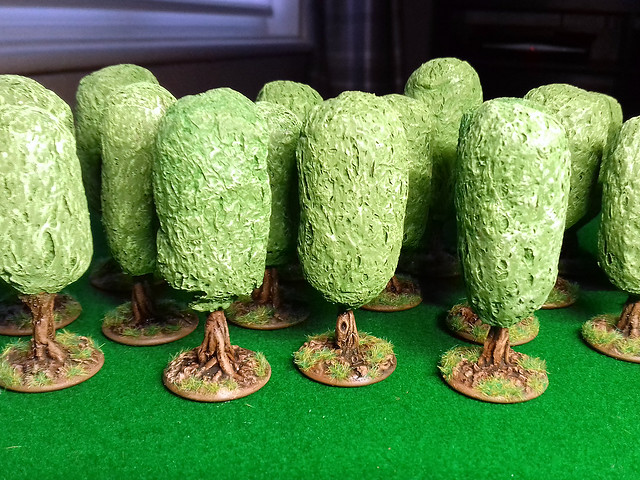
Crappy Trees
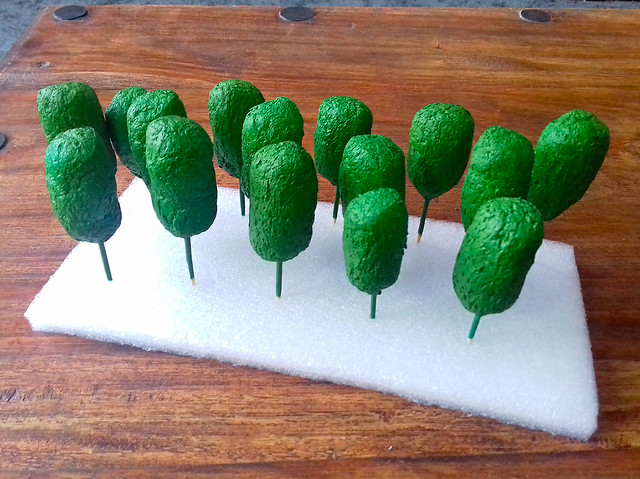
The first thing that came to hand for making model trees was some packaging I got in a parcel (called 'void chips' which I believe are biodegradable expanded corn starch chips). I had already played around with some of these to make some very quick (and incredibly bad) 'smoke markers' for my Tanks game, but looking at them I thought the shape might make good little trees.

So, I skewered the little packing chips with wooden cocktail sticks and then gave them a quick spray of Grass Green...


A bit Cambellwick Green (showing my age there) but they are passable...Well, to get me started anyway. I'm not sure how many I will need, but I can easily make more.

I was a bit stuck as to what to do about the bases, at first, but then I remembered I had a pack of plastic counters that I had tried to base some figures on (before I decided that steel washers were the way to go). I drilled a hole in the counters and glued the cocktail sticks into the holes...


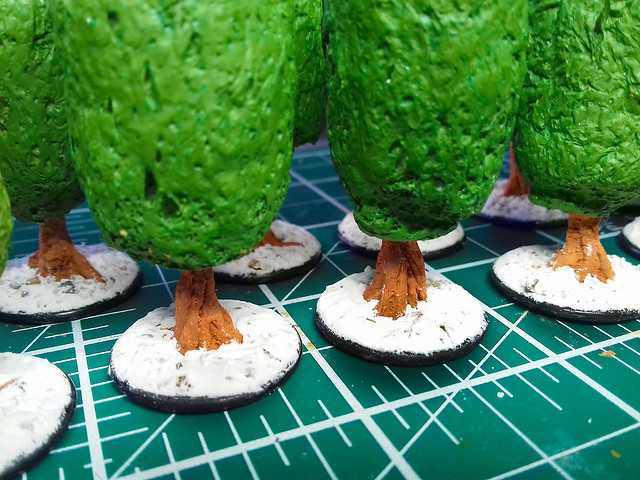
They needed a bit of work, though. I decided some Milliput putty might make the trucks look a bit more convincing and a little more sturdy too...


After a couple of coats of paint and a fair amount of dry brushing, the end result looks 'OK' for a quick bodged but of scenery...


I am particularly pleased with the trunks, the Milliput putty made some very natural looking twisted trunks. I will definitely use this technique again on my next attempt at scale trees.

Next: Now I have to work out how to make some little hills for my French countryside...And, once again, it'll have to be a solution that cost nearly nothing!

Amusing postscript: People are funny...I know these 'trees' are 'crap', I've gone to great pains to emphasise this point right from the start and to underscore that these are an 'emergency' bodge. Despite this, I have had several comments about how crap they are!

Now, I'm used to negative feedback - I don't call this blog 'Kitnoob' for nothing - but it makes me smile when people take what is obviously a tongue-in-cheek solution to quick scenery seriously. And what is even more amusing is that - when I checked, and as far as I could tell - the people who criticised haven't even tried to *make* their own model trees. :)

Wednesday, 3 May 2017

15mm Battlefront Panzer IV

You could argue that you cannot have a mid-to-late WW2 German armour force without including a Panzer IV. This tank was the bread and butter of German tank formations on every front right up to the end of the war (despite more advanced and formidable tank designs being available).

Historical aside: I won't get into the whole 'if Germany had only concentrated on the Panzer IV instead of playing about with 'super tanks' controversy. I'm glad the Germans wasted huge resources on their so-called super weapons, their constant tinkering hastened their ultimate and inevitable defeat.

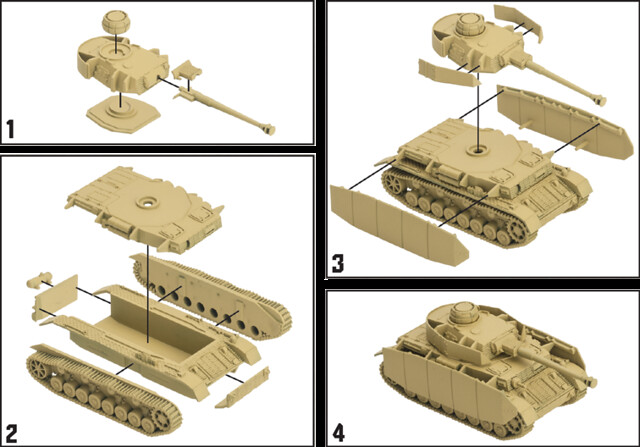
Anyway, about the model...This is another 15mm (approx. 1/100) wargaming quality kit and is designed to compliment the GF9 TANKS game I am currently playing. It's made by a company called Battlefront which pretty much concentrates on military vehicles for the more complex 'Flames of War' 15mm wargame (GF9's TANKS is seen as an introduction to Flames of War).

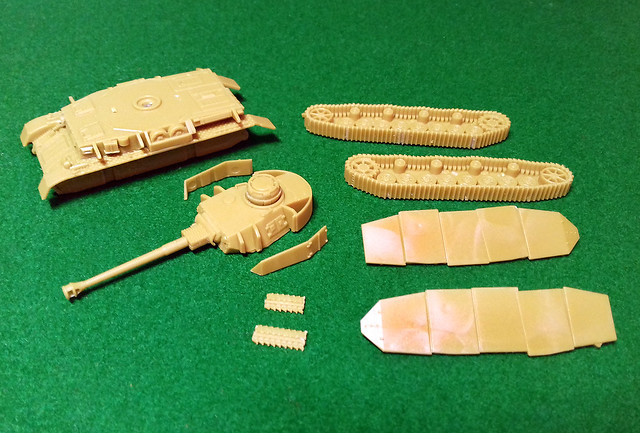
I enjoy these tiny kits as there isn't as much pressure on detailing and you can just get on with some relaxing painting. These models are just 'game tokens' and not intended on display items and extraneous detail is a bad thing, anyway, because they are designed to be handled. So, component wise, there isn't much to this panzer...


However, it is a quite nice model with a respectable level of detail and could be prettied up to an impressive level if you wanted to. As with the rest of the GF9 tanks I have, I'm quite impressed with the quality of the kit's one-piece tracks, the tread pattern is quite detailed when you consider it's just a 1/100 scale piece (again - Armourfast take note).

I won't run through a load of pictures of the construction because I suspect it took me about as long to put together as it did for me to type this sentence!

OK, bit of an exaggeration, but you get the idea. In readiness for painting, I glued together the major sub-assemblies to make it easier to spray everything and get the paint into all the nooks and crannies...


I opted for the rather hastily put together looking armour 'skirts' as they have a bit of character (I'm going to paint a bit of a battered looking war horse), but the kit does come with a set of pristine side shielding too.

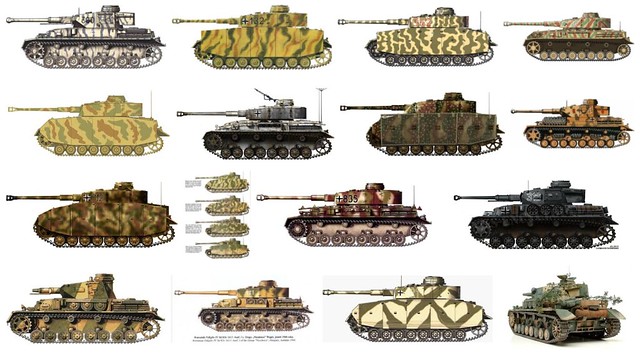
And that's it! Ready for priming, I just have to choose a suitable camo pattern for a Panzer IV of the Normandy campaign. But as the common German three-colour camo scheme of this period was applied in the field you have a lot of latitude of some free-hand painting.

A quick Google will provide you with a plethora of camo pattern options!
Next: Priming and painting the camo.