Showing posts with label 1/144. Show all posts

Sunday, 25 January 2015

Revell 1/144 P-47 Republic Thunderbolt - Pt. 3

[Sub-title: Plasti-Kote experiment No. 2]

Well, here we are, part three of my Plasti-kote P-47 experiment. And despite the disappointment that my Plasti-kote bright metal finish failed to materialise in the hoped for quality I plod on as there are still a few things to learn about this paint.

This time I am looking at masking and how coats of paint applied on top of the Plasti-kote

I was a little worried about masking the Plasti-kote bright metallic as it seemed susceptible to marking and in my first experiment with the toy plane it actually peeled off when I removed the masking tape. However, I am fairly confident that was something to do with the cheap greasy plastic of the toy and won't happen with paint applied to good quality plastic.

But just in case I used as little masking tape as I could and also used my best quality Tamiya modelling masking tape, which is low-tack.
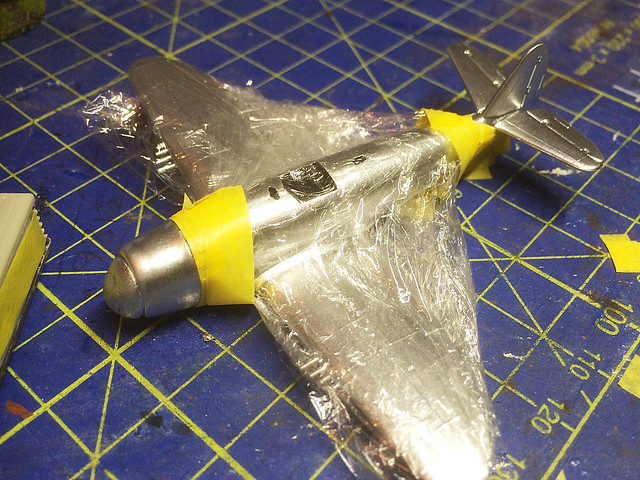
As usual I use proper masking tape for the actual masking and protect all other
areas with cling-film. The cling-film also helps protects the already painted areas.
I did have a bit of indecision about whether to mask all non-silver areas before spraying the Plasti-kote. My thinking was that as the Plasti-kote is a gloss that I might be better leaving the black primer exposed for the other paint sections - like the red engine cowl and tail - as I wasn't sure how well water-based acrylics would take to the Plasti-kote. But my initial experiment with the toy plane seemed to belay my fears and show that with care acrylics could be used onto of the bright metallic.

Humbrol spray paints have no problem with the Plasti-kote, but air-brushing on acrylics has to be done with some care. You have to get you paint to thinners mix right - in the case of my Vallejo Model Color acrylics this meant I had to add as little water to the mix as I could.

Too much water caused the paint to bead on the surface of the Plasti-kote gloss. The 'neater' the paint mix the better it adhered to the gloss when sprayed onto it. Even so I still had to do the spaying in stages - first spraying a a very thing neat mix lightly to create a base for further light coats. In this way I built up my paint coat onto the Plasti-kote to the desired consistency.
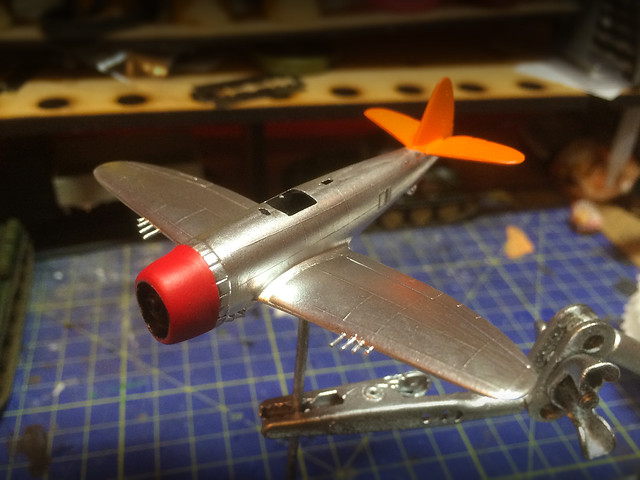

In fact I used the Vallejo Model Colour with only one or two drops of water - just so it would go through my air-brush without choking or splattering. I didn't try Vallejo Model Air paint - which is pre-thinned for airbrushing so can't say how that would fair.

The good news was - with much relief - that when I removed the masking take none of the Plasti-kote paint layer peeled off. There was, however, a little discolouration and marking here and there due to the masking tape gum. This looked like small smudges and dulled the bright metallic shine and could not be 'polished' up again - though I didn't want to rub the Plasti-kote too aggressively.

Experiment over!
Drat! It's a big fat 'fail' for Plasti-kote Bright Metallic I'm afraid (it fell at the final hurdel)!
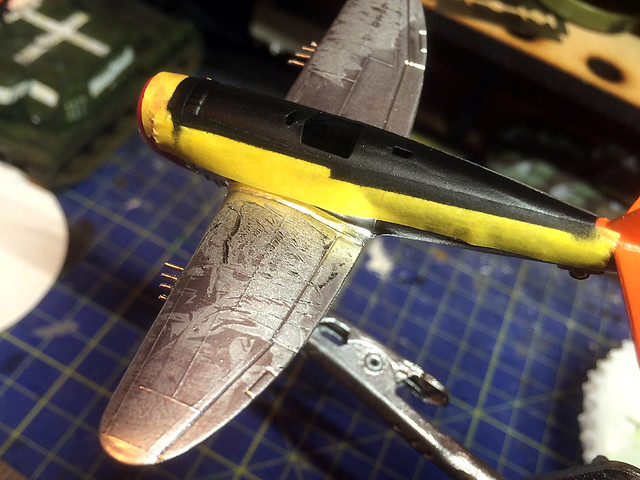
Plasti-kote Bright Metallic paint does not like cling-film!
Just when I thought I was going to pull something marginally positive out of this experiment and Plasti-kote turned around and bit me in the ass. Basically the peeling I mentioned that occurred with the first experiment I did was NOT a fluke caused by the cheap plastic of the model I used. Plasti-kote peels big time no matter what preparation...

My guess is that smooth plastic is not a medium that Plasti-kote's Bright Metallic is compatible with. Looking at the Plasti-kote web site it gives a list of materials you can use this paint with and they all appear to be - to one degree or other - porous. The Bright Metallic seems to need a slightly textured surface to adhere to properly.

Of all things it was the kitchen cling-film that caused the peeling you see in the above picture. The sticky plastic seems to have some sort of chemical reaction with the Plasti-kote and despite cling-film not being all that sticky it lifts the metallic paint up like it was designed specifically to do just that!

A beginner's mistake - trying to spray over another coat of Plati-kote in the vain
hope it would cover up the flaked paintwork showed why multiple coats of this
paint are not a good idea! Still, the area where the masking tape took off the red
engine cover paint looks a nice effect! LOL
I'm gutted in a way as it has completely spoiled the model - I suppose I could try cleaning the paint off the wing but as I have found out what I wanted to about the plaintive unsuitability of Plasti-kote's Bright Metallic spray as a modelling medium I hardly feel I want to. It would just be a bodge-up job at best. (But I may feel different once I have slept on it.)

Elsewhere, the masking tape also lifted some flecks of the metallic paint and otherwise discoloured other areas. It was like Plasti-kote was just bidding it's time waiting to show it's flaws right at the last minute!

This seems a lot of work just to find out what others have already said, that Plasti-kote Bright Metallic paint is not for serious modellers. But at least now I know exactly why (and you do to).

Next: Not sure if there will be a next - at least it was just one Pound (£) I wasted! May do a de-brief of what I think of the Revell Micro-Wings P-47 though.

Revell 1/144 P-47 Republic Thunderbolt - Pt. 2

[Sub-title: Plasti-Kote experiment No. 2]

Right, it's crunch time...

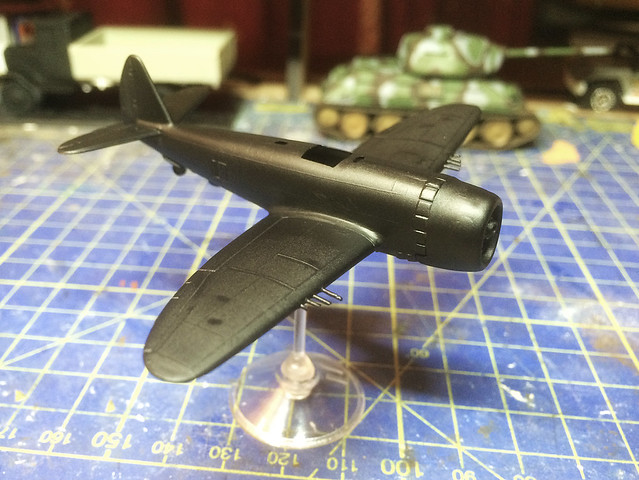
But before I get to the nerve-wracking Plasti-kote spraying I have to lay down the primer coat. I'm sticking with Halford's enamel car touch up spray, I think it does a satisfactory job (I haven't tried a specialist primer which you apply with an airbrush yet, I'll use up the last of the Halford's first).


Black does look nice doesn't it? (Note to myself: Must do a night fighter at some point! Airfix has just released a new tooling of it's 1/72 Boulton Paul Defiant. Hmmmm...)

Anyway, one little quandary was the canopy. As mentioned in the initial post, there is no pilot or cockpit detail and as I want this model 'in flight' I am going to disguise this fact by painting a faux-canopy (in war-game fashion). Not having done this before I wasn't sure at what point to affix the canopy to the plane - thinking about it now I wish I had attached it before priming so that it was a flush and integral component. Ah, well - you live and learn!

The Plasti-kote coat! (Du-du-duuuuh!)
Now, one thing - I'm having a right kerfuffle photographing 'chrome' finished. I really should set ip my mini-studio lighting, but I can't be bothered raking through our attic to find them. So, the following photos are a little hit and miss.

Well, here we go...Fingers crossed...

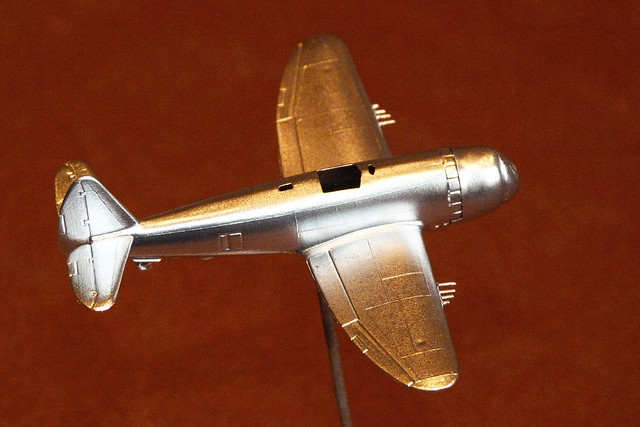
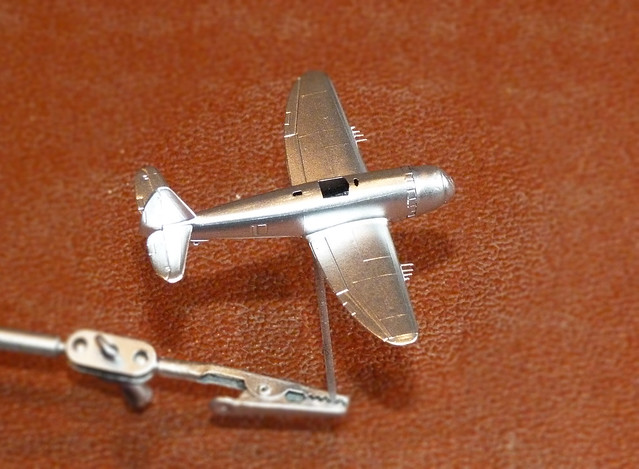
First, a bit darker (high flash) to bring out the reflections...
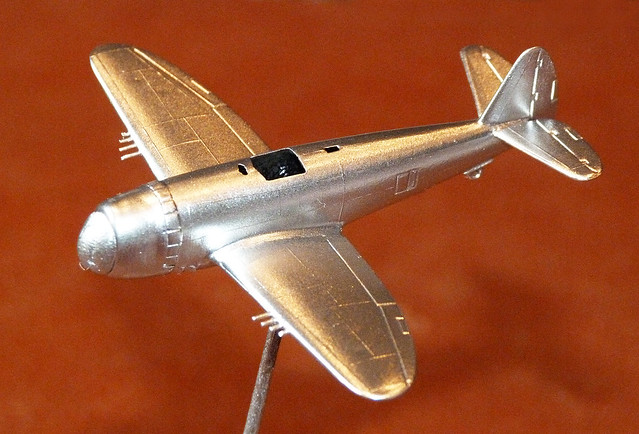
And then lighter to show the texture.
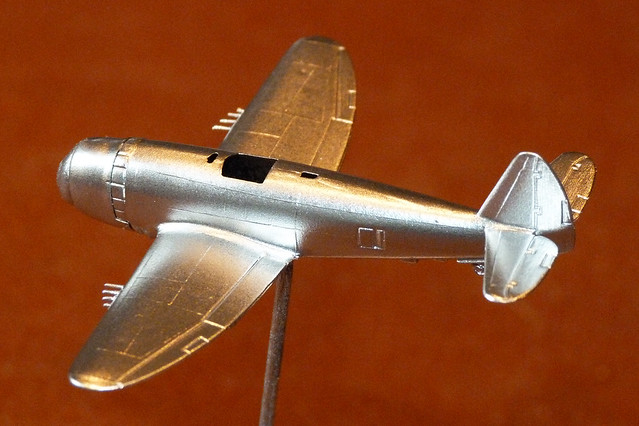
Now, I'm a little disappointed and mildly pleased at the same time (but more disappointed).

In my first test I mentioned that I thought that the best way to achive a smooth, high reflection finish with Plasti-kote Brilliant metalic was to spray one, fast pass and hope for the best coverage (just touching up any small imperfections and spotty coverage with a light focused spray). This time however - as this is all about experimentation - I decided to gamble and follow Plasti-kote's own suggestions about a second coat (thereby ensuring total coverage).

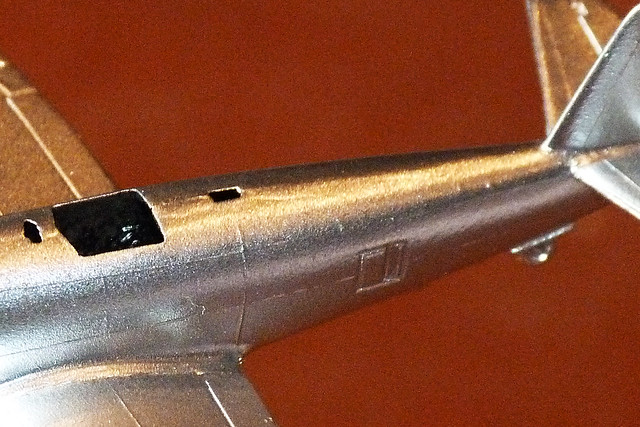
I had read that additional spray coats with this sort of bright metallic paint resulted in subsequently duller finishes. This seems to be true - although the 2-coat finish isn't all that bad, it's not 'chrome' but rather what I would call 'polished steel'.

Actually, there is rather a nice effect if you look close - it is like a machine polished surface...

If I were doing a 1/72 model of Lindbergh's 'Spirit of St. Louis' this might be a nice effect!
But...There is also a less desirable 'speckling'. And remember, you cannot 'smooth out' this unwanted texture by adding a gloss varnish - you cannot varnish Plasti-kote Bright Metallic.

Obviously, at a distance the finish looks acceptable, certainly for a war-game modeller who might simply want the look of high-polish quickly. But for the (ambitious) display modeller this quality of finish would be totally unacceptable.

In short, my 'one pass' theory is probably correct - but trying to get a good coverage with just one coat is, as I mentioned after experiment No. 1, down to pure luck (which isn't what you really want to rely on as a modeller).

Conclusion
OK. I'll put this one down as a 'fail'. Maybe a bit harsh and not a total loss as this was an experiment after all, but the texture just doesn't work for me I'm afraid.


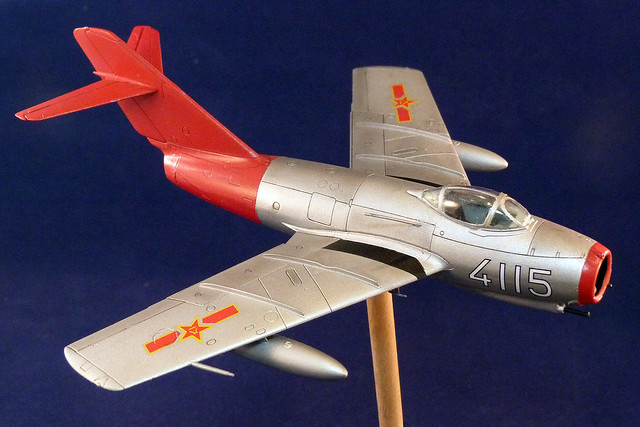
Looking back at my Hobby Boss Mig-15 - which I did with just normal Humbrol acrylic silver spray - I think I preferred the duller but smoother silver finish...


Amusingly - re-reading my Mig-15 blog post - I do mention that I didn't enjoy working with a silver finish. Little has changed it seems.

But, I think my mind is made up that if I do want a professional looking high reflection and smooth finish and it's a display model it really is worth going the extra yard and using one of the specialist modelling metal finish mediums, like Alcad. Horses for courses.

At a distance look...At this distance the spotty texture isn't as obvious. But it's still there!
What next?
Well, naturally, I want to finish the P-47 model off, and there are still some things to learn about Plasti-kote - like how does it handle masking?

So, in the third and final part of this experiment I will adding the remaining areas of colour, the canopy and the decals.

Saturday, 24 January 2015

Revell 1/144 P-47 Republic Thunderbolt - Pt. 1

[Sub-title: Plasti-Kote experiment No. 2]


My initial experiments with Plasti-kote's Brilliant Metallic spray paint convinced me there was a certain merit to the paint. Unfortunately the subject that I used for the tests was a rather cheap and nasty toy plane, the surfaces of which prevented me from getting a clear idea about just how smooth the Plasti-kote could be applied. So I decided a second test was warranted.

I wanted to use a proper injection-moulded plastic kit as the guinea pig this time, but - of course - still didn't want to go to the bother and expense of using one with which I has some sort of emotional or financial investment. I wanted something cheap and cheerful that I wouldn't be too concerned about if something went wrong.

Not the scheme included in the Revell kit instructions I'm afraid, but the only colour reference
I could find of a P-47 of the US 9th Air Force. Picture source: Wings Pallette.
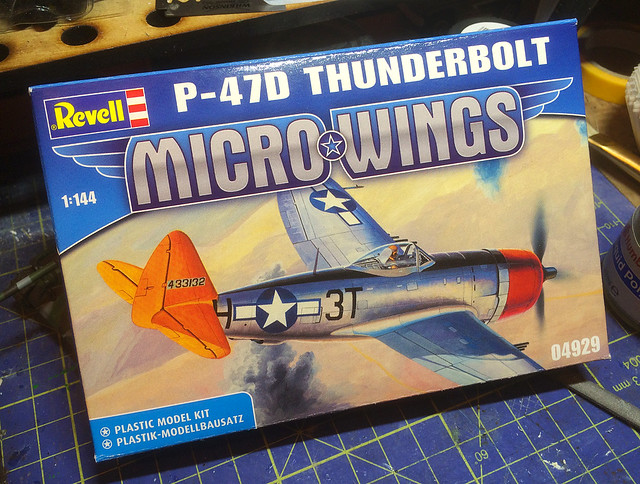
As it happens a local store was selling an enormous pile of Revell Micro-Wings models - an over-stock I presume - at the knock down price of just £1 a piece. And although these are diminutive 1/144 scale aircraft I reckoned they would be simple, quick and easy test beds for painting practise.

I picked out one particular model which had a bare-metal scheme, the Republic P-47 Thunderbolt or 'Jug' as it was nicknamed by it's pilots. (Not a mirror-finish, I know, but it was the closest they did.)

The Revell 'Micro-Wings' 1/144 scale P-47 Thunderbolt
I enjoyed making the two 'micro-scale' scale aircraft I have done already - an Eduard Me109 and a Tamiya IL-28 Beagle - so I was curious to see just what kind of quality the Revell 'Micro-Wings' kits could be. To be honest, for a quid I wasn't expecting much!

Left: The contents of the 1/144 Revell P-47 kit. Just one main sprue with 16 parts. Not a complex build then! Picture credit: www.ipmsdeutschland.de/ (As I forgot to take a snap of before I cracked on with construction!)

I believe these mini-kits are aimed at the younger modeller/collector as they are quite simplified. The exterior detail is cursory and there is no interior detail at all - no cockpit, no seat and no pilot. Still that was ideal for my purposes, simpler the better.

By default Revell guides you towards building the aircraft with the undercarriage down and yet supplies you with an ‘in flight’ stand. I wanted to model this fighter ‘in flight’ so the stand is handy but that does mean you will have to modify the under-carriage (more on that later).

And that is all there is to it!
A related issue, which bears considering before you jump into the build, is the lack of a pilot. Again, if you decide to build the aircraft ‘in flight’ the absence of a pilot will look a little strange. Therefore, you will have to decide whether to make your own tiny pilot (a pain) or paint the canopy so that it is not transparent. Some like a ‘display canopy’ (a painted windscreen) and it is a convention in war-gaming and as this has no impact on the purpose of the kit for me I decided to paint mine.

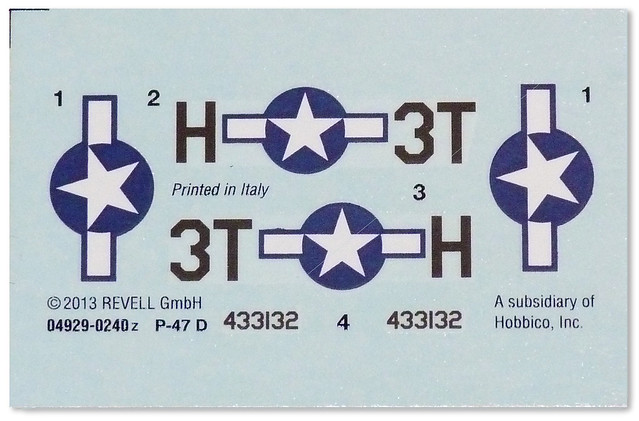
There is just one set of decals and one associated colour scheme (printed on the front of the box). The monochrome printed instructions advise you on the specifics of this scheme and decal layout. Again, this is sort of irrelevant to me as this will be a quick build and I’m not bothered about representing a specific type or unit.

P-47D-30-RA, “3T-H”, 22nd Fighter Squadron - 36th Fighter Group, 9th US Air Force, 1944
Construction - the nitty (and very) gritty
I could tell - even while still on the sprue - that the quality of the moulding was ‘vague’. There was some flash and - unfortunately - a few ‘sink holes’ generated by the moulding process. I immediately acknowledged - much to my chagrin - that there would have to be some filling.

I know this is just an experimental project and build quality is of secondary importance, but I just can’t bring myself to bodge together a rickety and sloppy model.

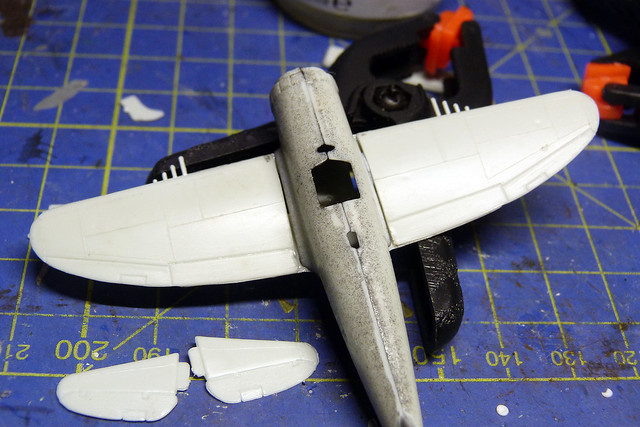
The dirty fuselage is a result of spraying the interior black, in case I use the canopy as is.
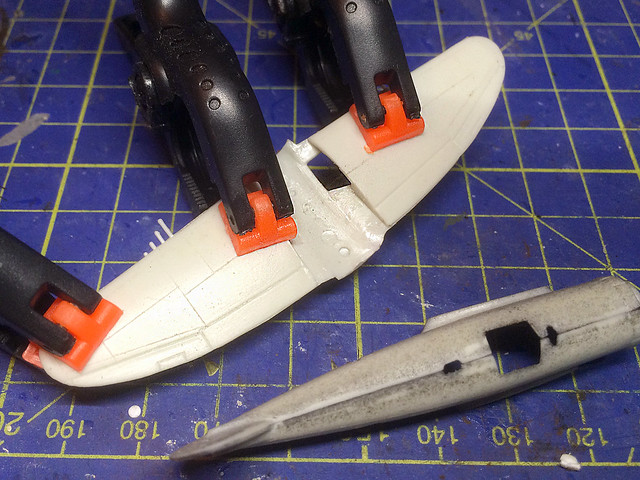
Anyway, on with the building. Fuselage and wing sections needed clamping to encourage a successfully mating of the various halves, but there was a tiny bit of overlap on either sets of components. Nothing some sanding couldn’t rectify but on the fuselage the central seam would need some filling and sanding to try and produce a seamless join.

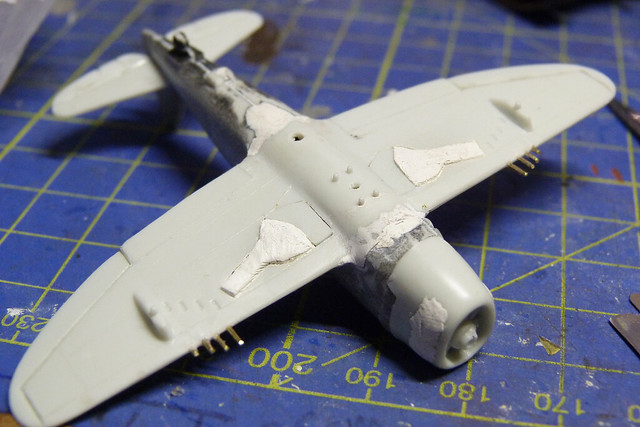
The next glaring fit related issue was when I moved on to join the wing section to the fuselage. There was a obvious gap at the wing roots and underneath which would also need some filler putty. (I kept reminding myself that this was suppose to be a ‘quick build’!)


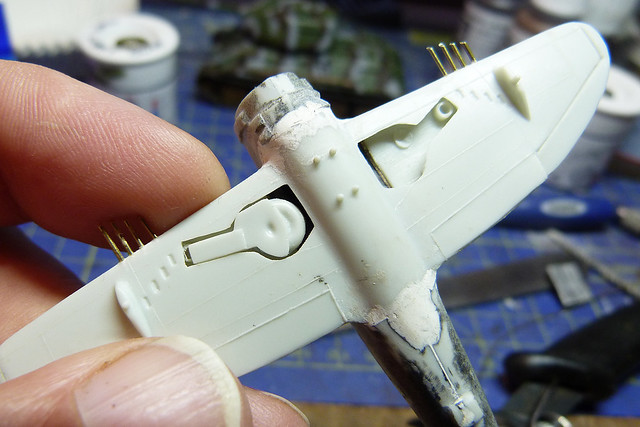
However, there are not many external parts, just a couple of bombs and a central drop tank and they are all one-piece components. But, unfortunately the flimsy .50 cal machine-guns became a victim of my rough treatment and very soon broke off, so I quickly replaced them by drilling some holes and popping in some replacement brass rods.

The next major issue was - as noted before - the fact that I wanted the undercarriage up. I first of all tried fitting the supplied landing gear and gear doors in the ‘up’ position but found the fit left a lot to be desired…


I managed to make the gear doors fit (after a little filling) but the landing gear had to be scrapped and instead I filled the vacant holes with some Milliput putty, fashioned roughly into shape. Once completely dry I would sand these rudimentary landing gear covers flush with the wings.


Finally, there was the fitting of the distinctive engine cowl. This big oval cover, sadly, suffered from some sink holes on either side which had to be filled and smoothed out. 

I decided to fit this in place and paint it BEFORE fitting the prop (the instructions suggest fitting the prop to the cowl and fixing it in place by gluing on a plastic collar so that the prop would spin freely). I don’t mind the prop not spinning and it would make painting the engine and prop easier if I fit this after fitting the cowl.


At this point - were I a rivet-counting aircraft geek - I would point out the very shoddy job that has been done with the shape of the prop. It was also sightly deformed, but there again am I bothered? 

So, that was the major construction completed and the various ill-fitting seams and sink holes filled and sanded…


Now, onto the actual painting and the scary Plasti-kote application…Gulp!

See you in part 2 of this post (or if it never appears you will know that the Plasti-kote spraying was a disaster!)

;)

Sunday, 23 June 2013

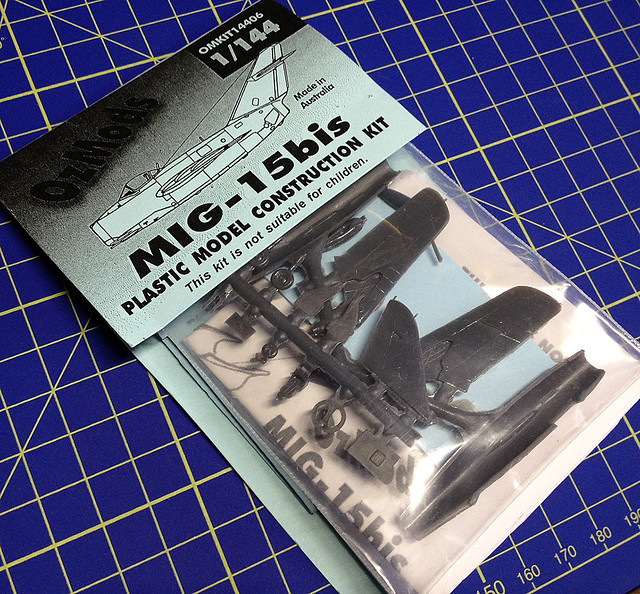
In the que...OzMods 1/144 MIG-15bis

And the reason for my IL-28 experiment is...


I was given this little kit by a friend at work. I was very excited about it as its one of my favourite planes and I intend to make the best job of this model as I possibly can (hence the practise with the Beagle).

Tuesday, 2 April 2013

Minicraft 1/144 JU-88 Pt. 6 – Decals

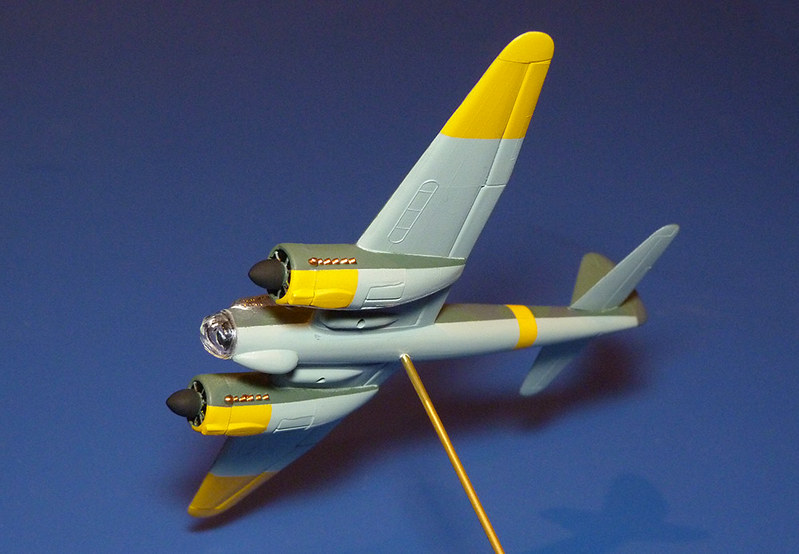
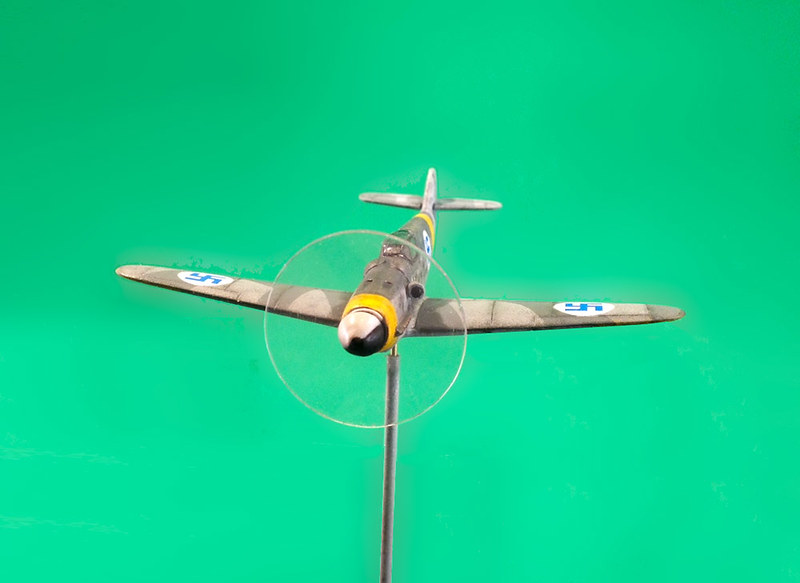
Catching up on some parked projects, I popped on the Finnish decals on my JU-88. These are fairly generic and aren't all-together authentic, but they look smart enough.


The canopies are masked out at the moment while I protect the decals with a light spray of varnish. My splinter pattern colours are a bit light, but I am going for a pretty weathered finish for this model anyway.


Next I will start my shading using the same charcoal powder technique I used on my 1/144 Me-109 G-6 as I work through the weathering stage.

Sunday, 31 March 2013

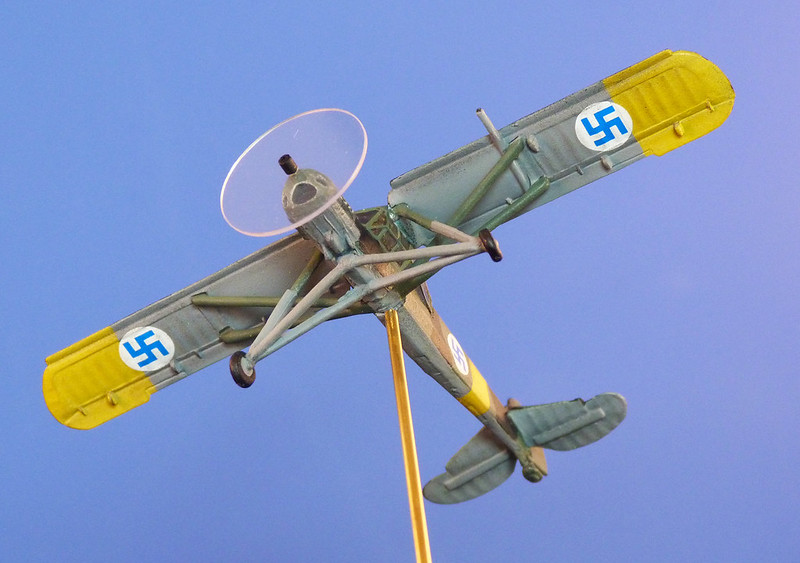
WTM 1/144 Fieseler Fi 156 Storch Pt. 6 - Finished

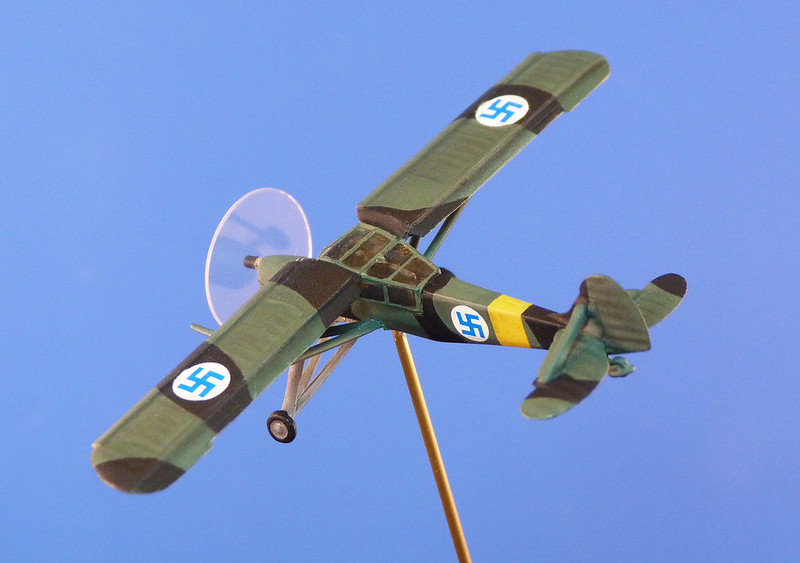
After putting this aside while I experimented with different types of stands I have decided to get the darn thing finished off. To be honest it just needed some touching up...


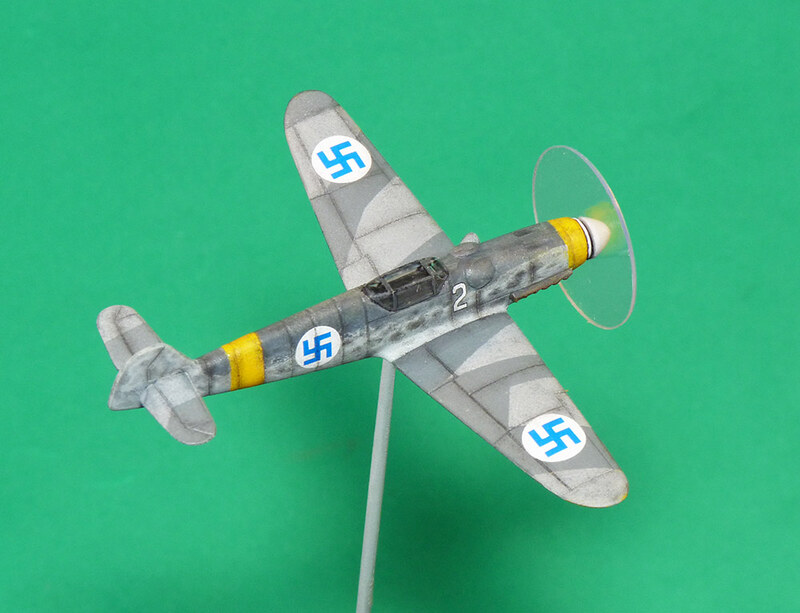
I know the camo pattern scheme is debatable, but I like it. As a war game marker it is a generic symbol of the type anyway. It was a fun wee project and I fancy repainting some more of these ready painted models (Tim Gow over at Megablitz has a wonderful example of a Brewster Buffalo in Finnish colours for example, I'd like to do one of those).

Hope you like my Storch and the accompanying 1/144 Finnish JU-88 is in the works.

Thursday, 14 March 2013

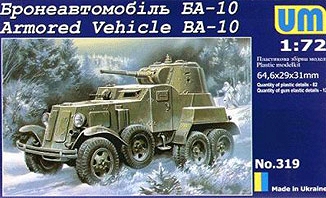
1/72 Unimodel BA-10 Armoured Car Pt. 1 - Unboxing


While I complete the construction of my ACE BA-20 armoured car I thought I would start off the BA-10 I got to accompany it as part of my Finnish Army recce company. Another Ukrainian made kit I had trepidations after my ACE BA-20 experience.

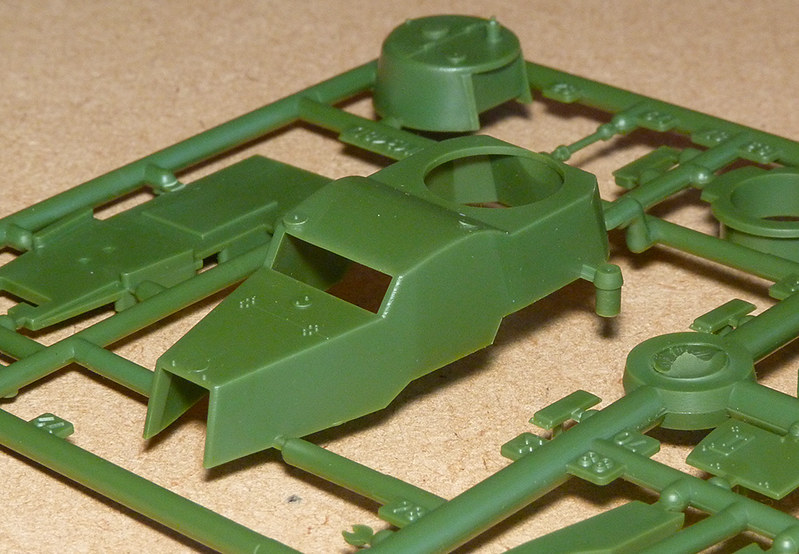
However, a quick look over the various sprues in this kit (4, plus bag of tyres) was enough to satisfy me that the general quality of this UM model was superior to the ACE kit.


Moulded in a 'Russian green' plastic the parts are quite sharp and free of flash. Kudos UM!


No raggy edges or vague matching parts, everything looks likes they are meant to fit together tightly. But we shall see at the construction phase, still the look of the quality does instill some confidence.

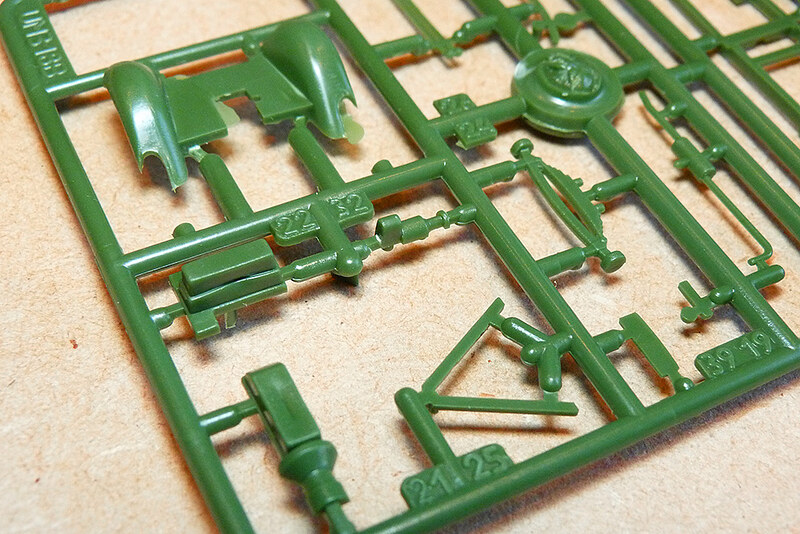
Importantly - unlike the ACE BA-20 - each part is accompanied by very clear numerical IDs moulded onto the sprue...


This, of course, makes things a whole lot easier when it comes to identifying parts. Quite important when this model has more than 80 parts to it! Quite remarkable really.

And talking of identifying parts, this brings me to the instruction sheet...


The instructions are quite clear and everything seems to have an obvious place to go, again unlike the ACE armoured car where here were no pilot holes to help connect components together. Probably just as well with so many parts to deal with.

Of particular note, I thought, were the nicely moulded black rubber tyres. I haven't dealt with rubber tyres before in the kits I have made so far so this should be interesting.

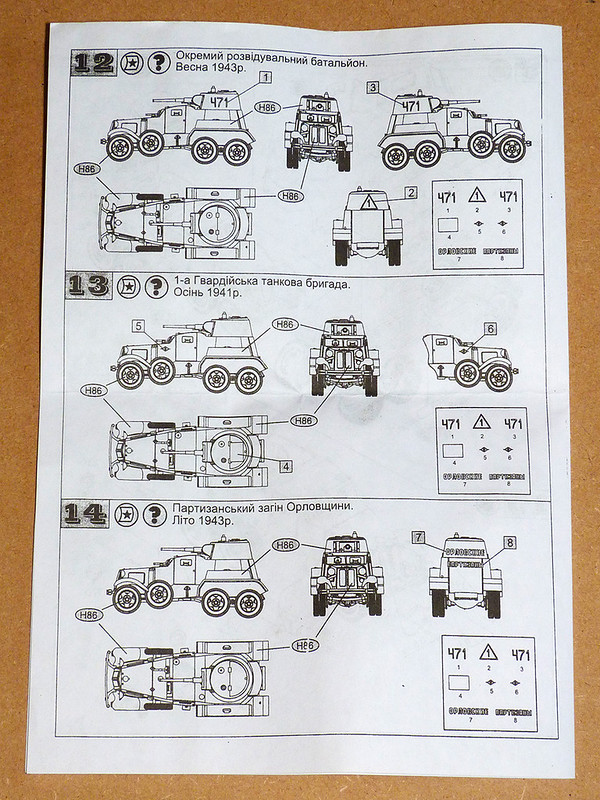
As to the historical schemes that are included, well according to the instruction sheet there are three. All Soviet.

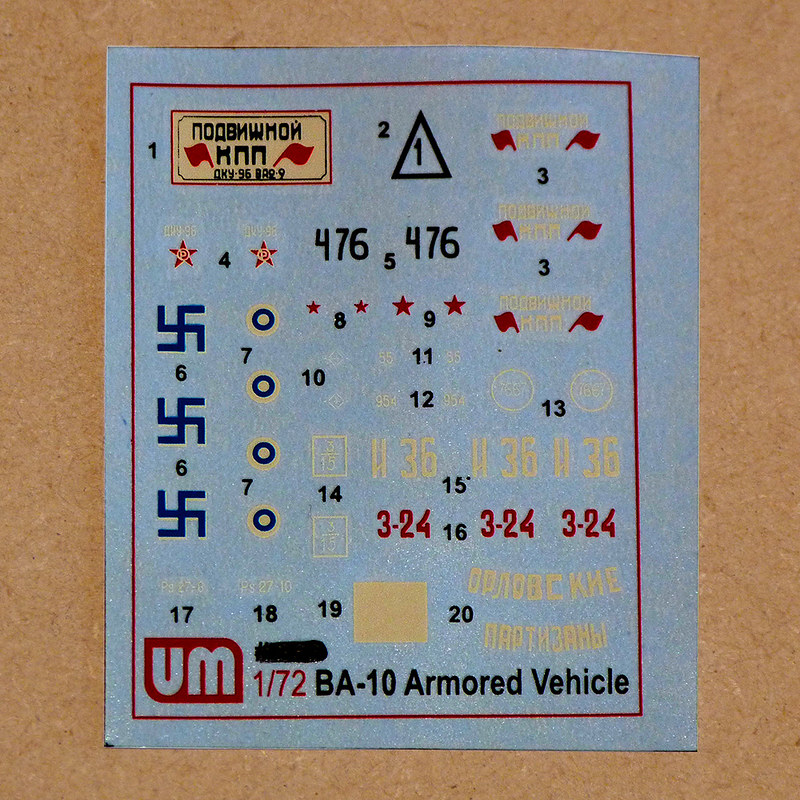
Now this is rather interesting as the decal sheet included in this kit also includes a Finnish option too. Good news for me you might think as I want to build this model as a 'liberated' Finnish  version of this vehicle. But no...

Unfortunately, and inexplicably, UniModels have included Finnish Hakenkruis (Finnish swastika) in completely the wrong colour. UM have supplied you with three medium blue swastikas on white outlines - while medium blue is correct for the Finnish air force of WW2 the Finnish army identified their armoured vehicles with a modified hakenkruis in black on an offset white outline.


There also appears to be a set of post-1945 Finnish roundels (as part of the peace agreement made between the Soviet Union and Finland in September 1944 the Finns got rid of their swastikas, for obvious reasons, and replaced them with blue and white roundels instead). Apparently the BA-10s (known to the Finns as the BAF C) served with the Finnish army until 1959, so these roundels would be appropriate if you wanted to build a post-war model.

Above: A captured Soviet BA-6 armoured car (predecessor to the BA-10) in use
with the Finnish army. You can see the off-set black swastika.


In conclusion, I am quite pleased so far with this UM kit, the first I have bought, and there are a lot of positive points especial compared to my recent ACE BA-20 build.

So, it's onto the construction...

Thursday, 7 March 2013

Eduard 1/144 Me 109 G-6 - Complete


Conclusion
Phew! I finished a model guys...Yay!

1/144 is a challenge, I found trying to directly scale down painting techniques I have been learning in 1/72 didn't always work. I also had to fudge the decals as I couldn't find suitable small numerals or the correct emblems in this size. Still, I kept reminding myself that I was building a war game model and not a historically exact display replica.

Sunday, 3 March 2013

Minicraft 1/144 JU-88 Pt. 5 – Base coats complete

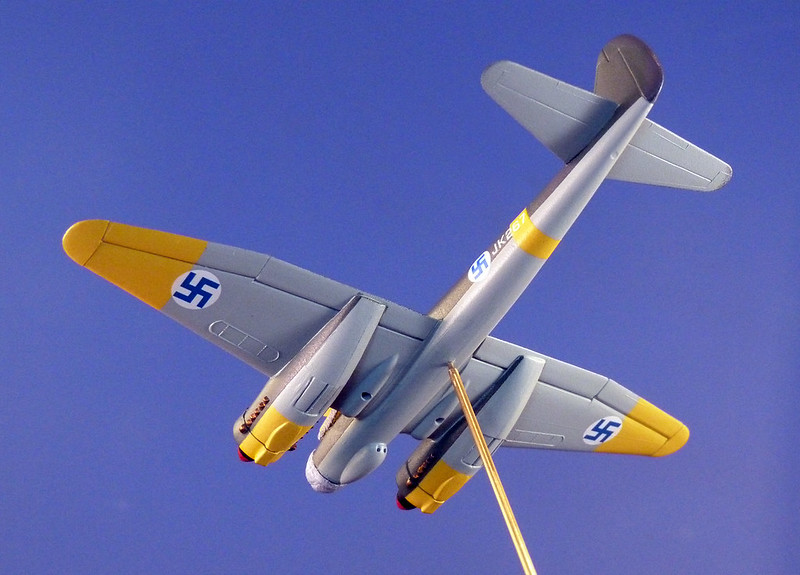
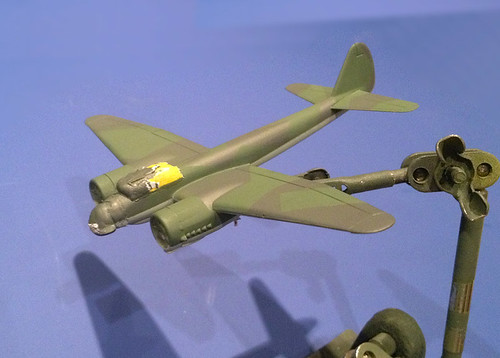
Not as much model time this weekend as I would have liked (where does the time go?) but at least I got all the base coat and touching up done on my JU-88. I thought I'd picture the underside as it's quite colourful what with the theatre colours...


I haven't attached the bombs as I think they might hinder my plans for weathering the underside. Same with the machine guns and aerials, these will all be attached once all the major weathering has been completed.

Well, I've hit a bit of a speed bump now as the Finnish decals I have are not quite big enough for this bomber and I've had to order another set (this time a 1/72 scale sheet which has small Finnish decals which might do the job). So, time to finish up my two other aircraft in this project.  

Thursday, 28 February 2013

Minicraft 1/144 JU-88 Pt. 4 – Painting

Well, construction complete, though I have left off some of the minor and tiny parts - such as machine guns - until the main base coat painting is done.


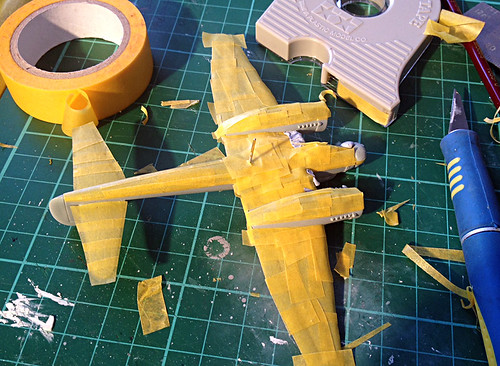
It's a nice looking plane isn't it? I hope my painting can do it justice, I will start by spraying the underside with my Tamiya AS-5 Light Blue for the Luftwaffe RLM 65. All I masked out at this stage was the canopies.


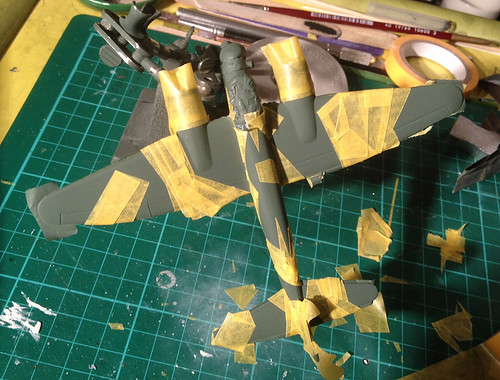
The basic green was done with Humbrols lovely Dark Green spray (N0. 30) and there was plenty of masking to do to create a nice hard demarkation between the lower surface blue and the upper green. I do like masking, it's very relaxing!

And finally we get to the groovy bit - the splinter camo...


Unfortunately I didn't have a good match for the RML71 (Dark Green) for the splinter camo, so I used the nearest thing I had in my paint box - Tamiya's AS-4 Grey Violet. But with some weathering it should look OK I think...


The canopies still have their masking on as I don't want these to be spoilt when I varnish later on. I will paint the canopy frame last - perhaps with enamels.

Well, there we go. Now onto the touching up before I gloss varnish for the decal stage.

Wednesday, 27 February 2013

Eduard 1/144 Me 109 G-6 Pt. 9 - Bugger!

I've put my Me 109 on the back burner as I get the other aircraft in my Finnish air group to a similarly near completed state (I hope to finish all three at the same time). But putting this model to one side had an unfortunate result - I lost the propeller!

Don't ask me how, I do use a project box for each model but it still went astray. So I had to make a replacement prop spinner, luckily I had  couple of spare props in my Minicraft JU-88, though I had to sand the bomber's larger spinner down quite a bit...


I hope my new spinner looks OK. But this is another issue that illustrates the point that I need to get myself set-up with a special place for making my models, and not just a wobbly tray sat on my knee!

Tuesday, 26 February 2013

Minicraft 1/144 JU-88 Pt. 3 – Camo research


Luckily for me the JU-88 in Finnish service seems to be quite a popular subject for modellers and a lot of good information is available about colouring and decals.

Finnish JU-88s seem to come in two 'flavours' - those that stuck with the standard German splinter camo and those that adopted a slightly modified version of this scheme. Either way the colours seem to be the normal German combinations of RLM71 (dark gren), RLM70 (mid green) and TLM65 (mid blue).

I've made this quick sketch to illustrate this scheme...


The underside was all mid blue but displayed the normal Eastern Front yellow sections at the wing tips and underside of the engine nacelles.

I won't be buying special paints for the top side pattern but using what I have in my paint box by way of Humbrol spray cans (their Light Olive and Dark Green) as I think I have fairly good matches for these colours. Especially if I weather them a bit.

I have to say that the German splinter pattern camo design must be the model newbie's favourite camo scheme! Nice uncomplicated strips of masking tape seem to get you a passable impression no matter your skill level! (Famous last words yet again!)

Monday, 25 February 2013

Minicraft 1/144 JU-88 Pt. 2 – Construction


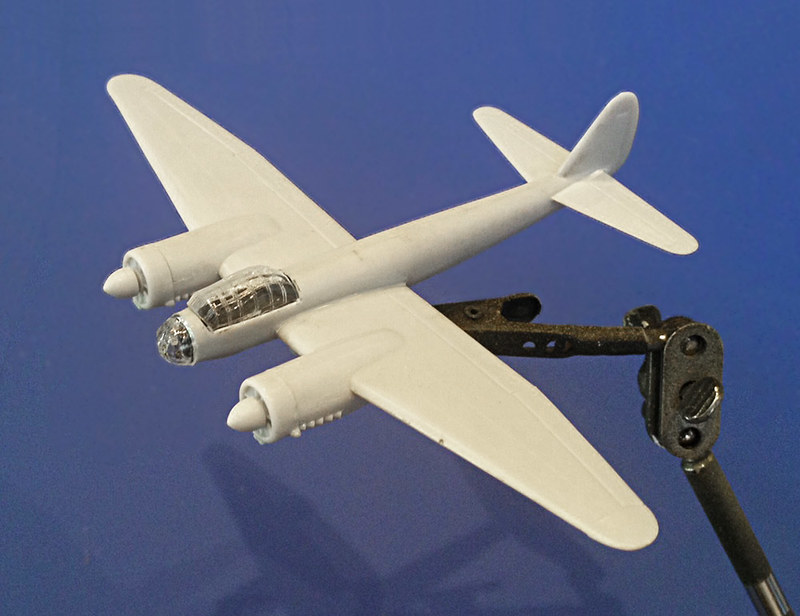
Being a 1/144 kit there aren’t that many stages or parts to this kit so it doesn’t actually take long to pop this model together. Maybe this is why 1/144 is growing on me?

Anyway, there are no tricky issues to worry about, the design of this kit’s construction is well designed and there’s hardly any flash worth mentioning. However, I was rather surprised that a couple of the main parts didn’t fit as snuggly as I had expected.

In particular it is worth mentioning the engine nacelles. Each engine housing comes in two halves, you glue these two pieces together and then glue this unit to the underside of the wing mating with the upper engine cowling. Well, it’s enough to say that some filling will be required, particularly in the resultant seam under the wing.

Above: The worst fitting parts were the engine nacelles. You can see the gaps here, but
basically if you get them to fit at the back a gap (like above) opens at the front, and vice
versa. Nothing some filler and sanding can't fix easily though.
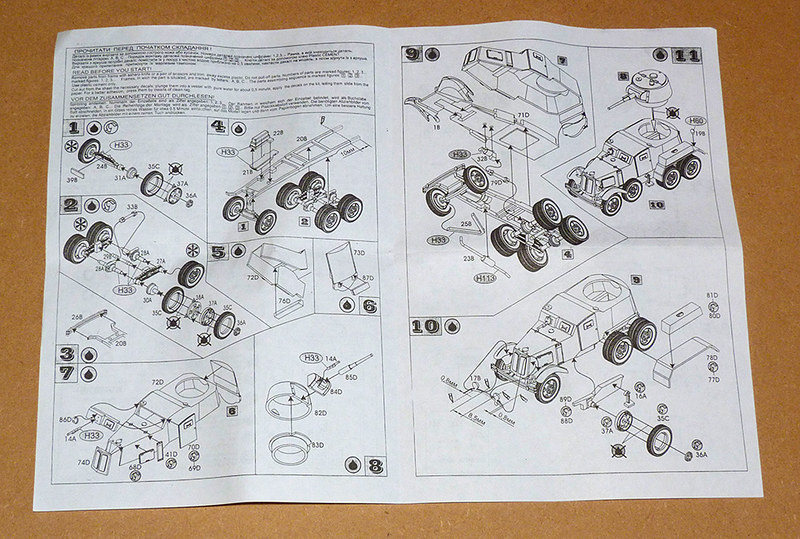
...But it could have been worse I suppose, I was just a bit disappointed.
The rest of the parts – including the major fuselage halves – go together OK, with just a modicum of sanding. There was no warping or huge gaps

The main options you have with this kit are whether to have the undercarriage up or down and whether to add the external – wing mounted – bomb load.

One nice touch, which I think is worth mentioning for the war game modeler, is the inclusion of two extra propeller bosses. Aside from the normal bosses with propellers attached, which you’d expect, there are also two with no props so you can model the plane ‘in flight’! This makes it easier for me to add my fake prop spinner.


In this instance I have decided to fit my canopies at the construction phase – and mask them out for painting – and so I have dry fitted to make sure there are no problems with size or shape, no problems there. But, you need to be careful when fitting the lower nose gun nacelle - this sits slightly to the left of the center line at the front, but there is no reference holes for you to place this in the correct place. I referenced photos on the Web for the approximate placement (note that this part appears to be quite simplified compared to the real thing).

Finally, I drilled a small hole in the center of the lower fuselage, just between the back of the wings, to accommodate the short rod I am using to mount the plane on my homemade stand. However, before I fitted the two fuselage halve together I inserted a block of Milliput model putty to act as a firm anchor point for my stand rod.

Next: Straight on with choosing a Finnish camo scheme, masking and starting the painting.