Showing posts with label X-Ref:MC/JU88/Finn/0213. Show all posts

Tuesday, 2 April 2013

Minicraft 1/144 JU-88 Pt. 6 – Decals

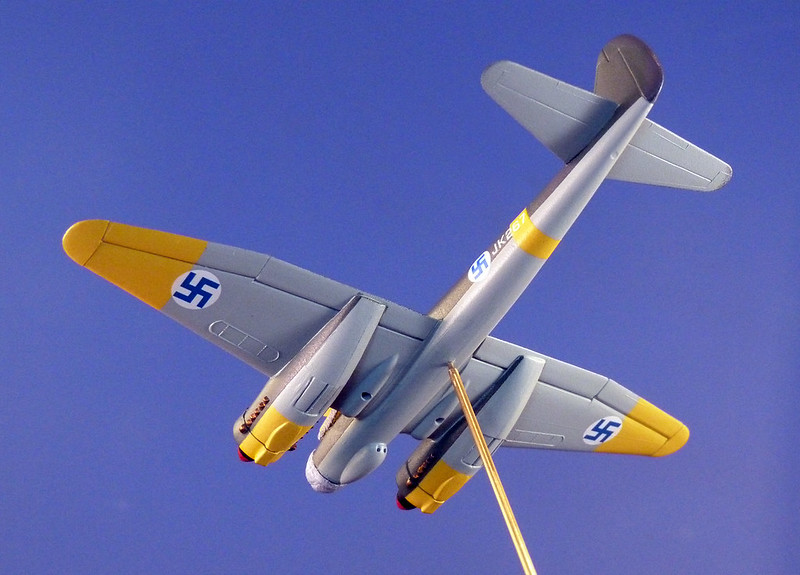
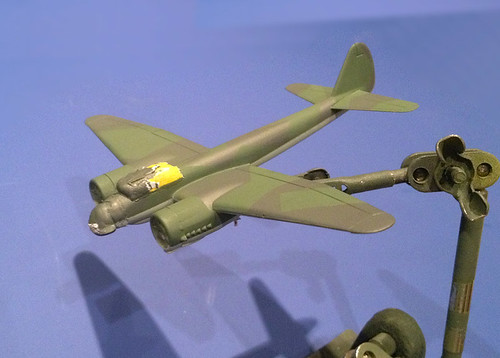
Catching up on some parked projects, I popped on the Finnish decals on my JU-88. These are fairly generic and aren't all-together authentic, but they look smart enough.


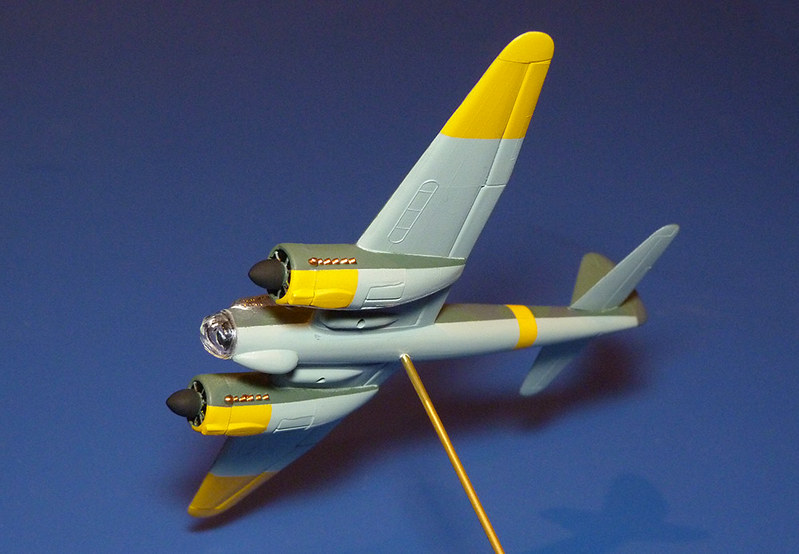
The canopies are masked out at the moment while I protect the decals with a light spray of varnish. My splinter pattern colours are a bit light, but I am going for a pretty weathered finish for this model anyway.


Next I will start my shading using the same charcoal powder technique I used on my 1/144 Me-109 G-6 as I work through the weathering stage.

Sunday, 3 March 2013

Minicraft 1/144 JU-88 Pt. 5 – Base coats complete

Not as much model time this weekend as I would have liked (where does the time go?) but at least I got all the base coat and touching up done on my JU-88. I thought I'd picture the underside as it's quite colourful what with the theatre colours...


I haven't attached the bombs as I think they might hinder my plans for weathering the underside. Same with the machine guns and aerials, these will all be attached once all the major weathering has been completed.

Well, I've hit a bit of a speed bump now as the Finnish decals I have are not quite big enough for this bomber and I've had to order another set (this time a 1/72 scale sheet which has small Finnish decals which might do the job). So, time to finish up my two other aircraft in this project.  

Thursday, 28 February 2013

Minicraft 1/144 JU-88 Pt. 4 – Painting

Well, construction complete, though I have left off some of the minor and tiny parts - such as machine guns - until the main base coat painting is done.


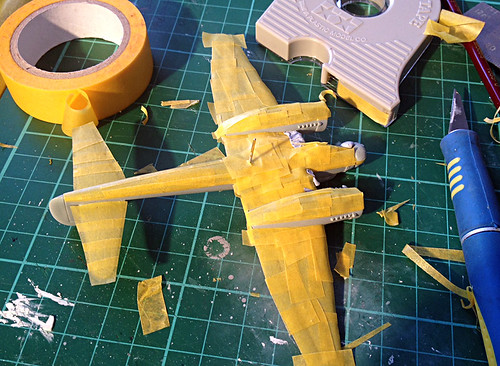
It's a nice looking plane isn't it? I hope my painting can do it justice, I will start by spraying the underside with my Tamiya AS-5 Light Blue for the Luftwaffe RLM 65. All I masked out at this stage was the canopies.


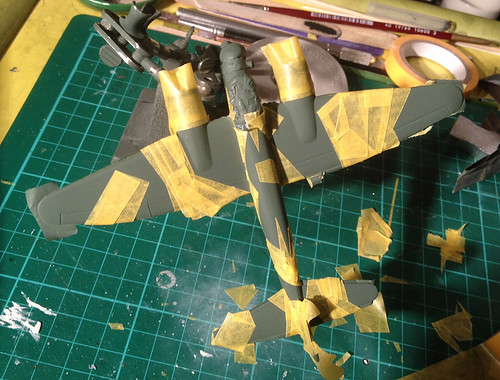
The basic green was done with Humbrols lovely Dark Green spray (N0. 30) and there was plenty of masking to do to create a nice hard demarkation between the lower surface blue and the upper green. I do like masking, it's very relaxing!

And finally we get to the groovy bit - the splinter camo...


Unfortunately I didn't have a good match for the RML71 (Dark Green) for the splinter camo, so I used the nearest thing I had in my paint box - Tamiya's AS-4 Grey Violet. But with some weathering it should look OK I think...


The canopies still have their masking on as I don't want these to be spoilt when I varnish later on. I will paint the canopy frame last - perhaps with enamels.

Well, there we go. Now onto the touching up before I gloss varnish for the decal stage.

Tuesday, 26 February 2013

Minicraft 1/144 JU-88 Pt. 3 – Camo research


Luckily for me the JU-88 in Finnish service seems to be quite a popular subject for modellers and a lot of good information is available about colouring and decals.

Finnish JU-88s seem to come in two 'flavours' - those that stuck with the standard German splinter camo and those that adopted a slightly modified version of this scheme. Either way the colours seem to be the normal German combinations of RLM71 (dark gren), RLM70 (mid green) and TLM65 (mid blue).

I've made this quick sketch to illustrate this scheme...


The underside was all mid blue but displayed the normal Eastern Front yellow sections at the wing tips and underside of the engine nacelles.

I won't be buying special paints for the top side pattern but using what I have in my paint box by way of Humbrol spray cans (their Light Olive and Dark Green) as I think I have fairly good matches for these colours. Especially if I weather them a bit.

I have to say that the German splinter pattern camo design must be the model newbie's favourite camo scheme! Nice uncomplicated strips of masking tape seem to get you a passable impression no matter your skill level! (Famous last words yet again!)

Monday, 25 February 2013

Minicraft 1/144 JU-88 Pt. 2 – Construction


Being a 1/144 kit there aren’t that many stages or parts to this kit so it doesn’t actually take long to pop this model together. Maybe this is why 1/144 is growing on me?

Anyway, there are no tricky issues to worry about, the design of this kit’s construction is well designed and there’s hardly any flash worth mentioning. However, I was rather surprised that a couple of the main parts didn’t fit as snuggly as I had expected.

In particular it is worth mentioning the engine nacelles. Each engine housing comes in two halves, you glue these two pieces together and then glue this unit to the underside of the wing mating with the upper engine cowling. Well, it’s enough to say that some filling will be required, particularly in the resultant seam under the wing.

Above: The worst fitting parts were the engine nacelles. You can see the gaps here, but
basically if you get them to fit at the back a gap (like above) opens at the front, and vice
versa. Nothing some filler and sanding can't fix easily though.

...But it could have been worse I suppose, I was just a bit disappointed.

The rest of the parts – including the major fuselage halves – go together OK, with just a modicum of sanding. There was no warping or huge gaps

The main options you have with this kit are whether to have the undercarriage up or down and whether to add the external – wing mounted – bomb load.

One nice touch, which I think is worth mentioning for the war game modeler, is the inclusion of two extra propeller bosses. Aside from the normal bosses with propellers attached, which you’d expect, there are also two with no props so you can model the plane ‘in flight’! This makes it easier for me to add my fake prop spinner.


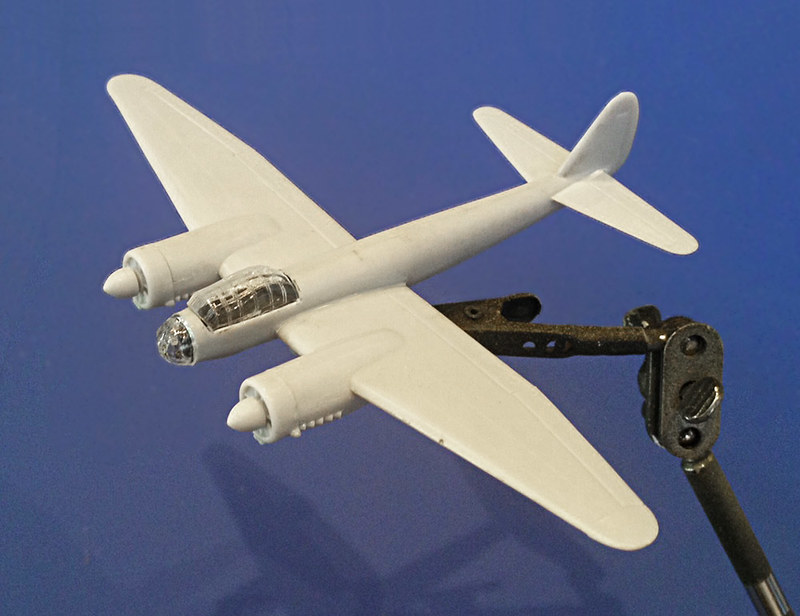
In this instance I have decided to fit my canopies at the construction phase – and mask them out for painting – and so I have dry fitted to make sure there are no problems with size or shape, no problems there. But, you need to be careful when fitting the lower nose gun nacelle - this sits slightly to the left of the center line at the front, but there is no reference holes for you to place this in the correct place. I referenced photos on the Web for the approximate placement (note that this part appears to be quite simplified compared to the real thing).

Finally, I drilled a small hole in the center of the lower fuselage, just between the back of the wings, to accommodate the short rod I am using to mount the plane on my homemade stand. However, before I fitted the two fuselage halve together I inserted a block of Milliput model putty to act as a firm anchor point for my stand rod.

Next: Straight on with choosing a Finnish camo scheme, masking and starting the painting.

Saturday, 23 February 2013

Minicraft 1/144 JU-88 (Finnish) Pt.1 - Introduction

Well, I decided I was on a roll (of sorts), so it's straight on with the final aircraft for my late 1943/1944 Finnish war game army air group. This is my bomber, the notorious Junkers JU-88.


Background - The Finnish '88
23 JU-88s were bought from Germany in 1943 - presumably to bolster more obsolete types then in service like the Bristol Blenhiems and Dornier Do 17. Small in numbers they may have been but as usual the Finns got a lot of bang for their bucks (Marrka?) and they devised novel tactics to make up for the Soviet's numerical supremacy.

One cunning tactic was that the Finnish bombers would drop into Soviet bomber formations returning to their bases and rather unsportingly bomb the unsuspecting airfields, destroying aircraft and supplies on the ground!

The Minicraft Model
Well, I was completely impressed with this kit as soon as I opened the box. All sprues were bagged up nicely and there was a very useful A4 set of instructions. The model comes with two colour scheme suggestions and decals, one for a Luftwaffe example and the other Hungarian.


The quality of plastic and mouldings is very good - although I can't say about fit until the next post - and the parts have delicate detail, with raised panel lines and seams - nice.


I was also impressed with the level of detail and the number of parts. I think this kit would give some 1/72 models a run for their money. And talking about 1/72 scale, the main thing that caught my eye was the size of this 1/144 plane - it must be as big as a 1/72 WW2 fighter and will dwarf both my single engine Finnish planes.

Optional parts are provided so that you can build the undercarriage up or down, but other parts are simplified - notably the cockpit, which is the blanked off type I'm afraid (or am I relieved).

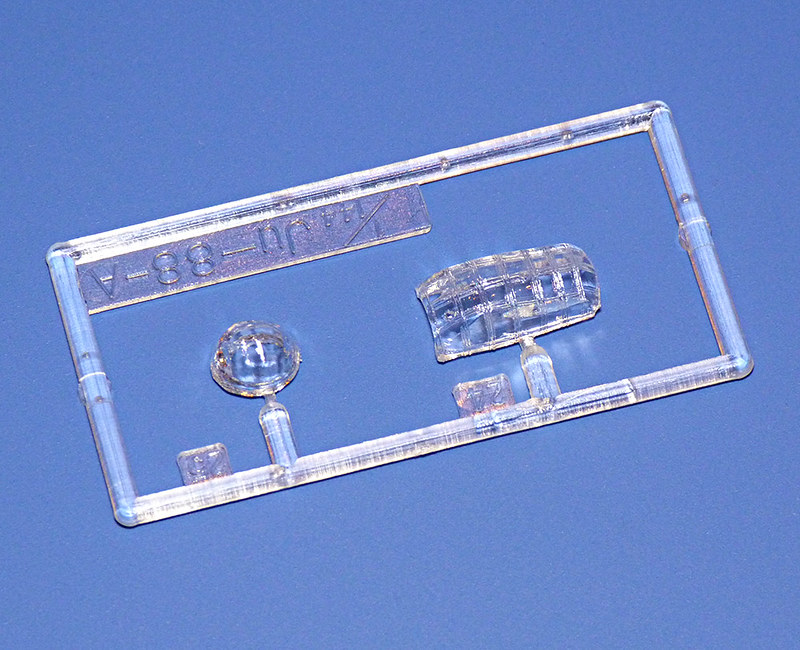
Finally, I was glad to see that Minicraft had exaggerated the canopy framework just a bit. This will give a newbie like myself a reasonable chance at painting reasonable looking and neat canopies.


Well, that's the unboxing - all good so far - so it's onto the construction.