Right, it's crunch time...
But before I get to the nerve-wracking Plasti-kote spraying I have to lay down the primer coat. I'm sticking with Halford's enamel car touch up spray, I think it does a satisfactory job (I haven't tried a specialist primer which you apply with an airbrush yet, I'll use up the last of the Halford's first).

Black does look nice doesn't it? (Note to myself: Must do a night fighter at some point! Airfix has just released a new tooling of it's 1/72 Boulton Paul Defiant. Hmmmm...)
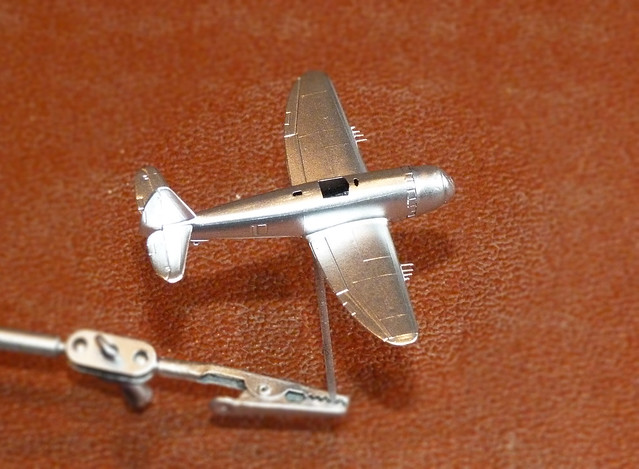
Anyway, one little quandary was the canopy. As mentioned in the initial post, there is no pilot or cockpit detail and as I want this model 'in flight' I am going to disguise this fact by painting a faux-canopy (in war-game fashion). Not having done this before I wasn't sure at what point to affix the canopy to the plane - thinking about it now I wish I had attached it before priming so that it was a flush and integral component. Ah, well - you live and learn!
The Plasti-kote coat! (Du-du-duuuuh!)
Now, one thing - I'm having a right kerfuffle photographing 'chrome' finished. I really should set ip my mini-studio lighting, but I can't be bothered raking through our attic to find them. So, the following photos are a little hit and miss.
Well, here we go...Fingers crossed...
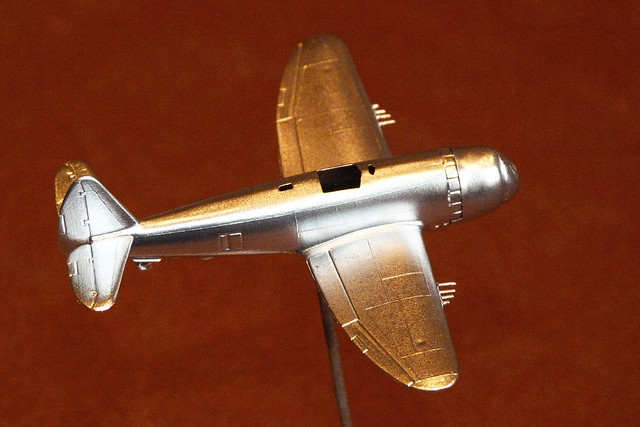 |
| First, a bit darker (high flash) to bring out the reflections... |
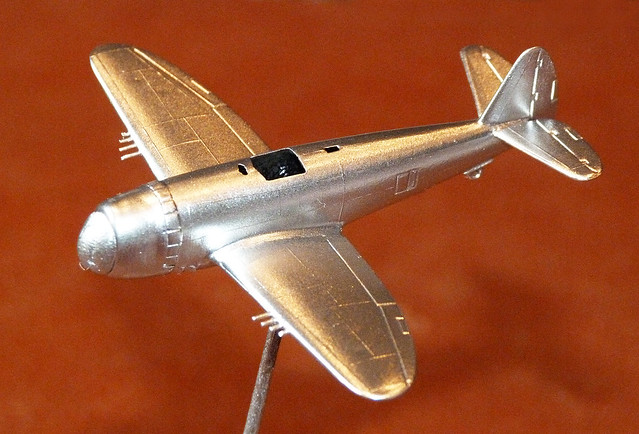 |
| And then lighter to show the texture. |
In my first test I mentioned that I thought that the best way to achive a smooth, high reflection finish with Plasti-kote Brilliant metalic was to spray one, fast pass and hope for the best coverage (just touching up any small imperfections and spotty coverage with a light focused spray). This time however - as this is all about experimentation - I decided to gamble and follow Plasti-kote's own suggestions about a second coat (thereby ensuring total coverage).
I had read that additional spray coats with this sort of bright metallic paint resulted in subsequently duller finishes. This seems to be true - although the 2-coat finish isn't all that bad, it's not 'chrome' but rather what I would call 'polished steel'.
Actually, there is rather a nice effect if you look close - it is like a machine polished surface...
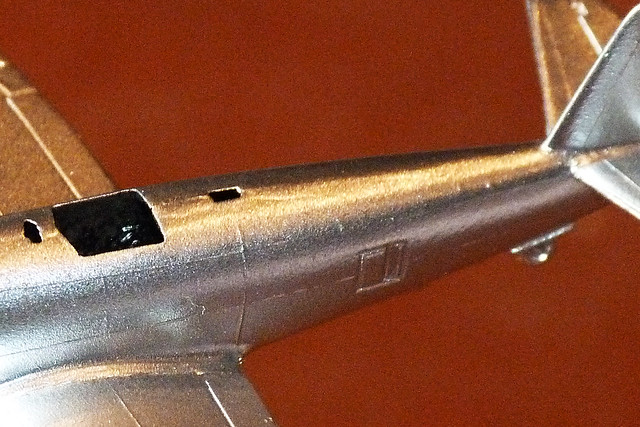 |
| If I were doing a 1/72 model of Lindbergh's 'Spirit of St. Louis' this might be a nice effect! |
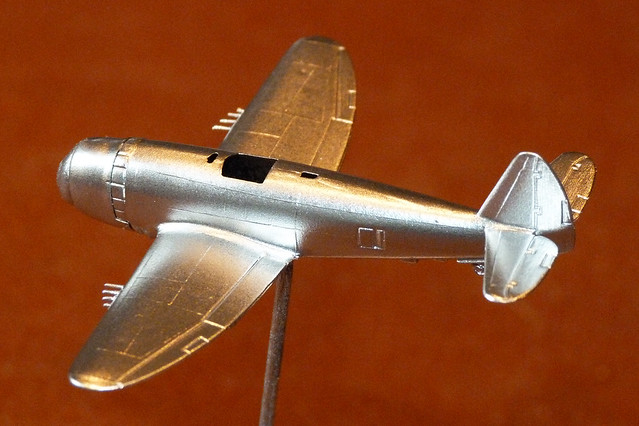
Obviously, at a distance the finish looks acceptable, certainly for a war-game modeller who might simply want the look of high-polish quickly. But for the (ambitious) display modeller this quality of finish would be totally unacceptable.
In short, my 'one pass' theory is probably correct - but trying to get a good coverage with just one coat is, as I mentioned after experiment No. 1, down to pure luck (which isn't what you really want to rely on as a modeller).
Conclusion
OK. I'll put this one down as a 'fail'. Maybe a bit harsh and not a total loss as this was an experiment after all, but the texture just doesn't work for me I'm afraid.
Looking back at my Hobby Boss Mig-15 - which I did with just normal Humbrol acrylic silver spray - I think I preferred the duller but smoother silver finish...
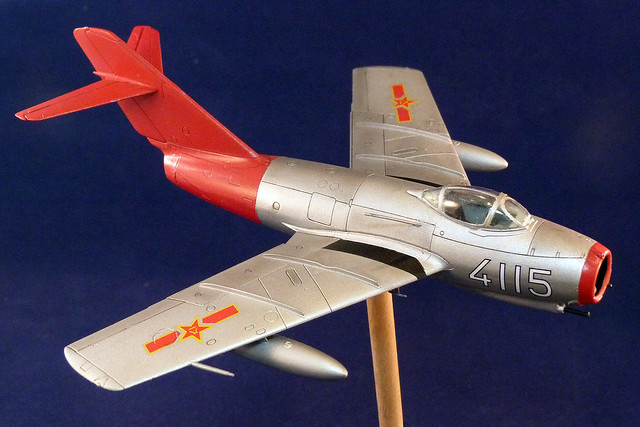
Amusingly - re-reading my Mig-15 blog post - I do mention that I didn't enjoy working with a silver finish. Little has changed it seems.
But, I think my mind is made up that if I do want a professional looking high reflection and smooth finish and it's a display model it really is worth going the extra yard and using one of the specialist modelling metal finish mediums, like Alcad. Horses for courses.
 |
| At a distance look...At this distance the spotty texture isn't as obvious. But it's still there! |
Well, naturally, I want to finish the P-47 model off, and there are still some things to learn about Plasti-kote - like how does it handle masking?
So, in the third and final part of this experiment I will adding the remaining areas of colour, the canopy and the decals.
No comments:
Post a Comment