Wednesday, 7 February 2018

Zvezda 1/100 SU-152 'Animal Killer' - Part 2

Well, this project isn't going to take long!

...So, moving along briskly, it's on with the painting. And, because I've a pretty well defined painting plan for these Soviet tanks 'briskly' is the operatively word...

[Note: I took the pictures as I went along with my mobile phone - for convenience sake - so, unfortunately, the colour reproduction varied wildly, depending on the lighting. My apologies.]

1. Priming - Humbrol Light Olive Green
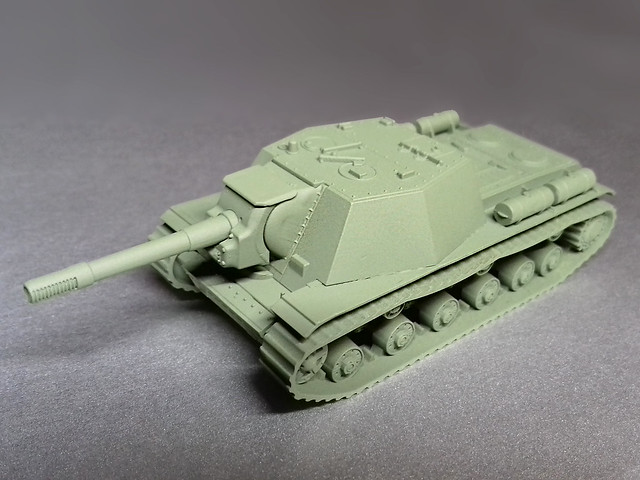

2. Modulation - Vallejo 'Russian Green' Wash
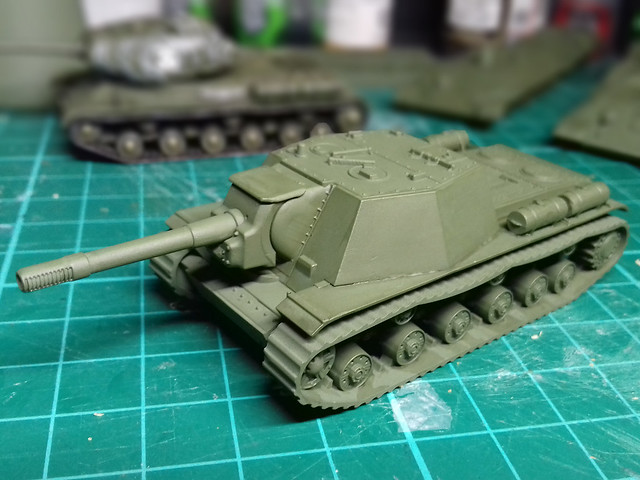

3. Painting Tracks - Basics
First stage in my track painting (for these 1/100s) is to base coat the tracks with a mix of 70/30 Vallejo Model Color 'German C. Black Brown' [822] and Game Color 'Plata Silver' [052]. This just gives the tracks a vaguely rusty-metallic lustre...
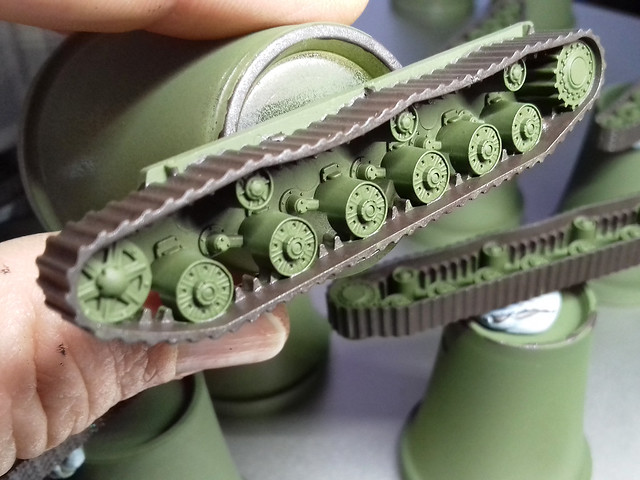
This shot shows the very basic nature of the track detail (or rather, the lack
of track detail)!
Next I brush on a dark brown wash of Citadel Agrax Earthshade (slightly diluted). But, be careful, as this wash doesn't seem to like too much water added and will sometimes dry with a white residue. I've been told that to avoid this you should dampen the surface you are applying the wash to first.

Anyway, the wash gives nice definition to detail and gives the base colour a slightly dirty look...
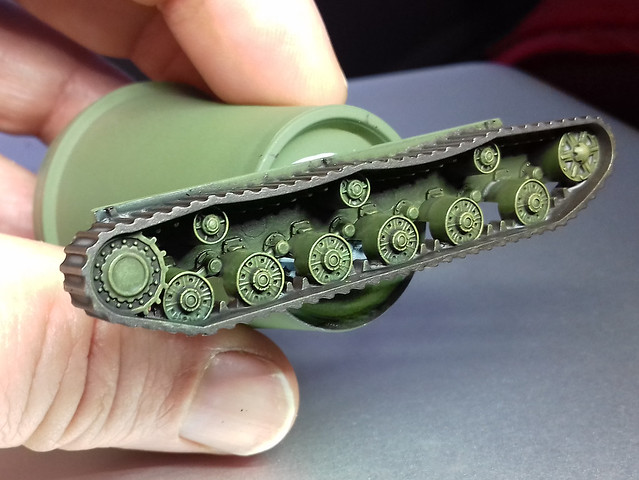
Compare this to the picture above. Notice how the wash has picked out the
details of the road wheels in particular.
On top of this I dry-brush a highlighting colour of Vallejo's Model Color Yellow Ochre [913] (mixed with a little Vallejo Model Air Russian Green for effect). This is just to make the most prominent detail 'pop' out a bit.

And finally (prior to weathering anyway), I do some pin-washing using Citadel's Nuln Oil shade [wash]. This is to deepen some of the most shaded detail in the road wheels...
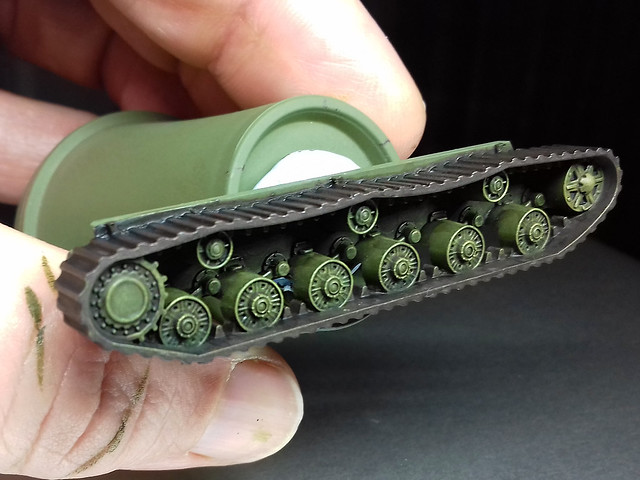
Yes, subtle I know, but believe me, some of the deeper detail is now better
defined and shaded. I may re-highlight a it, but otherwise onwards we go!
4. Highlighting (Dry Brushing) the Hull
These stages repeat the wash, highlighting and pin-wash processes described above. This stage is very subtle so I've skipped photographic it. BUT, it is worth doing as once the next stage of shading wash has been applied it gives some very subdued highlighting to raised edges and panel lines.

(As these are war-game models I've started experimenting with some high-contrast highlighting by using a little white. It's not very realistic per say  but it is a nice effect. I highlight with my yellow/green mix, then dry-brush a little whiter mix on top - just on the very most prominent features.)

5. Shadow Shading - Citadel Agrax Earthshade

6. Pin Wash - Citadel Nuln Oil
With the pin-washing done, this brings the hull and the tracks to the same stage of basic painting.


7. Decals
I'm not basing this tank on any specific historical vehicle, so the decals are just to add character to the model. I begin by a flicking through my collection of spare decals and found a set of - appropriately - large Cyrillic numbers ('14') that I thought would compliment such a big tank.

The model was prepped with a  light patch of Humbrol's 'Gloss Cote' on the hull where the decal would be placed. As usual, Microscope's Micro Set was used to help seat and set the decal in place...


Sometimes less is more with Red Army armour!

(Another light coat of Humbrol varnish would be applied on top of the decal to seal the transfer permanently.)

8. Chipping, Grime & Weathering
As this is a war-game model there will be plenty of character about it, and this includes a slightly exaggerated amount of weathering. This is definitely 'just for fun' and not strictly historical.

I'll start with chipping as, it seems to me that, grime and dust would naturally occur on top of chips and scratches (maybe). I use Vallejo's Panzer Aces Dark Rubber [306] and dot and dab it in minute patches and scratches on areas I think would see wear and tear...
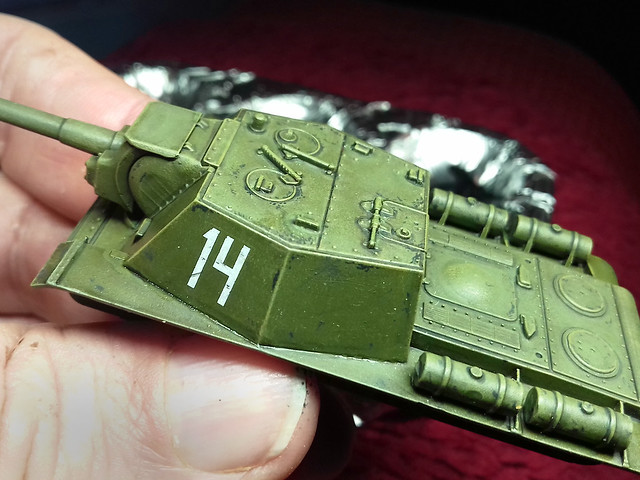
It's debatable whether - at this scale - small detail effects like chipping are
needed. I shall decide when I see the finished model.
Aside from the grey ('flakey paint') chips I'll additionally add the occasional speck of silver to simulate chips that have gone down to bare steel (like chips on hinges and wheel rims, etc). I could add some touches of graphite pencil to get that metallic look to the surface (I shall try this out on the bottom of the hull first to see if I like it.)

And finally, I'll add a few grime, stain and oil streaks to the hull and slightly discolour the decals to get rid of that 'new' looking brightness.

9. Finishing Tracks - Weathering
As above, there will be a touch of chipping and silver flecks to imply scratches (I also did a little silver dry-brushing to give a metallic sheen to the steel tracks). But the main job will be to add dust and dirt (or mud if I want a very weathered look). This is the bit I always dread as it's so easy to get carried away. So, before the mud...


(Edit: I thought the tracks looked a bit flat - in tone - so I added a wash of Vallejo's Game Color Wash in Sepia Shade [200]. This added a nice tinge of rust to the bare steel of the track links.

And, after the mud...
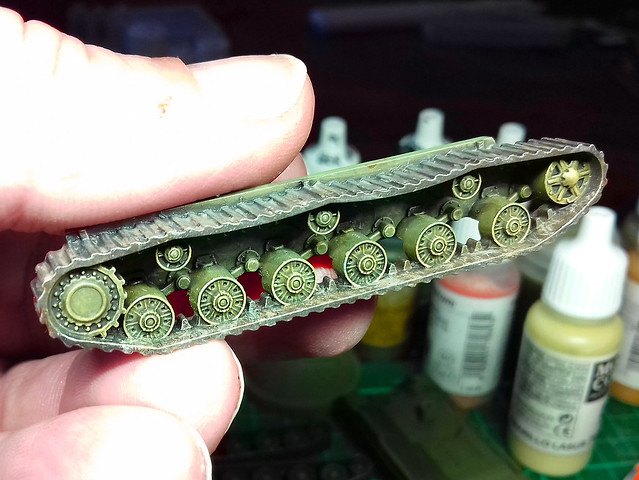
I'm not happy with my 'mud' technique yet. I keep trying out new medium, in
this case it's Tamiya's Weathering Sticks. I think I prefer powders.
10. Finishing Up...
Well, I just can't resist tinkering and I did some more chipping and streaking. But that's normal with me - I just can't leave well enough alone!
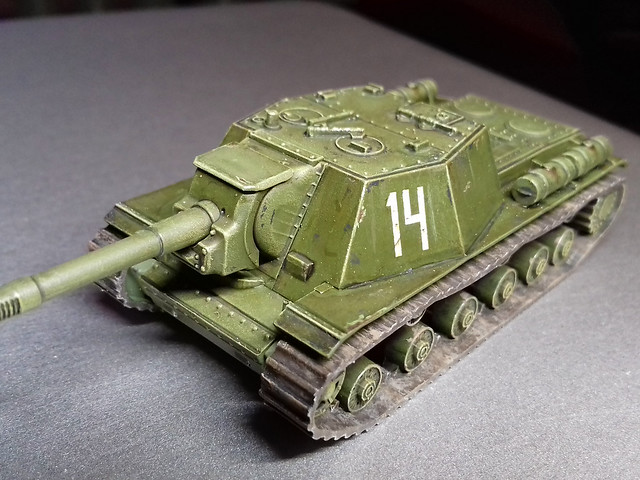
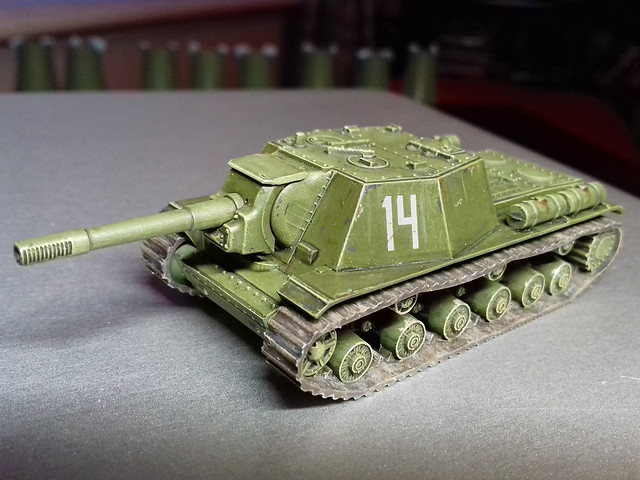
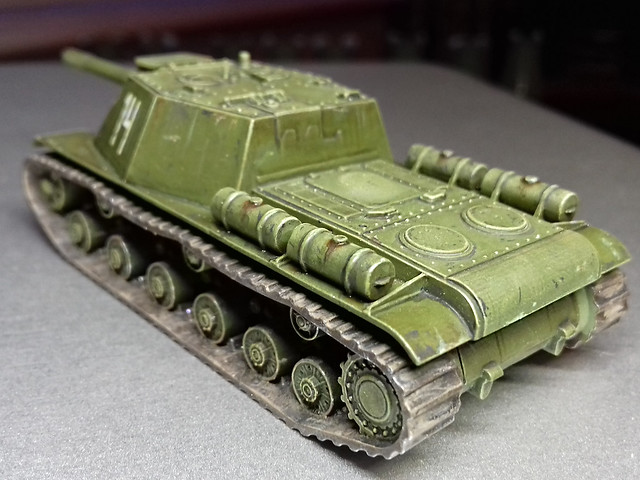

I'm fairly pleased with this model, though a little disappointed with how the tracks turned out. It's perhaps half to do with how simplified the tracks were - offering scant detail - and half my poor 'mud' painting technique (I shall have to practise with some other medium).

But, let's not get too negative...This is a perfectly fine war-game piece for GF9 Tanks, and that's the main thing.

All that's left if to varnish the model. I'll probably go with several light coats as it's intended to be handled. Other than that, it's on with the next models in this project - my T-34s.

Sunday, 4 February 2018

1/100 Plastic T-34/76 Kits - Part 4

One Track Mind...
Er, make that 10 track mind! The downside of production line model making for war-game is; yes, you get a nice little army of models at the end, BUT this means that every stage in building and painting becomes a intimidating and repetitive chore...

Tracks all-over primed and track links painted base colour.
I'll be discussing my exact paint process for these 1/100 scale tanks and their tracks in my next post (about my SU-152), but here's a quick overview in bullet-point form:

• Prime tracks (mine are all over light olive)...
• Paint tracks base colour - I've chosen a metallic dark-brown...
• Apply dark wash (Citadel Agrax Earthshade) all over...
• Dry-brush highlight green on road wheels...
• Highlight track tread with metallic colour or graphite pencil...
• Pin-wash road wheels and track treads with black (Citadel Nuln Oil)...
• Apply dust of mud effects (to your tastes)...
• Seal with varnish.

Next: Painting the hull and turret.

Friday, 2 February 2018

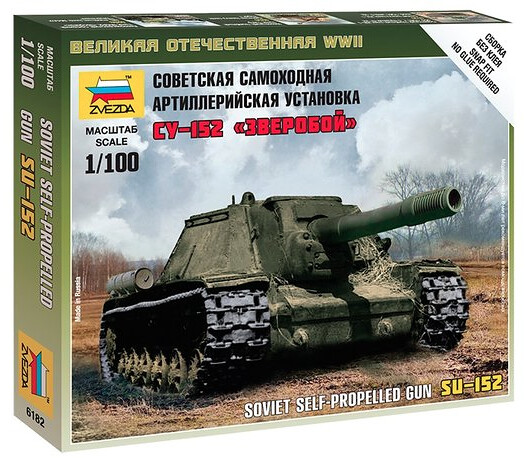
Zvezda 1/100 SU-152 'Animal Killer' - Part 1

My 'Battle of Kursk' project trundles forward apace with this monstrous addition to my Soviet force. The 152mm gunned SU-152, known as the 'Animal Killer' (or 'Beast Killer') as it was designed specifically to hunt the German's Tigers, Panthers and Elephants.

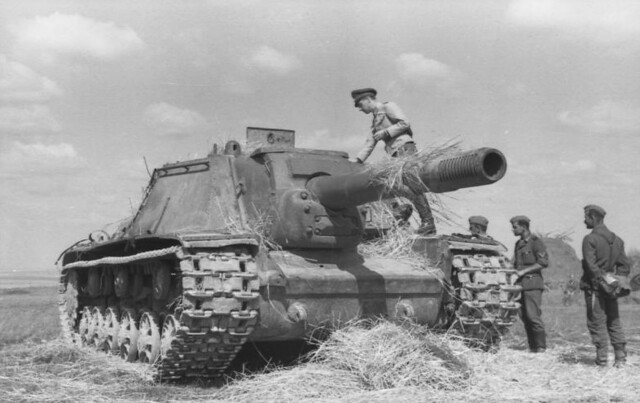
An abandoned SU-152 assault gun inspected by German troops, Russia, 1943.
(These Germans must be counting their blessings!) Source: Wikipedia
Quick Overview
I've made no secret that I love Zvezda's little 1/100 range of armour. Their level of accuracy for a simple 'easy build' war-game model is excellent (bar one detail) and the cost is very attractive compared to the competition.


However, every silver lining has a grey cloud attached and Zvezda kits have two slight drawbacks; they don't tend to come with optional builds/accessories and their tracks are...Well...'Bare bones'.

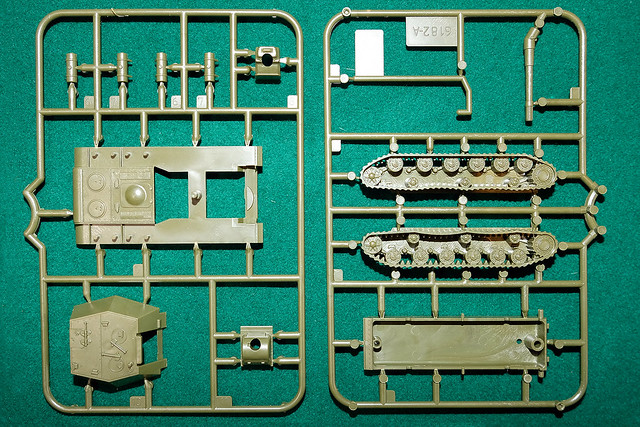
The Zvezda SU-152 follows this format, the kit has only 12 parts with no 'optionals' and the tracks are a little disappointing. BUT, these kits are what they are and as war-game markers they are more than adequate.


Unfortunately, to keep the part count down something had to give and that was the complexity (or lack thereof) of the tracks. Making the track sub-assembly one-piece - including wheels, suspension and the tracks themselves - seems to have impacted just how much detail can be included on the moulding. I guess they figured that - at 1/100 scale and being partially hidden by the fenders - the track pattern would not be a overtly noticeable feature. This is a matter of opinion.

(As mentioned in my 1/100 T-34/76 post, the best tracks are those done by Plastic Soldier Company. But they achieved their nice track components by using three-piece assemblies.)

However, the rest of the detail is well represented for the scale and is crisp and delicately moulded. (Other 1/100 armour manufacturers tend to go for a slightly exaggerated 'chunky' look so that details show up better - and are more easily painted.)

Completed in just a few minutes, at tabletop distance it's a lovely looking model.
The massive 152mm gun barrel is not 'drilled out', but that's easily remedied. I drilled a tiny pilot hole first - to ensure the hole was centred properly - before drilling out the final barrel width with a larger drill.

Options?
Although the kit does not come with options, it might be nice to add some stowage. Things like tool boxes or a piece of timber for 'unditching', which was a common practise on Soviet tanks. I could scratch build these easily.

Next: Painting.

Thursday, 1 February 2018

1/100 Plastic T-34/76 Kits - Part 3

Cleaning, Priming & Base Colour Planning
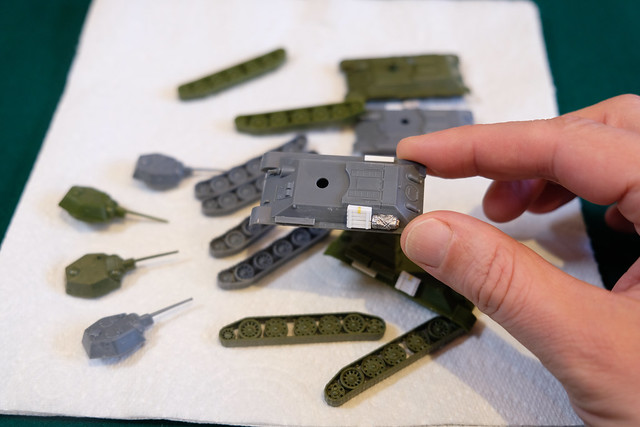
A process I - and other modellers - do, and yet I have never mentioned it on this blog, is to wash the 'raw' plastic sub-assemblies before priming! I don't know why I have never mentioned this before as it is quite an important stage in the painting process.

It's also a very simple process (maybe that's why I have overlooked it before), but novice modellers tend to either not know about this process or chose to ignore it.


To be fair, I didn't clean my raw models before priming when I started, but when I did eventually try it I immediately understood why people do this. For example, I tend to file and sand my models a lot - either to remove sprue nubs or moulding seams or to correct details - and this causes microscopic particles of plastic dust to cling to the surface of your kit.

For some reason, you only seem to notice these small grains of plastic once you have primed, and then it's too late. Sometimes the tiny blemishes can be scraped off and the primer can be retouched, but there is nothing more annoying than discovering particles of dust spoiling you nice neat primer coat!

So, I bath my sub-assemblies in warm, soapy water. This gets rid of most particles and any surface grease left behind by your fingers (this can be just your natural skin oils, but can form a barrier to the primer paint).

Priming
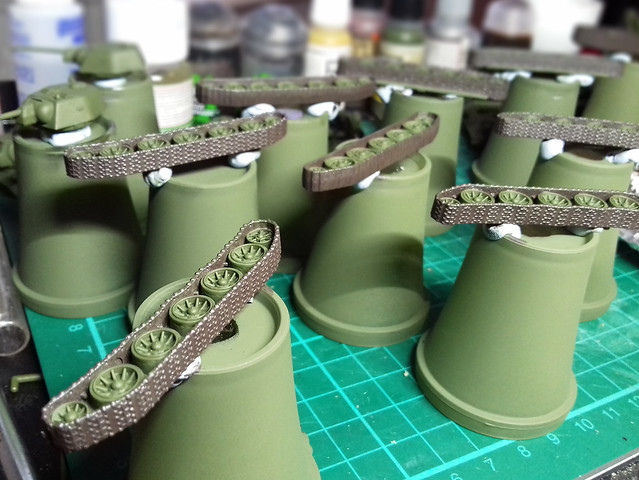
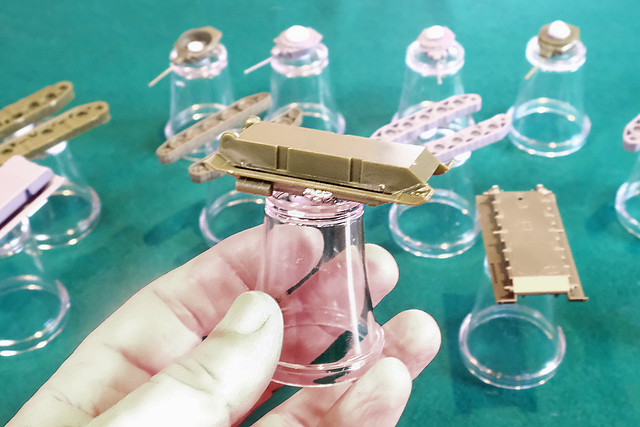
Before spraying I mounted all of the sub-assemblies onto little plastic shot glasses that I got from a local thrift store. I like to mount parts for spraying and painting as I like a 'handle' to hold onto the part. It makes it easier to manipulate for painting details.

I have used cheap corks before, but I prefer these shot glasses as they can put down and stand on their own, which is great for when paint is drying. I stick the parts to the glasses using BluTac...


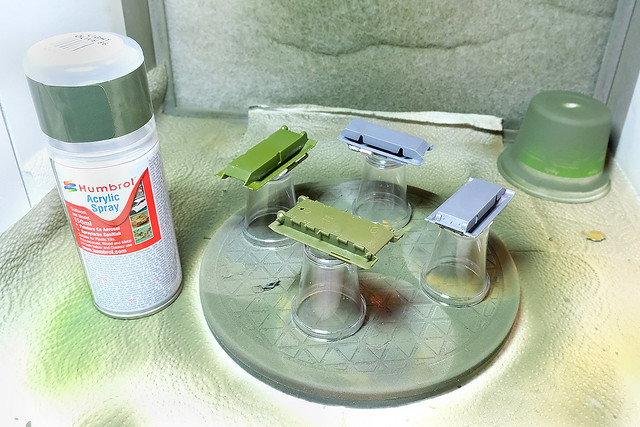
And from there it was onto the spray booth turntable. As usual, I'll be breaking out the Humbrol [86] Light Green Olive Acrylic Spray as a light base for my 'Russian Green' wash...


As much as I am enamoured by this particular make of rattle can, I'm starting to question the economics of aerosols as primers, more especially when you have several identical models to spray. I'm considering moving across to airbrush primers once I have gotten back to using an airbrush again.

But, in the meantime, I am still impressed with the nice smooth coat that the Humbrol spray gives me...


Planning the Colour Scheme
Being mid-war Soviet tanks you could get away with a very simple colour scheme, Russian Green. But I'd like to do something a little different, just to give some visual variety (I know some people like uniformity when it comes to war-game tank squadrons), so I looked around to find examples of those rare occasions that the Red Army used camouflage schemes.

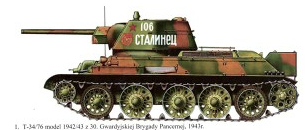
While the Soviets made great use of winter schemes, summer multi-coloured camo patterns are relatively rare as far as I can see. But I found one example that looks interesting...


I've seen this two-tone green and tan/brown scheme a couple of times and quite like it. I'll probably just do one of my T-34s in this, just to imply that different regiments are involved in my game. Just for fun! :)

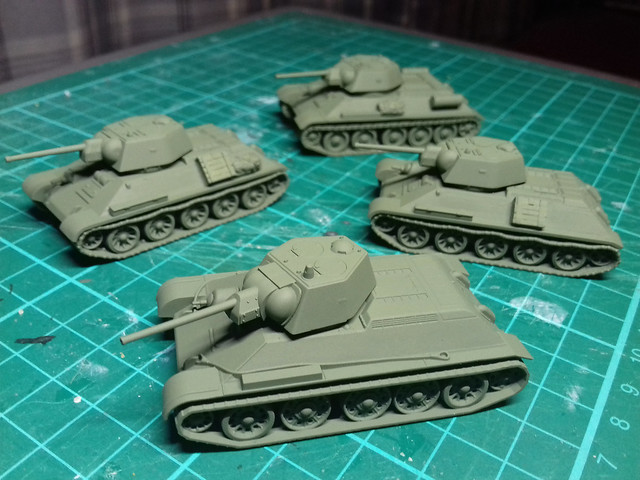
As for the other three, variously weathered plain green, I think.

Next: Painting.

Wednesday, 31 January 2018

The 'Cat Killers' Are Here!

New to my stash for my 'Battle of Kursk' themed wargame are three lovely 1/100 Soviet tank destroyers. The plastic Zvezda SU-152 and two Skyrex white metal SU-122s...


Although I call them 'Cat Killers' I believe the nickname really translates from Russian as 'Animal Killers' - referring to their intended victims, the German Tigers, Panthers and Elephants - and it really was only applied to the SU-152 and it's massive gun. Still, the SU-122's big gun was nothing to be sniffed at either and had the same function - to get rid of those pesky Kraut Heavies!

These will make up the core of my Soviet force for my planned game of GF9 'TANKS!', as the Soviets fought more defensively in this battle.

Sunday, 28 January 2018

1/100 Plastic T-34/76 Kits - Part 2

A *very* slow Sunday on the workbench, due to having to babysit the daughter's very needy dog! ("No, don't make models, tickle me...Me, me, me!")

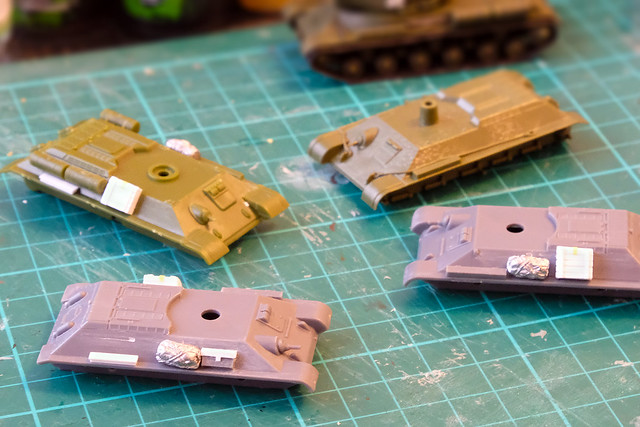
Anyway, got the stowage done for my T-34s - just a few extra tool boxes and what-not. I also trimmed off the horrible plastic 'bumps' that are supposed to represent the 'hand rails', so I'm a lot more satisfied now.


It seems to me that making accessories for 1/100 scale armour is a little anal, but I can't seem to kick the habit. But you can tell I'm more used to making such things in 1/72 scale as my attempts are a little on the big side. Still, they add variety onto otherwise very spartan Soviet tanks.

And that's it for today, I'm afraid. Not a big modelling weekend really and the time has flown.

Next: I'll clean the models with soapy water before applying the primer coat.

Thursday, 25 January 2018

Stash Update - More Bad Guys!

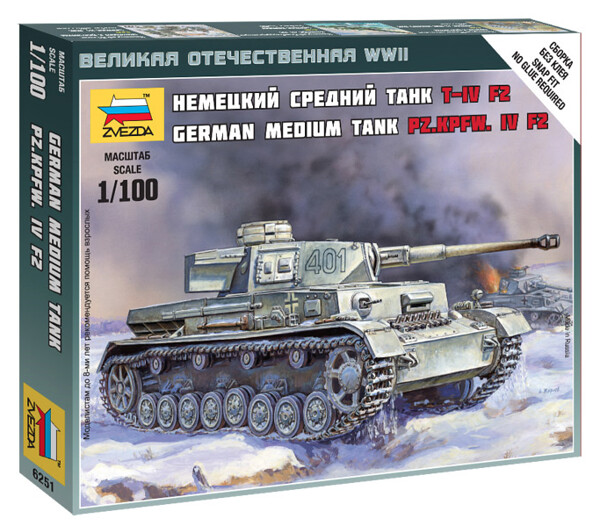
Continuing on with my 1/100 'Battle of Kursk' project for my forthcoming GF9 'TANKS!' game, I have added more 'bad guys' to the collection. These are the German's canon fodder for the battle, the venerable Panzer IV F2 - in this case, in model form by Zvezda...


Now, that may sound disparaging, but that's only because the main focus of anyone's attention when talking about the Battle of Kursk is always inevitably the 'new' German big cats - the Tiger and the Panther. It seems that the poor old Panzer IV gets a wee bit overlooked, and yet it was still the backbone of panzer formations at the time and was still a pretty good tank.


In fact, due to the Soviet's muddling about with the - by then - obviously outmoded 'KV' heavy tank line the Pzr. IV could still hold it's own with practically anything the Red Army could throw at it. It had no problem dealing with either of the Soviet's two main battle tanks, the sluggish KV-1S or even it's nippier little cousin, the T-34/76. [In fact, I have heard many people say that had the Germans churned out more Pzr. IVs instead of relying on the new heavy tank 'super cats' - which turned out to have a lot of technical and reliability problems - the outcome of the battle *might* have been different. But that's an easy thing to say and I'm sure it's not that simple.]


But, hypothetical meanderings aside, a German panzer force of 1943 still requires a base of Panzer IVs in it's mix, so I bought two. Once again, I have gone with the budget option and plumped for Zvezda kits. At £3.50 each they fit the bill as 'canon fodder' for my game and I can easily get the GF9 TANKS!' data cards offline.

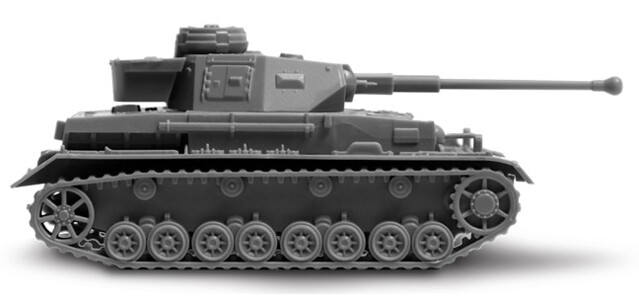
The Zvezda model is specifically the F2 variant of the tank, which was really seeing it's last hurrah at the the Battle of Kursk (the 'G' variant beginning to come into prominence). But despite this, with it's KwK 40 L/43 75mm gun, the F2 was still superior to the KV-1 and T-34 in terms of ballistics.

As with Zvezda's T-34s - which I am just working on - both PSC and Battlefront do offer more options and the ability to model more variants of the tank with their Pzr. IV kits. But I just don't need this flexibility, so the cost savings was of the greatest importance to me.

Here's a rather nice YouTube review of the Zvezda Pzr. IV F2 by Modeldads...