Sunday, 12 June 2016

Tiger's Cartoon P-40 Warhawk -Part 2

The P-40 Warhawk's Interior
Tiger's cartoon P-40 is not only a nice relaxing change of pace, but it will also be helping me resolve some more 'serious' (or rather interesting) issues I was having with an earlier model - namely my Airfix Tomahawk IIA project. This earlier project ground to a halt when I realised I had practically no experience of weathering an aircraft (aside from one unsatisfactory 1/144 Me109).
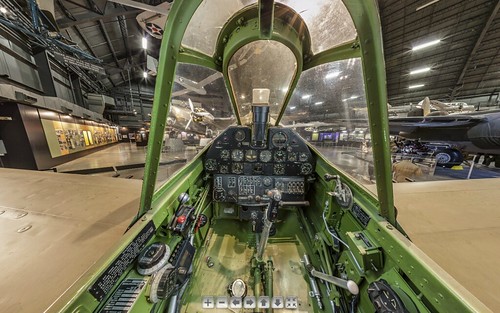
See a wonderful 3-D Curtiss P-40 cockpit at the following link:
National USAF Museum Virtual Tour
So, Tiger's P-40 gives me the opportunity to practise some of these techniques - such as panel-shading - in a forgiving, none-too-serious environment. Conversely, the early work I did on my Airfix P-40 is proving to be really useful as a painting guide for the Tiger's interior...

Some of the early work on my Airfix 1/72 P-40 cockpit. I made some good
notes in my blog piece on this about colours and shading.
Now I have my colour guide for the P-40 interior it's time to prime the Tiger's parts ready for painting. I may have already mentioned that I intend to try out some panel-shading - therefore, the predominant priming colour shall be white this time (the usual coat of AutoColor acrylic aerosol).

[Note to myself: Vallejo's Model Air (71.010) Interior Green for the cockpit interior, with a sepia wash (too 'yellow'?) OR Hataka's RAF Cockpit Grey-Green, which is more of a drab-green? ]

But just before that, I must resolve the issue of the model's instrument panel and whether to use Tiger's decals or paint the detailed panel component. Think, think, think!

Meanwhile, in the kitchen sink!
One aspect of plastic kit making that I haven't mentioned before is the cleaning of components before working with them. To be honest, because I use a relatively thick and forgiving automotive primer I didn't used to bother washing the plastic parts. However, I have encountered a couple of blemishes on previous projects - caused, I believe, by the releasing agent used in moulding - that have caused me to include washing in my procedure.

After a nice bath, a gentle 'air dry'. It is worth the time.
The main issue is that the presence of these agents are not always apparent until you begin the painting process, so even if spruces look clean I make a habit of giving them a little bath in warm water with washing up liquid in it. The precaution does no harm, but it could save a lot of frustration if a greasy blotch appears after you have applied a base coat!

Priming coat...Cheep and cheerful.
I haven't yet changed my priming  procedure and started using 'specialist' priming mediums from the likes of Vallejo or Tamiya. I am sticking with my cheap and cheerful use of automotive primer.
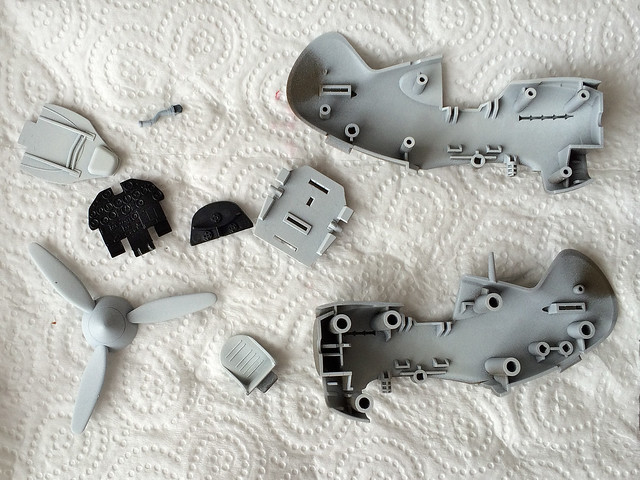

I've used white primer for the main fuselage and black primer for the instrument panel and the air intake component. I have an idea that the difference between my cheap primer and more expensive modelling primers (that need to be applied with an airbrush) is the thickness of the coat. Obviously, you do not want to lose any detail under the paint coats you apply, but - so far - I have found the cheap auto primer goes on light enough to preserve any surface detail like panel lines.

Maybe, one day, I will try the more expensive option just to see whether it does make a difference.

NEXT: I start adding the base colour coats and start the assembly.

[You will notice that I eventually decided to go for the detailed instrument panel rather than the decals.]

Sunday, 5 June 2016

Tiger's Cartoon P-40 Warhawk -Part 1

A slow and gentle start for my latest build. I want to take this one very easily as I would like the finished model to be on display (must look into display stands).

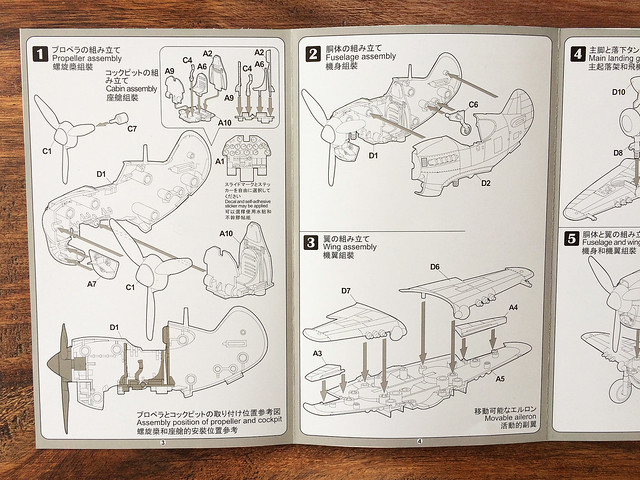
In truth, there are not many parts to this kit, but even so they are well designed and crisply moulded. The instruction leaflet is nicely printed and very clear and concise (I wish some 'proper' scale model manufacturers took so much care over their instructions)...


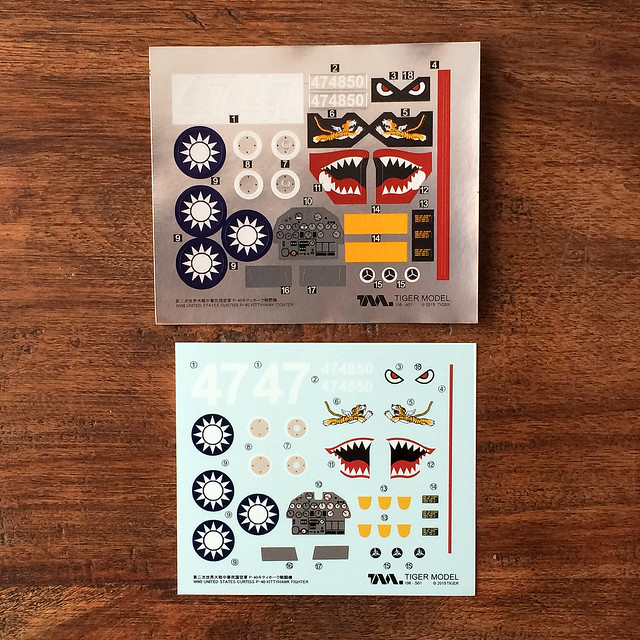
Before I look at the first of the components, however, it's worth taking a quick look at the decals as I failed to illustrate the options in my introductory post on this model. Now, when I saw 'options' I don't mean there are alternative decal schemes - there is only one, which is the famous AVG 'Flying Tigers' scheme - but there are two different types of transfers!


As you can see, the top set of 'decals' are actually stickers, which is a great option for the young modeller (how I wish more manufacturers would consider this option). The bottom decals are traditional water-slide transfers.

Assembly Panel 1 - The fuselage interior
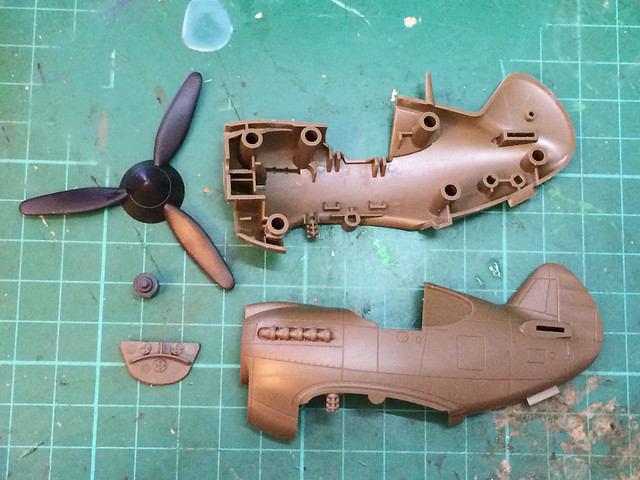
The first step is actually two step really, the assembly of the cockpit and then the joining of the two halves of the P-40's fuselage.

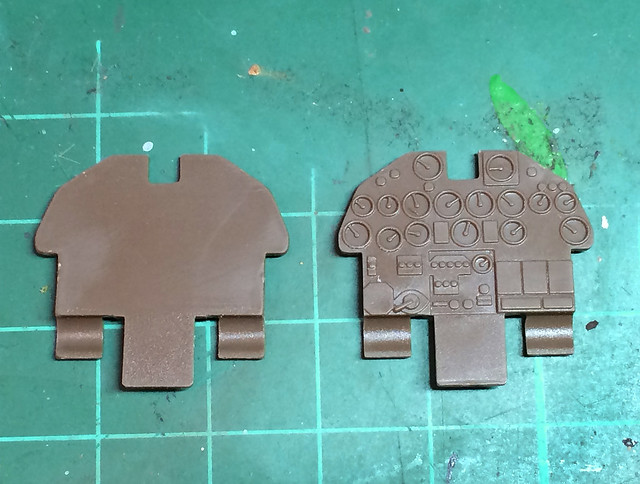
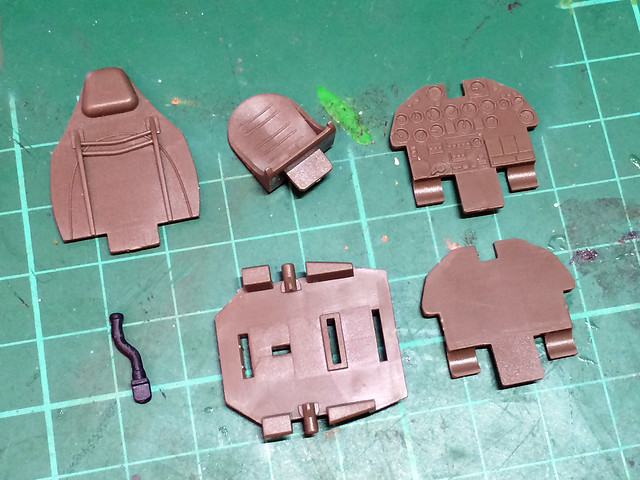
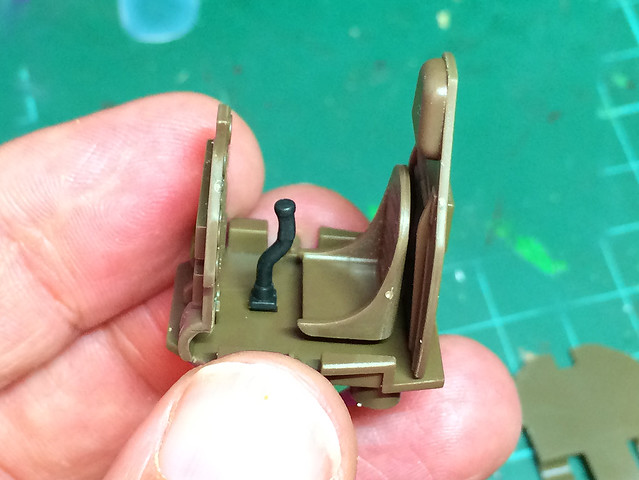
Straight away we have three different options for detailing the aircraft's instrument panel - Tiger have included a blank flat panel onto which you can add either the instrument panel sticker or water-slide decal OR they have also included a moulded panel with raised detail 'instruments' which you can paint!


I'm not sure, yet, as to which of these options to go for. But it is very nice to have these options, at least. The rest of the cockpit isn't very detailed and - sadly - there isn't a little cartoon pilot to go with the kit...


I checked all the components and tried out a 'dry fit' and everything went together OK. The fuselage and propeller finish off this section of the assembly...


Priming before final assembly...
Before I go any further, I have to put a bit of thought to how I will paint the interior. Obviously, I will begin by priming the inside and this time I think I will start with a white priming coat as I fancy trying our some pre-shading.

I have to decide on how I'm doing the instrument panel, but the interior painting is pretty simple - even though I may be changing the exterior scheme to an RAF one instead of the American one. But I'll leave that til the next time.

Wednesday, 25 May 2016

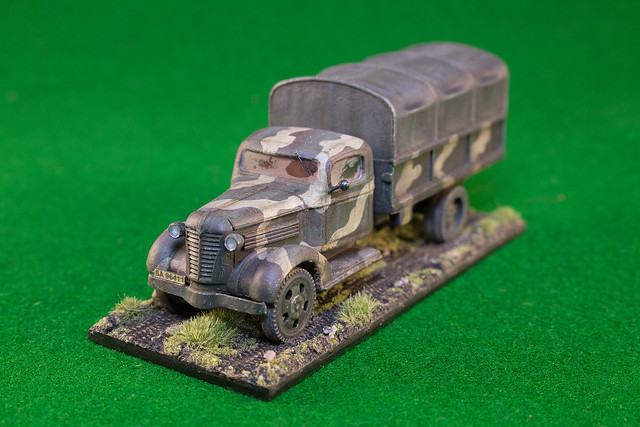
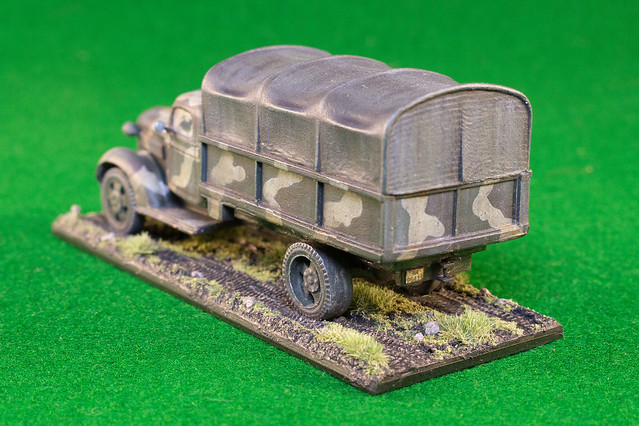
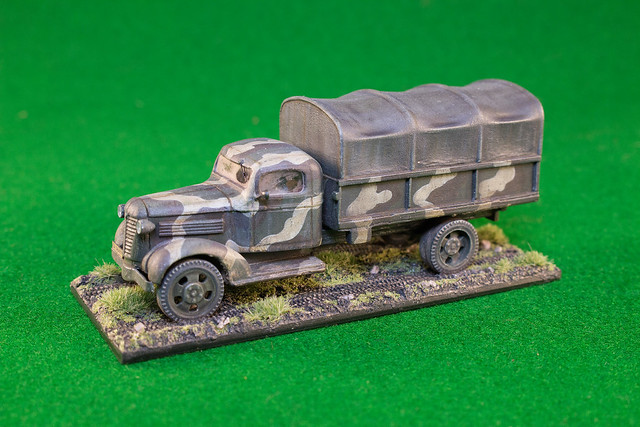
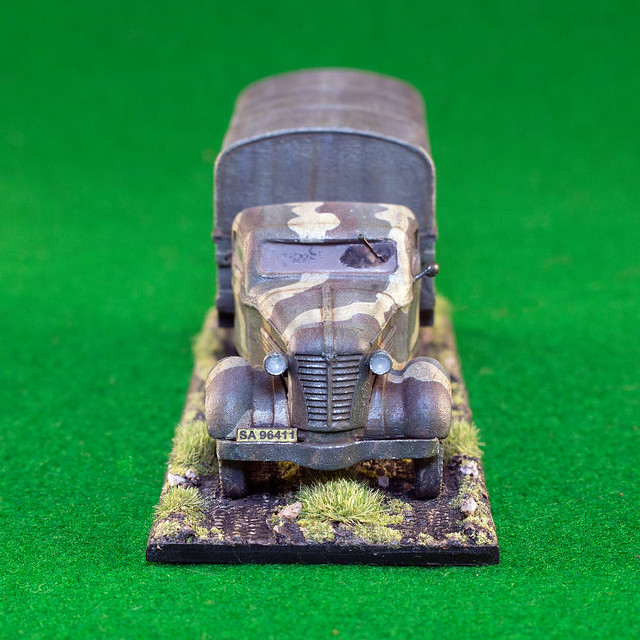
Minairons 1937 Chevrolet 1.5ton truck - Finished

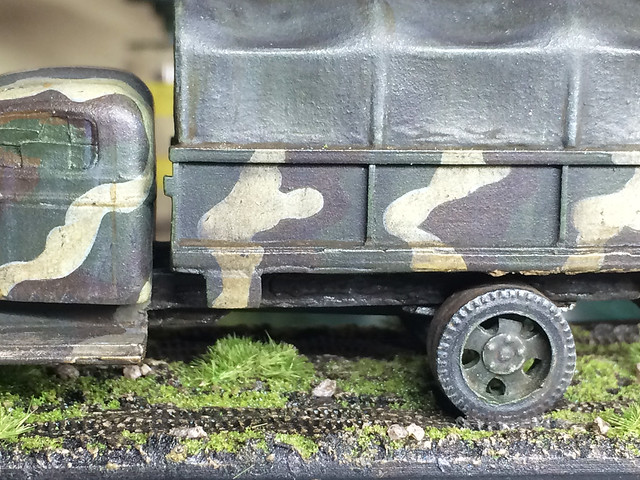
Phew! Well, this has been a  bit of a marathon (even for me)! I can't believe that such a simple model as Minairon's 1937 Chevrolet has taken me so long to complete - though, to be fair, I've had a lot of 'real life' distractions this year.

Anyway, my Finnish 37 Chevy truck is done...


I'm quite pleased with some of the weathering tricks that I've learned with this one - the use of eyeshadows was a particularly interesting addition to my skill set!

Onwards and upwards!

Postscript: I nearly forgot to mention. This is the first use of my 'new' photography lamps - I'm rather chuffed with the end product!

Friday, 20 May 2016

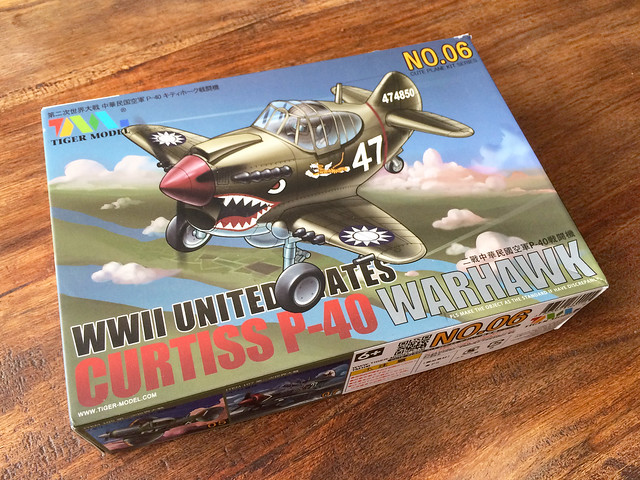
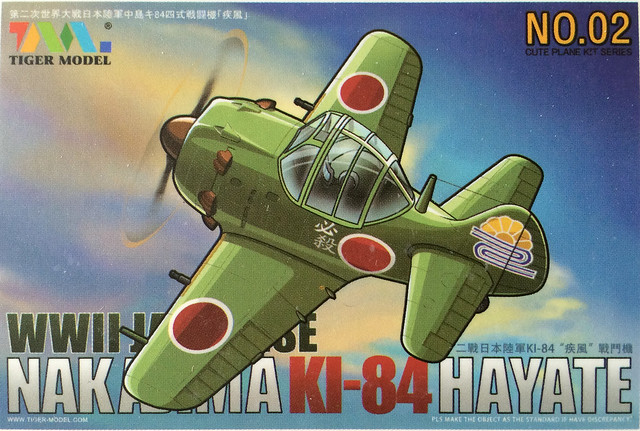
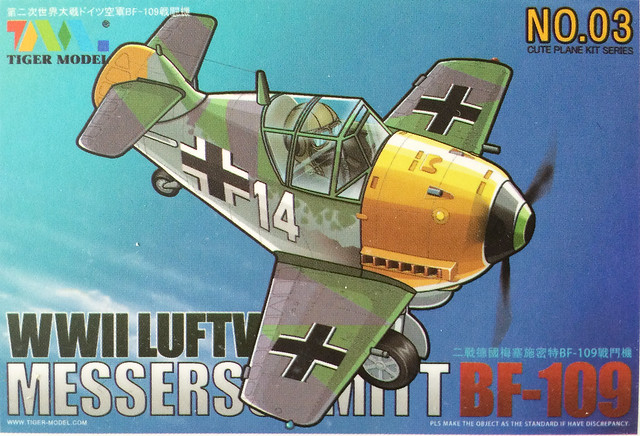
Next: Tiger's Cartoon 'CUTE Series' P-40 Warhawk

Felt I needed a little change of pace and I happened to see a few examples of Tiger's warplane caricature models on Facebook's The Plastic Scale Model Making Group (which I recommend as it's a very friendly group).

I found the Tiger models easily enough on eBay and at £10 (free postage) from China and quickly ordered one, about 10 days later this arrived...


These models really caught my imagination and they offer a more relaxed approach to scale modelling (as with fantasy modelling, no matter what you do nobody can tell you that you're doing it 'wrong'). Just what I needed after doing 'historic' modelling where you are constantly second-guessing yourself and how 'authentic' your modelling is.

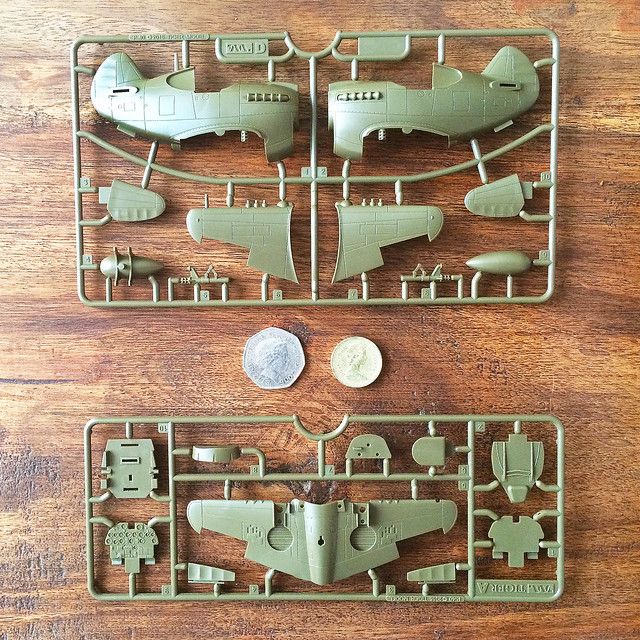
Obviously, there isn't really a scale to these I don't think, but here's a shot of the sprues so you can get an idea of the size...

The length of the fuselage is 8.7cm.
I did have a bit of a puzzle as to which of this series to buy, they all look 'cute'. In the end, I went for an old favourite - the P-40 Warhawk - but if this works out I would be very tempted to get one or two more in the series...


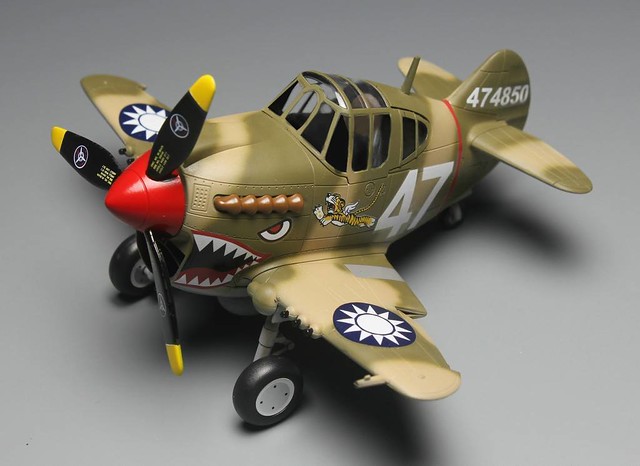
The model comes with a rather nice colour pattern, but you could do any scheme you wanted really (see sample below). I also think, your could look to your decal scraps box as P-40 was used by a large number of nations...


Funnily enough, the kit comes with two types of decal - conventional water-slide decals and some self-adhesive 'stickers'. This is great for younger modellers as these kits would make for fun projects for the kids.

I haven't decided whether to stick with the iconic 'Flying Tigers' scheme or do something else - I'll have to have a think (and check what spare decals I have if I want to do something different).  It's quite exciting to think of all the options.

Here's an example (from the Tiger publicity) of a possible scheme, and very nice it looks too...


Hope mine turns out as nice!

Thursday, 19 May 2016

Weathering products - cheap and cheerful

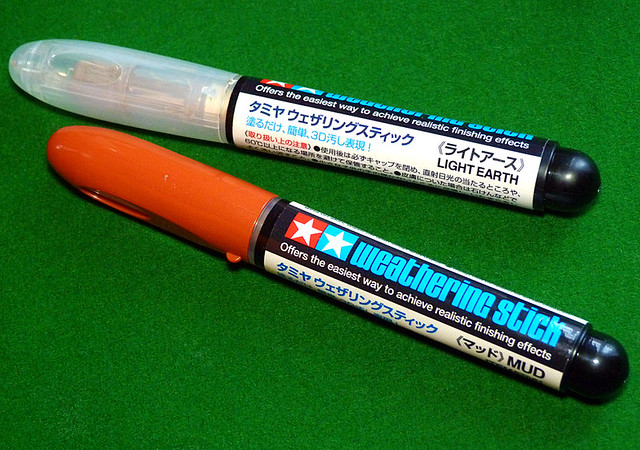
I have been very fond of Tamiya's Weathering Sticks...


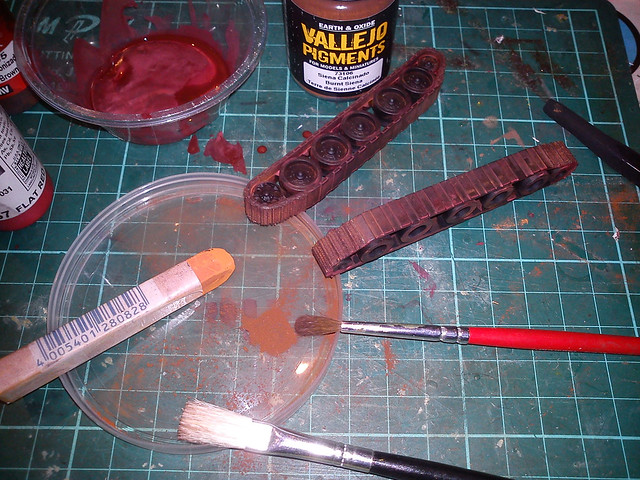
This soft, oily crayon type medium adheres very well to the surface of your model, either as greasy layer or in clumps. As such it's great for creating mud effects. But it's not exactly subtle, for more even semi-opaque dust effects I have been using powder pigments.

But getting powders to stick to a surface means you have to add some form of binder (or fix the pigment using a spray varnish).

Powder pigments - whether specialist makes like Vallejo or Humbrol or my cheap
variation using artists chalks - require a fixing agent to adhere the medium permanently.
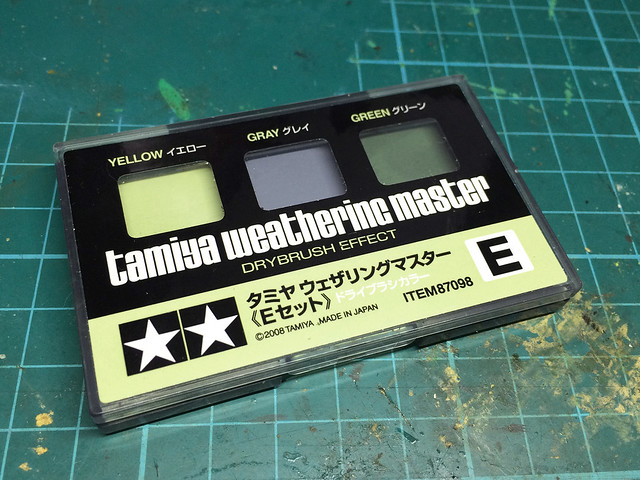
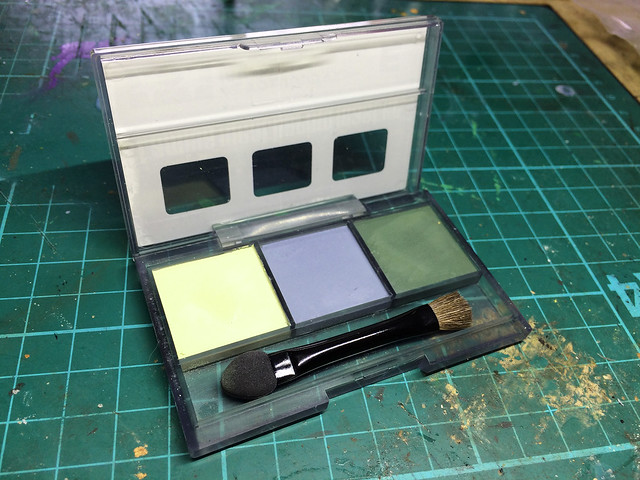
I recently came across another Tamiya weathering product that has some of the properties of both pigments and weathering stick, called Tamiya Weathering Master 'Drybrush Effect' (£6.98).


This medium has the consistency of powder but incorporates a very mild binder so that it sticks to the surface to which you apply it. It isn't oily - like the weathering stick medium - and can be brushed on delicately (like a dust) or applied a little thicker (like a cream).

In fact, this medium reminded me of something...

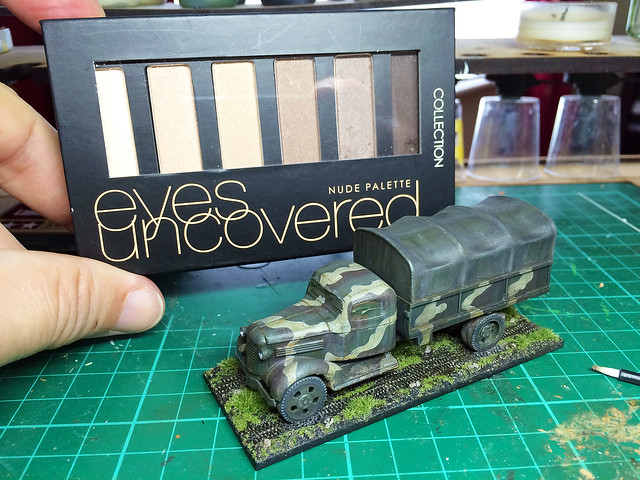
I had shown the Tamiya set to my daughter and she agreed that it did look like eyeshadow (or cosmetic powder/cream of some sort). I'm sure it's not, but the similarity in texture was hard to ignore, so I popped into Boots and picked up a box of very cheap eyeshadow (£2.99).

For my £2.99 I got a set of 6 eyeshadow colours (as opposed to just the 3 in the Tamiya weathering set). However, the very first ting I noticed were that a couple of these were vaguely 'metallic' or glittery!

Another quick chat with my daughter informed me that you can get matt eyeshadow, so that's something to be aware of if you decide to try this out for yourself. I tried out the colours that were matt(ish) on my 37 Chevrolet model, and got some reasonable results.


There is a difference between the Tamiya weathering medium and eyeshadow (unsurprisingly, otherwise that would be a huge rip-off)! The main difference being the consistency of the binding agent used - the Tamiya medium is a little more sticky than eyeshadow, eyeshadow being more powdery.

I'd say that eyeshadow, then, is halfway between pigment powders and the Tamiya weathering medium. It's actually quite nice to use, just having that slight adherence that powders only bearly have (without adding a binder or fixing agent, powders tend to wipe off as easily as they go on).

Eyeshadow can 'smear', being a tiny bit oily. But they are a little more subtle or translucent than Tamiya's weathering 'cream' (sorry - I'm struggling here to describe the various mediums precisely).


So...Is Tamiya's Weathering Master Drybrush Effect set just expensive eyeshadow? No. It's subtle but the levels of binding and translucency are different and the Tamiya product is obviously designed with modelling specifically in mind (as it should be).

But...Eyeshadow is an interesting medium in its own right and does offer some unique properties that compliment you other weathering mediums. It's all a sliding scale and depends on how 'sticky' and how translucent and how much you want the medium to spread, but eyeshadow will be a part of my weathering toolbox from now on.

...Oh...And one more advantage of eyeshadow, when you compare it to Tamiya's set. You do get a lot more bang for your bucks...


Above: Having satisfied myself that eyeshadow is worth adding to my weathering palette I splashed out on a larger set. The set shown includes 88 colours, and despite about 20% of them being a bit glittery or metallic the £8.99 they cost me still makes eyeshadow a very cost-effective weathering medium when compared to 'specialist' modelling mediums. Note the subtle gradation in colours and tones.

Sunday, 15 May 2016

Photographing models - improved lighting Part 3

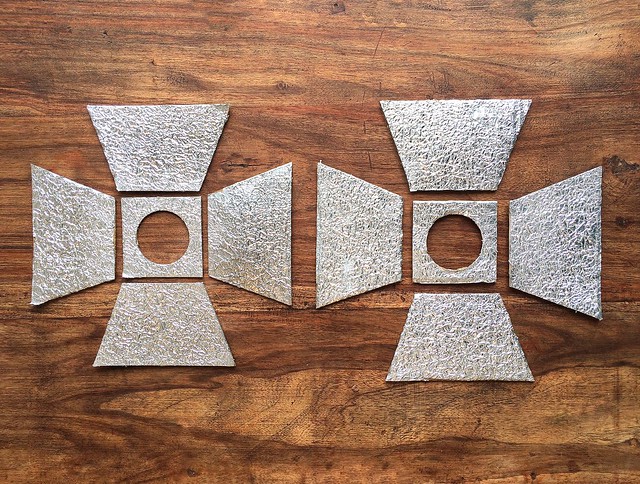
Right, last part. In this post, I put all the components together and try out a test photo to see if the quality of the light which is given out by my mini-studio lamps is improved. But, first of all, let's look at the foil covered components...


Now, I should mention - this being the first time I have tried using box cardboard as a construction material - that the first thing I learned is - go easy on the PVA!

The cardboard was more absorbent than I expected and it soaked the PVA up like a sponge. This lead to some floppy and soggy components which took a lot longer to dry out than expected. Too much PVA glue also caused the wet card to deform (I had to place some heavy books on them to flatten them out).

Despite this, I still think cardboard is the ideal medium for this project because of its light weight.

Next, I reconstructed the boxes...


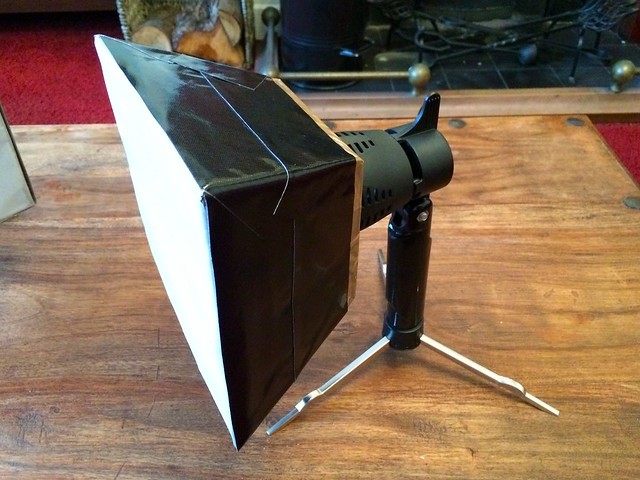
Once again, I used parcel tape as the primary means to connect the components together. Once I am satisfied with the fit I will be gluing the parts permanently to one another (probably using a glue gun). At this point, the tape will help to hold things steady and in position while I glue one joint together at a time.


To make the boxes a little more sturdy I covered them in black 'Gorilla tape' (which is a pig and sticks to everything but the thing you want to stick it to). So, that done, it's time to test out my 'new' lamps...

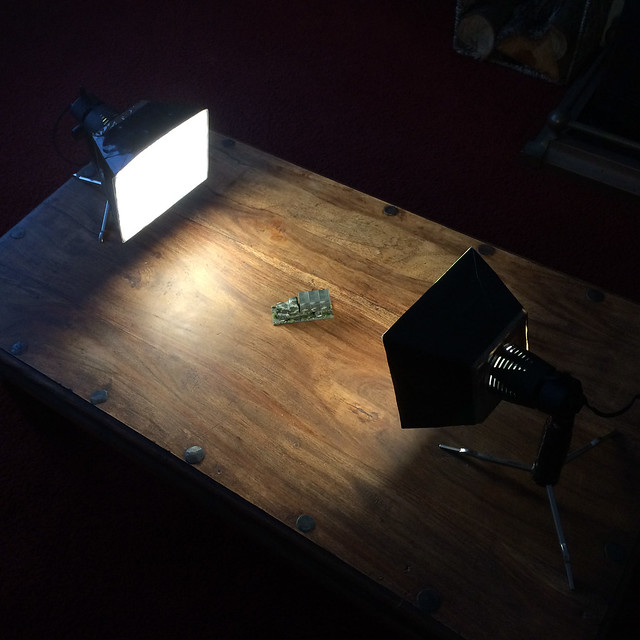
As a test, I'm just going to use a two lamp set up to see what kind of spread and softness they produce (normally I might use I would use three or even more lamps depending on the lighting effect I want) but if I can get away with two, that would be terrific!


Not a bad spread. Before I made these 'soft boxes' - using LED bulbs - the halogen bulbs when intense mini-spot lights and were far too aggressive. They created a very hard light effect with high-contrast patches with deep shadows and blown-out highlights. But now...


Well, that's not a bad result. I haven't modified the exposure of light effect post (in Photoshop), this is 'as shot'. As you can see, the spread is fairly even and not too contrasty.

I'll count this project a success as I already happier with this snap (just using my iPhone) than I was with the last 'finished' model photo I took. And the best thing is that this didn't cost me a lot of money (at one point I was so disappointed with my photography I was seriously considering buying an expensive set of studio lamps).

Friday, 13 May 2016

Minairons 1937 Chevrolet 1.5ton truck - part 9

[Like many of my posts, this entry is more of a reminder to myself how I did something. I realise it may be a little boring for third-parties reading it.]
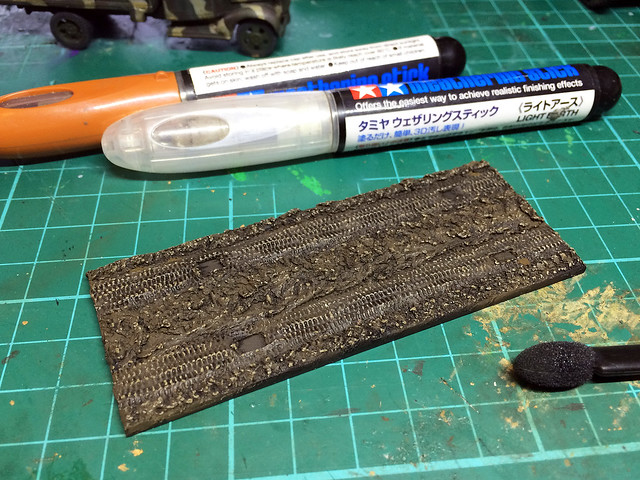
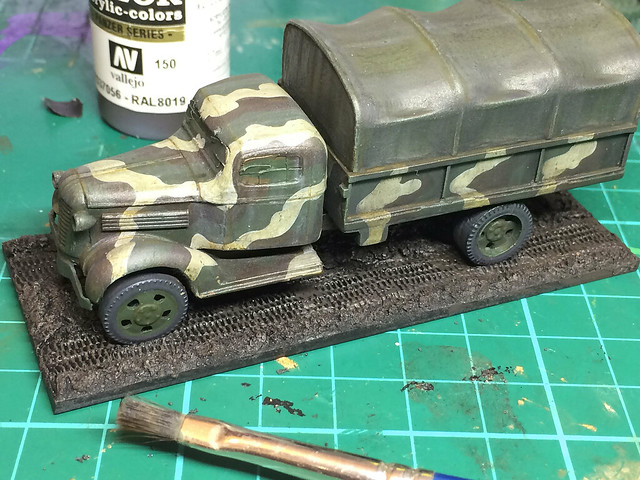
Onto making the base. I like to do this just before I add the final weathering to my vehicles as I try to match the colour and shade of the mud and dirt of the base with the mud I add to the vehicle. I find this easier to do if I have the base finished first.


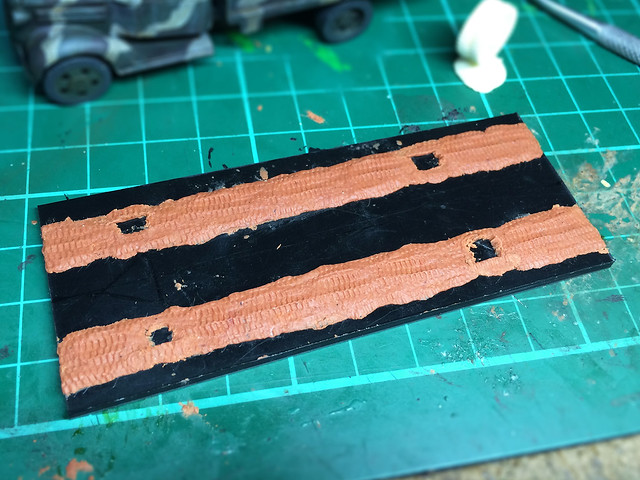
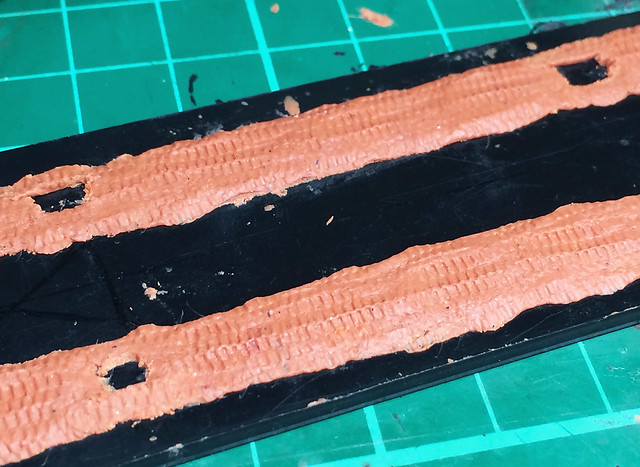
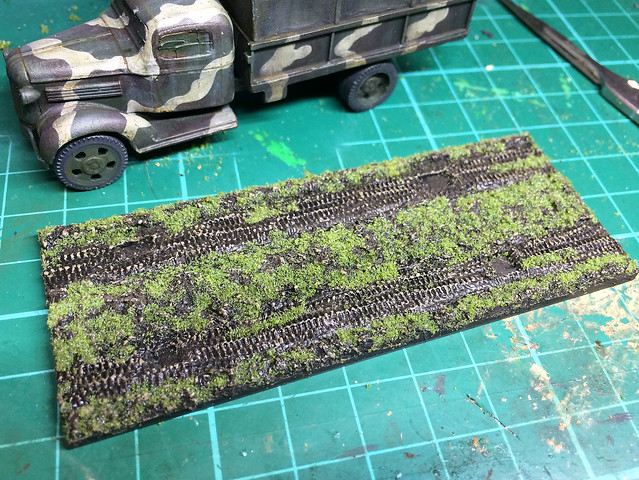
I've tweaked the process of making my base slightly, I now create the tyre tracks (or track tracks) using Milliput. This is just because the plasticine-like consistency of Milliput makes it easier to impress the tyre or track patterns into the modelling putty (which isn't as easy to do with the PollyFilla that I use for the rest of my base).


I've also started making small indentations in the track area for the wheels of the vehicle to sit, so that the truck tyres look slightly recessed into the mud (rather than sitting on top of the 'ground' as I had in some early models).

After that is the usual routine for painting and applying the 'grass' and weeds...

'Black Lava' ground


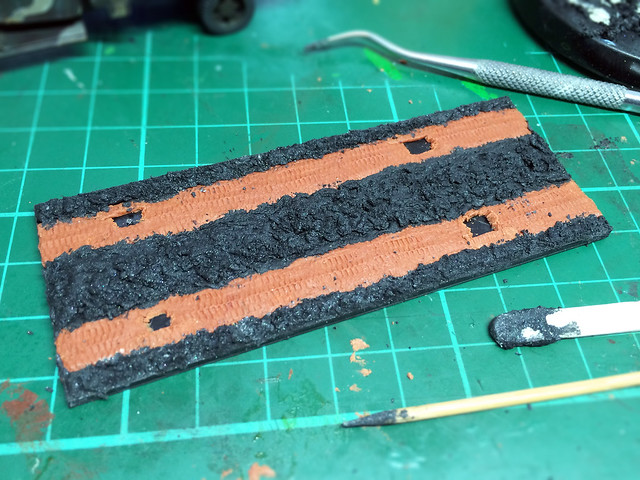
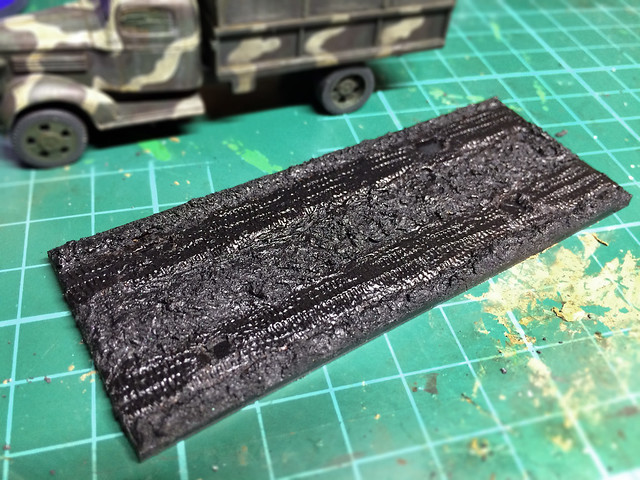
AV's 'Black Lava' compound is really supposed to be for making realistic tarmac roads, but I like its gritty texture and I add it to my PolliFilla to make a black-ish goop with which to make a rough earth base for my dioramas. It's a bit wild and flakey and come up with some nice organic textures.

Also, I like to start with a dark base, so having bare white PolyFilla doesn't work for me.

Black Primer
A quick squirt of HiCote Auto Black...


Brown-earth Base
Next, I apply a dry-brush coat of Vallejo's German Camo Black Brown, which is a nice dark muddy brown. I'm trying to retain a bit of the underlying black base colour this time, to emphasise the contrast in the detail and give more depth to my 'earth'...


'Weathering' the earth tones
Weathering is perhaps not the correct term, but I am shading the highlights to give a - hopefully - natural weathered look to my ground texture. I used Tamiya's weathering sticks to achieve this, highlighting using their 'Mud' and then 'Light Earth' to give the varied tones I want...


Green, Green Grass
I've stuck to my very simple application of scenic 'grass', it's not very sophisticated or realistic but I am not tinkering with my 'system' of doing grass as I want all my Finnish project bases to look the same. Basically, sprinkling on just one colour/tone of scenic grass doesn't quite produce a really convincing grass effect - to do this I should be experimenting with mixing tones and maybe introducing 'static grass' medium to get a true grass. I will try this with future projects.


Stoney grounds and grassy tufts
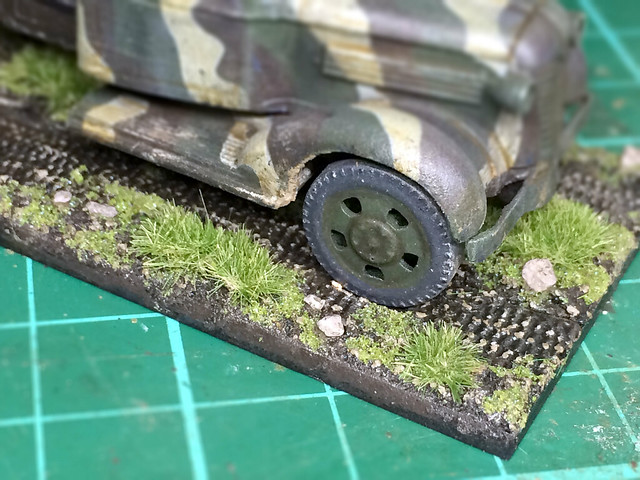
The final thing I add is some 'rocks' and turfs of grass. The 'rocks' are just scale model railway track  'ballast' I think, but any old scenic stones will do. These are just individually glued on - randomly - using good old PVA glue...

Stoney ground. The front wheels need some more 'mud' applied to the very
bottom of the tyres to give the impression of the weight of the truck..
The grassy tufts are, however, specialist scale model scenic 'self-adhesive tufts'! You can get them in a variety of colours from eBay to suit your 'season'  mine are 'light summer' I believe. Despite them being advertised as 'self-adhesive' I do find that I have to secure them with a spot of - you guessed it - PVA!

Conclusion
Well, that's the base, though I do like to give the base a light spray with matt varnish as it helps to keep the grass in place.

That done, I affix the truck to the base and then check to see if I need to do some 'touching up' to blend the truck into the ground. My early attempts at basing had my models looking like the were sitting on top of the ground, with now 'weight' to them. I know try to sink my vehicles' tyres or tracks into the ground slightly. It looks more realistic.