Tiger's cartoon P-40 is not only a nice relaxing change of pace, but it will also be helping me resolve some more 'serious' (or rather interesting) issues I was having with an earlier model - namely my Airfix Tomahawk IIA project. This earlier project ground to a halt when I realised I had practically no experience of weathering an aircraft (aside from one unsatisfactory 1/144 Me109).
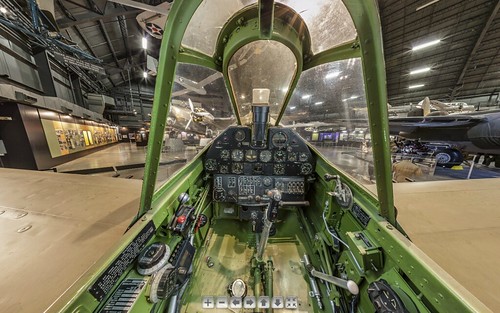 |
| See a wonderful 3-D Curtiss P-40 cockpit at the following link: National USAF Museum Virtual Tour |
 |
| Some of the early work on my Airfix 1/72 P-40 cockpit. I made some good notes in my blog piece on this about colours and shading. |
[Note to myself: Vallejo's Model Air (71.010) Interior Green for the cockpit interior, with a sepia wash (too 'yellow'?) OR Hataka's RAF Cockpit Grey-Green, which is more of a drab-green? ]
But just before that, I must resolve the issue of the model's instrument panel and whether to use Tiger's decals or paint the detailed panel component. Think, think, think!
Meanwhile, in the kitchen sink!
One aspect of plastic kit making that I haven't mentioned before is the cleaning of components before working with them. To be honest, because I use a relatively thick and forgiving automotive primer I didn't used to bother washing the plastic parts. However, I have encountered a couple of blemishes on previous projects - caused, I believe, by the releasing agent used in moulding - that have caused me to include washing in my procedure.
 |
| After a nice bath, a gentle 'air dry'. It is worth the time. |
Priming coat...Cheep and cheerful.
I haven't yet changed my priming procedure and started using 'specialist' priming mediums from the likes of Vallejo or Tamiya. I am sticking with my cheap and cheerful use of automotive primer.
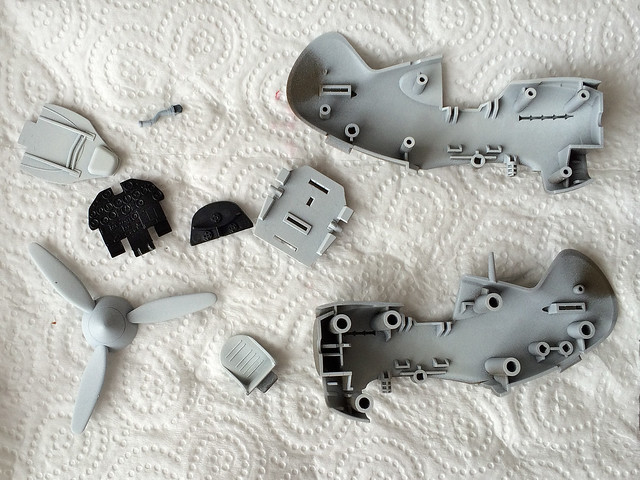
I've used white primer for the main fuselage and black primer for the instrument panel and the air intake component. I have an idea that the difference between my cheap primer and more expensive modelling primers (that need to be applied with an airbrush) is the thickness of the coat. Obviously, you do not want to lose any detail under the paint coats you apply, but - so far - I have found the cheap auto primer goes on light enough to preserve any surface detail like panel lines.
Maybe, one day, I will try the more expensive option just to see whether it does make a difference.
NEXT: I start adding the base colour coats and start the assembly.
[You will notice that I eventually decided to go for the detailed instrument panel rather than the decals.]
No comments:
Post a Comment