Showing posts with label X-Ref: TIG/P40/0616. Show all posts

Monday, 20 June 2016

Tiger's Cartoon P-40 Warhawk - Part 3 (ish)

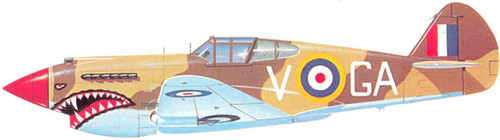
OK, Hataka paint problems aside, I have been planning my paint scheme for my little 'cartoon' Warhawk. And I have decided to go for a Desert RAF scheme - making it a Tomahawk and not a Warhawk!

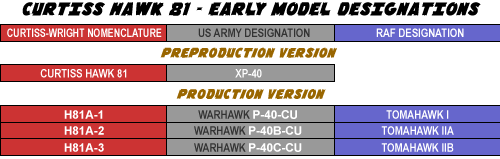
Just to remind folk - here's a little data-table I made showing the various models and
nomenclatures for the P-40 fighter series, giving the British alternative names relative
to the US designations.
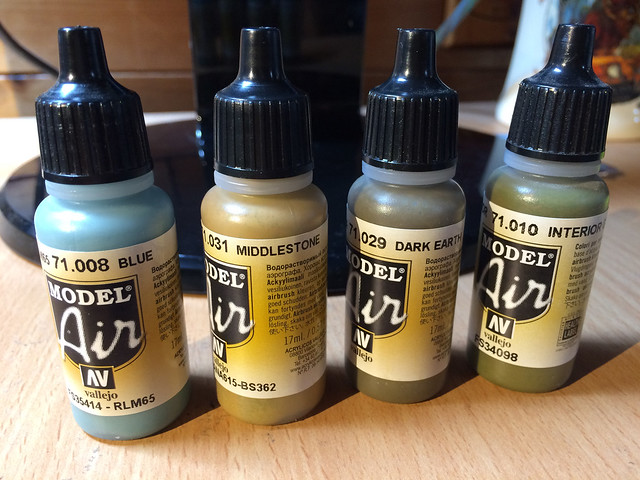
Actually, this wasn't the end of my Hataka paint problems, because - having decided not to use Hataka paints - I had to go shopping today for replacement Vallejo 'Model Air' versions of the paints I needed for the WW2 desert RAF fighter paint scheme...

Tomahawk Mk.IIb - Sidi Heneish (LG.102), Egypt, October 1941.
Source: Wings Palette web site
I did a quick check online for the Vallejo 'Model Air' paints for this aircraft pattern and the following were generally recommended:


  • 71.008 'Blue' (Azure Blue)
  • 71.010 'Interior Green'
  • 71.029 'Dark Earth'
  • 71. 031 'Middlestone'

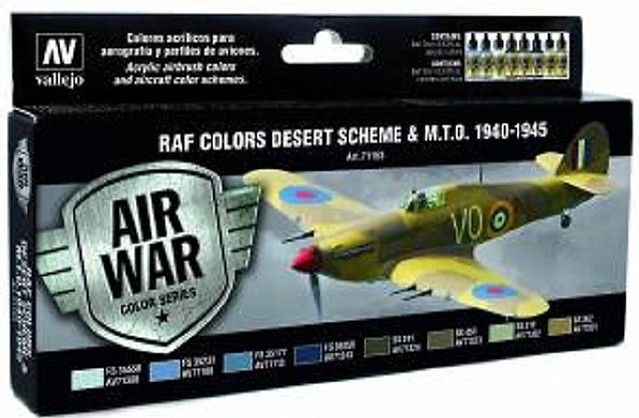
Luckily my local store had all these in stock, so I am back in business again. But, typically, I just discovered that Vallejo does it's own range of themed military colour sets and - furthermore - has a 'RAF Desert Colour Scheme 1940-1945' set! Du-oh!

Still, I only needed just these four main colours, which cost me £10 instead of the £17.75 price of the full Vallejo set.

The painting begins
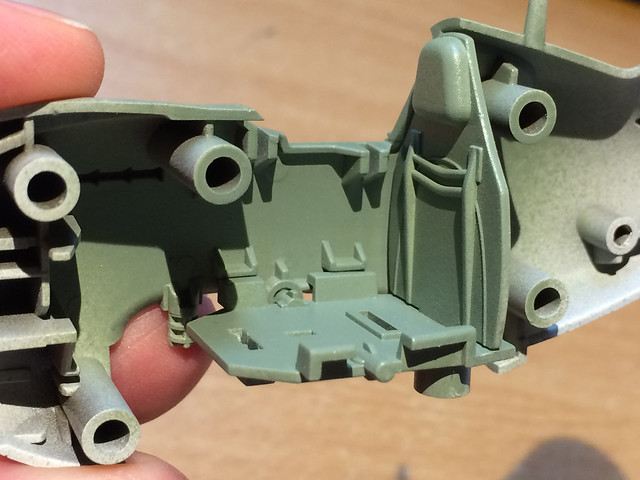
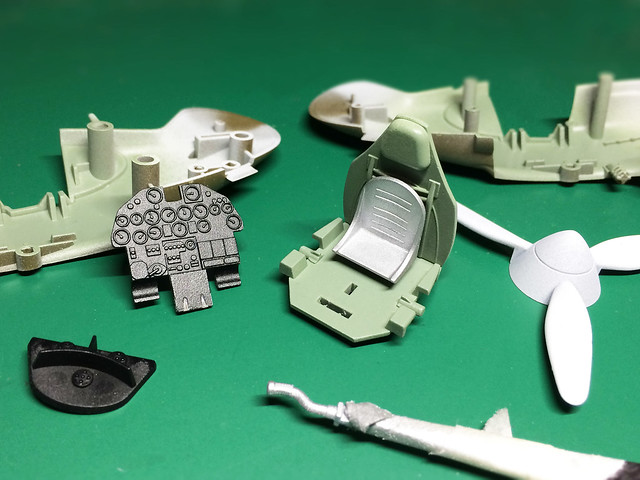
A bit of a stuttering start for this project, but now I'm off and running (well, running in terms of my work rate at least)! The cockpit is the starting point and I got the base colours down OK...

One of my biggest issues is what style to paint this model in. After all, it's a cartoon so I have a little more stylistic latitude here - I could do a very 'clean' painting job of this - like a diecast display model - or I could really go wild and carry on the cartoon theme with some over-the-top weathering and panel line effects. I even considered doing a very cartoony 'cel-shading' effect...


(Sorry, was going to put up a still of what a cel-shaded aircraft would look like but came across this short trailer for an animated - cel-shaded - film and couldn't resist showing it here as it's so cool!)

Well, you get the point...(I'll work out style as I go along.)

...In fact, I'll pause here while I sort out this issue of 'style'. May actually have to do a 'practise model' just to clarify this (our local store has lots of discounted Hobby Boss models which would be quick and easy test canvases).

Saturday, 18 June 2016

So...Hataka paints.

Having had time to reflect, I thought I would comment in a bit more balanced way about Hataka paints...


At the core of my annoyance is the frustrating fact that Hataka paints seem to be so darn promising. Thier specially customised colour sets - themed and put together to support specific historical projects - seem to be very well researched and the colour matching, also, seems very well done. In short, they appear to be exactly what the military scale modeller is after.

I bought the 'Battle of Britain/D-Day RAF' paint set (for my Tomahawk IIA project) and right up to the moment that paint touched plastic they looked like they were a winner. However, it was what happened during application that left me exceedingly disappointed.


I used my Revell airbrush to apply the paints and my early experimentation convinced me that - out the bottle - Hataka paints were just a little too 'gloopy' to flow nicely through my airbrush. Indeed, in my experience, the Hataka paint, when used neat, seemed to congeal (dry) surprisingly fast, leaving my airbrush blocked halfway through my spraying session (my brush is a top-loading cup airbrush and I only used half of one-third of the cup before the flow of paint packed in).

Now, this - to me - seemed quite normal, it just meant that the Hataka paint needed thinning to aid the consistent and unfettered flow through the brush. So, the next thing was to determine just how much thinning the paint needed.

I used Vallejo airbrush thinners (and also tried Tamiya thinners), but I could not find the sweet spot between too thick and too runny. Just a drop of Vallejo thinners in the Hataka paint seemed to cause it to become overly thin and splatter and create droplets on my primed surface. I have never experienced this effect using Vallejo paints...

The result of just a couple of small drops of Vallejo thinners added to the
(well mixed) Hataka paint. It was weak and splattered a lot.
Disgruntled, I referred back to my earlier post about the Hataka paint I used in my Airfix Tomahawk project and discovered that I had the same problem (but forgot about it) and that I had found some suggestions online on how to deal with the paint.

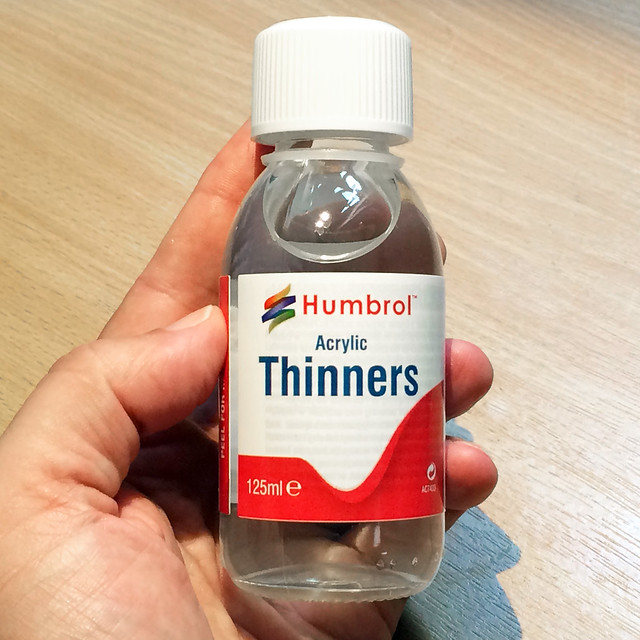
The issue did seem to be that Hataka is very choosy when it comes to thinners. Others who had tried the paint - and been subjected to the same issues that I had suffered - had found that good old Humbrol Acrylic Thinners appeared to be the most compatible with Hataka paints (though I not that Hataka have produced their own thinners now). So I sent off for some Humbrol thinners...


I was a bit pessimistic that something as generic as Humbrol thinners could be the solution (if you will excuse the pun). But I gave it a try, adding just one drop from a pipette into my airbrush paint cup...But guess what?


I got a far better result. Coverage was more consistent and opaque and flow was more forthcoming through my airbrush.

The flow was still a little reluctant, but I didn't want to add any more thinners in case it went the other way again, so persevered using a low pressure to avoid any further splattering (which seemed to work).

Conclusion
I still don't like Hataka paints. The flow of the paint just didn't 'feel' comfortable for me when compared to the lovely, unforced, spray-flow that I have achieved using Vallejo's pre-thinned 'Model Air' brand of paints.

As I said in the beginning, Hataka paint sets seem such a good idea, and I do like the colour matching (which in some instances seems more authentic than some of Vallejo's). But good colours are no good if they do not apply easily and smoothly - and this was not my experience with Hataka paints I'm afraid. I will not be using them again.

Sunday, 12 June 2016

Tiger's Cartoon P-40 Warhawk -Part 2

The P-40 Warhawk's Interior
Tiger's cartoon P-40 is not only a nice relaxing change of pace, but it will also be helping me resolve some more 'serious' (or rather interesting) issues I was having with an earlier model - namely my Airfix Tomahawk IIA project. This earlier project ground to a halt when I realised I had practically no experience of weathering an aircraft (aside from one unsatisfactory 1/144 Me109).

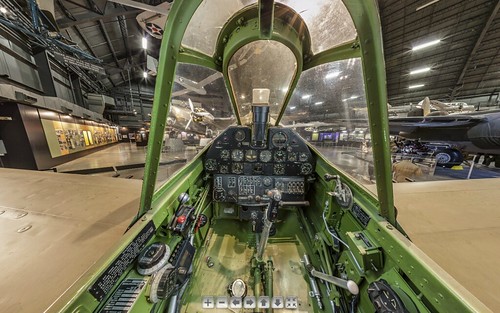
See a wonderful 3-D Curtiss P-40 cockpit at the following link:
National USAF Museum Virtual Tour
So, Tiger's P-40 gives me the opportunity to practise some of these techniques - such as panel-shading - in a forgiving, none-too-serious environment. Conversely, the early work I did on my Airfix P-40 is proving to be really useful as a painting guide for the Tiger's interior...

Some of the early work on my Airfix 1/72 P-40 cockpit. I made some good
notes in my blog piece on this about colours and shading.
Now I have my colour guide for the P-40 interior it's time to prime the Tiger's parts ready for painting. I may have already mentioned that I intend to try out some panel-shading - therefore, the predominant priming colour shall be white this time (the usual coat of AutoColor acrylic aerosol).

[Note to myself: Vallejo's Model Air (71.010) Interior Green for the cockpit interior, with a sepia wash (too 'yellow'?) OR Hataka's RAF Cockpit Grey-Green, which is more of a drab-green? ]

But just before that, I must resolve the issue of the model's instrument panel and whether to use Tiger's decals or paint the detailed panel component. Think, think, think!

Meanwhile, in the kitchen sink!
One aspect of plastic kit making that I haven't mentioned before is the cleaning of components before working with them. To be honest, because I use a relatively thick and forgiving automotive primer I didn't used to bother washing the plastic parts. However, I have encountered a couple of blemishes on previous projects - caused, I believe, by the releasing agent used in moulding - that have caused me to include washing in my procedure.

After a nice bath, a gentle 'air dry'. It is worth the time.
The main issue is that the presence of these agents are not always apparent until you begin the painting process, so even if spruces look clean I make a habit of giving them a little bath in warm water with washing up liquid in it. The precaution does no harm, but it could save a lot of frustration if a greasy blotch appears after you have applied a base coat!

Priming coat...Cheep and cheerful.
I haven't yet changed my priming  procedure and started using 'specialist' priming mediums from the likes of Vallejo or Tamiya. I am sticking with my cheap and cheerful use of automotive primer.


I've used white primer for the main fuselage and black primer for the instrument panel and the air intake component. I have an idea that the difference between my cheap primer and more expensive modelling primers (that need to be applied with an airbrush) is the thickness of the coat. Obviously, you do not want to lose any detail under the paint coats you apply, but - so far - I have found the cheap auto primer goes on light enough to preserve any surface detail like panel lines.

Maybe, one day, I will try the more expensive option just to see whether it does make a difference.

NEXT: I start adding the base colour coats and start the assembly.

[You will notice that I eventually decided to go for the detailed instrument panel rather than the decals.]

Sunday, 5 June 2016

Tiger's Cartoon P-40 Warhawk -Part 1

A slow and gentle start for my latest build. I want to take this one very easily as I would like the finished model to be on display (must look into display stands).

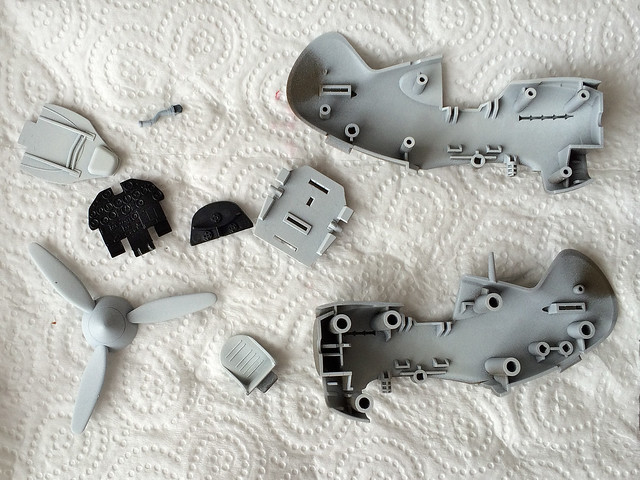
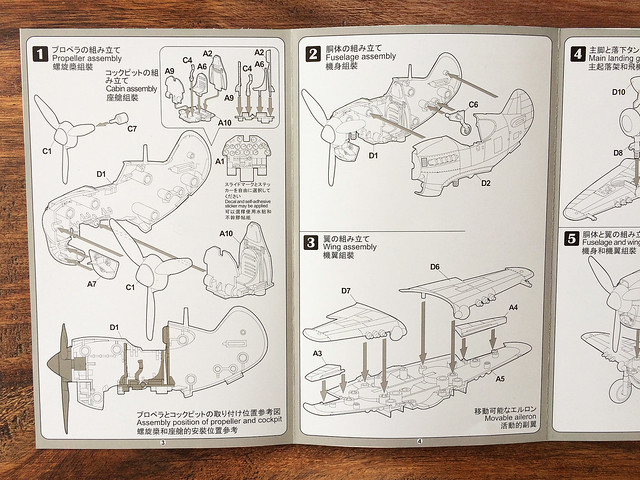
In truth, there are not many parts to this kit, but even so they are well designed and crisply moulded. The instruction leaflet is nicely printed and very clear and concise (I wish some 'proper' scale model manufacturers took so much care over their instructions)...


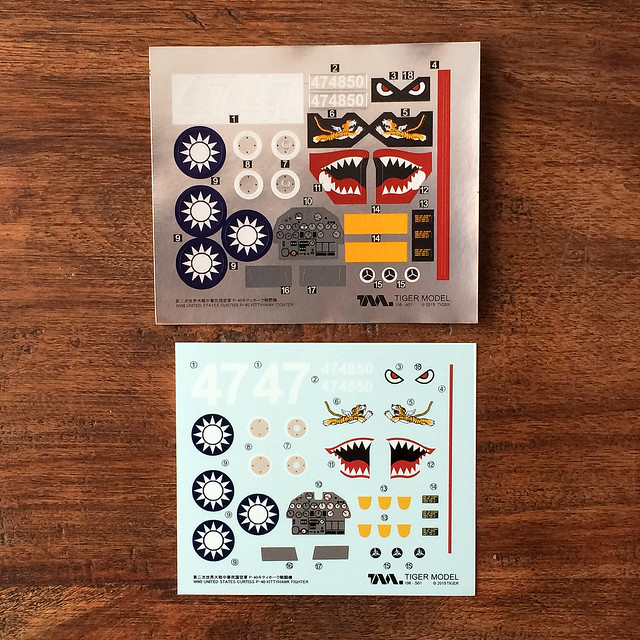
Before I look at the first of the components, however, it's worth taking a quick look at the decals as I failed to illustrate the options in my introductory post on this model. Now, when I saw 'options' I don't mean there are alternative decal schemes - there is only one, which is the famous AVG 'Flying Tigers' scheme - but there are two different types of transfers!


As you can see, the top set of 'decals' are actually stickers, which is a great option for the young modeller (how I wish more manufacturers would consider this option). The bottom decals are traditional water-slide transfers.

Assembly Panel 1 - The fuselage interior
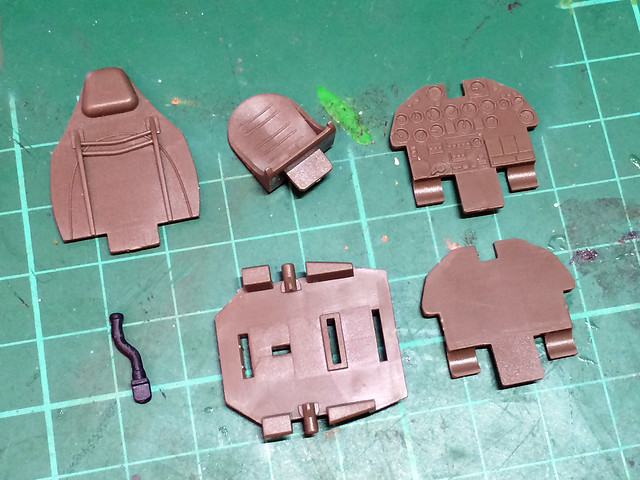
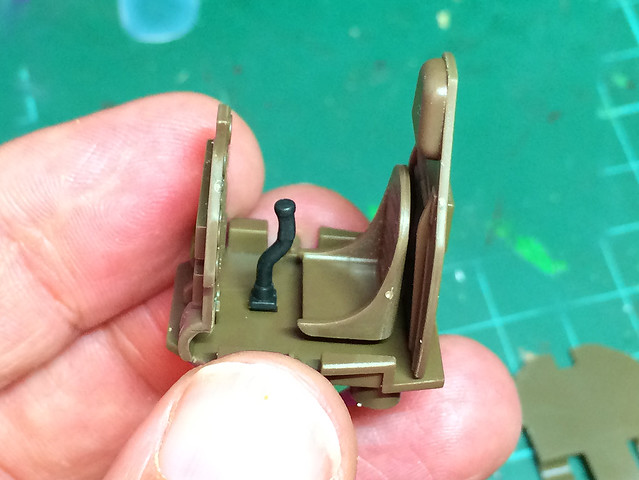
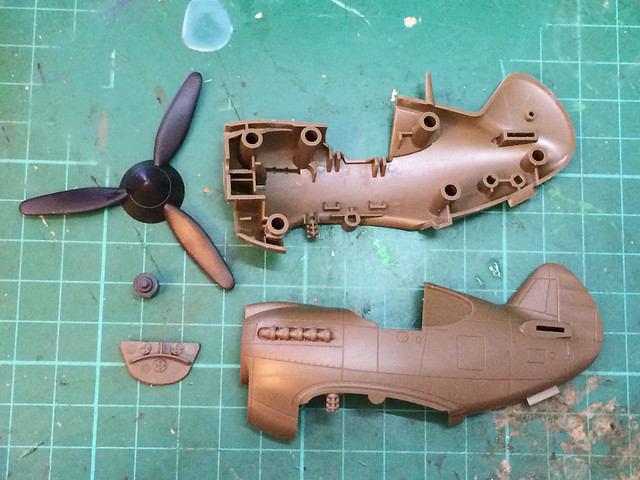
The first step is actually two step really, the assembly of the cockpit and then the joining of the two halves of the P-40's fuselage.

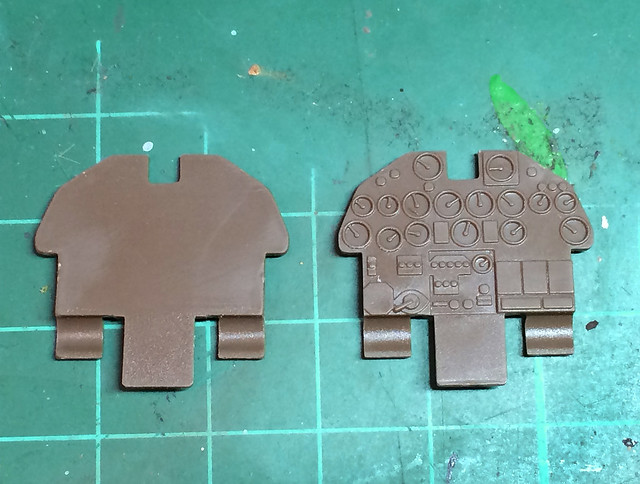
Straight away we have three different options for detailing the aircraft's instrument panel - Tiger have included a blank flat panel onto which you can add either the instrument panel sticker or water-slide decal OR they have also included a moulded panel with raised detail 'instruments' which you can paint!


I'm not sure, yet, as to which of these options to go for. But it is very nice to have these options, at least. The rest of the cockpit isn't very detailed and - sadly - there isn't a little cartoon pilot to go with the kit...


I checked all the components and tried out a 'dry fit' and everything went together OK. The fuselage and propeller finish off this section of the assembly...


Priming before final assembly...
Before I go any further, I have to put a bit of thought to how I will paint the interior. Obviously, I will begin by priming the inside and this time I think I will start with a white priming coat as I fancy trying our some pre-shading.

I have to decide on how I'm doing the instrument panel, but the interior painting is pretty simple - even though I may be changing the exterior scheme to an RAF one instead of the American one. But I'll leave that til the next time.

Friday, 20 May 2016

Next: Tiger's Cartoon 'CUTE Series' P-40 Warhawk

Felt I needed a little change of pace and I happened to see a few examples of Tiger's warplane caricature models on Facebook's The Plastic Scale Model Making Group (which I recommend as it's a very friendly group).

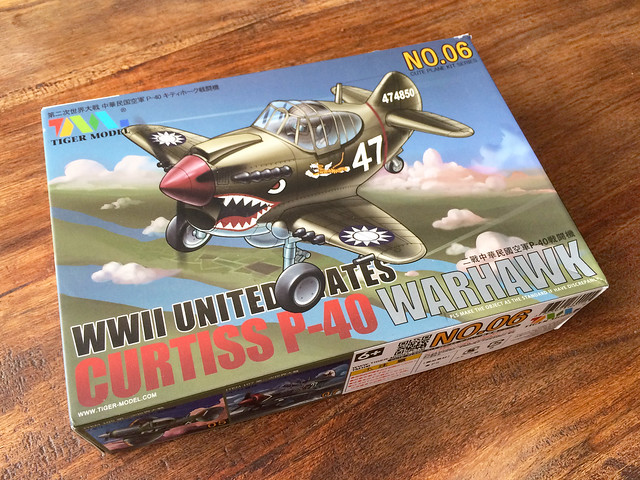
I found the Tiger models easily enough on eBay and at £10 (free postage) from China and quickly ordered one, about 10 days later this arrived...


These models really caught my imagination and they offer a more relaxed approach to scale modelling (as with fantasy modelling, no matter what you do nobody can tell you that you're doing it 'wrong'). Just what I needed after doing 'historic' modelling where you are constantly second-guessing yourself and how 'authentic' your modelling is.

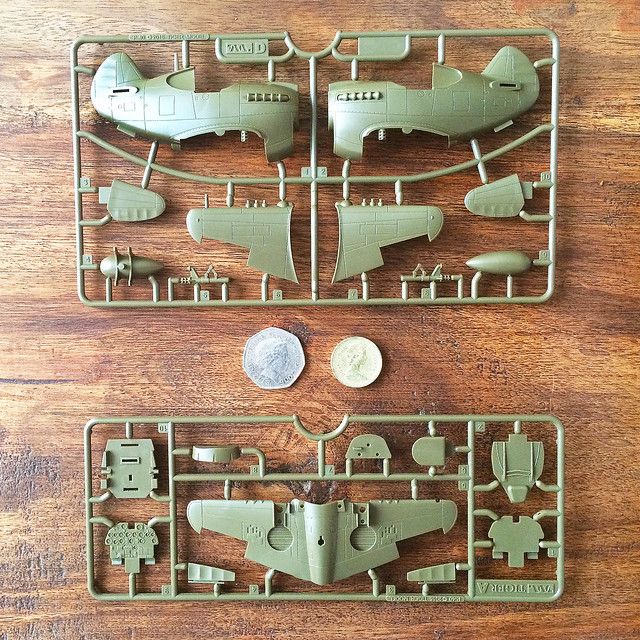
Obviously, there isn't really a scale to these I don't think, but here's a shot of the sprues so you can get an idea of the size...

The length of the fuselage is 8.7cm.
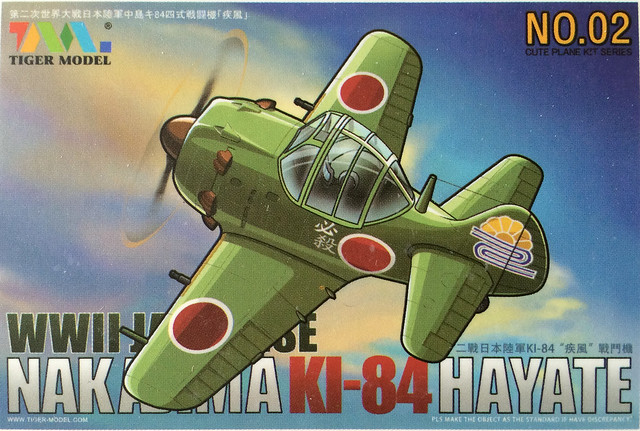
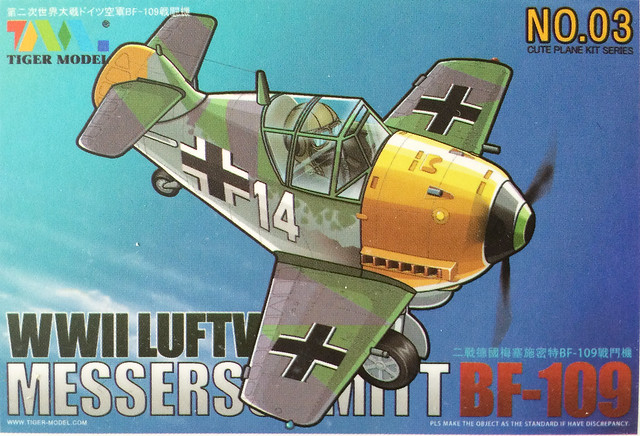
I did have a bit of a puzzle as to which of this series to buy, they all look 'cute'. In the end, I went for an old favourite - the P-40 Warhawk - but if this works out I would be very tempted to get one or two more in the series...


The model comes with a rather nice colour pattern, but you could do any scheme you wanted really (see sample below). I also think, your could look to your decal scraps box as P-40 was used by a large number of nations...


Funnily enough, the kit comes with two types of decal - conventional water-slide decals and some self-adhesive 'stickers'. This is great for younger modellers as these kits would make for fun projects for the kids.

I haven't decided whether to stick with the iconic 'Flying Tigers' scheme or do something else - I'll have to have a think (and check what spare decals I have if I want to do something different).  It's quite exciting to think of all the options.

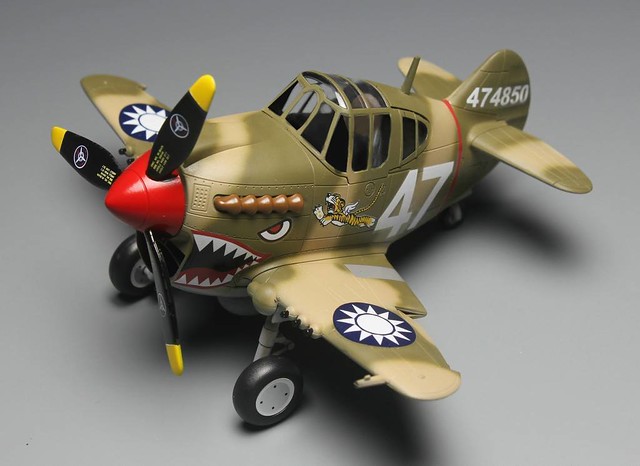
Here's an example (from the Tiger publicity) of a possible scheme, and very nice it looks too...


Hope mine turns out as nice!