I'm trying out something new, the addition of small magnets to my new 15mm tank models so I can swap out the various turrets (hopefully). On paper, it looks like a straightforward a job, but how many times have I said that on this blog!
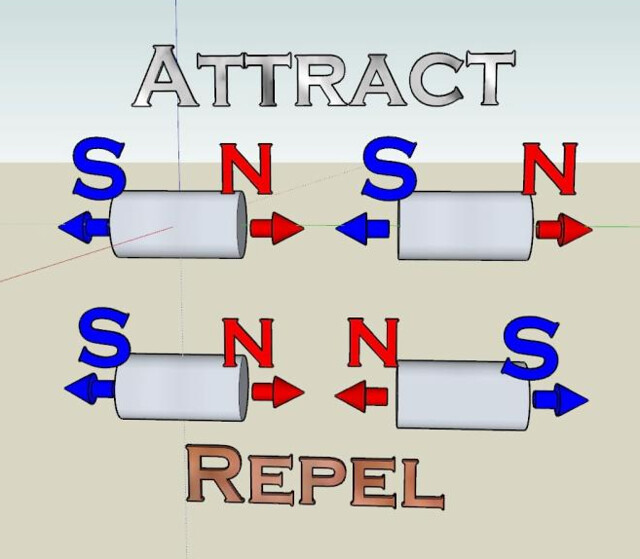 |
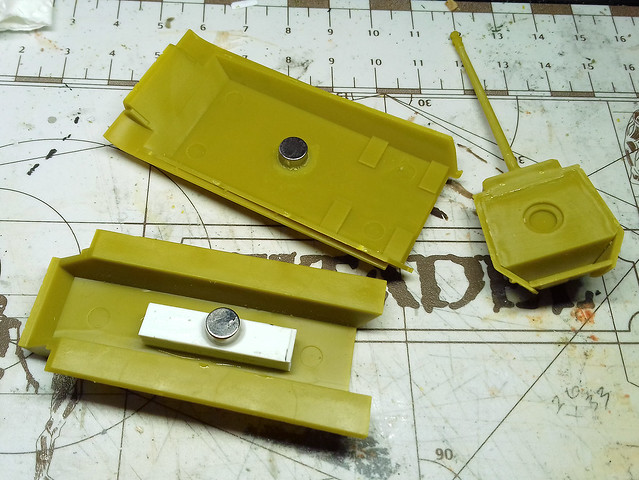
| The key to proper magnet placement...Polarity. |
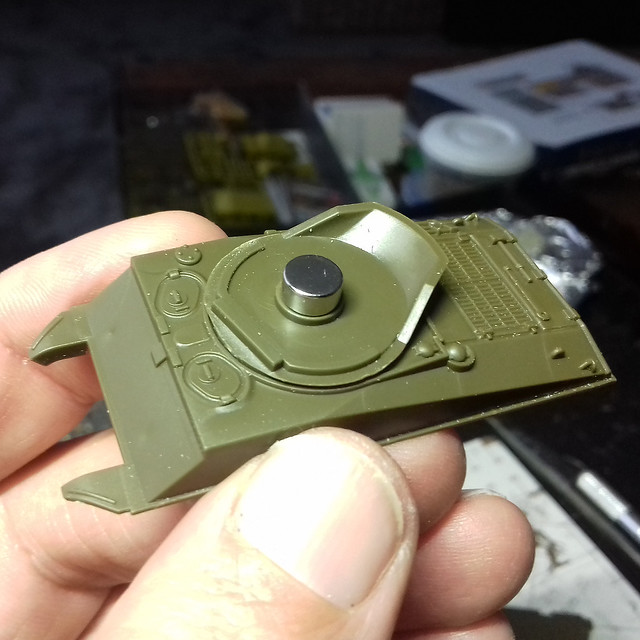
I'm using Vitalbond CA Medium super glue, this seems to work great with the metal magnets. I only mention this as I had been buying various makes of cheap DIY super glue from a household store and they've all been a bit rubbish. But this brand sticks rock solid.
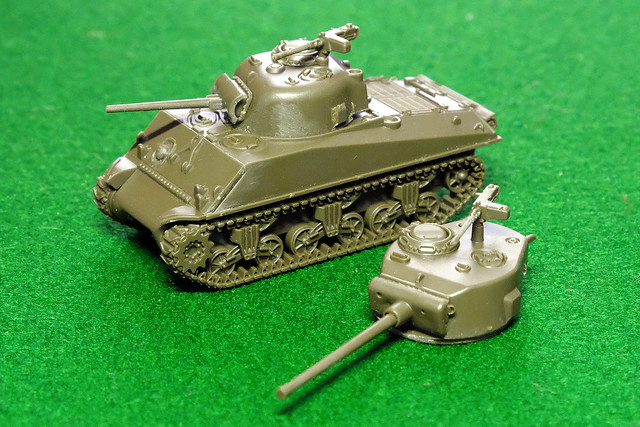 |
| GF9 Tanks - M4A3 Sherman, 75mm gun option. |
 |
| GF9 Tanks - M4A3 Sherman, 76mm gun option. |
Notes on the construction of the GF9 Sherman kits
There were only about 11 components to make either version of the Sherman, so it wasn't worth me taking a load of pictures to illustrate the construction. Suffice to see it was very straight forward and very quick to do. There were no major problems, but it's worth mentioning that there does seem to be a lot of parts left over.
I'm not exactly clear on what the purpose of all the extra bits are BUT I *believe* there are parts on the sprue to make up the 105mm [M4A3(105)] gunned support Sherman. You would simply pop the appropriate gun mantlet and 105mm gun onto the 75mm Sherman turret.
There are also extra hatches, including open versions (but no commander figure), a .30 MG and some other random parts...I have a suspicion you might be able to construct an M4A3 'Jumbo' with some of these parts, but I am not sure.
As to quality, I'd say they are better than Armourfast but not quite as good as Plastic Soldier Company (to give you some reference point).
The Panther Hulls
OK, the Sherman's magnetisation was pretty simple, but what about attaching a complete upper tank hull using magnets? Well, let's see...
 |
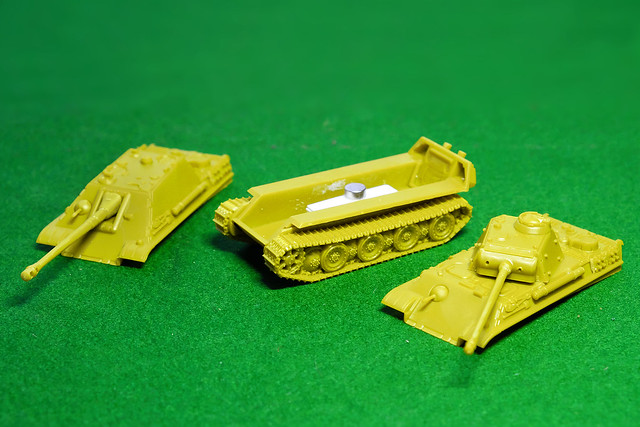
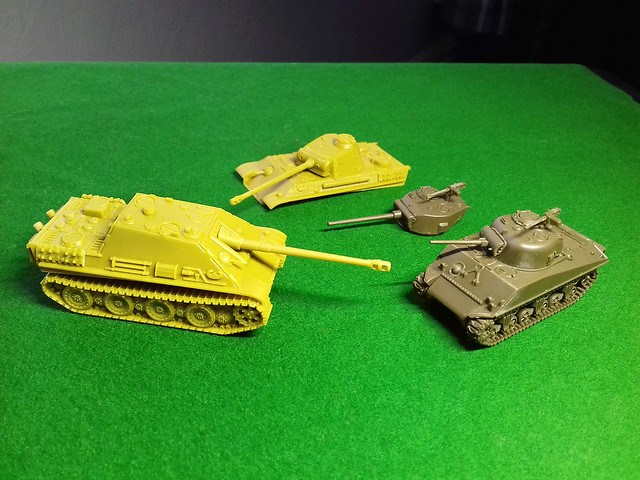
| From left to right: The Jagdpanther hull, then the universal lower hull and finally the standard Panther hull. |
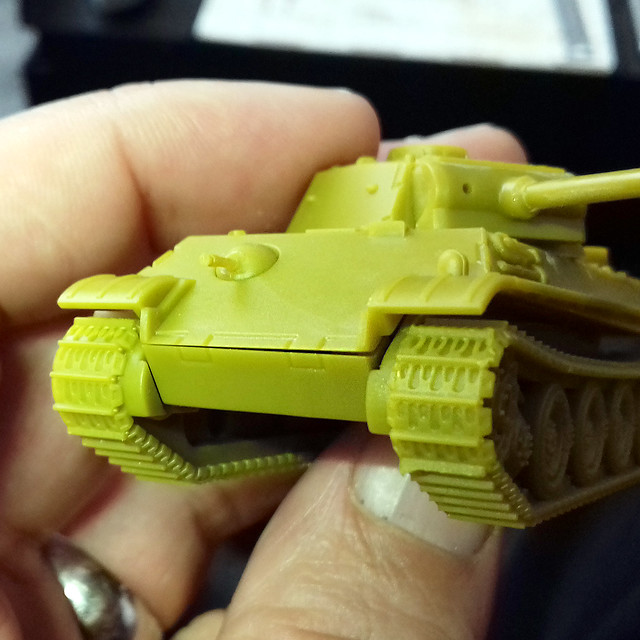
I'll start with the standard Panther...
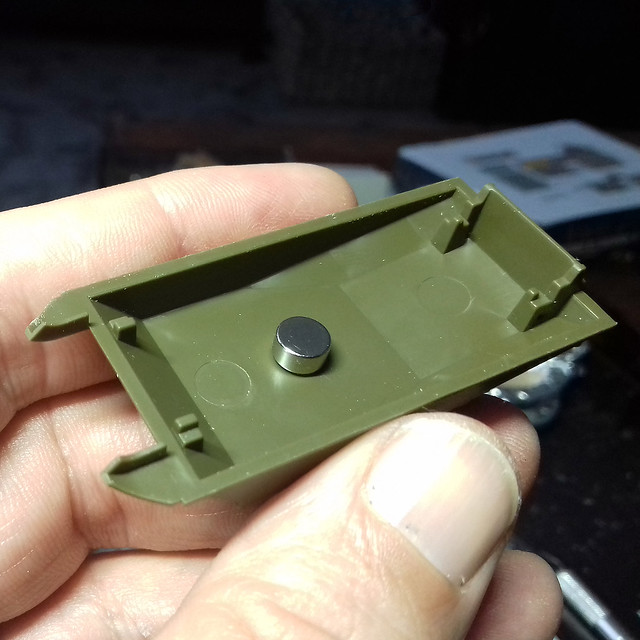
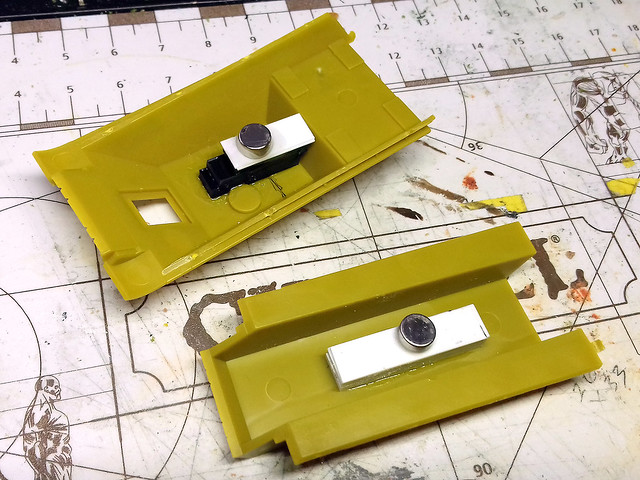
For the Panzer V I have used three magnets; one in the turret (as I did with the Shermans), one attached to the upper hull and another attached to the inside of the lower hull. This may seem overkill but because of the way I am thinking magnetising the optional Jagdpanther hull, I think this is the best arrangement.
One thing which may be a 'con' to magnetising tank hulls like this is that you may end up with a tiny gap space between the upper and lower hull. Though, this may be down to the precision of the way you attach the magnets (my measuring may have been a little 'loose')!
Bearing in mind the advantages of being able to swap the upper hulls for the purposes of the game, this slight misfit may be annoying (from a models point of view) but may be worth putting up with from a gamers point of view! Swings and roundabouts, but, in any case, this may be too small a flaw to notice at tabletop distance.
Now, onto the lovely Jagdpanther. Because of the way I arranged the magnet in the Panther's lower hull I should only one magnet to hold the tank destroyer's top on...
It's a bit of a fudged job, but getting the exact measurements right so the magnets connect precisely was a bit tricky, especially as the Jagdpanther has a sloped roof. I'm sure there are probably neater ways to do this. But, anyway, it works AND - this time - there wasn't a noticable gap where the hulls met...
...That poor Sherman 75mm!
In Summary
Well, it wasn't as complex a job as imagined, obviously. I just don't like doing 'new' things, I guess!
But this technique was worthwhile as it does give me a variety of tank options to play with while I learn the game's rules and tactics. In time, I will probably settle on a specific faction and particular tank models I will want to play and so will enlarge my pool of tanks.
From a modelling point of view, I may want to get something a bit more detailed than these basic kits, but I will have to look around to see what's available in 1/100...I'm not sure what manufacturers there are, aside from the wargame model manufacturers I have already mentioned. But Plastic Soldier Company's models look attractive.
Next: I will eventually paint these models, but I am aware I have a cue of other stuff on my workbench first!
No comments:
Post a Comment