I'd have preferred narrower styrene rods for the job but these were the closest my local store had. And cutting thin plastic strips would be a nightmare.

I relied on superglue as my adhesive and this too can be a problem with small parts (which then stick to everything but the place you want them to). Plus superglue isn't as nice to work with as liquid poly, which allows some wiggle room for repositioning.
Anyway, it's done now. The final effect wasn't too bad and is about as good as one of these 'make do' resin conversions might be expected to be I suppose. (Looking forward to getting back to a straight plastic kit though.)
I did some minor putty work on the bonnet, as this had a slight chip in it. And I drilled out the solid resin headlamps too.
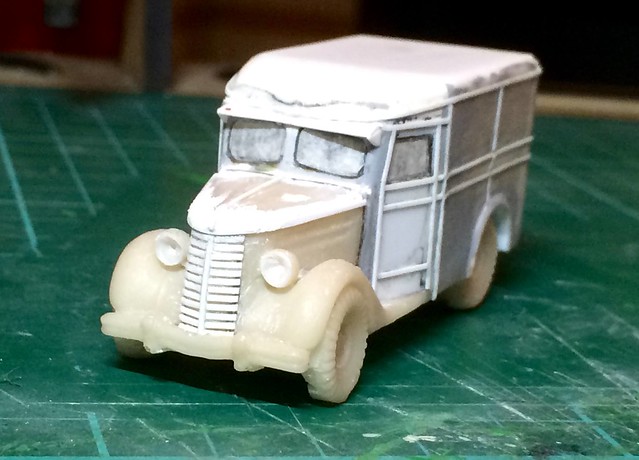 |
| Excuse the naff photography - it was late when I took this. |
Well, I enjoyed this. But I wouldn't like to have to do all my models this way.
Next: Primer and base coat.
No comments:
Post a Comment