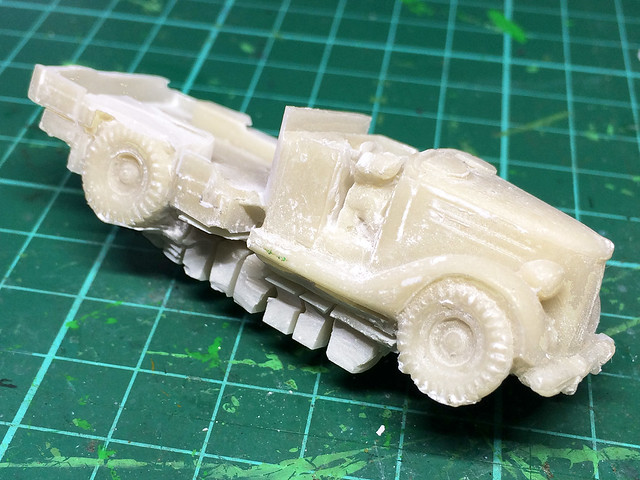
Warning! I have to mention that drilling, cutting or sanding resin models like this one creates a lot of dust. I strongly recommend you use some sort of dust mask as I am certain that the resin dust is not at all good for you if it is inhaled.
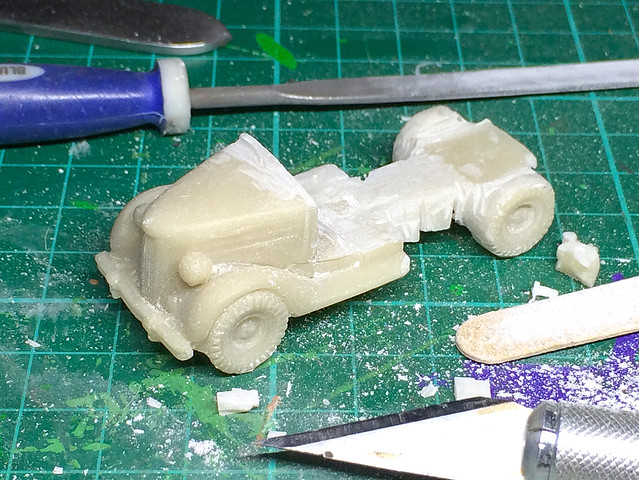
I carefully trimmed off the parts of the Valiant model I didn't want - including the base using my Dremmel and a cutting disc. Some of the hard to get to bits will have to be pared off using a thin chisel, sharp craft knife and file...
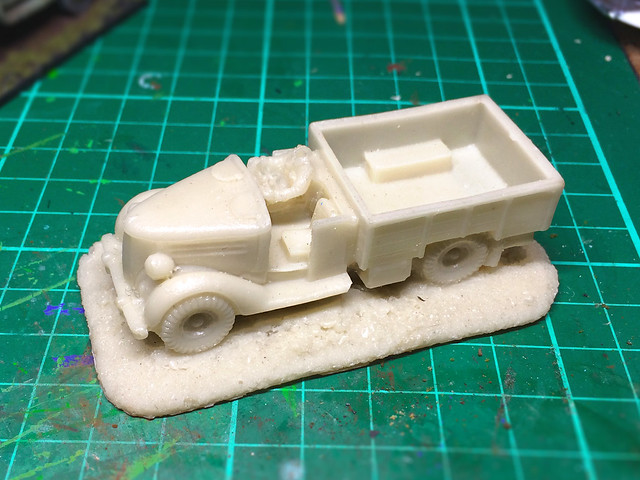
Unfortunately, I will also have to remove the driver figure. This is a bit annoying as I need a driver, of course, but this being a British version of the Chevy truck the driver (and steering wheel) are on the wrong side (right) and I am making a model of the American van.
The main part I have to trim down is the rear flatbed as this will be replaced by the van's box frame.
I know...Yet another project where I seem to have made a lot of work for myself! But I actually enjoy these projects as I end up with something unique in that I have put a lot of time into it. I get a lot of satisfaction out of it. But I understand if you think I'm a bit mad. :)
Having stripped down the Chevy's frame I now have to build it back up again. I shall start by smoothing everything off and tidying up any ragged edges, ready to install the new van frame.
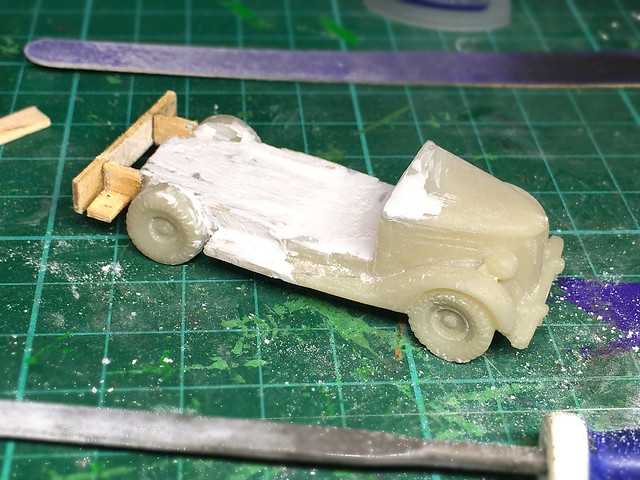
I'm trying out a quick and dirty build using what we used to call lolly sticks when I was a kid. I'm reconstructing the van bodywork using the sticks as the framework. Once the skeleton of the body is built I'll 'skin' the frame with plasticard (styrene sheet).
I have a feeling that the trickiest part to make will be the windshield and cab. And I have to include a new set of seats and a driver as well. But the van body seems pretty straight forward...
Next: The van bodywork frame installed.
No comments:
Post a Comment