Friday, 8 July 2016

Hobby Boss 1/72 Spitfire Mk. Vb - Part 3 (ish)


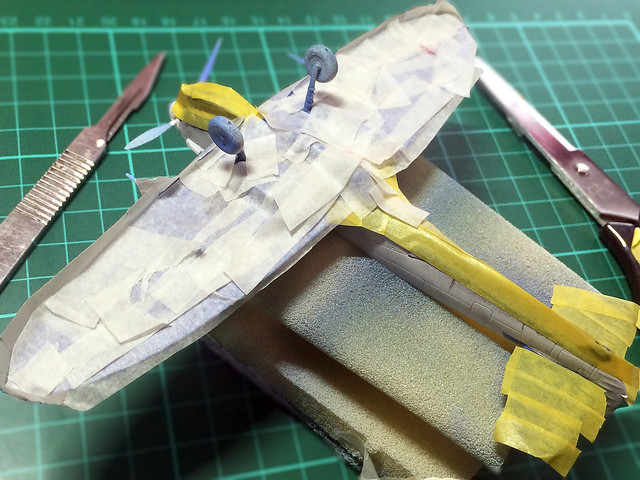
Having remedied my airbrush fiasco which is the underside of this model (finally applied the right blue), I'm on with the masking ready to begin the top-side of the fuselage. At least, this time, I am pretty darn sure I am using the correct colour - Vallejo Model Color 'Middle Stone'...
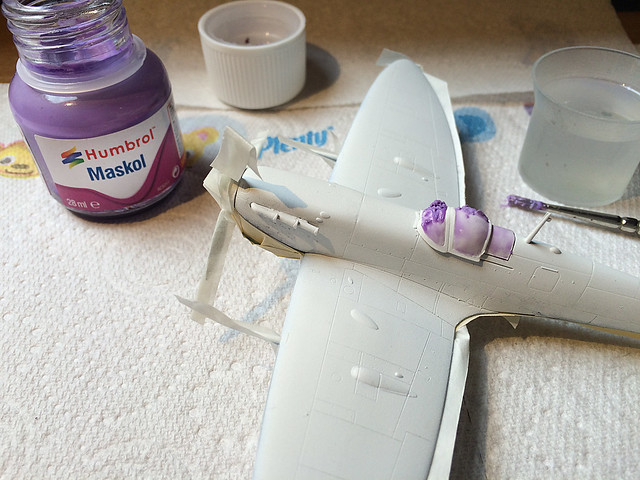

But, before I start spraying, I had to come up with a plan for masking the cockpit windscreen. I usually just use tape, but with the framework around the 'glass' needing to be painted I decided to give a liquid masking fluid a try - Humbrol's Maskol (this is a frst for me).

I have to say, it's a bit tricky to use as you have to work out the best dilution to make it flow. In it's 'neat' state Maskol is like a laytex gum (for want of a better word). Humbrol - in ther tutoral video which I will embed below - suggest that it be thinned for painting on using tap water. While this seemed to work - to an extent - I still found that it dried pretty quickly into small globules of gummy blobs. (Humbrol says it's suitable for airbrushing, but you wouldn't catch me trying it!)


Anyway, the canopy protected I got on with applying the upper-surface base colour. It's called 'Middle Stone' and I thought it would be a sort of sandy yellow, but instead - at least with Vallejo's take on 'Middle Stone' - I got something that was very 'caramel' (or diarrhea) coloured...
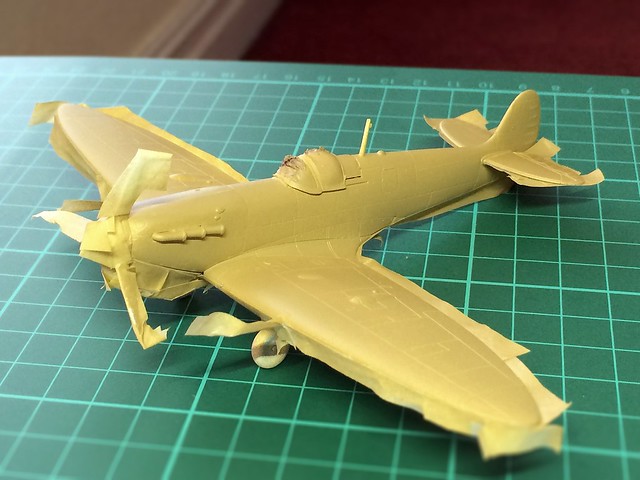
It looks a bit fudged...Hahaha, sorry, couldn't resist!
Now, onto the tedious part - masking out the camo scheme!

I'll  be blanking out the roundel positions, so no painted camo pattern shows through the decals (another first for me). Whether this is absolutely necessary in this case is debatable, the reason for doing this - usually - is so any paint pattern does not show through thin decals (especially if they contain white)...
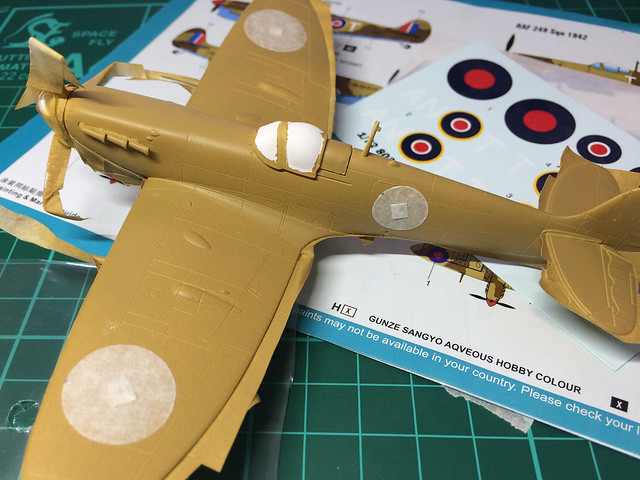
This is a better representation of what the 'Middle Stone' looks like.
Still, it's interesting to try out new things. But, anyway, on with the rest of the camo pattern masking.

I'm using masking tape for a harder-edge pattern...


Many, more experienced, aircraft modellers go to the trouble of copy-enlarging the kit paint instructions so that they can be used as a 1:1 paint template. I will have to try this out at one point, but - again - as this is just a paint test I'm not going to go that far.
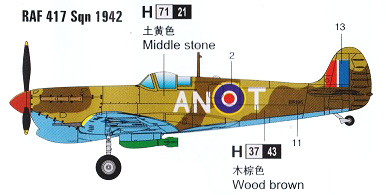

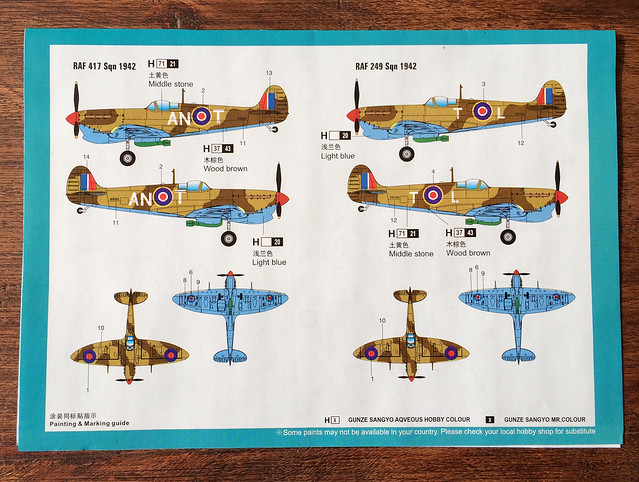
The second camo colour is 'Wood Brown' - according to the Hobby Boss instructions - and I have bought Vallejo's Model Air 'Dark Earth' [029], fingers crossed it is a good match...
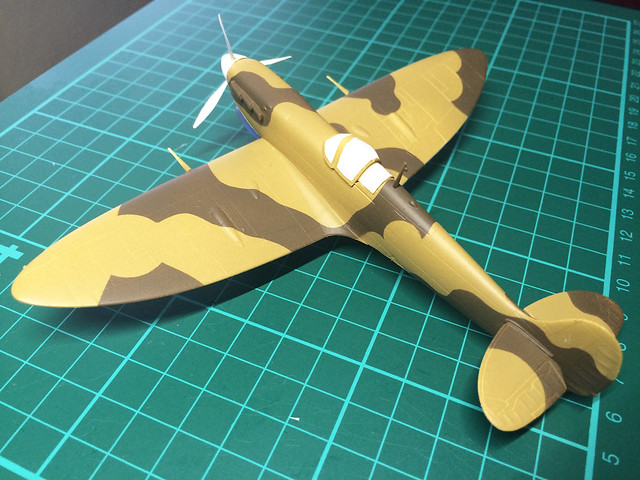

Hmmm, very flat and hard-edged. Not sure I like this very hard scheme, a softer edge might have been better, which I could have done using the BluTack masking method (my airbrush is not up to fine free-hand work).

Well, that's that for now.  Next, I'll tidy up a few bits and paint the smaller parts (like the prop and the canopy) prior to glossing.

Sunday, 3 July 2016

You live and learn...Airbrushing fail!


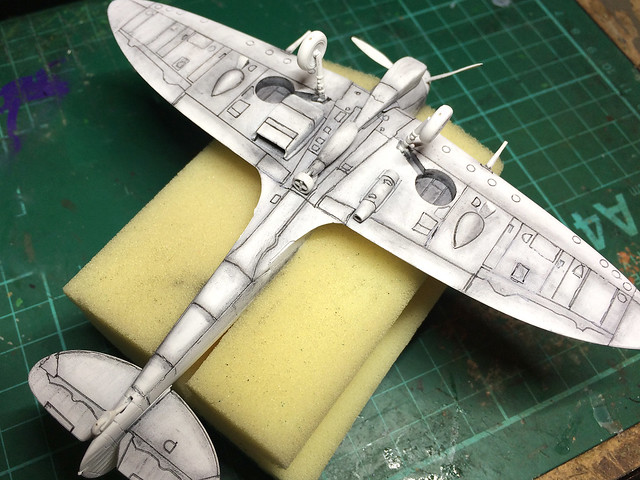
I fancied getting a bit fancy with my Spitfire Vb paint test model and do a bit of pre-shading. It all started out very well, outlining panels and applying powders to get a dirty panel look...


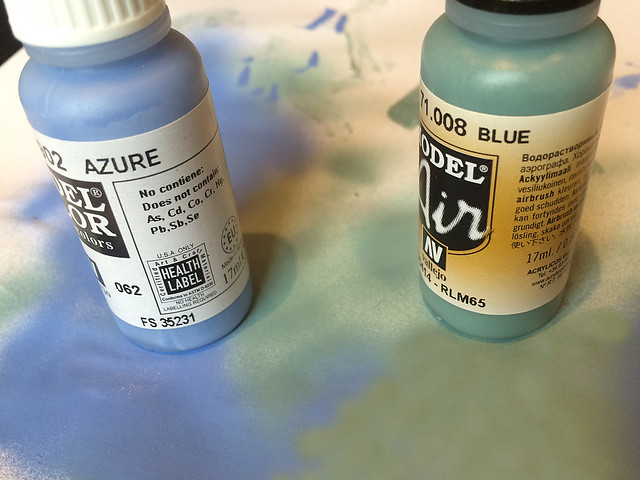
But, unfortunately, there were a couple of flaws in my cunning plan. First of all, I made a schoolboy error in choosing my paint for the underside - though, to be fair, I consulted a couple of forum threads on the subject of WW2 RAF desert schemes and was convinced that VAllejo's Model Air 'Blue' (xxx) was an appropriate colour for the underside of my Spit...Wrong!


Yes, I did think, at the time, 'that looks a little green', but I thought it might dry a little different. It didn't - so I had to rectify my mistake by over-spraying the green with Vallejo's Model Color Azure (proper blue) instead!


Of course, after two coats of colour I had completely obscured my carefully applied pre-shading.

But, hey-ho, that's what a colour test is for I suppose - it would have been worse if this was the actual project model. Also, I have now come to the conclusion that subtle air-brush effects like semi-transparent pre-shading are beyond my entry-level Revell airbrush.

It's a great brush for applying flat coats and a step up from the rattle-cans I used to use, but a bit ham-fisted for anything delicate of that demands fine control.

I'm afraid it's back to the drawing board, and I will revert to my tried and tested post-shading process using powders and oils (which I am quite comfortable with having had some successes using these mediums with my vehicle models).

You live and learn.

Wednesday, 22 June 2016

Hobby Boss 1/72 Spitfire Mk. Vb

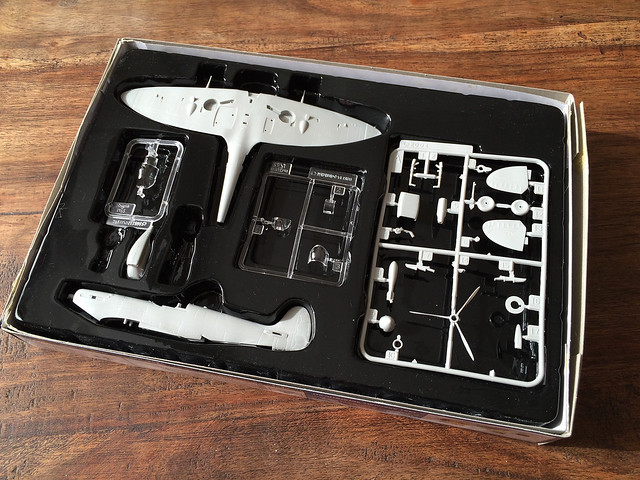
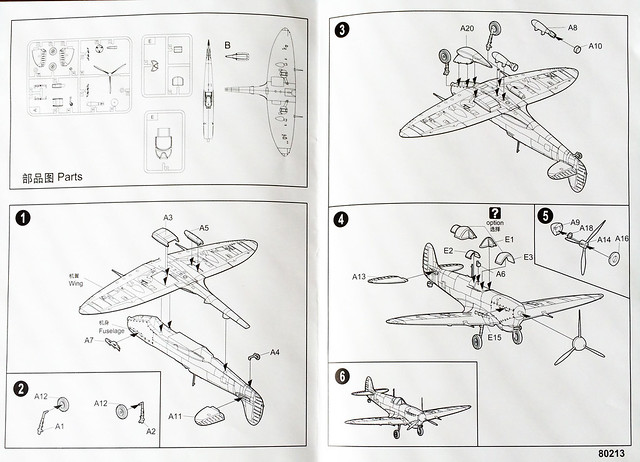
Although this project is not primarily about the construction of a model, but rather simply a painting exercise, I thought it might be interesting in any case to look at what a Hobby Boss kit consists of...


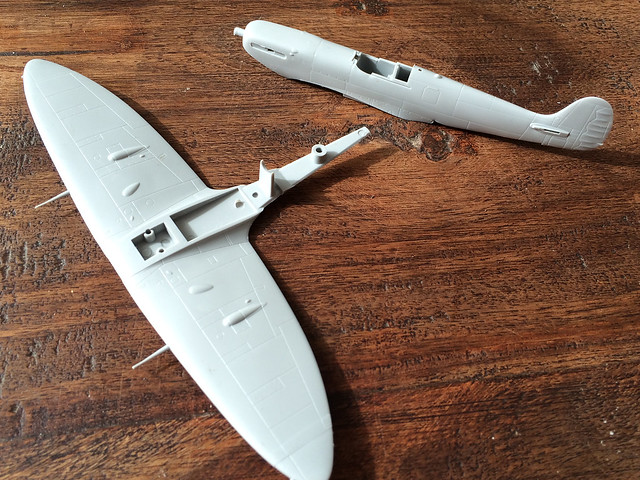
However, I think the design of the major components are innovative enough to be worth looking at.

Bish, bash, bosh...Done!
If, by chance, you lost the Hobby Boss instructions you'd have no reason to panic whatsoever. There are so few parts and so obvious are their place in the model that you could imagine that if you closed the box and shook it for long enough you would end up with a fully built Spitfire!


In particular, the solid one-piece fuselage and wing units (which snap together) mean you have the majority of the work done in just a few seconds! The small smattering of additional parts hardly make the project build more than five minutes.


However, obviously, there is a price to be paid for this simplicity...

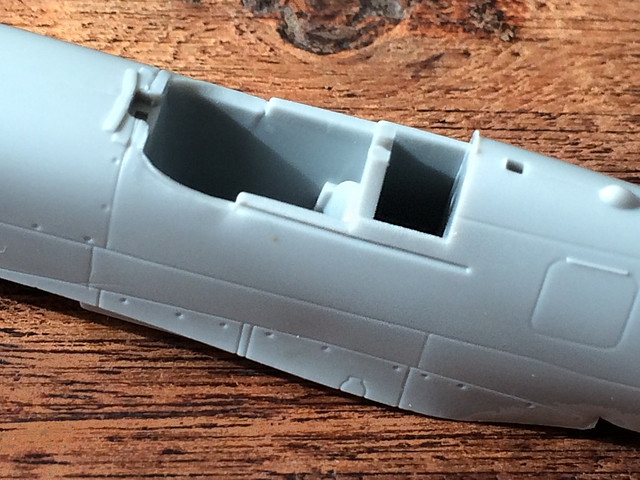
That most glaring 'problem' this dumbed-down kit presents the modeller with is that - due to the solid one-piece fuselage - there is no real cockpit to speak of! Just a rudimentary 'slot' or hole over which you can glue the canopy.


Beginners may not feel this is a problem at all, of course.

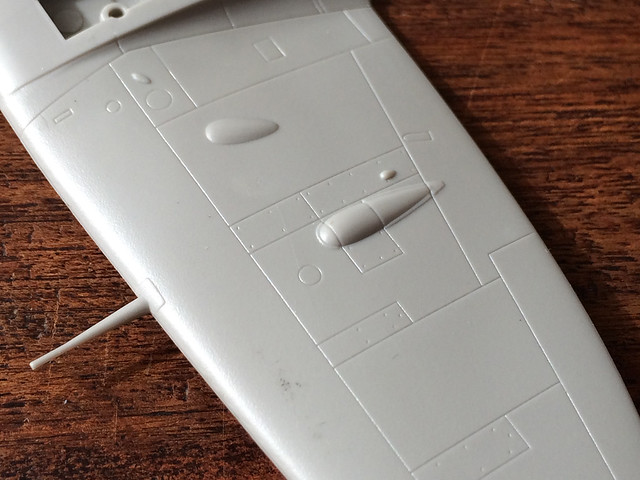
The next issue is the solid wing unit. No separate flaps here - and younger (and even some older) modellers will have to watch out for those integral 20mm guns, which are very flimsy - but I will say that Hobby Boss have made a fairly nice job of all the panel lines, I've seen deeper line detail cut into Airfix models.


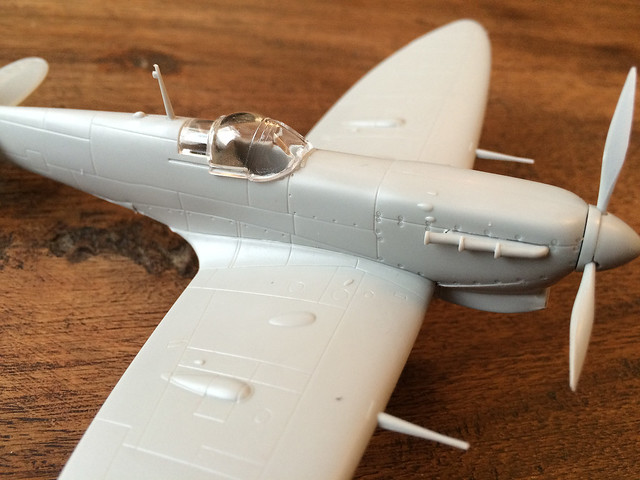
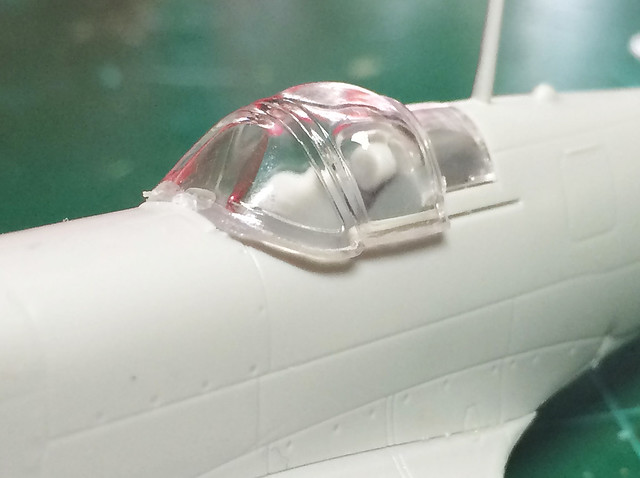
Finally, I must mention the canopy. It is awful - not so much in quality of transparent plastic but in the sculpting. The box artwork gives you a fair impression of how bulky it is and it spoils the lovely clean lines of the Spitfire in my opinion. However, HB gives you two canopy options - a one-piece (which I have just described) and a three-piece, should you wish to model the canopy open. The three-piece looks slightly better, and I would suggest using this even if you want to model the canopy closed (I'll try that out to make sure it works).


And that, is that. But here's some additional reference photos...


Not very imaginative with the aircraft scheme options, it would have either have been nice to see a European theatre Vb or a US Army Airforce version, perhaps?


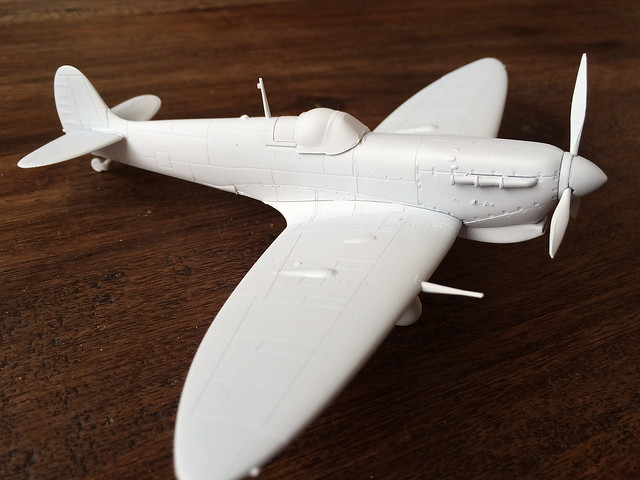
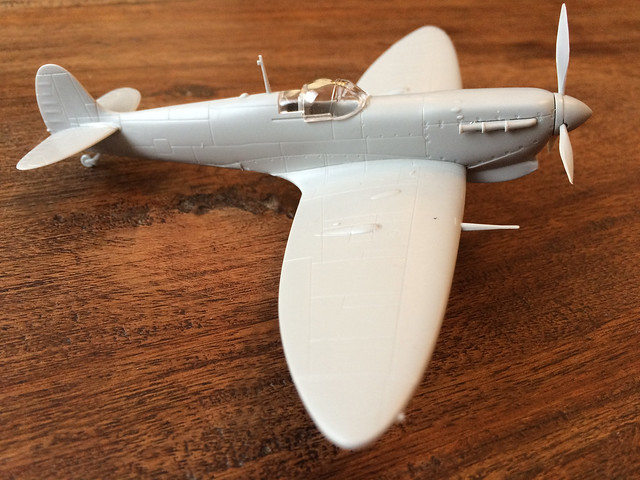
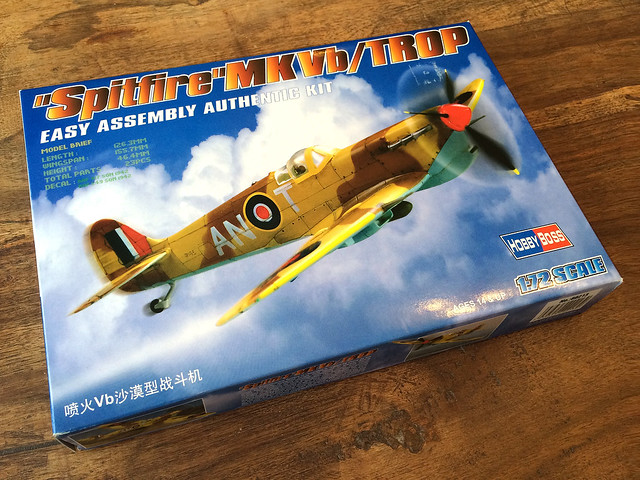
~ Well, it sorta looks like a Spitfire , doesn't it?

But,  you'll notice the bulbous canopy...


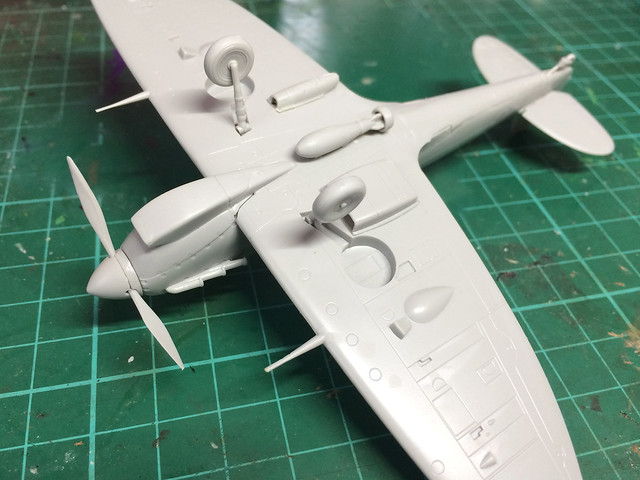
Incidentally, the centerline 250lb bomb confused me a bit - I hadn't realised that the Vb's were equipped with bombs, but in fact they were and the Malta based Vbs were field modified to carry two, one under each wing! So, there you go.


The underside has some nice panel lines BUT also highlights that this model is intended to be made with the undercarriage DOWN and only down. No provision or option is made for the model to be built in flying mode!

And here's a shot of the nasty seam join at the end of the wing root. In fact, overall, you would have to do a bit of filling to hide some of the unsightly joins...(I have not bothered to fill the seams and gaps as this is just a painting exercise.)


And I will end by giving you one more look at that horrible canopy - in this close-up, you can see how the front canopy sections sit outside the cockpit edges and are not streamlined to blend into the fuselage profile as is the case in reality...

Monday, 20 June 2016

'Quick' (Really?) Paint Test

As mentioned in my last post, I'd like to pause my Tiger Cartoon P-40 in order to experiment with some painting techniques and styles. I also mentioned that one of my local stores (Boyes of Yorkshire, England) have had Hobby Boss aircraft kits on discount for a while now (£4.75), making them cheap and cheerful 'guinea pigs' for modelling projects.

Well, I left work early today and popped down to Boyes only to find that they were having a sale. Not only that but one of the Hobby Boss kits available was a Desert RAF Spitfire Vb (my favourite mark of Spitfire)...


Guess how much? ...Only £2.25!

Now, experienced kit builders might say 'that's about how much some of the Hobby Boss kits are worth' (ironically, their Spitfires, in particular, are dubious representations). But, for a 'test canvas', they are an absolute bargain.

Quite pleased with myself (...And they had a Wildcat and a Tempest too, may have to go back on Wednesday if there are any left!)

By the way, this is quite a nostalgic 'mini-project' as this is the first time I have made a Spitfire since I made one of the venerable Airfix Series 1 Spits when I was a kid!

Oh and, PPS, for those that asked me how Hataka paints go on using a brush, I will be finding out with this kit!

Tiger's Cartoon P-40 Warhawk - Part 3 (ish)

OK, Hataka paint problems aside, I have been planning my paint scheme for my little 'cartoon' Warhawk. And I have decided to go for a Desert RAF scheme - making it a Tomahawk and not a Warhawk!

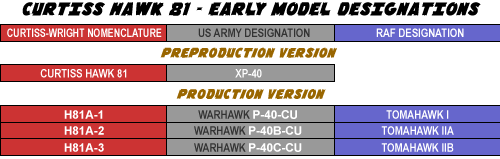
Just to remind folk - here's a little data-table I made showing the various models and
nomenclatures for the P-40 fighter series, giving the British alternative names relative
to the US designations.
Actually, this wasn't the end of my Hataka paint problems, because - having decided not to use Hataka paints - I had to go shopping today for replacement Vallejo 'Model Air' versions of the paints I needed for the WW2 desert RAF fighter paint scheme...

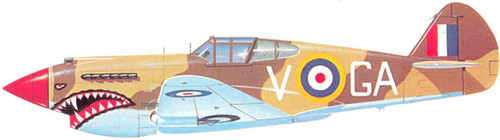
Tomahawk Mk.IIb - Sidi Heneish (LG.102), Egypt, October 1941.
Source: Wings Palette web site
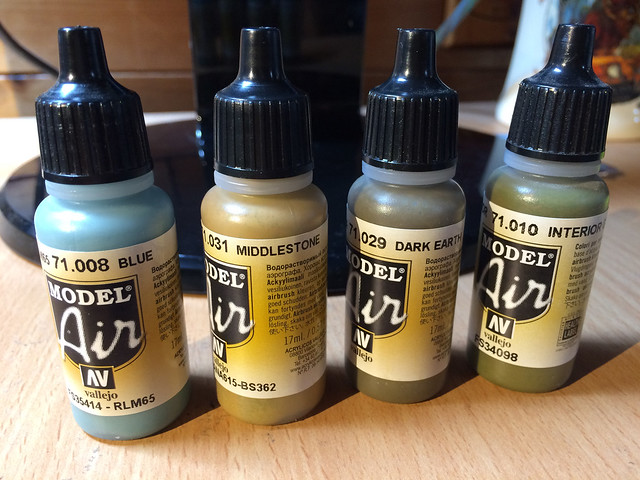
I did a quick check online for the Vallejo 'Model Air' paints for this aircraft pattern and the following were generally recommended:


  • 71.008 'Blue' (Azure Blue)
  • 71.010 'Interior Green'
  • 71.029 'Dark Earth'
  • 71. 031 'Middlestone'

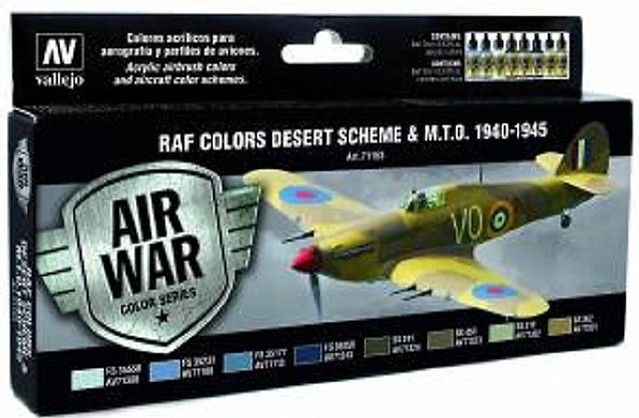
Luckily my local store had all these in stock, so I am back in business again. But, typically, I just discovered that Vallejo does it's own range of themed military colour sets and - furthermore - has a 'RAF Desert Colour Scheme 1940-1945' set! Du-oh!

Still, I only needed just these four main colours, which cost me £10 instead of the £17.75 price of the full Vallejo set.


The painting begins
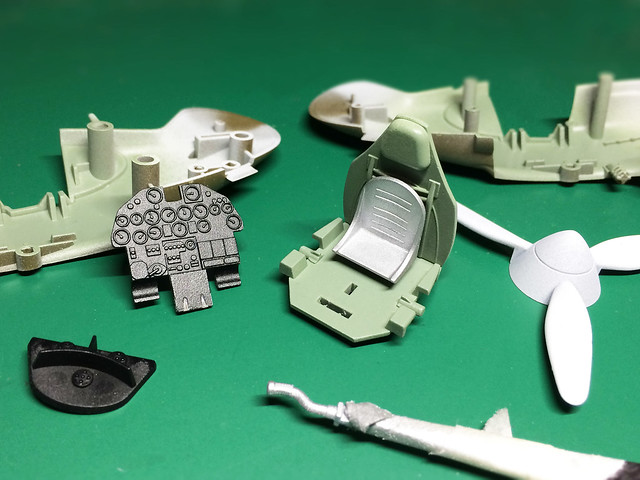
A bit of a stuttering start for this project, but now I'm off and running (well, running in terms of my work rate at least)! The cockpit is the starting point and I got the base colours down OK...


One of my biggest issues is what style to paint this model in. After all, it's a cartoon so I have a little more stylistic latitude here - I could do a very 'clean' painting job of this - like a diecast display model - or I could really go wild and carry on the cartoon theme with some over-the-top weathering and panel line effects. I even considered doing a very cartoony 'cel-shading' effect...


(Sorry, was going to put up a still of what a cel-shaded aircraft would look like but came across this short trailer for an animated - cel-shaded - film and couldn't resist showing it here as it's so cool!)

Well, you get the point...(I'll work out style as I go along.)

...In fact, I'll pause here while I sort out this issue of 'style'. May actually have to do a 'practise model' just to clarify this (our local store has lots of discounted Hobby Boss models which would be quick and easy test canvases).

Saturday, 18 June 2016

So...Hataka paints.

Having had time to reflect, I thought I would comment in a bit more balanced way about Hataka paints...


At the core of my annoyance is the frustrating fact that Hataka paints seem to be so darn promising. Thier specially customised colour sets - themed and put together to support specific historical projects - seem to be very well researched and the colour matching, also, seems very well done. In short, they appear to be exactly what the military scale modeller is after.

I bought the 'Battle of Britain/D-Day RAF' paint set (for my Tomahawk IIA project) and right up to the moment that paint touched plastic they looked like they were a winner. However, it was what happened during application that left me exceedingly disappointed.


I used my Revell airbrush to apply the paints and my early experimentation convinced me that - out the bottle - Hataka paints were just a little too 'gloopy' to flow nicely through my airbrush. Indeed, in my experience, the Hataka paint, when used neat, seemed to congeal (dry) surprisingly fast, leaving my airbrush blocked halfway through my spraying session (my brush is a top-loading cup airbrush and I only used half of one-third of the cup before the flow of paint packed in).

Now, this - to me - seemed quite normal, it just meant that the Hataka paint needed thinning to aid the consistent and unfettered flow through the brush. So, the next thing was to determine just how much thinning the paint needed.

I used Vallejo airbrush thinners (and also tried Tamiya thinners), but I could not find the sweet spot between too thick and too runny. Just a drop of Vallejo thinners in the Hataka paint seemed to cause it to become overly thin and splatter and create droplets on my primed surface. I have never experienced this effect using Vallejo paints...

The result of just a couple of small drops of Vallejo thinners added to the
(well mixed) Hataka paint. It was weak and splattered a lot.
Disgruntled, I referred back to my earlier post about the Hataka paint I used in my Airfix Tomahawk project and discovered that I had the same problem (but forgot about it) and that I had found some suggestions online on how to deal with the paint.

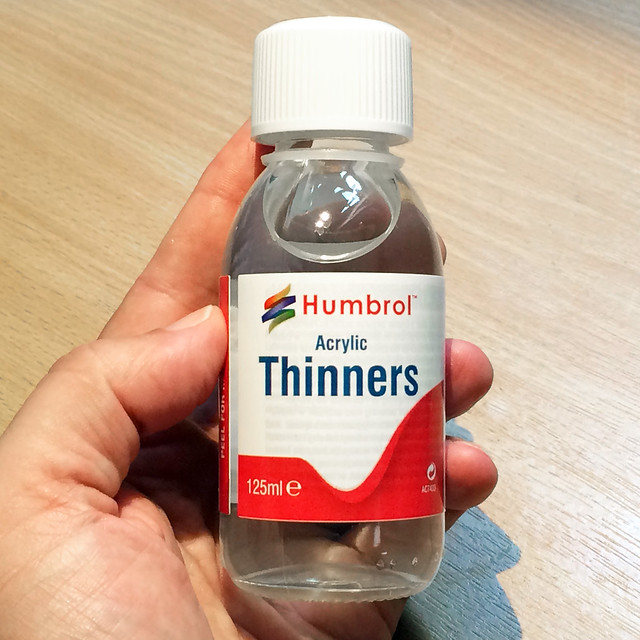
The issue did seem to be that Hataka is very choosy when it comes to thinners. Others who had tried the paint - and been subjected to the same issues that I had suffered - had found that good old Humbrol Acrylic Thinners appeared to be the most compatible with Hataka paints (though I not that Hataka have produced their own thinners now). So I sent off for some Humbrol thinners...


I was a bit pessimistic that something as generic as Humbrol thinners could be the solution (if you will excuse the pun). But I gave it a try, adding just one drop from a pipette into my airbrush paint cup...But guess what?


I got a far better result. Coverage was more consistent and opaque and flow was more forthcoming through my airbrush.

The flow was still a little reluctant, but I didn't want to add any more thinners in case it went the other way again, so persevered using a low pressure to avoid any further splattering (which seemed to work).

Conclusion
I still don't like Hataka paints. The flow of the paint just didn't 'feel' comfortable for me when compared to the lovely, unforced, spray-flow that I have achieved using Vallejo's pre-thinned 'Model Air' brand of paints.

As I said in the beginning, Hataka paint sets seem such a good idea, and I do like the colour matching (which in some instances seems more authentic than some of Vallejo's). But good colours are no good if they do not apply easily and smoothly - and this was not my experience with Hataka paints I'm afraid. I will not be using them again.

Tuesday, 14 June 2016

Short but not sweet - Hataka Paints

OK, just had to get this off my chest...

I HATE HATAKA PAINTS!

...There, phew! I feel better.