 |
| The undercarriage components. I've started cutting the parts off the sprues with plenty of room to spare on the attaching sprig. Then I will trim the unwanted sprue off - past 'accidents' have taught me to err on the side of caution. |
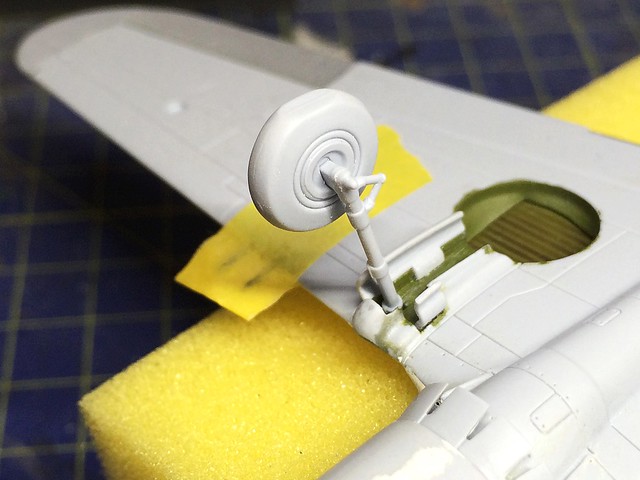
The main landing gear is nice enough, but as with everything else it is simplified. Sticklers for accuracy might go to the additional lengths of adding the hydraulic cables (brake line) using pieces of wire and the tyres have no tread pattern. But I'm keeping my P-40 'no frills'.
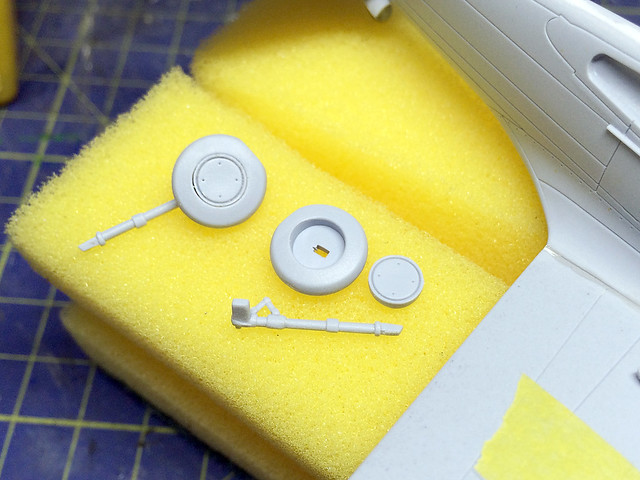 |
| There was quite a bit of sanding to get the hubs to fit into the wheels. |
The tail wheel is less likely to either interfere wit the painting or get knocked off so I did fix this in place. There is no detail at all here, which isn't a big deal as it will be practically unseen, but you should be aware that there is more to it on the real aircraft - so, like everything else, if you want to 'super-detail' your P-40 you will have to do your homework.
(I highly recommend 'P-40 Warhawk in Detail' by Bert Kinzey, Squadron/Signal Productions. It has very detailed photographs of the aircraft, with all it's nooks and crannies shot in close-up.)

Finally, prior to my actually starting the painting, there is the pilot's headrest to add. There are still some other parts which need to be added to complete the build - the exhaust stacks and the wing-mounted pitot probe - but, like the landing gear, I am attaching this after the basic paint scheme has been applied.

As much as I want to stick to the 'out the box' build idea I really don't like the shape of Airfix's headrest. The size and shape of this cushion just doesn't seem to match any of the reference photos that I have seen, so I'm going to do a little 'modding'...

No comments:
Post a Comment