Having glued the P-40's nose components together I found that was just the beginning of the work. I mentioned how I thought Airfix had been clever in the way they had decided to lay out the nose of their model, making it a four piece design - with the two fuselage halves (left & right), the air intake (bottom) and the .50 cal gun cowling (top) - but this cleverness comes at a price.
 |
| The nose is now nice and circular, but I had to sand it into this shape. |
However, it's not a biggy and can be quickly rectified. I ended up popping the propeller on and drawing around the spinner, marking the circle of the spinner on the nose in pencil, and I then sanded the nose into shape. The nose profile is now correct...
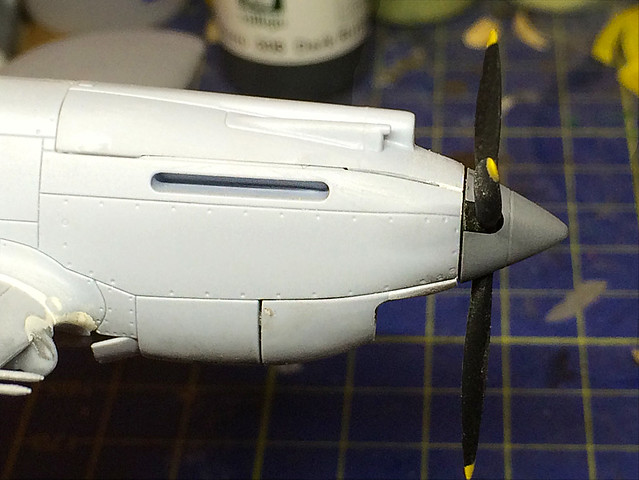 |
| After sanding the spinner blends smoothly into the fuselage giving you a nice 'sharp nosed' aerodynamic profile. |

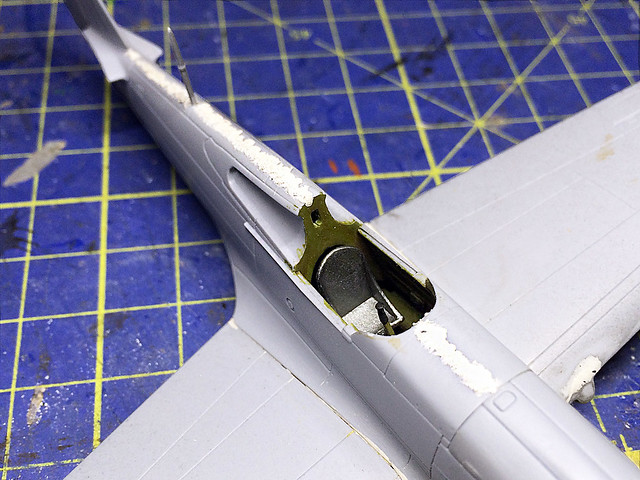
I had to slap on a little more Milliput than I wanted to as the 'chin' has a few imperfections in the moulding - small wrinkles or lines - so these had to be covered as well.
From nose to tail...
While I had the Milliput out I filled the seam that runs down the 'spine' of the P-40, standard work for an aeroplane kit (it's not a bad point of the model). In fact, of course, the seam runs down the bottom of the fuselage too so that must be filled and sanded as well.
I said, in my last post on this project, that having to fill noticeable seams is annoying, particularly for beginners (who may not be 'into' modelling to such a degree as to have adopted modelling putty as a standard part of their 'tool kit' yet). But, having thought about it there will always be seams - it's the nature of multi-part plastic kits - so the novice builder will inevitably adopt products like Milliput or 'Green Stuff' quite early if they are at all serious. It's not an 'advanced' technique but perhaps one of the first 'intermediate' skills that they pick up (it was with me).
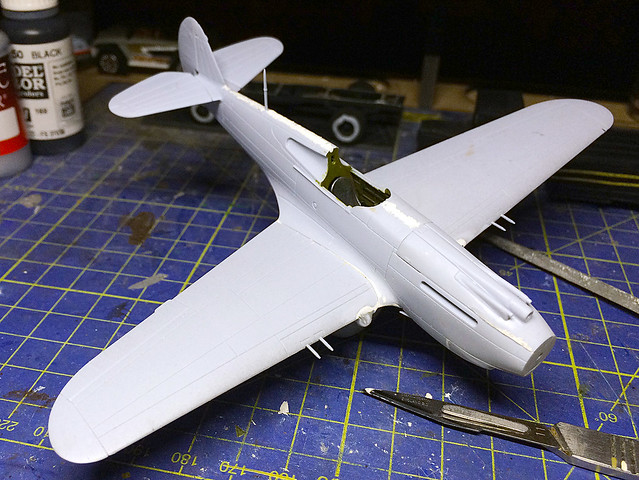
Anyhoo, that's quite a different tale, let's move on to panel 9 of the instructions which deals with the Tomahawk's actual tail...

Easy job, nice fitting parts, but it's a bit of a landmark stage in the kit construction as this is where the fighter begins to look like a near-completed air-craft and when no bloke worth his salt can resist 'flying' the model around (while making pretend fighter-plane sounds when no-one else is in the room)!
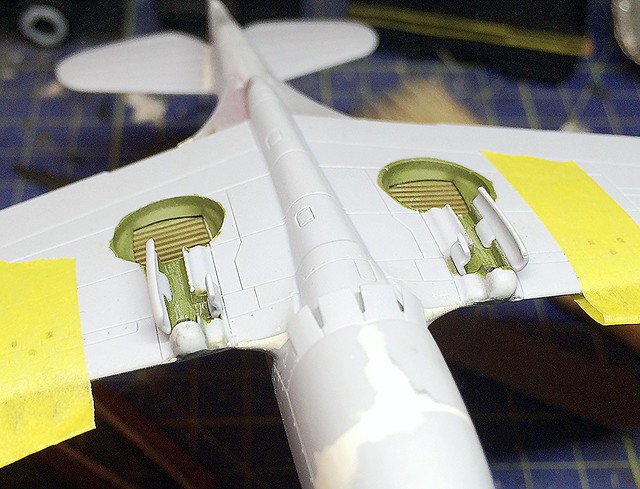 |
| There's a bit of re-painting of the wheel wells required (I should have added these undercarriage doors before painting the bays). The masking tape was put on to help protect the wing mounted guns, which are a little delicate. |
And that's that for tonight...Getting there!
No comments:
Post a Comment