Wednesday, 3 June 2015

Kitnoob goes big!

This is sort of a 'trailer' post for my next project. It's an exciting one as it's the first 'club project' I have ever undertaken and has a proper theme, deadline and set scale!

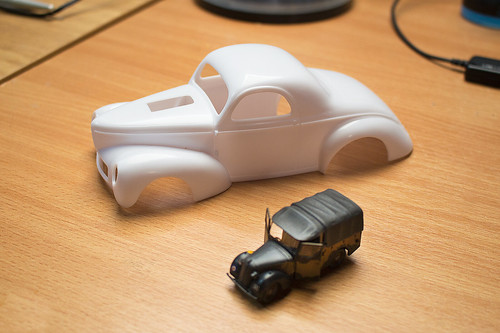
I'm not going to give away much before I do the first real project post BUT I just wanted you to be able to join in my worried shock at the immensity of this new model...


...Oh blimey! Kitnoob goes big, 1/24 scale big!

This model just (only just) fits onto my laptop work-tray! And, the wheels are taller than most of the 1/72 vehicles I have made so far!

Any guesses what the theme is? (Clue...Some of the guys from the Hull Scale Model Club recently went to the cinema!)

...This all seemed like such a fun idea when we talked about it - now I see the actual size of a 1/24 scale car I'm getting cold feet!

Tuesday, 2 June 2015

Yag-6 continues (after long hiatus)

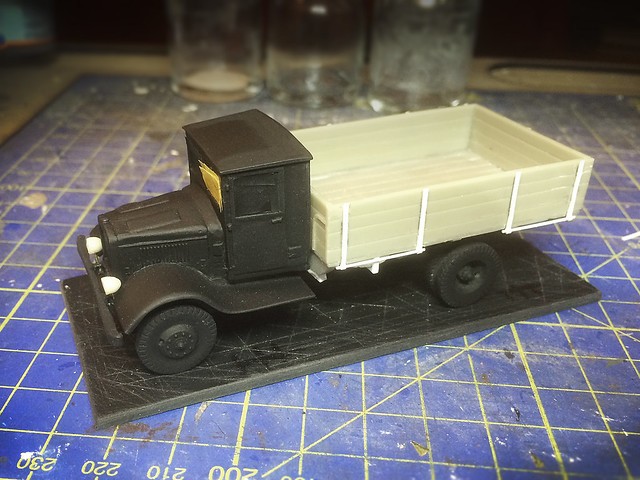
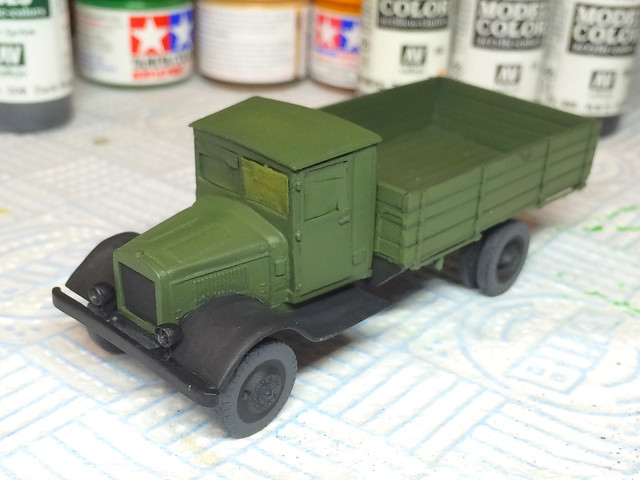
I hate Zebrano. That's what I've learnt from making this short run resin kit of the WW2 era Soviet heavy truck in 1/72. In fact this project was a gnat's hair from being a 'tactical withdrawal'!

This is where I left off my Zebrano nemesis! It took a long time and a great amount
of modelling to get this kit to this state (where things actually looked like they fitted)!

However, having had a bit of time away - a 'cool down period' if you will - I now felt ready to dive back in and see if I could finish off this model without - hopefully - any more problems.

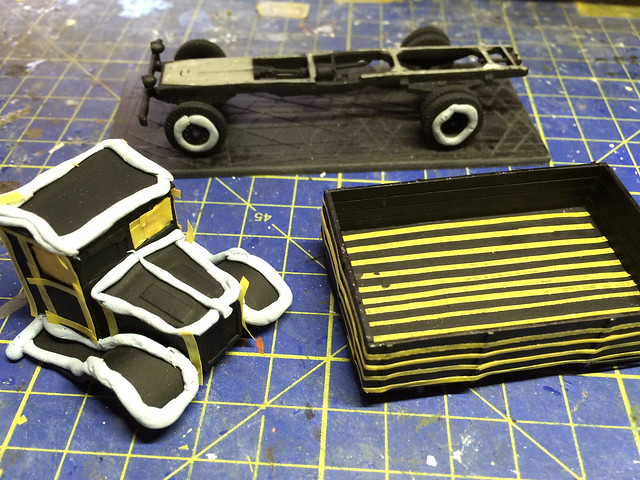
I decided - fool that I am - to experiment with some rudimentary 'pre-shading', nothing complex - but just a simple and elementary bit of preliminary highlighting before I apply the base coat of Russian Green. So I did some very rough and ready masking (as my beginner's airbrush is not fine enough to do pre-shading freehand at this scale)...


I protected the areas that I wanted to retain the flat black undercoat and left exposed those areas I wanted to treat with some light touches of matt white. The idea is that once the green is sprayed on over the top there should be some variation in the tone of the green that is intended to indicate a gradient of tones between the centre and edges of the vehicle's panels...


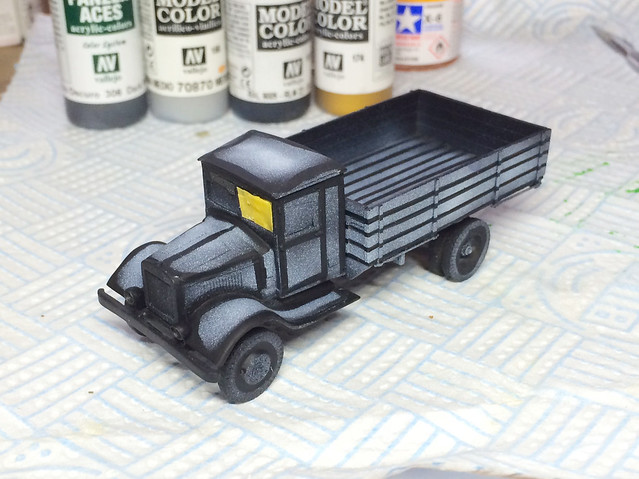
A bit sharper edged than I had intended, but I am hoping it should become more subtle after the top coat of green is applied. We shall see...


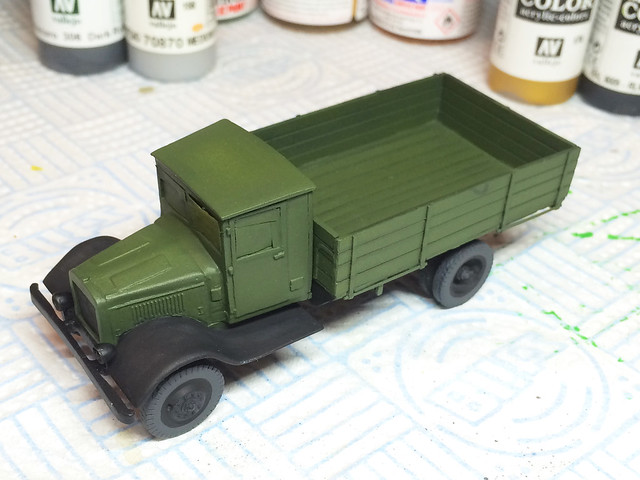
Well, things didn't go exactly to plan. Once again I have found that my attempts to pre-shade in 1/72 have been disappointing. The effect is so subtle as to be almost not worth the bother - I could have created variations in tone on the panels just as well and easier by 'post-shading' using powders and washes (or if I bought a better quality precision air-brush that would do as well).

I am beginning to come to the conclusion that pre-shading suites larger scale models with expansive flat panels. At least, it suits me to post-shade rather than pre-shade. Still if you don't try these things you don't know.

The one positive is that the Vallejo Russian Green is a lovely colour. It's very deep and rich. Unfortunately now the base colours are one you can see some of the flaws in Zebrano's design of this model - there are a lot of rough lines and edges.


Next: Satin varnish coat followed by some streaking and pin-washing.


Monday, 18 May 2015

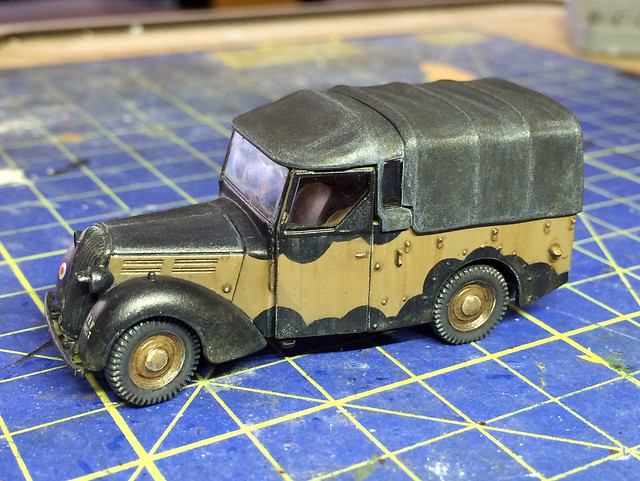
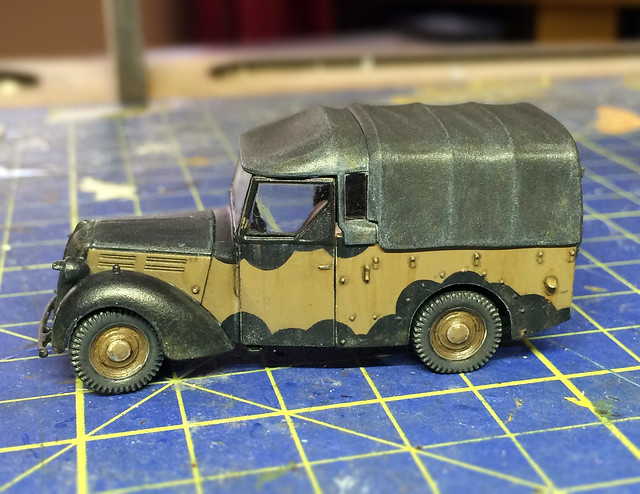
Airfix 'Tilly' - Nearly there!

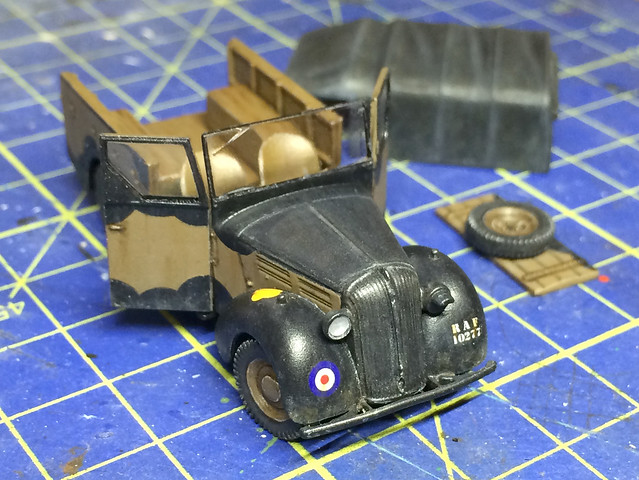
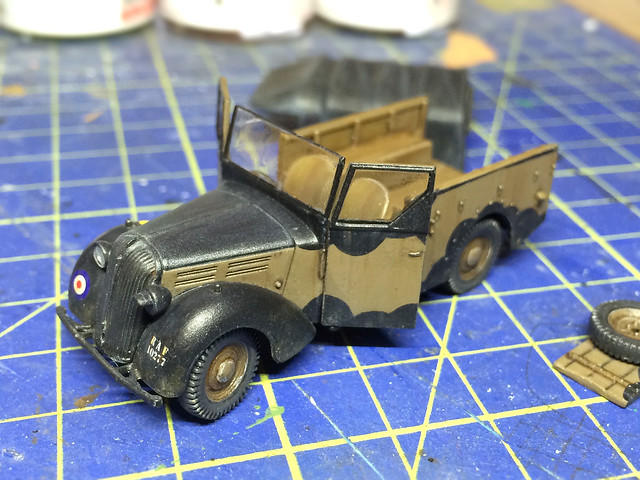
I decided I would do the final slideshow when I finish this kit altogether. So here's the latest progress, a gnat's hair away from finishing...

I only put the bloody doors on! ;)

I went with semi-open doors as this kit will eventually be part of an RAF diorama
along with my Airfix Tomahawk.
I actually feel I have made some progress with my modelling techniques with this one (sorry to sound so self-congratulatory), but for once good effects seemed to be by design rather than luck as I felt that some were with my previous models.

Really want to get back on with my Finnish trucks again now as I want to keep the momentum going now I have made some progress!

Thursday, 14 May 2015

Airfix 1/72 'Tilly' utility vehicle - another mini-update!

While I would much rather continue the updates of this model by means of the video format I started the particular technique I have been involved with has been so taxing for me that I can't resist putting up another mini-update...

To re-cap: I was having problems getting the 'Tilly's' canvas roof cover right. I had over-weathered it - with pastel pigments - and it eventually just looked over-the-top.

After canvasing for tips to resolve this the most favoured technique seemed to be a light airbrushing to 'smooth out' and tone down the over contrasty highlighting I had done. So I tried it and here's the result...


I am very pleased indeed. You can still make out the underlying weathering and highlighting but it is much more subtle now. All I did was to airbrush Vallejo Matt Black very lightly over the top.

The trick seems to be to stop airbrushing while you think it is just not quite as dark as you think you want it and leave it to dry. When you check it again when dry it probably is exactly the shade you were actually going for! (Does that make sense?)

Anyway, that major hurdle (for me) overcome I can now continue to finish off the model and produce the final movie slideshow.


Sunday, 10 May 2015

Airfix 1/72 'Tilly' utility vehicle - mini-update

As the current work on the Tilly is somewhat involved - for a someone of my meagre experience - I don't yet have a full set of photos to make the latest slideshow. But I did want to show that I have made some progress, so here's a snap of the latest state of play...


The canvas tilt cover looks a little messy, but this is because I have just applied the oil paint weathering - which gives it it's patchy look. The next job is to smooth this out and tone it down, though I'm not sure about the best way to achieve this (subtle airbrushed layer or maybe charcoal powder or a wash maybe).

Tuesday, 5 May 2015

Featured work - East Neuk Model Club 1/72 Airfix 'Hawks'

Been a while since I did a featured work post but this one has particular relevance to my main current project - the Airfix 1/72 Curtiss Hawk (in Tomahawk IIA guise). I have been following the excellent 'MakingModelsAgain' YouTube channel (highly recommended) and was very excited to find that he was involved with a club build of the Airfix Hawk.

Well, his club - who are obviously far more committed modellers than I am - finished their group project and a video of the results has been duly posted...


A little depressing as they ALL put my meagre effects to shame (even though mine is not fully completed yet) and they all show some wonderfully creative weathering effects for this aircraft.

Still, has given me some ideas! :)

Friday, 1 May 2015

1/72 RAF Tomahawk IIA Diorama - Part 1


As my Airfix Tomahawk and 'Tilly' utility vehicle models near completion my attention turns to the diorama I plan to make for them. My idea was to create a pretty simple - and small - airfield scene with the 26 (recce) Squadron Tomahawk being serviced by ground crew...Which begged the question, where do I get the 1/72 RAF ground crew figures from?

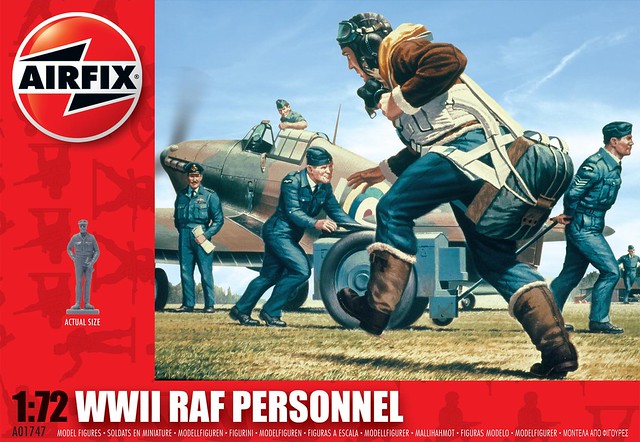
Annoyingly the Airfix 'Tilly' vehicle doesn't come with any crew - not even a driver. So I had to start from scratch - luckily Airfix makes it's own 1/72 'WWII RAF Personnel' figure set (which explains why their vehicles don't come with a crew - they want you to buy this set).


I did look around for alternatives and there are some individual white metal figures and some very plastic expensive Czech 3-figure sets, but neither were right for me. Revell, on the other hand, do a very nice hard plastic set, similar to the Airfix one in theme, but it focuses more on the pilots than it does the ground crew.

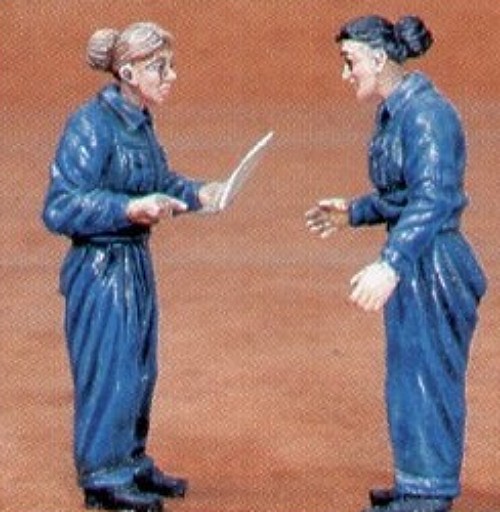
Left: One of the optional figure sets I looked at was some lovely figure models by the Czech Master company. But at £8.50 for just 3 figures this was a bit too expensive for me. The photo shown is, however, two of their excellent WAAFs, which would make terrific subjects for a diorama.

To be honest I would have preferred to have used the Revell set, aside from being he right price and the right number and variety of figures it was also made in hard plastic. The Airfix set is the same soft plastic they use for their other 1/72 military figure sets. Catch 22 - but in the end it was ground crew I was after and the Airfix set had a greater variety (if you need pilots, however, do try the Revell set).
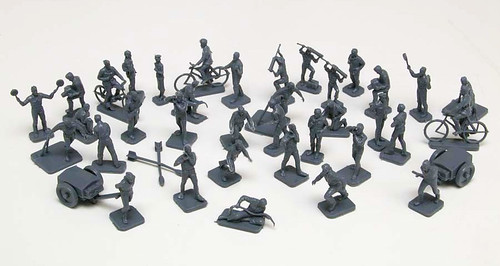
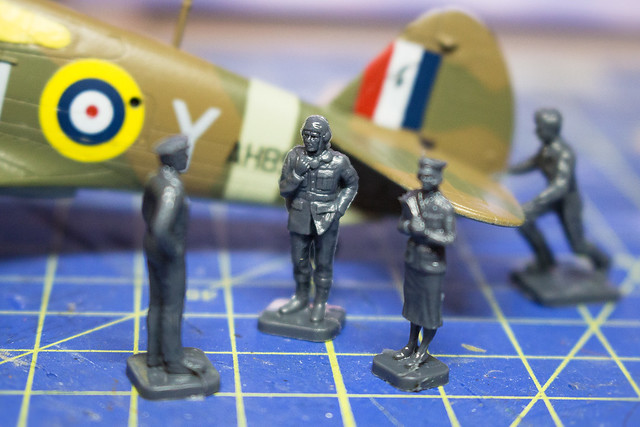
The Airfix 'WWII RAF Personnel' set has great variety of ground crew in a number of poses.
Another reason I went for the Airfix set is that it had two particularly nice and unique figures; a WAAF (female RAF personnel) and - importantly for my diorama theme - a ground crewman who was posed with the sort of reconnaissance camera that my army co-operation Tomahawk would have been equipped with.
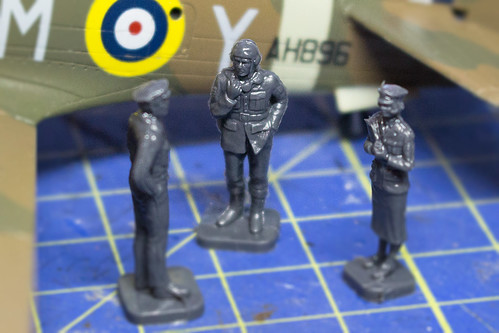
Despite it's issues the Airfix set does contain some very nicely posed figures. The detail and
sculpting is very lifelike - if somewhat stiff - and so it's worth persevering with.
Plastic not-so-fantastic!
Now, the reason I prefer to avoid soft plastic figures is because they can be a nightmare to 'clean up'. Even the better quality ones - and the Airfix figures counts among these - suffer from a varying degree of flash and moulding seams. Trimming off this extraneous plastic is a bit of a pain as you cannot simply sand soft plastic parts smooth.

Soft plastic tends to 'fray' if sanded or filed, so any superflous plastic left over from the moulding process has to be very carefully shaved off with your sharpest craft-knife blade. But even then seam-lines can be left behind so the problem becomes one of how to get rid of these pesky blemishes.

I have decided to experiment with heat. Either by using a heated needle or by using liquid poly cement I hope to carefully melt the soft plastic and so smooth out and seams and plastic remnants.

Next: I pick my crew and experiment with different ways to get rid of soft plastic flash.

Useful links:

- Plastic Soldier Review: Airfix, Set 0174 - R.A.F. Personnel

Plastic Soldier Review: Revell, Set 02401 - Pilots and Ground Crew: Royal Air Force