 |
| Airfix's Austin K2 in just 5 stages! Oh that's so nice! (Note: In this example of the instructions stage 2 and 3 have been swapped. It works either way though!) |
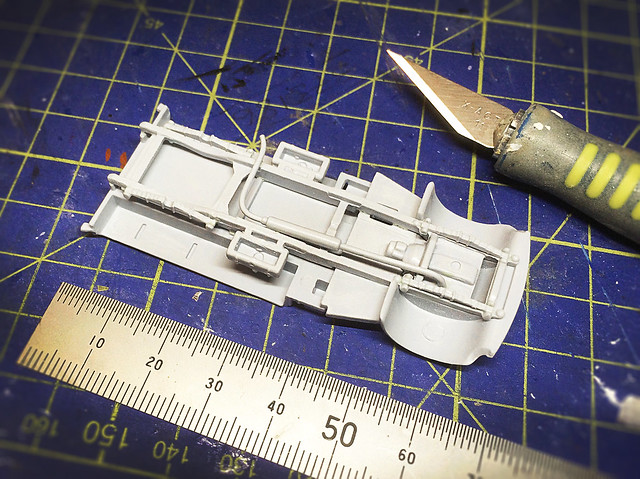
The chassis went together very easily, there were only seven parts and there were no fitting issues. Well, aside from a bit of confusion about whether the exhaust assembly sat above or below the drive shaft...
I did a bit of trawling around the web and I plumped for laying the exhaust over the drive shaft. The few examples of this build that I found also went for this configuration. Note that I have only fixed the wheels on temporarily with some BluTack, I want to remove these for painting and weathering the chassis.
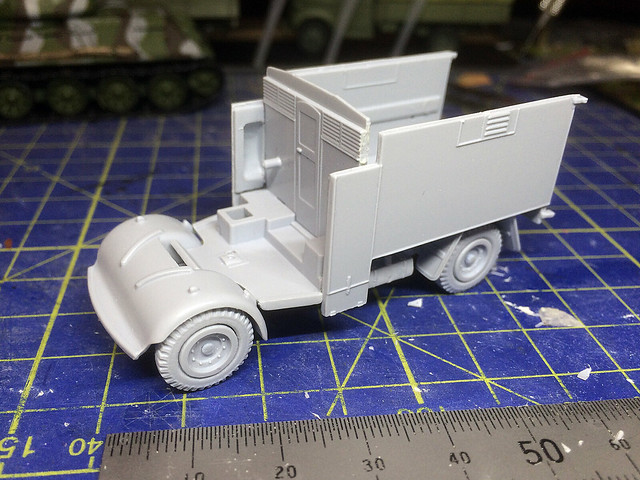
The third stage turns the chassis over and you begin to work on the body, beginning with the ambulance's rear compartment walls...
Things got a little tricky at this point as the fit of the side walls (particularly on the driver's - right - side) was a little shoddy. I had to trim and shave off some of the the wall next to the driver's seat to make it fit. But that was easy!
I'd just like to point out that this kit has been around for a while and is very popular. As such there are plenty of examples of builds on the web which show how you can add additional detail to the basic kit to make it more realistic. Also there are some accessory sets available for it, if you really want to push the boat out (Wee Friends has better wheels for example). But I'm happy with the basic kit.
Well, that's all for tonight. It's been a good start and it's been really nice to be building an Airfix kit. I'm enjoying this one (...you listening Yag-6)!
Next: Now I try adding the Bedford bonnet and grille...And the cab.


No comments:
Post a Comment