I still wanted to do some tinkering with the rust effects that I had applied. I had - until now - only used one rust weathering medium which was AK's 'Light Rust', which is very orange. It seemed to me to be a bit extreme on it's own as there was no variation in rust tones - no 'old rust' or metal about to rush - which I think would be subtler tones in darker or more restrained rust red colours.
A technique I had used in the past which I thought worked exceedingly well with Olive Green or Russian Green vehicles was a plum red colour...
 |
| A mixture of several Vallejo colours - purples and reds plus dark grey - make this dark plum. I use this for chipping touches on green vehicles to give the impression of mild surface rusting. |
 |
| Added in tiny spots over dark grey on this KV-2 the plum colour adds a very subtle impression of metal which has been exposed to the elements. |
Anyway, onto the base...
I've been through the description of just how I do my war gaming bases for my Finnish project vehicles so I won't elaborate, and I think I have perfected my technique for this element as much as I want to. I've maintained a fairly simple formula so that all the vehicle bases in the collection look similar...
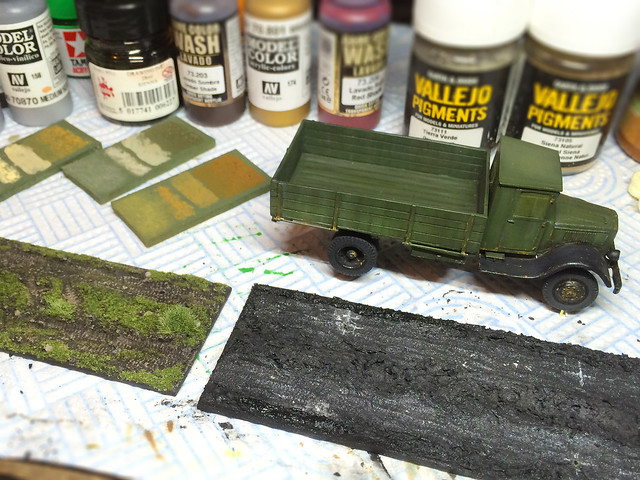 |
| On the left is one of my previously completed bases so I can check to make sure my colouring of the new base is consistent which the ones I have already done. |

Well, that's about it - both the truck and it's base are just a few touches away from completion. The next time you see this Yag will be when I publish the final photographs...
I'm really sorry this has been a project of endless moaning - I'm not satisfied with this model on so many levels (and I certainly cannot recommend it to you). If I ever wanted another Yag-6 I am fairly certain that I could make as good a job - if not better - scratch building one. I certainly feel that I have done so much scratch work on this model to 'fix it' that I might as well as well as started from scratch from the beginning. What a shame - I was so looking forward to making this truck too. :(
Next: The completion photos.
No comments:
Post a Comment