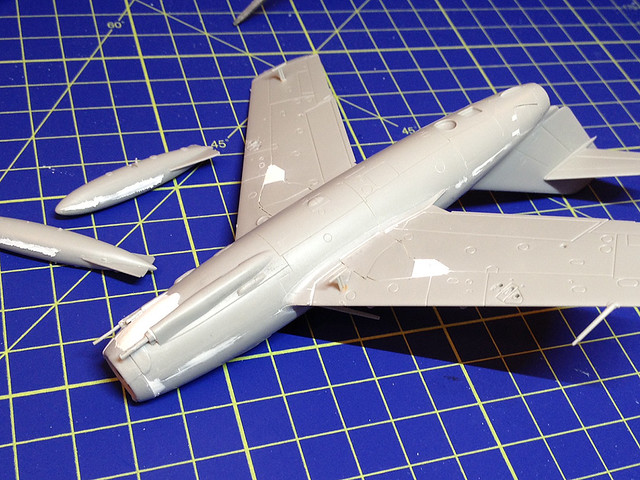
Bugger. After sanding down the seams of my MIG-15 I thought it would be a quick job to stick on the last few parts so that it was ready to spray on the first coat of paint...No!
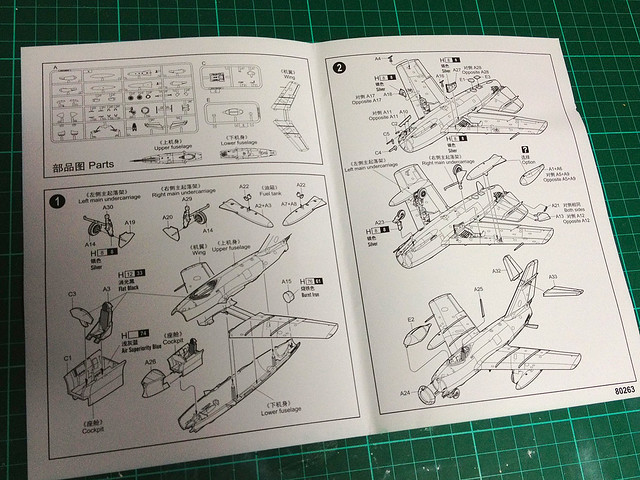
The Hobby Boss kit was designed to be made exactly as it is shown in the instructions, with undercarriage down and air breaks open. The parts are not designed to offer an alternative fitting.
So, the undercarriage covers are not the same shape as the 'holes' they should fit into! And neither are the air breaks.
The photo above shows how I have managed to file and re-shape the undercarriage covers to fit into the wells in the 'closed' position. Even so, the last small cover does not fit at all and I will have to fill this space with some Milliput putty.
The air break covers will have to be filed down to fit flush and have it's hinges removed. Again I will have to do some additional filling with putty.
The curse of cheap kits...So I will not get this done in a weekend. What a surprise!
Edit: Job done, this pic gives you a better idea of what I did to fill the undercarriage wells where the 'doors' supplied didn't fit. There was also some additional filling here and there, not a big job but, of course, I needed to leave his for a day to dry...
Diary of a novice scale model maker and his adventures in the wacky world of Braille Scale.
Sunday, 30 June 2013
Saturday, 29 June 2013
MiG-15 - Day 2
First hic-up in my plan to complete a kit in a weekend - a big enough task for someone as obsessionally methodical as me - was that I suddenly realised that this weekend featured Armed Forces Day!
So, I am already well behind in my own schedule. I had to crack on pretty nippy when I got home...
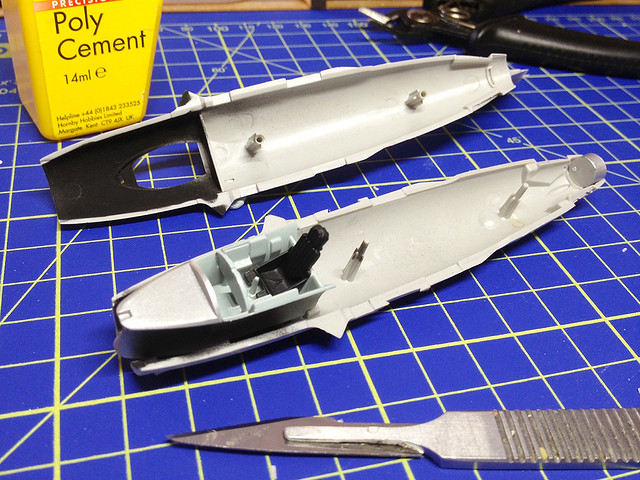
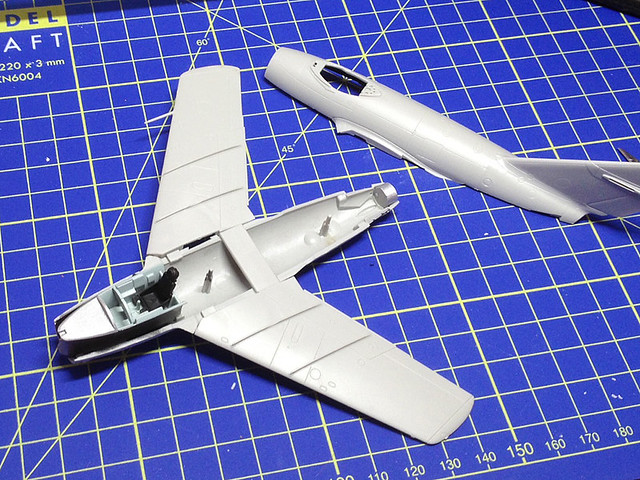
There isn't much to the cockpit and I have read about others online who have taken the time to accuarize this, but I don't have time or the inclination. I did paint inside areas that would be visible from outside the aircraft. Now let's get the wings on...
The Hobby Boss kit's fuselage is split in a unconventional top/bottom arrangement. The usual left/right split means that you have a seam running down the back of an aircraft kit, the Hobby Boss instead has the seam running along the side of the body. I actually prefer this, it means it's easier to hide.
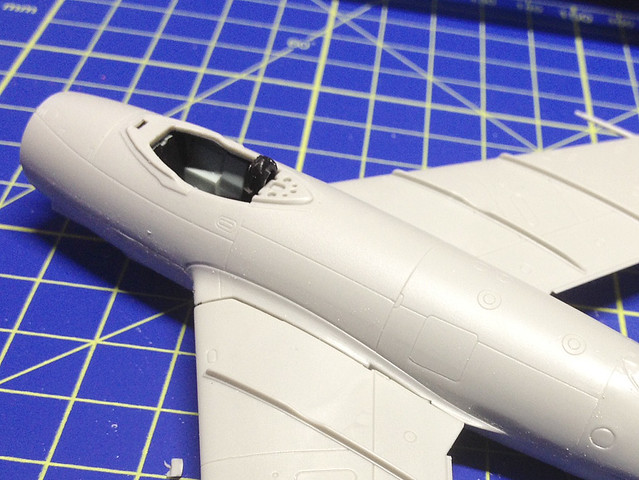
You are still going to have to get the filler putty out though as there are some large gaps at the wing roots, and the fuselage seam will need some attention as well...
Filling done I shall now have to wait until tomorrow to sand down and attach the last of the components.
...So, the end to a very busy and entertaining day. I'm pooped! Let's hope I can make up some of the lost time tomorrow, I'm aiming to get the paint on by lunch.
 |
| The Red Arrows over Scarborough - just one of the highlights of a spectacular Armed Forces Day. |
So, I am already well behind in my own schedule. I had to crack on pretty nippy when I got home...
There isn't much to the cockpit and I have read about others online who have taken the time to accuarize this, but I don't have time or the inclination. I did paint inside areas that would be visible from outside the aircraft. Now let's get the wings on...
The Hobby Boss kit's fuselage is split in a unconventional top/bottom arrangement. The usual left/right split means that you have a seam running down the back of an aircraft kit, the Hobby Boss instead has the seam running along the side of the body. I actually prefer this, it means it's easier to hide.
You are still going to have to get the filler putty out though as there are some large gaps at the wing roots, and the fuselage seam will need some attention as well...
Filling done I shall now have to wait until tomorrow to sand down and attach the last of the components.
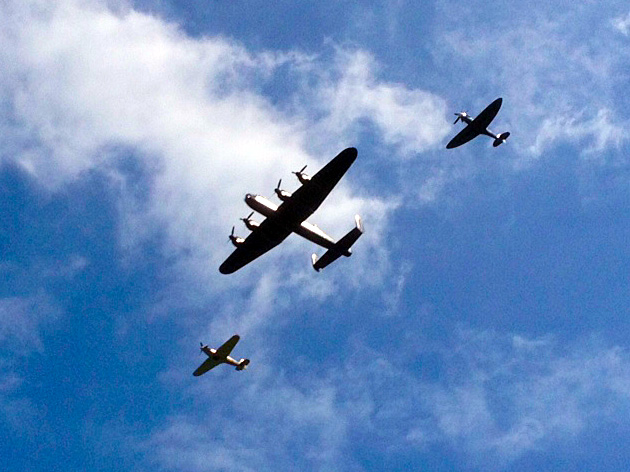 |
| The Battle of Britain Flight over Scarborough |
...So, the end to a very busy and entertaining day. I'm pooped! Let's hope I can make up some of the lost time tomorrow, I'm aiming to get the paint on by lunch.
Friday, 28 June 2013
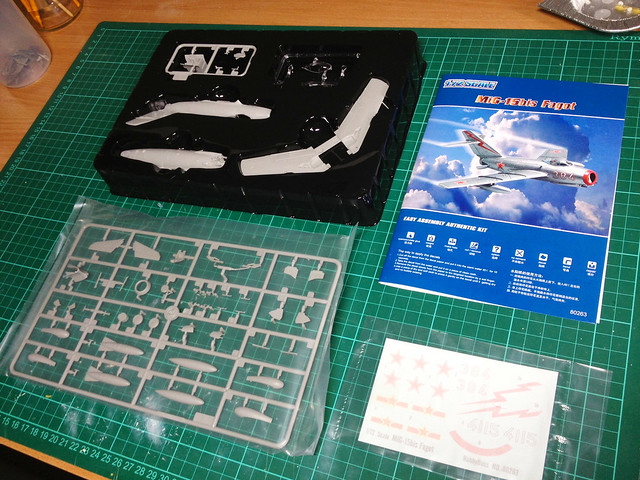
Something for the weekend? Hobby Boss MiG-15
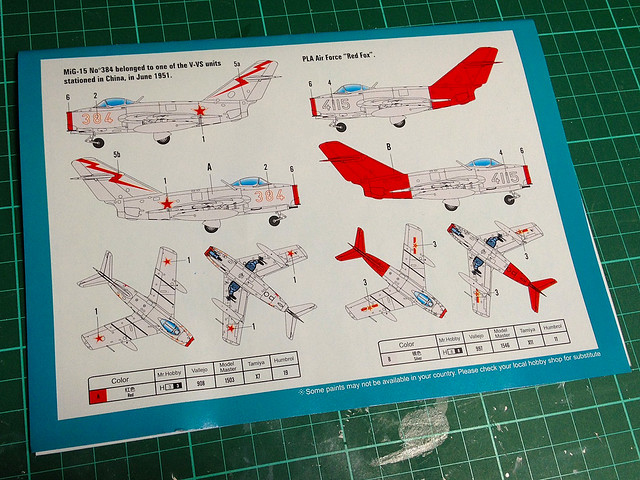
Another chance find, this Hobby Boss 'easy build' MiG-15bis was on the sale shelf of a local store and so - as it was pay day - I snapped it up.
While I learned quite a few things when I built my Tamiya IL-28 the painting left me with a lot of questions, particularly about weathering. So, this cheap kit gives me the chance to explore some of the things you can do with aircraft's finish.
So this weekend I will be playing about with this...
Let's see how much I can get done in a weekend.
Monday, 24 June 2013
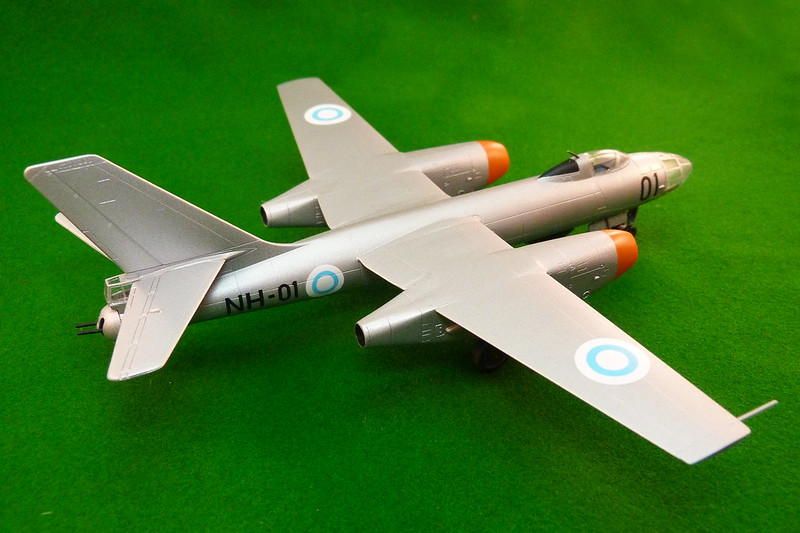
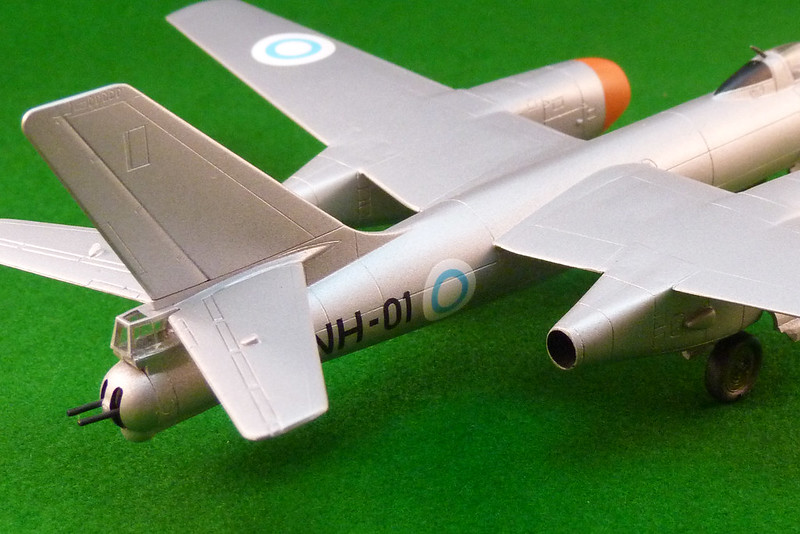
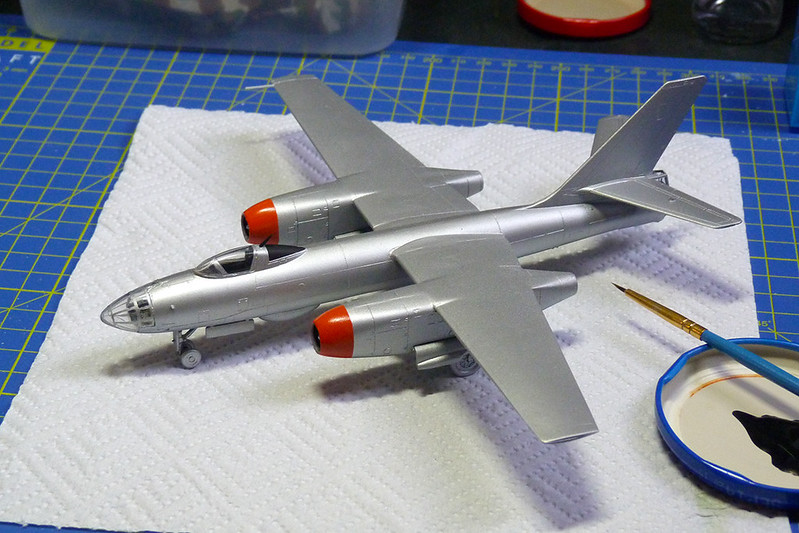
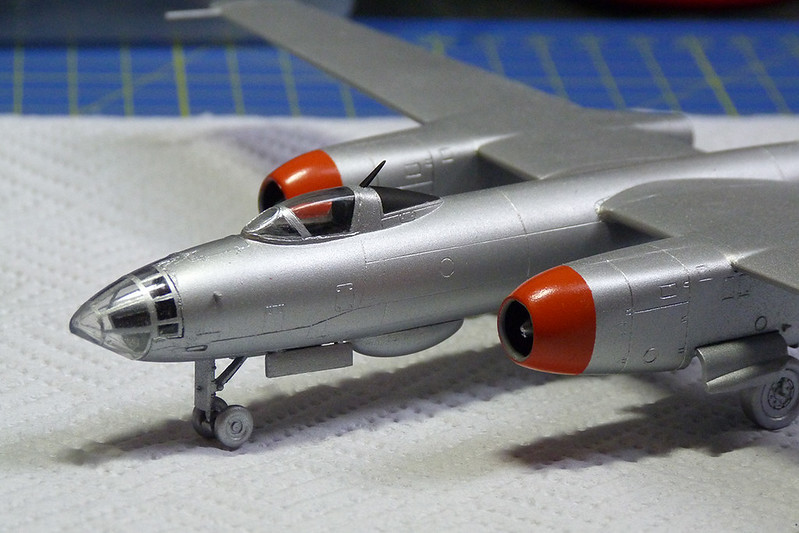
IL-28 Beagle - Finished
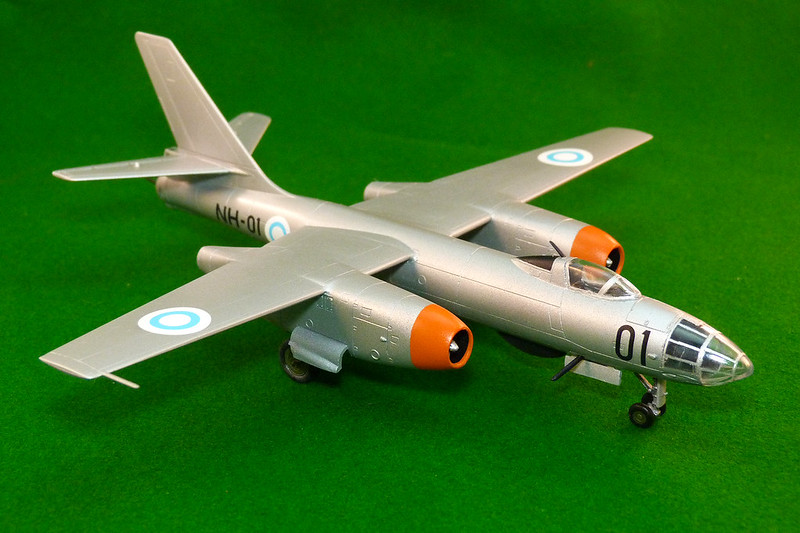
Well, it's as finished as I want it anyway. It's been enjoyable and I have learned quite a few new things...
There are quite a few mistakes, but they were very useful mistakes and I was glad to make them on this practise kit rather than on the model I have in mind after this.
I am still unsure about weathering aircraft though, the metal look on this seems to look nice pristine but I guess I could have at least put the panel lines in. Maybe on my next practise model!
Edit: And warning! One mistake I made was destroying one of the decals (hence no port or front on snaps). While the Tamiya decals go on beautifully - they seem extra thin - with no noticeable silvering they did NOT like MICRO SOL decal solution at all!
MICRO SET was OK, but it seems MICRO SOL is a tad too harsh for the Tamiya decals and it actually melted the large port side aircraft number. You live and learn.
Sunday, 23 June 2013
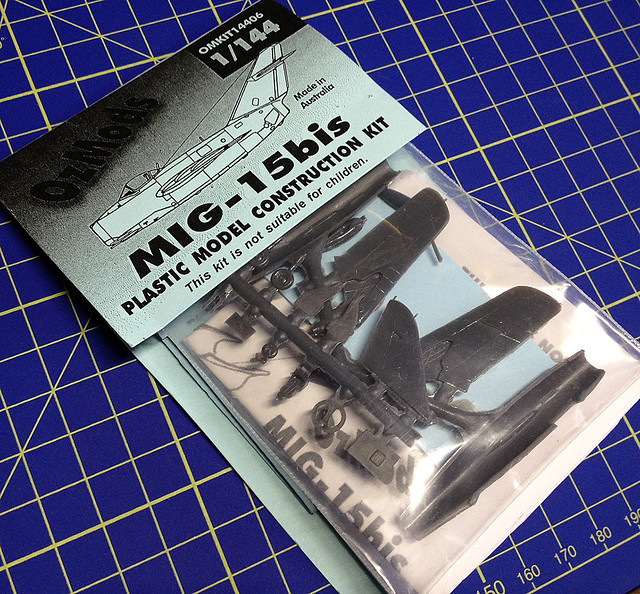
In the que...OzMods 1/144 MIG-15bis
And the reason for my IL-28 experiment is...
I was given this little kit by a friend at work. I was very excited about it as its one of my favourite planes and I intend to make the best job of this model as I possibly can (hence the practise with the Beagle).
I was given this little kit by a friend at work. I was very excited about it as its one of my favourite planes and I intend to make the best job of this model as I possibly can (hence the practise with the Beagle).
Thursday, 20 June 2013
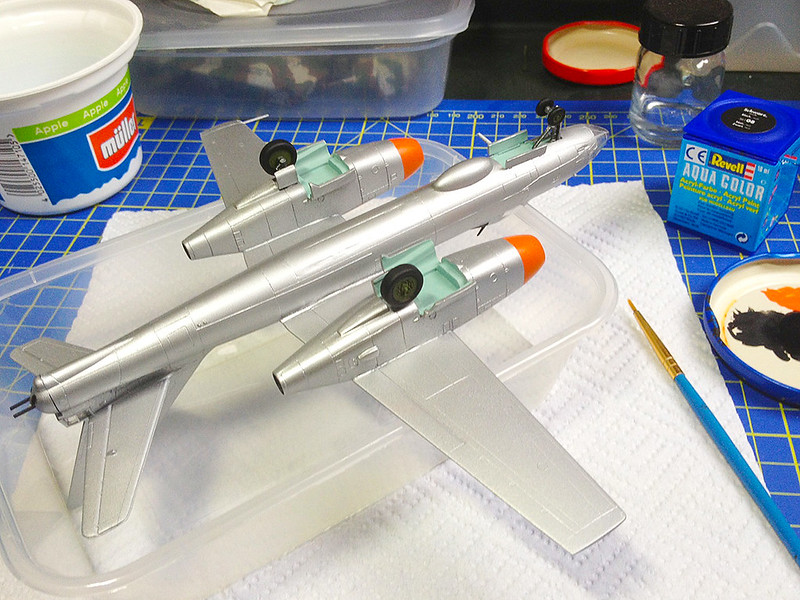
Beagle undercarriage painting
The last little details painted before I spray on the gloss coat...
...That was part 14 for anyone who is still keeping count! :)
...That was part 14 for anyone who is still keeping count! :)
Wednesday, 19 June 2013
1/100 Tamiya IL-28 Beagle - Part 11...Painting details
Started painting the details today...
Don't look too closely (please) as some of my boo-boos will become obvious. Doing an aircraft turns out to need a whole new set of modelling skills and applied in a different way than those I have gained modelling vehicles.
To be frank, there is a lot you can hide behind 'weathering'! But planes look better pristine (in my opinion), so no fudging by adding some convenient bumps and scratches or rust and mud.
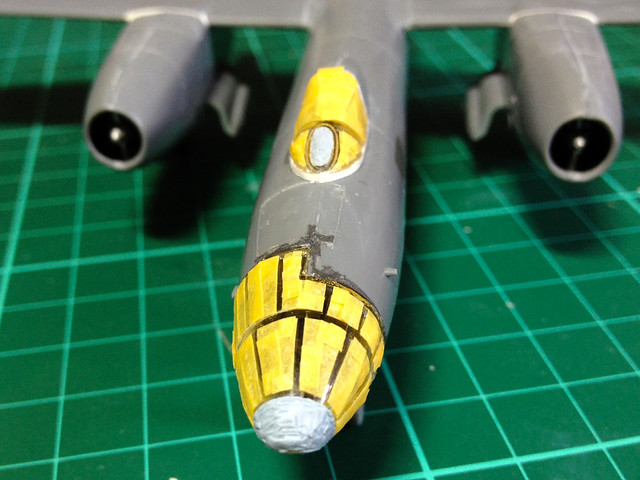
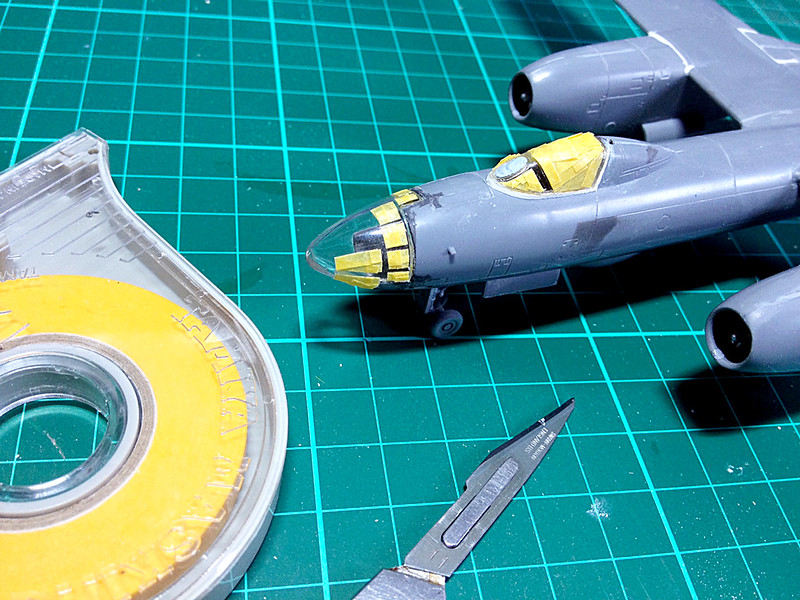
Anyhoo, there were some positives too - the masking of the nose canopy worked to a degree and some of the work I did with my sanding and filling worked out well. But I do think I need to explore finer specialist modelling abrasives for finishing off.
Next: Finishing off the details and re-masking the canopies before applying the gloss - pre-decal - coat.
Monday, 17 June 2013
1/100 Tamiya IL-28 Beagle - Part 10...First coat.
Having masked off everything I could think of...
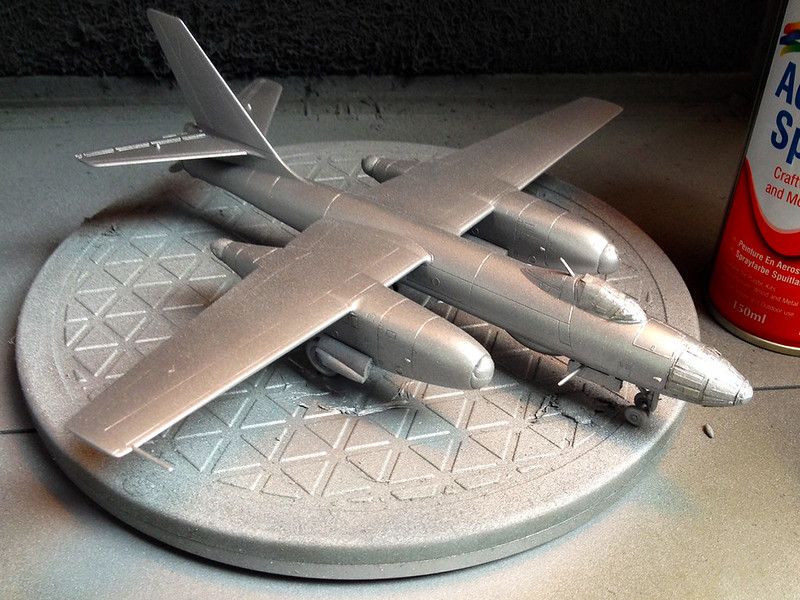
Then it was finally time to bite the bullet and spray the first few coats of the Humbrol silver. The moment of truth...
And the sad news that despite all the fuss I made over filling and sanding some of my seams are still visible Pah! That will teach me to think that I knew what I was doing, there's obviously a knack to this. :)
Next: Painting the details before glossing for decals.
1/100 Tamiya IL-28 Beagle - Part 9...Yawn!
OK, I know you will be tiring of this as much as I am but hopefully once I get past this bit of the model making things will speed up again...
You will probably have guessed that this wasn't my favourite process - I kept finding excuses to do other stuff instead! :)
You will probably have guessed that this wasn't my favourite process - I kept finding excuses to do other stuff instead! :)
Saturday, 15 June 2013
1/100 Tamiya IL-28 Beagle - Part 8, Canopy masking
Just a tiny update on this project as I haven't mentioned it in a short while. Basically I am at one of those very monotonous and time consuming stages, masking the canopy.
Now this very well might be my fault as I am playing this one by ear, I am not sure if I am doing this properly at all. Fingers crossed though. Once I have masked out the complicated nose canopy framework I will start giving the model it's first light coats of Humbrol's spray metallic acrylic.
Now this very well might be my fault as I am playing this one by ear, I am not sure if I am doing this properly at all. Fingers crossed though. Once I have masked out the complicated nose canopy framework I will start giving the model it's first light coats of Humbrol's spray metallic acrylic.
Wednesday, 12 June 2013
World of Tanks milestone - Tiger I
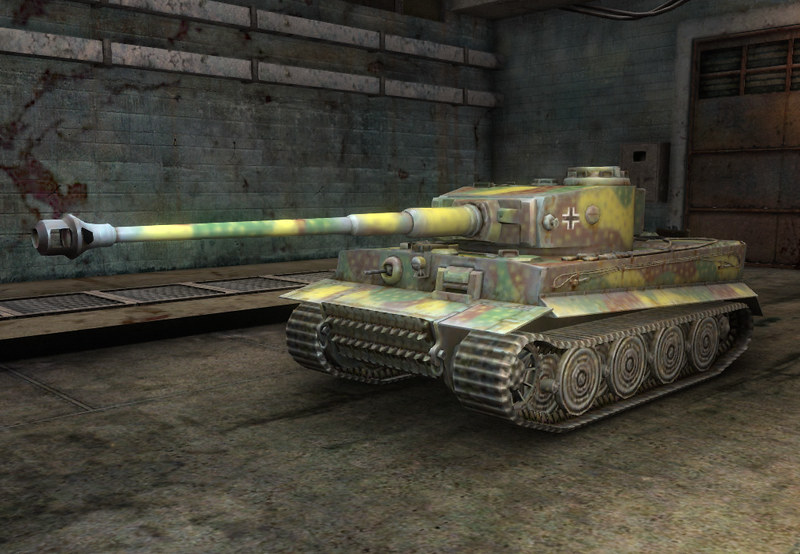
I know this is off topic, but I achieved a bit of a milestone in World of Tanks - I earned my Tiger I tank!
World of Tanks isn't - in case you don't know - a tank warfare simulator, it's a bit more action orientated than that. But it does have a huge selection of historic tanks and also a bevy of 'what ifs?' which either didn't get off the drawing board or only made the prototype stage.
The scope of the game takes in a rather wide and exciting period of tank design, from the late 1930s to the mid-1950s. So you have the amusing possibility of playing anything from a Panzer I to a Centurion!
Anyway, as I say - I include this on my modelling blog as it is a bit of a milestone for me and I wanted to share the pretty picture! :)
My World of Tanks Flickr photo album can be accessed via this link: Milgeek's World of Tanks
Tuesday, 11 June 2013
Featured work - Pier's 21st Panzer group
One of the reasons I started my Finnish army project is because I wanted not just to create the look afforded by a single finished model but the combined effect you achieve when you build a collection of themed models together.
I admit this was probably too ambitious for a beginner and I should have done a lot more individual models first as thinking long term and 'big' has really slowed down my ability to show completed models. This is because I have about a dozen or so Finnish vehicles on the go at various stages of completeness.
Anyway, while this is a little disheartening - and the reason I have decided to take a more pragmatic 'one on, one off' approach to projects (one Finnish projects followed by one randomly unrelated kit, e.g. my IL-28 Beagle) - Piers over at the World War 20mm blog has reminded me why I am struggling to create a collective look...
You can see more of Piers wonderful 21st Panzer collection here: World War 20mm - Panzer Oddities
I admit this was probably too ambitious for a beginner and I should have done a lot more individual models first as thinking long term and 'big' has really slowed down my ability to show completed models. This is because I have about a dozen or so Finnish vehicles on the go at various stages of completeness.
Anyway, while this is a little disheartening - and the reason I have decided to take a more pragmatic 'one on, one off' approach to projects (one Finnish projects followed by one randomly unrelated kit, e.g. my IL-28 Beagle) - Piers over at the World War 20mm blog has reminded me why I am struggling to create a collective look...
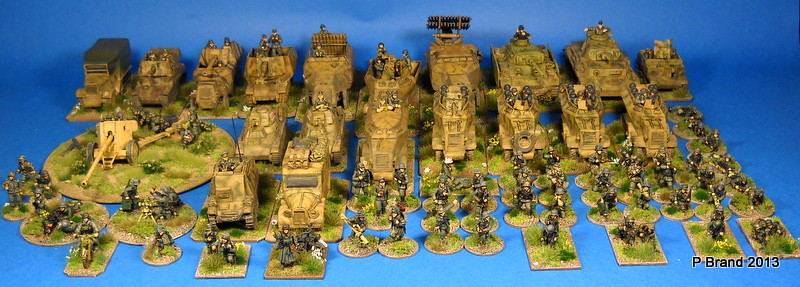 |
| Click on image to enlarge |
You can see more of Piers wonderful 21st Panzer collection here: World War 20mm - Panzer Oddities
Monday, 10 June 2013
1/100 Tamiya IL-28 Beagle - Part 7, Canopy
Arrrrrrggggg! After all the care I tried to take I checked my canopy yesterday only to find a big spec of dust or something on the INSIDE of the main canopy...How it got there I do not know, I checked when I did it but must have been tired or something. Anyway, I missed it and I had to take off the cockpit canopy again to remove the dust ...
Additionally, despite having checked, the fit of the main cockpit glass isn't as good as I thought, so after removing the spec I glued it back on and then had to use some Milliput around the bottom of the canopy to make a perfect seal.
Bah!
Additionally, despite having checked, the fit of the main cockpit glass isn't as good as I thought, so after removing the spec I glued it back on and then had to use some Milliput around the bottom of the canopy to make a perfect seal.
Bah!
Saturday, 8 June 2013
Stash addition - PST 1/72 ZIS-6 truck
With my IL-28 mid-way through I am looking toward what I will be doing next. I picked up this relatively cheap PST ZIS-6 truck which will end up being the engineering truck for my Rapid Fire! Finnish late war army HQ company.
I'll do a full box review later, but straight off the bat there are two things I like. PST supply solid plastic tyres and they also include additional parts by using the sprue parts from other of it's ZIS series truck kits that give you some nice spares for your scraps box!
(One down side is that they do not include clear plastic parts for the windows. But I can deal with that.)
Friday, 7 June 2013
Krystal Klear - fun with canopies
1/100 Tamiya IL-28 Beagle - Part 6
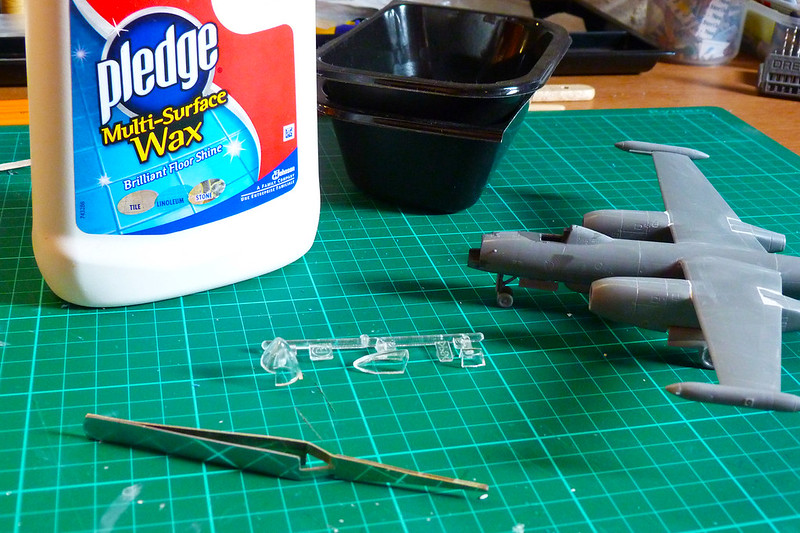
Any newcomer to model making who delves into the many and various modelling forum will soon read about Pledge Klear floor wax. It's one of those 'miracle' products that kit-making veterans swear by, but it took me a while to get my head around what it is and what it does...
Quick explaination: Plain old Johnson's Klear floor wax was a liquid acrylic varnish. In recent years it was re-branded as Pledge Klear, but is exactly the same stuff - except that it's now a cloudy liquid and is slightly scented (which has absolutely no bearing on it's effectiveness). Some bright spark found that it was a terrific and cheap substitute for specialist modelling acrylic gloss products. That's it.
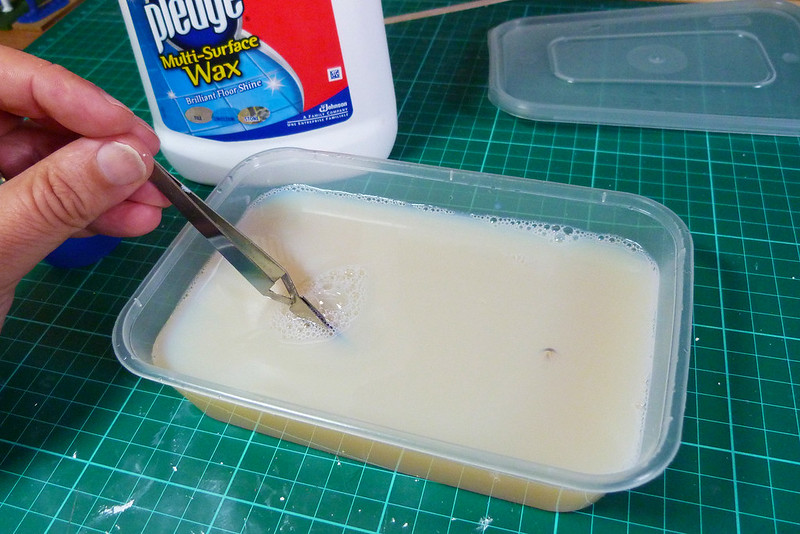
Anyway, in this context it does a very good job in protecting model canopies when you dip the model parts in a bath of the substance...It's a very easy process and will - I am assured - make the clear plastic parts shine and provide a barrier that prevents scratching prior to affixing or frame painting.
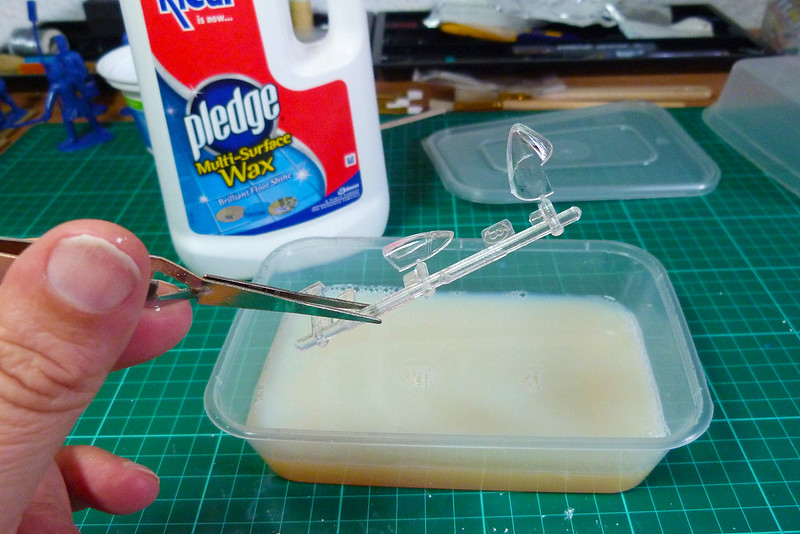 |
| A quick dip in a bath of Klear is all that is required. Immerse the parts completely for a minute or so, then remove and drip off any excess. |
The process for canopies is very simple indeed, just dunk your canopies in a little bath of the solution. Despite the liquid looking milky it does dry absolutely clear...
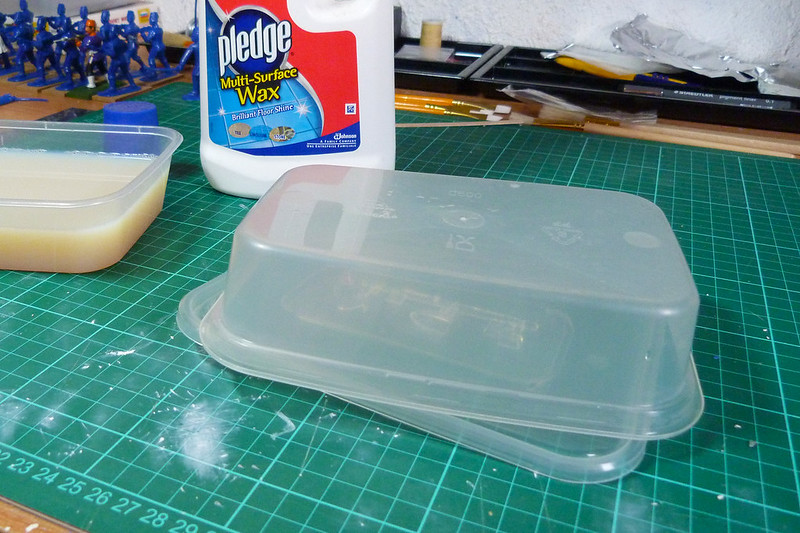
After a couple of minutes in the bath and dripping off the excess liquid you plonk the parts down on a clean base and leave to dry. A tip I picked up is to cover the parts with a lid or something like that to prevent dust particles or stray hairs settling on your still drying parts - just leave a gap at the bottom for the air to circulate...
Give the parts a good 3-5 hours to dry, or even better over-night if you can. Now they won't look that different - don't expect them to go 'ting!' with a TV advert type of sparkle - but the protective layer is there and it is, as it says on the bottle, perfectly Klear!
Personally I wanted this protection as I will be masking and over-spraying the canopy frames onto the parts, but the idea that my parts will retain this clear look despite moderate handling is appealing too (as I find clear parts pick up scratches and blemishes very easily).
Again, there are specialist products out there that do the same thing, but they are comparatively expensive. Klear is reasonably easy to pick up - I got mine for a fiver for a huge 750ml bottle from Amazon - and best of all you can reuse the liquid again and again by pouring it back in the bottle!
One last thing - Klear is also highly recommended as a model varnish, it can be diluted and sprayed on and works very well helping to seat decals. I have tried this and was very impressed...
So there you go. Pledge Klear, cheap and cheerful acrylic varnish.
Wednesday, 5 June 2013
1/100 Tamiya IL-28 Beagle - Part 5, Wheels down
Probably one of the easiest phases in this kit, the undercarriage went on without any problems. This is the first phase where I haven't found myself reaching for my modeler's putty!
At the same time I tried out a test fitting for the wing-tip tanks...
Well, just two minor pre-painting phases to go. The first is the construction of the rear turret and the second is the preparation of the canopies.
I already did a test fitting of the canopies and was pleased to find that they are quite a nice fit. So I can move on to the Pledge Klear dip (more on that later)...
There will also be a minor painting phase as I check all interior surfaces and give them a coat prior to the major overall silver coating. Things like undercarriage wells and nose interior and tail gunner interior surface will get a coat of mid-grey.
Monday, 3 June 2013
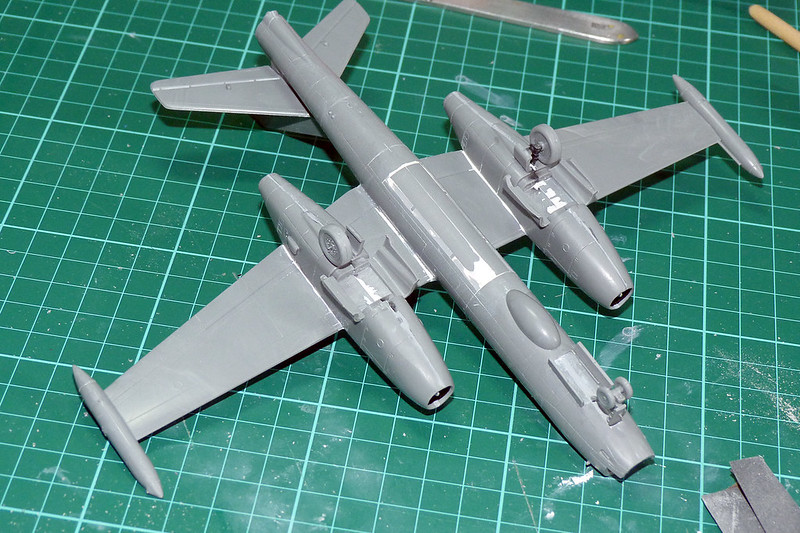
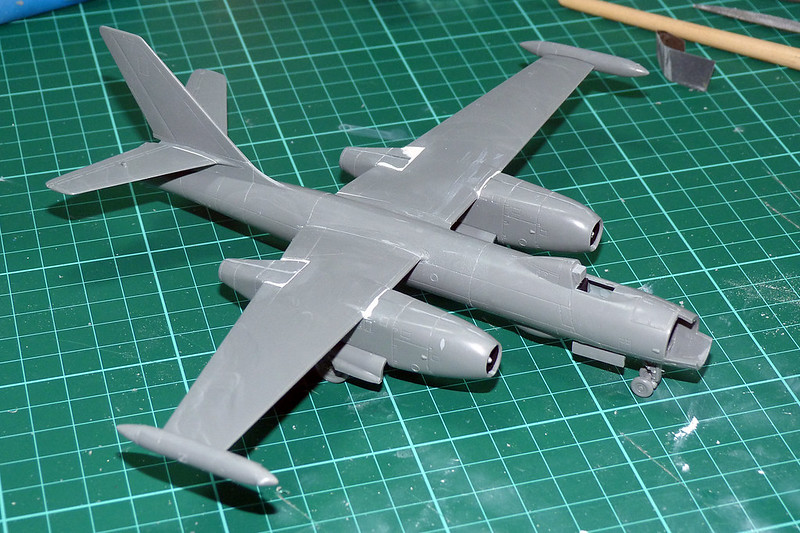
1/100 Tamiya IL-28 Beagle - Part 4, Winging it
While I want to get to the putting the wings on stage of my Beagle, I'm afraid there is even more filling to do first. There are a few noticeable gaps around the engine roots - where they meet the wings - and it's a job for the Milliput this time...
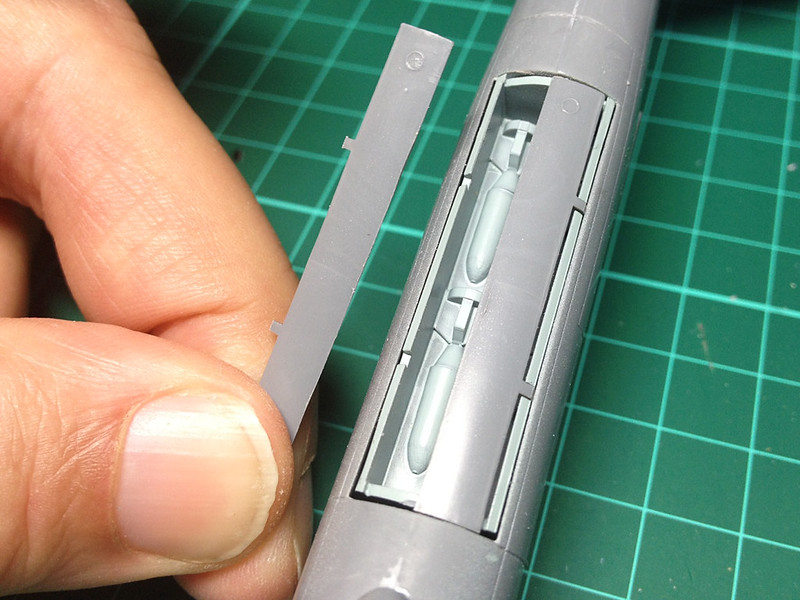
Additionally there are a few small gaps in the undercarriage wells so I might as well do the job lot in one go...
Putting these parts aside to set I had a look at the bomb door and it's much the same news, ill-fitting parts which need the attention of some filler...
That done it's on to the wings themselves. Again I expect to have to do some filling at the wing roots, early test installations showed a none too exact fit. I will also have to carefully level the wings as one of the wings seems to want to lean upwards while the other down!
Well, once the wing joins are filled that will be the main part of the construction complete. All that's left to do is the undercarriage and I do have the option to add the wing-tip fuel tanks. After this it is the scary bit...The main coat of metallic silver! (The canopies will wait until the main coat is done.)
Next: Undercarriage down!
Saturday, 1 June 2013
1/100 Tamiya IL-28 Beagle - Part 3, Mr. Surfacer
Smoothing seams is a bit of a speed bump in my progress with my Beagle. I suppose this part of the construction can take as little or as much time as you decide to dedicate to it...
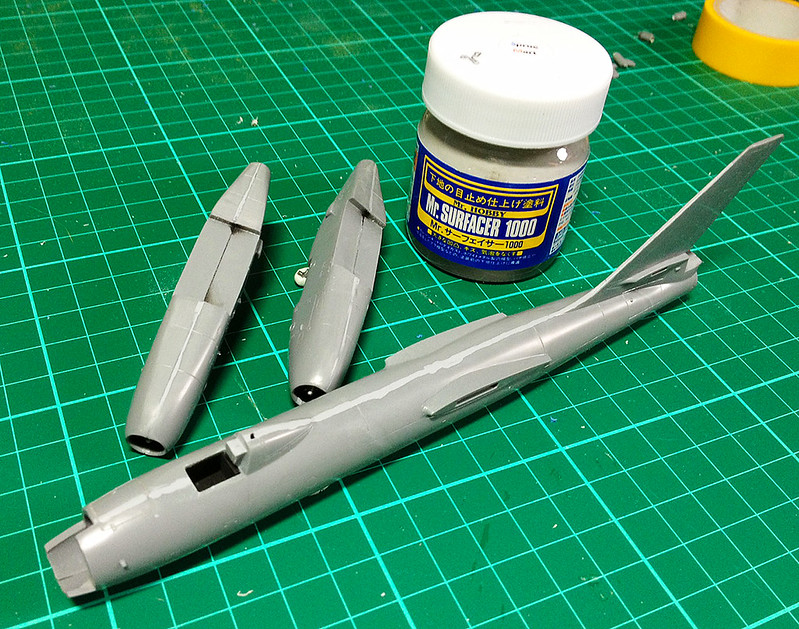
I decided to give a new product a go - Mr. Surfacer. I had heard a lot about this liquid filler and it's ability to fill in small blemishes and seams. It's a self levelling sludge (the only way I can describe it) which flows into bumps and cracks and settles there. Once dry you can sand it smooth.
First of all I filled down the worst of the overlapping seams with a needle file, then smoothed away the file marks with some very fine glass paper. And then I carefully painted on Mr. Surfacer in a smooth line up the seams (see photo of fuselage) before leaving it to settle and dry.
Once the filler had dried I checked to see if it had settled down into the blemish in which case I gave it a second coat of Mr. Surfacer and again waited for it to dry.
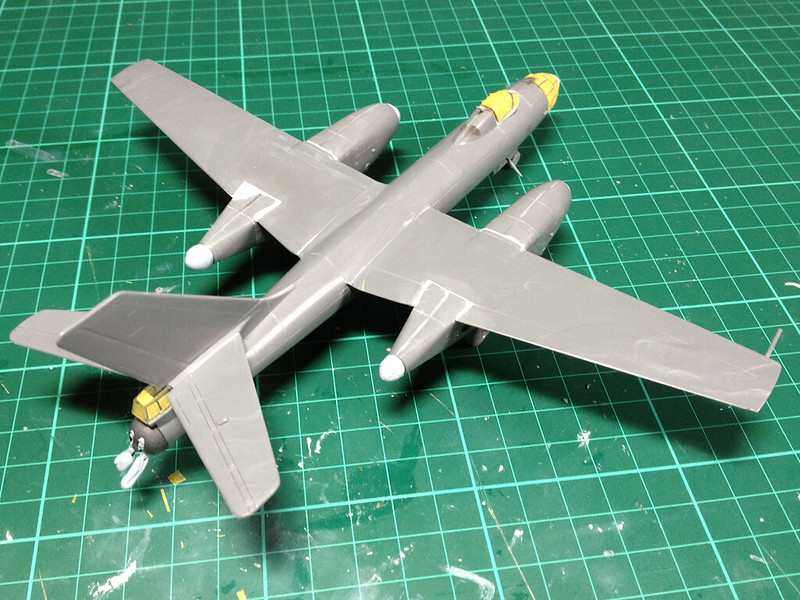
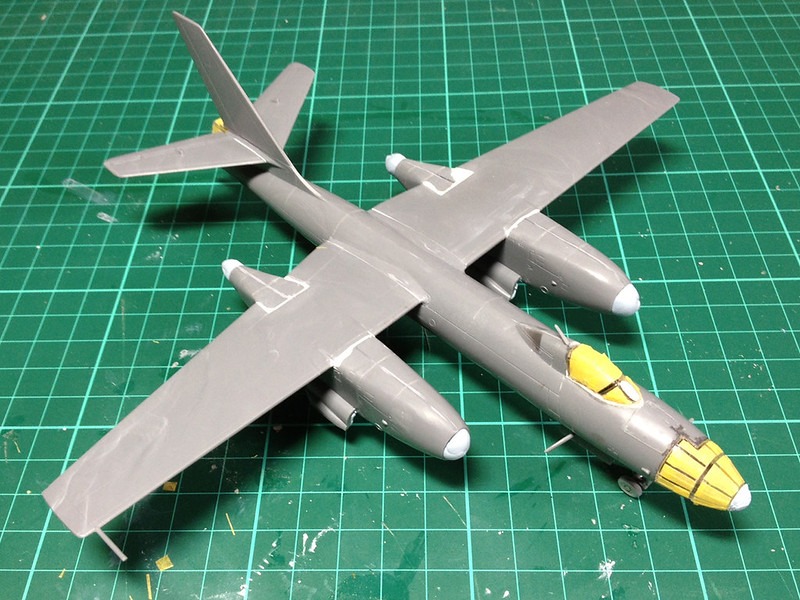
Finally I started to carefully file and then sand the new seam until I felt the join was smooth enough (see photo and the engine nacelles). I used the fingernail technique to tell me when the joins were 'seamless' by dragging my nail over the join - if it caught on an uneven seam then I continued to sand it.
Now, you may very well find that in smoothing away the areas around a join that you also sand off some of the detail - like the panel lines. There's nothing you can do about that, you will just have to try and use a scribe or sharp point to draw back on these details. Raised detail is another matter, for example there is a hatch on the nose which had a raised seam all the way around it which my sanding rubbed out a little...I'm still thinking about how I will correct this.
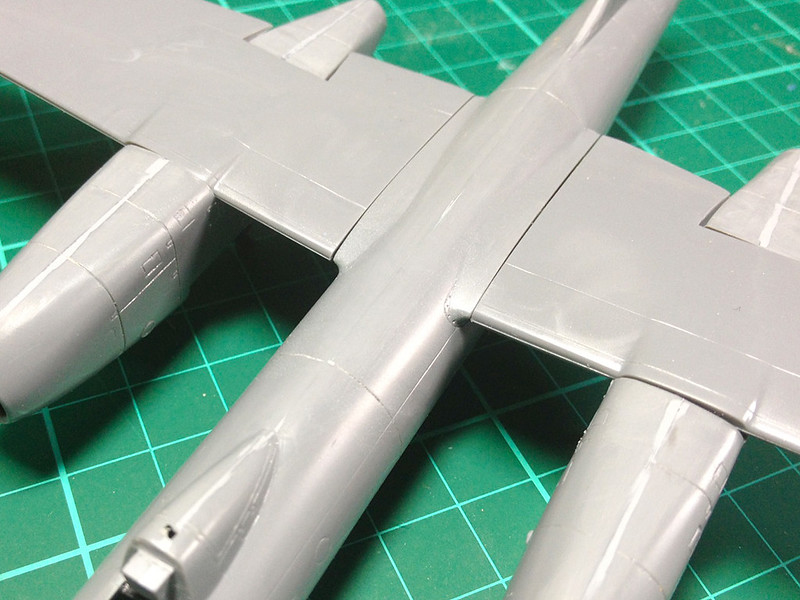 |
| Seams sanded I try out fitting the wings and discover that there will be more work ahead of me. But the central seam does look a bit better as does the joins on the engine nacelles. |
Anyway, you get the idea.
Mr. Surfacer - as opposed to my usual Milliput filling - is an interesting and useful material. Before I started using it I used to fill with Milliput and then use a wet brush to smooth down the filler, BUT Mr. Surfacer is self-levelling, more or less smoothing itself out. But, as usual with these specialist modelling materials, it is not the miracle stuff that some people make it out to be on some of the forums. It will not miraculously make defects in the model's surface disappear...That is all down to how much hard and careful work you do with elbow grease!
Subscribe to:
Comments (Atom)

