Showing posts with label X-Ref: HB/MIG15/0613. Show all posts

Thursday, 4 July 2013

Hobby Boss MiG-15 - Finished!

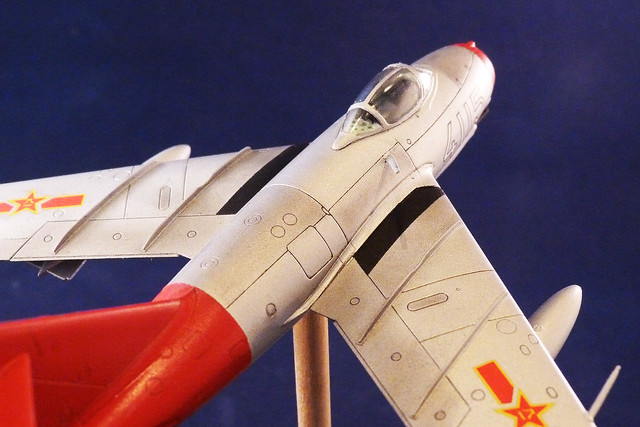
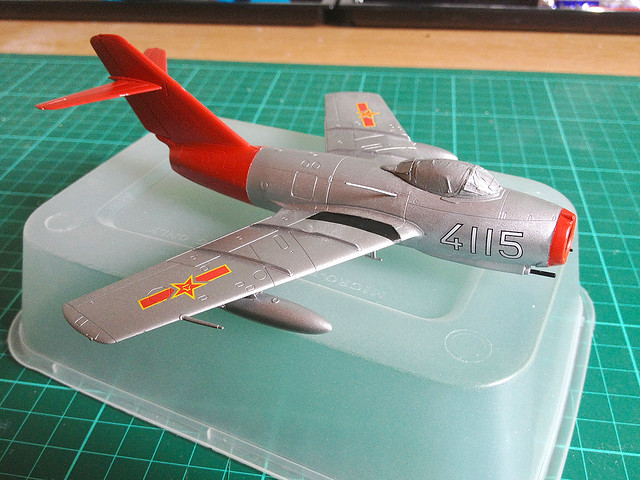
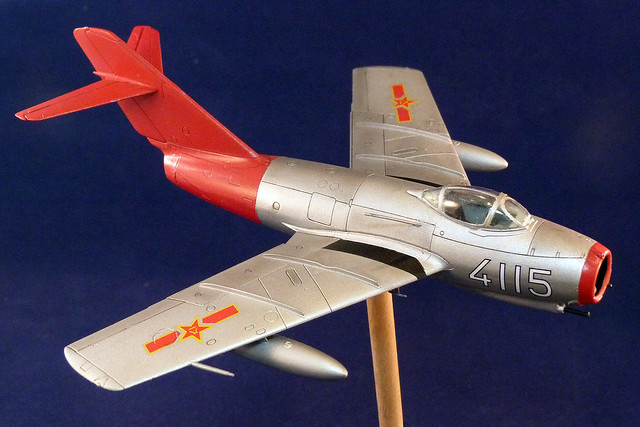
As much as this was just a practise model it's worth posting up the final result...


There are a lot of rough edges, and I admit that the stick doesn't do much for it, but the weathering looks OK I think. This was done with powdered conte crayon, dusted over random panels (though I did reference some photographs of the real thing).


The main thing I have learned? ...That I hate bare metal finishes! :)

 > Link to the full series of this MiG-15 Build <

Wednesday, 3 July 2013

MiG-15 adding Klear and decals

Things are getting interesting now as I come to the parts of the painting and decoration where I test new techniques. You may remember that the whole reason I undertook this model was just to experiment with aircraft finishing techniques? There were two things I wanted to practise:

  • 1. Using Pledge Klear as both a base for decals and as a sealant, sprayed on with an airbrush, and...
  • 2. Weathering techniques for aircraft

Well, today I try out the first of these operation - using Klear and adding decals.


Now I have already played with Pledge Klear as a brushed on base layer on which to apply decals and I have also used Klear as a dip for my clear plastic parts. But I have not airbrushed on Klear as a decal base before, in fact this is my first use of an airbrush in any of my modelling!

I hope to start phasing out my use of 'rattle cans' but I was a bit unwilling to pour something so sticky as Klear into my good airbrush so I bought a cheaper spray gun to use specifically for varnishing products. This is Revell's Starter Airbrush Set at £12.99 from ModelZone and it runs off compressed air cans.

In the above photo you can see the two household products that I want to try out with this cheap airbrush - Pledge Klear and Windolene. Klear is the acrylic lacquer of course, but Windolene was recommended as the best product to run through my airbrush after using Klear to clean it out (something about ammonia content apparently).

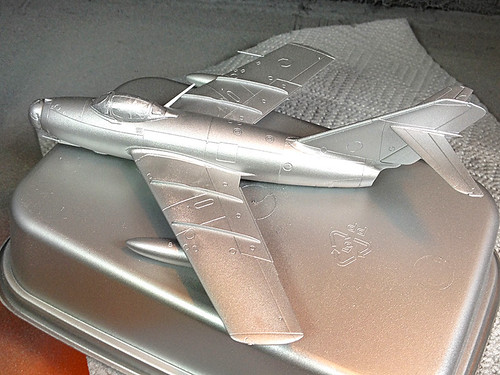
I used Klear neat through my brush as it is pretty runny anyway and I just sprayed on a very light coat. My tests on some plastic yoghurt pots that I sprayed silver showed that if you sprayed too much it tended to bead on the surface and run.

Hobby Boss decals...
So, having sprayed on my base layer of Klear I started to ad my decals, and here's where I hit my first problem. The Hobby Boss decals are - like the kit - very cheap. They are the glossy variety that I have come across before in an Italieri kit, only thinner.

They come off very quicky when dunked in water, but when I laid them on to my MICRO SOL pre-treated surface they immediately began to stick and melt!

These cheap decals reacted very badly to the Micro Sol and I would warn you against using this product with Hobby Boss decals - just use normal water with them and they will retain their water slide property for placement. With Micro Sol they stuck to the surface almost immediately and didn't want to shift again!


Next: Well, on to exciting part - the weathering. I accept right from the start that this is where things might go terribly wrong and I am prepared to right off this kit as an experiment (which is the reason I bought this cheap kit in the first place). Fingers crossed!
Tuesday, 2 July 2013

MiG-15 - first base coats

The base coats go on today, is it me of are base metal paint schemes a pig to work with?


The Humbrol spray silver started going all powdery on me, leaving a grainy residue. I'll be glad when I am confident enough with my airbrush to be able to dispense with rattle cans!

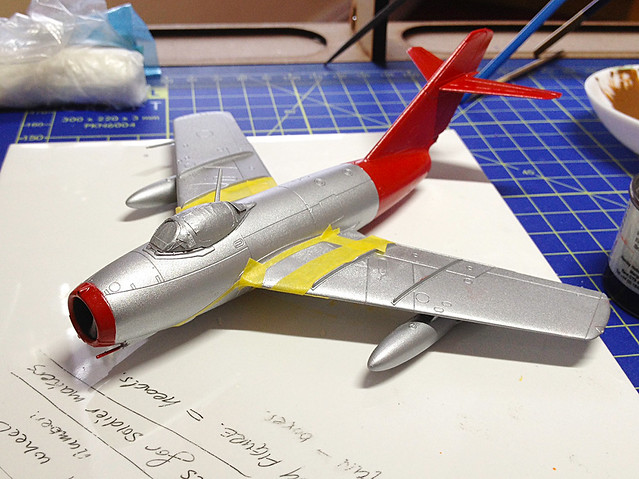
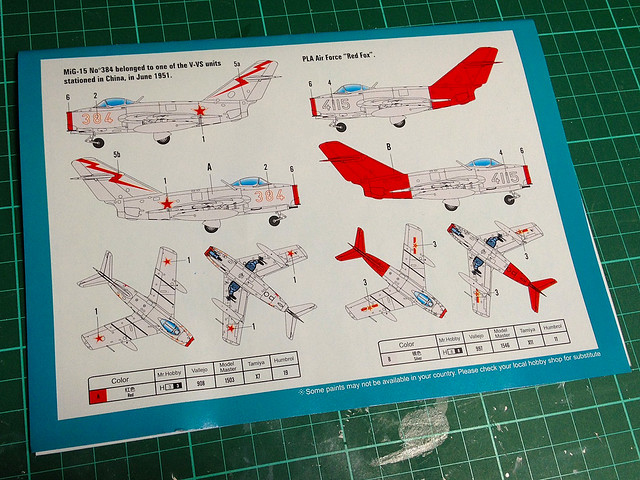
The next stage was to add the red accents, I have chosen to go with a Chinese air force MiG as it has a rather snazzy colour scheme...


This process is one dominated with a lot of masking. One of the things I have found very useful for masking odd shaped models is the kitchen product 'cling film'. It wraps round objects nicely and has a certain adhesion which means you can lay it down roughly where you want it. It's great for quickly covering large areas of the model...


Obviously this is an extreme example of my mad masking technique!

Monday, 1 July 2013

MiG-15 - Ready to paint

I progress slowly as usual, but I now have all the additional parts on and the canopy masked out...


All ready for the first coat of Humbrol's metallic aluminium spray.

Sunday, 30 June 2013

MIG-15 - Day Three

Bugger. After sanding down the seams of my MIG-15 I thought it would be a quick job to stick on the last few parts so that it was ready to spray on the first coat of paint...No!


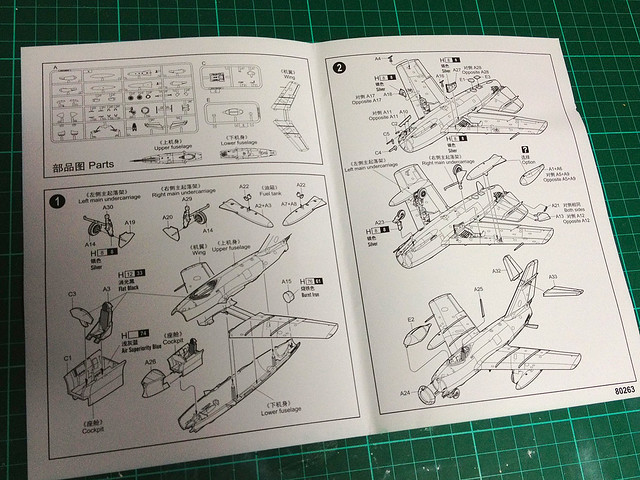
The Hobby Boss kit was designed to be made exactly as it is shown in the instructions, with undercarriage down and air breaks open. The parts are not designed to offer an alternative fitting.

So, the undercarriage covers are not the same shape as the 'holes' they should fit into! And neither are the air breaks.

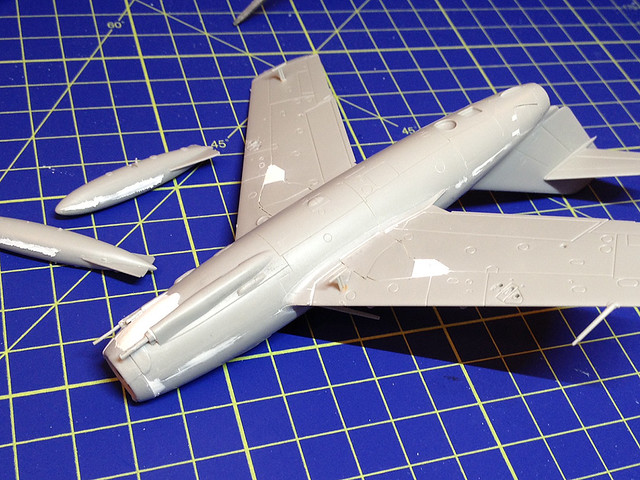
The photo above shows how I have managed to file and re-shape the undercarriage covers to fit into the wells in the 'closed' position. Even so, the last small cover does not fit at all and I will have to fill this space with some Milliput putty.

The air break covers will have to be filed down to fit flush and have it's hinges removed. Again I will have to do some additional filling with putty.

The curse of cheap kits...So I will not get this done in a weekend. What a surprise!

Edit: Job done, this pic gives you a better idea of what I did to fill the undercarriage wells where the 'doors' supplied didn't fit. There was also some additional filling here and there, not a big job but, of course, I needed to leave his for a day to dry...

Saturday, 29 June 2013

MiG-15 - Day 2

First hic-up in my plan to complete a kit in a weekend - a big enough task for someone as obsessionally methodical as me - was that I suddenly realised that this weekend featured Armed Forces Day!

The Red Arrows over Scarborough - just one of the highlights of a
spectacular Armed Forces Day.

So, I am already well behind in my own schedule. I had to crack on pretty nippy when I got home...


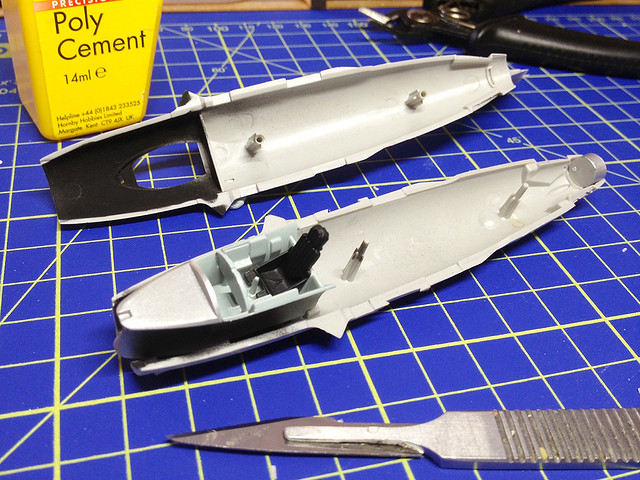
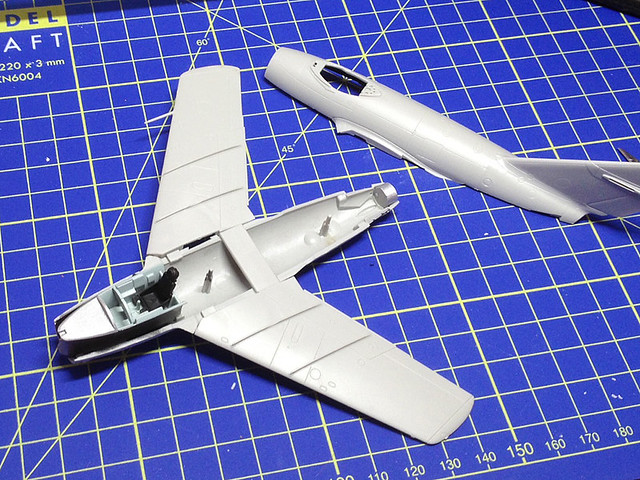
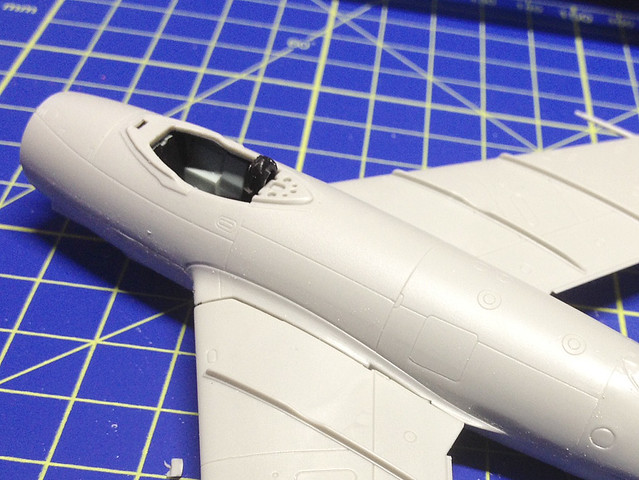
There isn't much to the cockpit and I have read about others online who have taken the time to accuarize this, but I don't have time or the inclination. I did paint inside areas that would be visible from outside the aircraft. Now let's get the wings on...


The Hobby Boss kit's fuselage is split in a unconventional top/bottom arrangement. The usual left/right split means that you have a seam running down the back of an aircraft kit, the Hobby Boss instead has the seam running along the side of the body. I actually prefer this, it means it's easier to hide.


You are still going to have to get the filler putty out though as there are some large gaps at the wing roots, and the fuselage seam will need some attention as well...


Filling done I shall now have to wait until tomorrow to sand down and attach the last of the components.

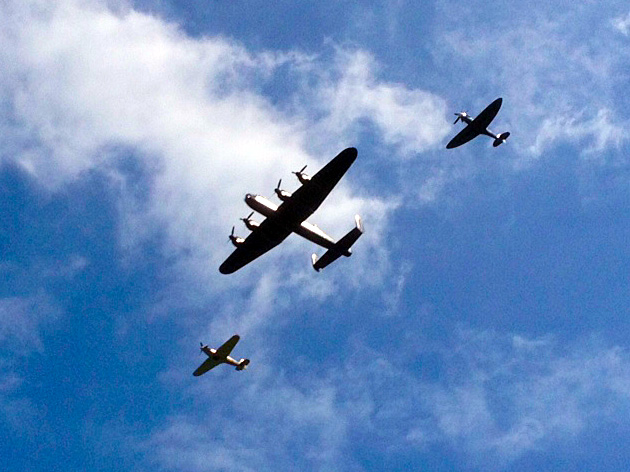
The Battle of Britain Flight over Scarborough

...So, the end to a very busy and entertaining day. I'm pooped! Let's hope I can make up some of the lost time tomorrow, I'm aiming to get the paint on by lunch.

Friday, 28 June 2013

Something for the weekend? Hobby Boss MiG-15

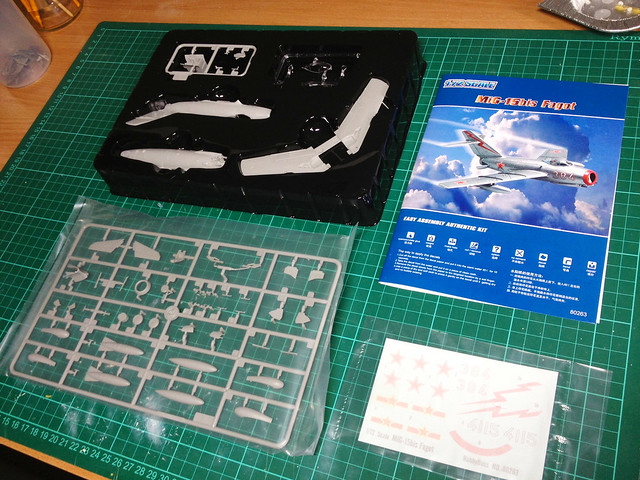
Another chance find, this Hobby Boss 'easy build' MiG-15bis was on the sale shelf of a local store and so - as it was pay day - I snapped it up.


While I learned quite a few things when I built my Tamiya IL-28 the painting left me with a lot of questions, particularly about weathering. So, this cheap kit gives me the chance to explore some of the things you can do with aircraft's finish.

So this weekend I will be playing about with this...


Let's see how much I can get done in a weekend.