Showing posts with label X-Ref: ALT/FINNT50/12/15. Show all posts

Saturday, 20 February 2016

T-50 - so close, but no cigar!

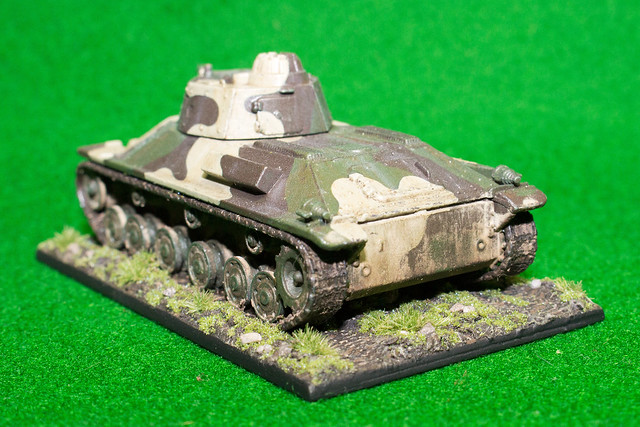
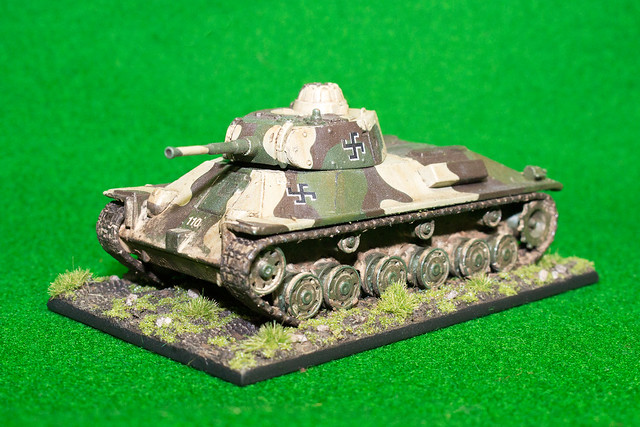
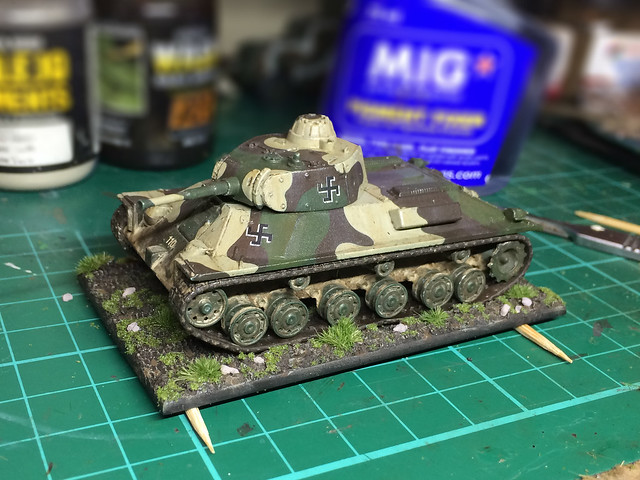
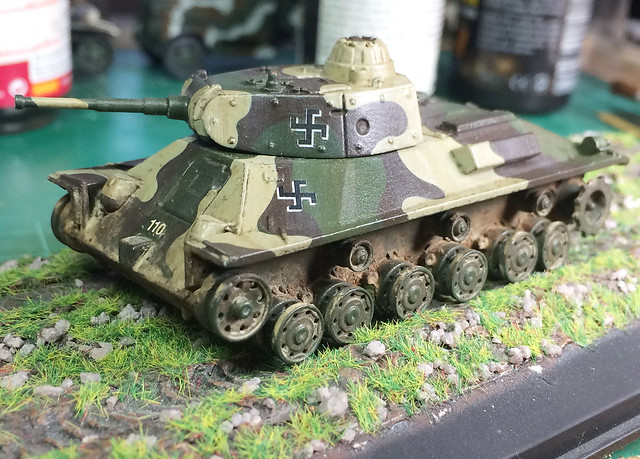
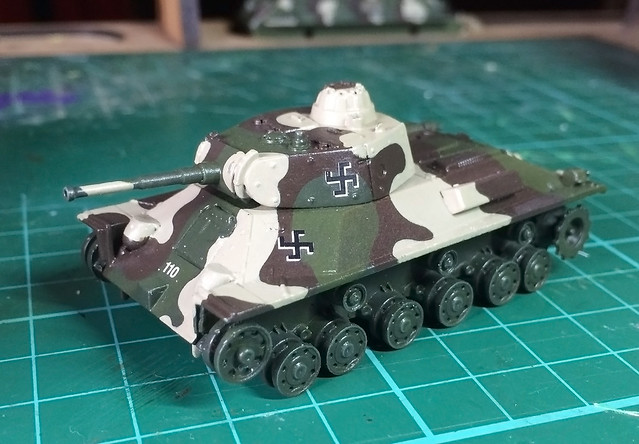
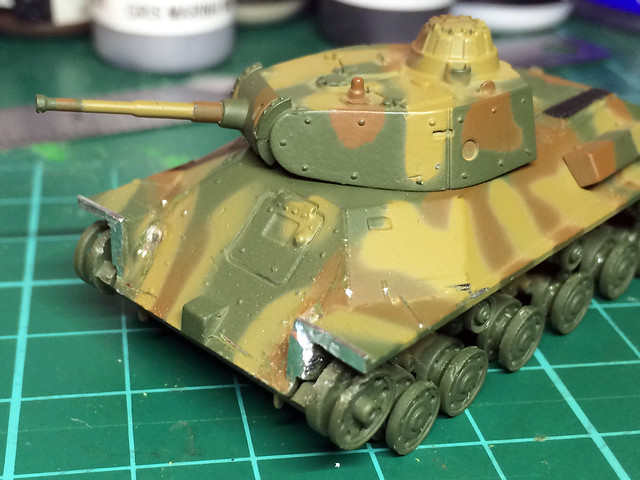
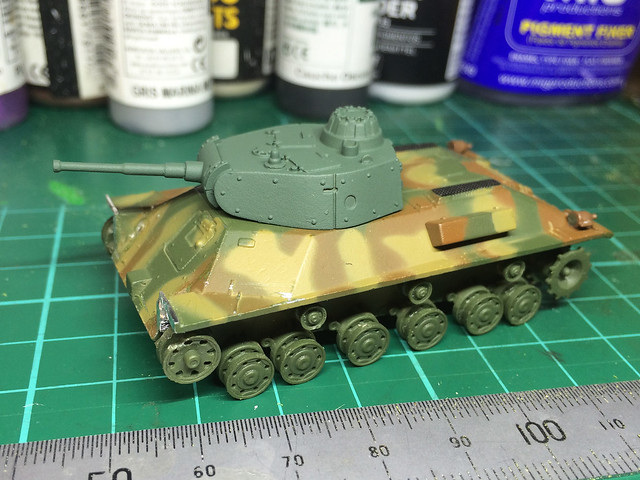
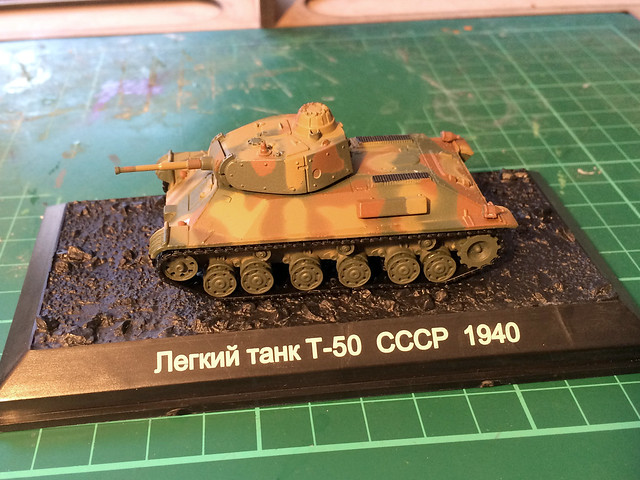
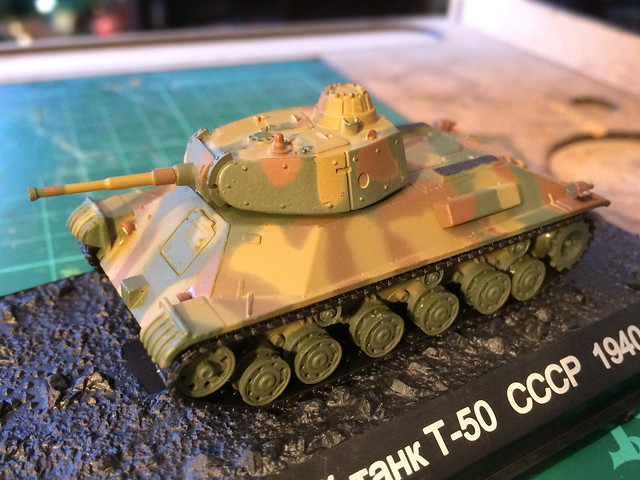
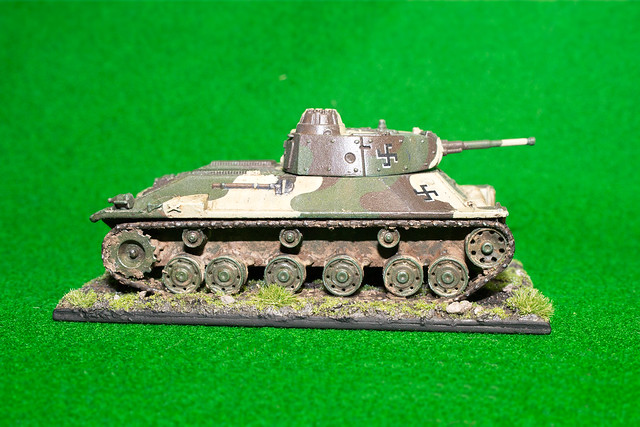
Had to share out my holiday time this week, so my plan to get my T-50 complete by today didn't come to pass. But I gave it a good go, and in the end I missed my own target by just a smidgen...

So, close...But still some final touches to do.
Another reason this model is 'so close' but doesn't quite hit the mark is probably the authenticity. But I get the feeling that will always be the case with all my Finnish projects. So few of the models I intend to include in my collection have reliable, certified original reference examples to go by.

Still, what is perhaps just as important for a wargame collection, like this one, is that I am quite happy with the colour scheme I have produced in the end. If nothing else, I think it's quite attractive! (Forgive my self-congratulation.)

This 3-colour scheme will be the standard which I will be applying to all my other Finnish tanks (though the exact pattern of the camo will vary). It's sort of a case that I have nailed my colours to the post and that's that!

A final note on diecast conversions
In the end I think I got away with this conversion, that was mainly due to the good job that Altaya made of their interpretation of the Soviet T-50 light tank in the first place. Though I'm still not happy with the bend tracks!

It makes me tempted to have a go and try and convert the remaining Altaya models I have for this project (such as my KV-1, T-34/75 and T-28). But I will have to take into consideration the complexity of the work and the thickness of teh diecast metal which will need to be modified. The T-34, in particular, seems like it would be a little bit of a nightmare and I may still replace this with a plastic kit (as there are panty of plastic versions available - I have two in my stash).

Wednesday, 17 February 2016

Altaya 1/72 T-50 - Part 8

Painting the 'elastic band' tracks
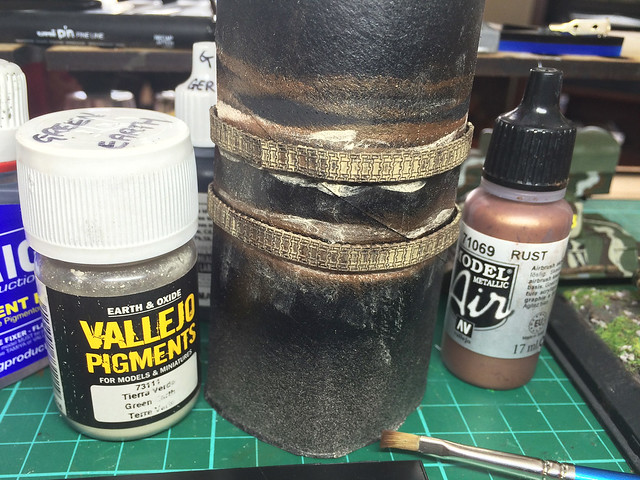
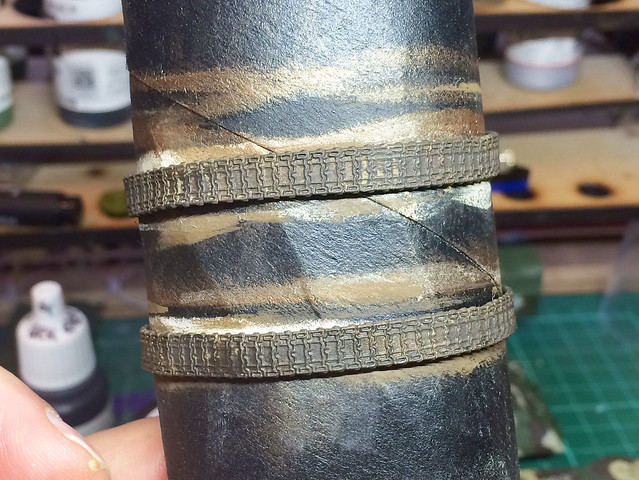
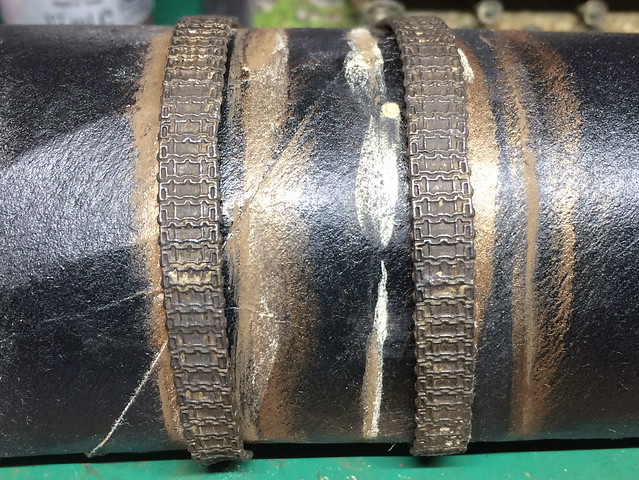
Now onto the fiddly 'elastic band' tracks of the Altaya model. To be fair, these vinyl tracks are probably better than some of the older Airfix tracks that I remember from modelling as a kid. Altaya have managed to get quite a delicate pattern on reasonably thin band of soft plastic.


I wasn't happy with the vinyl tracks I painted for my RSO tractor, so I thought I'd do a bit more work with weathering powders to make the effect a little less bland. I began with a black primer, then a wash of Vallejo's Rust followed by a dusting of Vallejo's Green Earth pigment.

This turned out a little too light and patchy for my taste (which only became apparent once the first layer of pigment - mixed with MIG's Pigment Fixer - dried) so then I applied a light overall dusting of Humbrol's Dark Earth weathering powder. Just to tone things down a little and unify the effect...


So, now I have a more even rusty, muddy colour across the tracks. But, it's a bit 'flat' looking so it needs some shadow and highlighting now, to finish it off.


I'll conclude this post by saying I loath 'elastic band' tracks. In the end, no matter what kind of job you do painting them you know they will deform when you stretch them to put them back on the tanks' running gear. I much prefer solid plastic tracks.

I will be hiding the joining seam at the bottom, of course. And, unfortunately, there is no track pattern detail on the inside of the elastic band, so both of these failings will have to be camoflagued with 'mud'.

Next: Well, folks. That's about it for this one (I won't bother showing my base making process as I've done this a good few time now). So, next time you see this model will be the completion photos. Another one bites the dust!

Sunday, 14 February 2016

Altaya 1/72 T-50 - Part 7

Pin-washing, chipping and dust
Right, moving on. We are now at the pin-washing stage of weathering. I admit I go a bit heavy with the pin-wash as my models are a bit more 'theatrical' in their painting because that is my preference...


I'm still a fan of AK Interactive's Dark Brown Wash for Green Vehicles for doing pin-washing. As mentioned several times before, it has a 'greasy' grimmy consistency to it that suits vehicles. However, I am slowly starting to move away from outlining *every* crease, seam and panel-line with it, as I did when I first began using this technique.

I'm also starting to take into consideration the paint scheme I'm applying it too. Obviously, it works very well on plain green vehicles (as that is what it was designed for) but, perhaps, less so well on other colours. I'm toying with the idea of experimenting with pin-washing with inks of complimentary colours, for a more subtle effect (I will be trying that with my next models).

Likewise, I am reconsidering my use of chipping. I have done a few models where I have obviously gone over the top with the technique in order to create a more dramatic effect (which seems to be a convention in wargame modelling).

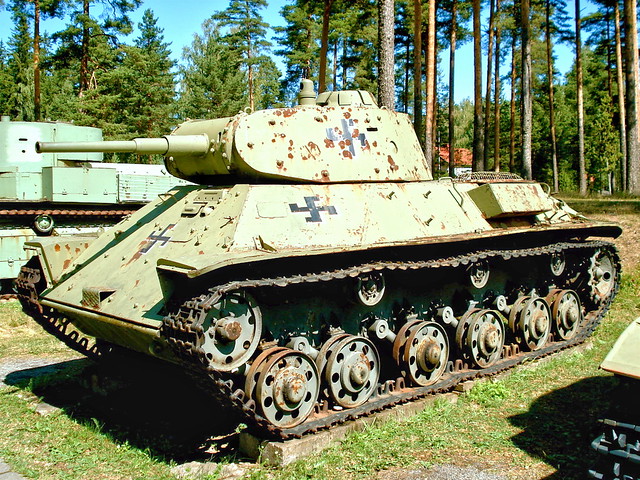
Having said that, here's a lovely photo of an extreme in vehicle chipping and deterioration...

Source: Wikipedia
Note: The above photo is of the single T-50 that the Finns captured, on display at the Parola Tank Museum. It's an odd scheme, as it seems to appear to represent, perhaps, an earlier state in it's Finnish career (perhaps soon after it's capture in 1941). This would seem to be a repaint, undertaken after to the war, as it had the 3-colour camo scheme between 1943 and the end of the war.

I won't be going that far! In fact, I think I will keep the chipping minimal. Maybe some paint wear and tear around the obvious points of traffic - the hatches and clamber points.

Dust and dirt - base layers
Although I used to apply mud and dirt as one of the final layers of weathering I am now doing the dirt effect as a two-stage process. There are areas of the vehicle that are difficult to access later in the build and so they have to have their dust and muck applied earlier on - the inside of tracks is an example of this.


Having tackled the muck behind the road-wheels I can now think about preparing and painting the tracks. In the end, I decided as I was adding mud I might as well add some to the front and back of the hull as well, instead of waiting until later (when I might not be able to match the colours).

She's getting there!

Thursday, 11 February 2016

Finnish T-50, an interesting observation

If I ever needed a reminder that I am still just a 'kitnoob', this is it! Apparently you not only have to be a keen fan of the past to model WW2 models but you also have to have the ability to see into the future as well.

As you may know, I have laboured hard to try to get what I thought was 'a' (it's all subjective) accurate 3-colour Finnish camo scheme. And just when I was fairly satisfied whit my recipe the God of Modelmaking has come along and kicked me in the ass.

Here's a reminder of what I was happy(ish) with before weathering...


And now, after starting the weathering process with my - now usual - 'bleaching and staining' stage using oils I have this...


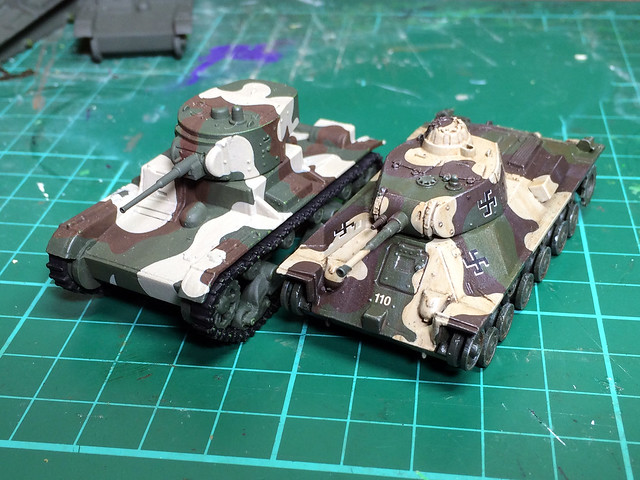
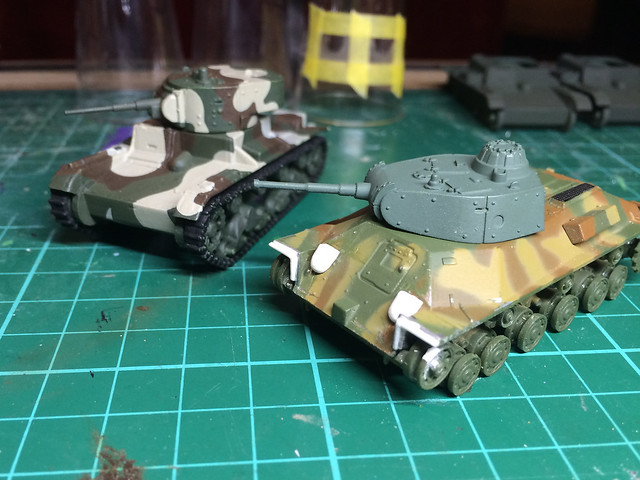
Now, the difference may be somewhat subtle but in effect, my T-50s scheme has been knocked back a shade and the hue slightly modified. This is particularly noticeable in the 'beige grey' colour, which in now a light tan colour. Here's another picture which may illustrate the change better...


The T-26 (left) has my original Finnish scheme in pristine colours, while the T-50 has the same colours 'modulated' through the weathering I applied.

Now experienced modellers will say, 'yeah, and...' because they will know that I should have taken this modification in colour into consideration at the base camo painting stage (perhaps by painting the scheme deliberately lighter).

Bum!

Another thing to take into consideration.

As it turns out I kinda like the new tones (well, I have to say that now don't I)! The option would be to start again if I didn't. Thinking logically, this is perhaps what would have actually happened to the real scheme in the field, when dirt and dust covered the paint and subtly changing their appearance.

Phew...There's always something new to learn.

Monday, 8 February 2016

Altaya 1/72 T-50 - Part 5

Slow, slow, slow progress. I'd love to be faster at making models, and it depresses me a bit as I see other modelers - whose blogs I read - churn out their wonderful models while my projects crawl to their conclusion. But there you go, I spare what time I have so please bare with my minor updates...

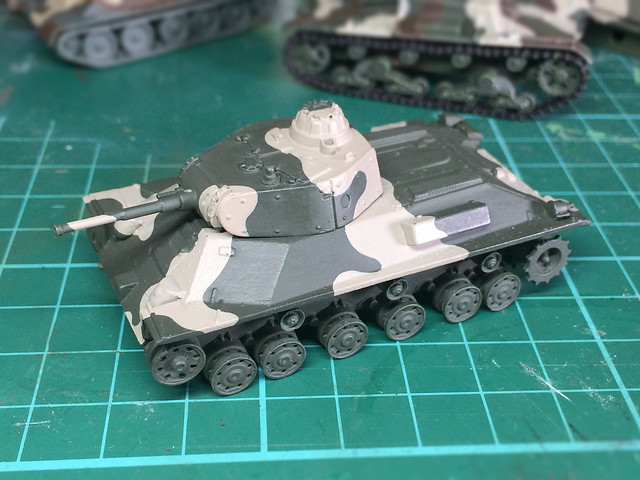
After the base of dark green I applied the 'Finish Grey', or rather, I added my interpretation of it - a light beige-grey (50/50 mix of Valejo's Stone Grey and German Camo Biege).


I'm afraid I had to be a little creative with the camo pattern as there are only two period photographs of this particular tank, and they are - sadly - in black and white. So, I've used my artistic licence.

I read that the Finn's applied the Grey to a 50% proportion of tehoverall camo, with the Green and Brown making up 25% each. But, from what I have seen - in reference photos - the application of paint and it's pattern was a bit more ad-hoc than that.

The Finn's variety of tanks all seem to have displayed a variety of patterns - some with thin stripes of the 3-colour scheme, some with large patches. There doesn't seem to have been a a printed guide to scheme application - as there was in the British and US armies - so I am guessing there was some latitude from unit to unit.


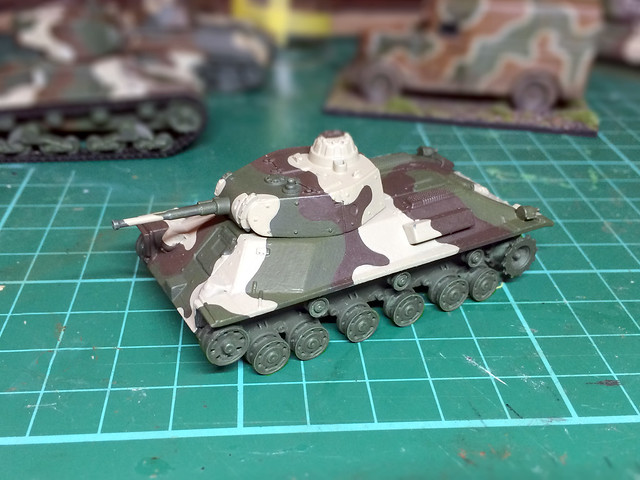
I am quite pleased with my brown mix, but I still think my 'Moss Green' was lacking a little oomph. So I modulated my dark green with a quick, thin wash of Vallajo Air's Russian Green. This was just enough to give the green a bit of luster in the right light.

Tuesday, 2 February 2016

Altaya 1/72 T-50 - Part 4

Having gotten the modifications to my little T-50 done it's time to get on with the painting. I began with a primer coat - of sorts - of Humbrol's 'Dark Green'...


This led me into a bit of a think about why I (and other people) use primer paints for modelling. I guess I did so - in the beginning - ‘because that’s what people did’ (as a complete beginner I believed without question whatever ‘experts’ told me was the ‘done thing’).

There’s a really nice article on the purpose of using a primer over on Scalemodelguide.com - 'All About Primers' - which is worth a read, just to remind one’s self what priming is all about. Reading it over, some of the reasons for using a primer ticks a few of my personal boxes - specifically (in order of precedence):

• Improve the adhesion of top-coats
• Showing up surface defects
• As a Pre-shading layer

My initial reason for using a primer was that I considered that acrylic paints need a preparatory surface for adhesion (unlike the enamels I used when I was a kid). Also, I initially (and still do occasionally) use a flat black primer as an aid to shading, but in the case of my T-50 I wanted an underlying vivid green to give some luminance to my top-coat green (if that makes sense).

The highlighting of defects was something that developed into a useful and unexpected role for applying a primer. As I have gotten more into the converting of models I often find that that 'good job' of sanding a repair or modification isn't such a good job, after all, once I get the first coat of paint on it! Priming highlights these glitches and gives me a chance to correct them before re-applying a spot of primer over the top of them.

It's worth reevaluating your model painting process regularly, I think, as you can get into a habit of doing things without reviewing their relevancy. As each model is different and so might need a slightly different approach, it's good to ask oneself 'why am I doing this again?' every so often!

The base ‘Finnish Green’
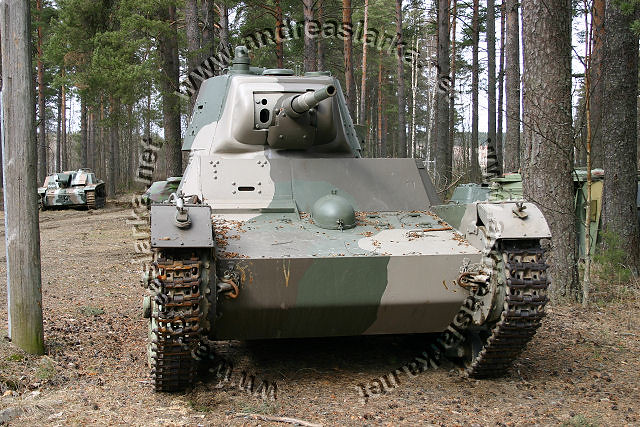
I have settled on a darker - slightly olive - green for use as the Finnish ‘Moss Green’. This will not be to everyone’s taste (many modeller's prefer a brighter green for Finnish armour), but I have gone for this shade/hue due to consideration of those examples still in museums which experts in this area deem ‘good’ examples of period Finnish camoflague. I have also gone for a darker green due to the ‘scale effect’ - or, to put it another way, what I think looks right at a distance.

This photo, of a nicely restored Finnish WW2 tank, comes as something of a surprise
to many modellers. It's not exactly the typical 'Finnish 3-colour camo' that modellers
are used to seeing on much of the relevant kit box art!
Source: Andreaslarka.net
The caveat here is this; like all my attempts at 'Finnish colours', my interpretations are based on *my eye-sight*. And my eye-sight is, in all likelihood, very different from yours!

My green is a 50/50 mix of Vallejo’s German Camo Dark Green and their Yellow Olive. The olive sheen is very (very) subtle, depending on the light...


Next: The camoflague.

Thursday, 28 January 2016

Altaya 1/72 T-50 - Part 3

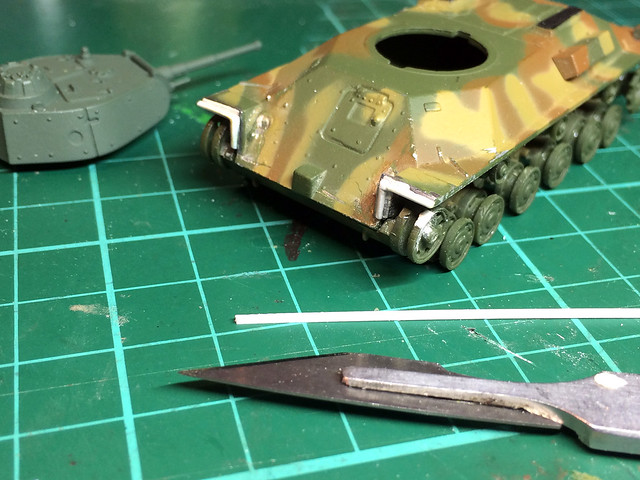
My little T-50 plods on. Working with metal is not fun - not for me anyway - so it's taken me some time to modify the front fenders to my liking. In the end, I resorted to adding some styrene strips to get the look I was after...


I'm beginning to realise that I have a habit of putting off jobs I don't enjoy (which is why I have a special draw I keep for jobs that are 'on ice'). Prevarication isn't good, but it becomes a little war of wills with myself and I do feel good when I finally overcome my irrational anxiety about certain jobs. Tiny though it may be, I was disproportionally pleased when I finished this modification.

The task was completed with the creation of the headlamp covers - a feature of early Soviet tanks that the Finns seemed to like. These hinged 'domes' of metal enclosed a headlamp and could be flipped up and down when needed, the Finnish army retrofitted these to many of it's 'newer' Soviet trophy tanks. (They seemed to have a good supply of them from the large quantity of scraped T-26 tanks the Finns took from the Soviets during the Winter War.)
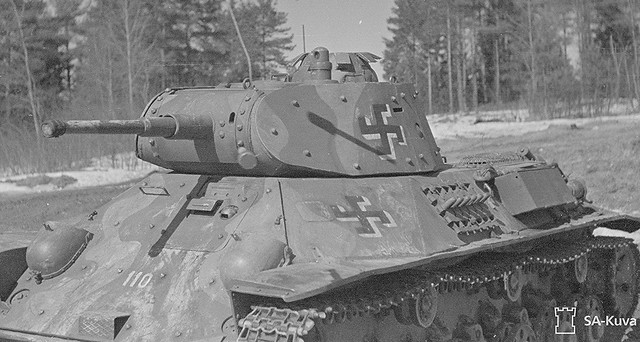
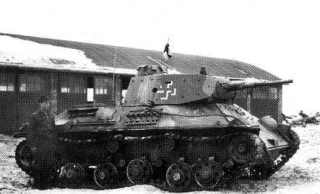
Worth showing again, this wonderful photo of the Finn's sole T-50 shows it 'late
war' (early 1944, I think). By this time it has been re-fitted to the post-1943
'standard' for Finnish armour, with the cowled headlamps and the three-colour
camouflage scheme. Source: SA Kuca archive.
Just for reference, here's an artist's impression of the T-50 with the headlamp covers up. I *think* they were only put up when travelling at night in safety - having them up like this when in actual battle seems a bit risky...
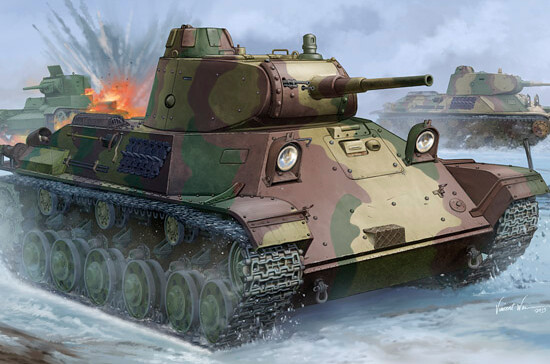
1/35 HobbyBoss 'Finnish T-50' box artwork. A couple of things wrong here,
they haven't included the Finnish cross emblems and the fenders are 'unclipped.
And don't get me started on the camo colours (not again)!
Making the covers was a fiddly little job which had me sanding some rectangular styrene strips into the correct shape...
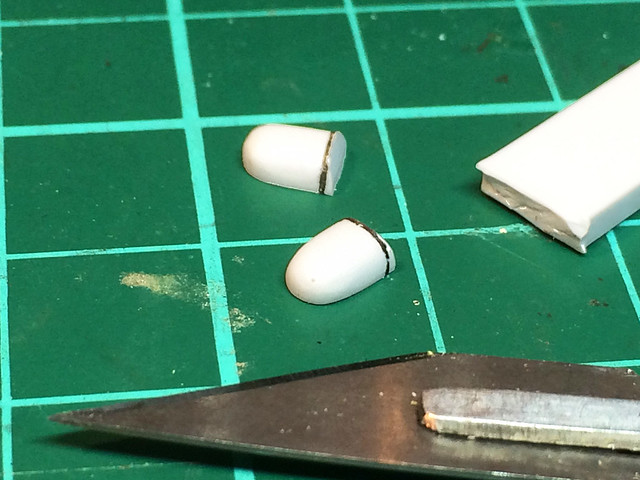
My headlamp covers still need some shaping and detailing but I'm please with
the basic shape.
Who'd have thought that such small jobs would take me so long (I tried hiding my T-50 behind some pots of paint on my little workbench, but I knew it was still there)!


The rest of the work on this conversion should - in theory - be plain sailing. It's just a case of painting the little blighter (...I say 'just')!

Postscript: Note that, I am making a post-1943 version of the Finn's T-50. This tank was captured from the Soviets in 1941, and between its capture and 1943 (when Finnish armour received new guidelines for outfitting and paint schemes) it is thought to have retained it's Red Army plain green scheme or have been painted Finnish dark green and given Finnish crosses. Here's a nice example of a model of this earlier period (the clipped' fenders don't seem to have been applied at this point, or have Mirage boobed?)...

Model by Danny Van Beneden. 1/35 scale kit by Mirage.
Historical note on the Finn's T-50: 'The popular nickname was "Pikku-Sotka" (Small Pochard), which referred to its physical resemblance with larger T-34 medium tank, which Finnish soldiers had already earlier nick-named as "Sotka" (Pochard) after a tugboat of that name.' Source: Jaegerplatoon.net

The Finn's T-50 was in service with them from 1942 until June of 1944, when it suffered serious mechanical problems and was designated 'non-operational'. Bear this in mind if you are wargaming the later 'Lapland War', the Finn's T-50 was not available during this campaign. This tank remained on Finland's military inventory until 1955, though it seems not to have been used again.

Monday, 11 January 2016

Altaya 1/72 T-50 - Part 2

Modification to make a Finnish T-50
As I mentioned in my previous post on this project, there isn't a lot to do to the standard Soviet T-50 in order to make it into a Finnish version. Although the Finns took to changing captured armour to their tastes their one and only T-50 only had a couple of new hooded headlamps added and the very front of its fender mudguards 'clipped'.

A lovely photo of the front detail, including the areas modified by the Finns.
Source: SA-Kuva archive
I'm afraid I have no source for this photo, but it is a very interesting one. It clearly
shows that the Finn's solitary T-50 was given the Finn's 3-colour camo scheme
and it shows the 'sawn-off' mudguards at the front.
Still, any modification to the fenders is sort of bad news for me as my Altaya is diecast metal (at least, its main hull is) this means I'll have to get my trusty Dremel out to clip off the mudguards. It also means I may have some issues with the scale thickness, as the model's diecast fenders are a bit thicker than they should be.

Here's the area of the T-50 that I will me modifying...


And here is the same area after I made the initial changes in order to facilitate the Finnish WW2 modifications...


As you can see, the thickness of the model's fenders are far too over-scale. I'm going to have to thin them down a little. Removing the original headlamps to make way for the hooded Finnish lamps was easy enough, though, they were just plastic.

While I work out how I am going to finish off the fenders, I thought I would try priming the turret (which needs no modifications). Using Humbrol's aerosol Dark Green, I gave the turret a couple of light passes and was pleased to discover that this covered the model's original paint scheme very well!


This 'Dark Green' (I don't think it's all that dark) is, I found, a nice base for the Finnish 3-colour camo scheme that I have been trying to fathom. Anyway, next I will be completing the minor modifications and then giving the rest of the tank it's primer coat.

Thursday, 31 December 2015

Altaya 1/72 T-50 has arrived!

Bit of a post-Xmas treat as the posty brought this little beauty yesterday. My 1/72 Altaya die-cast T-50 light tank arrived...


It's a very nice reproduction of the little tank, but comes in Soviet colours (naturally enough I suppose). So, I will have to repaint this.

The 45mm gun is quite good (better than on my Pegasus kits) so it won't need replacing with one of the metal ones I bought. The tracks are 'ok', not brilliant really but acceptable for vinyl 'rubber band' type tracks.

In this 1944 photo you can clearly make out the Finnish three-colour camo pattern
and the additional head-lam fittings. Image source: SA Kua archive.
Checking over at Andreaslarka.net there isn't much modification needed to make it 'Finnish' - it looks like they only removed the very front of the fenders and added a couple of covered headlamps. Otherwise, the Finns used the Soviet T-50 as was (which is good news).

This will be my armour brigade command tank and I have a reference illustration of it - tank No. 601 - in use as a command tank in late 1944. It is painted with the standard Finnish 3-colour camo, with the Finnish crossed and the number '601' in yellow towards the rear of the turret.