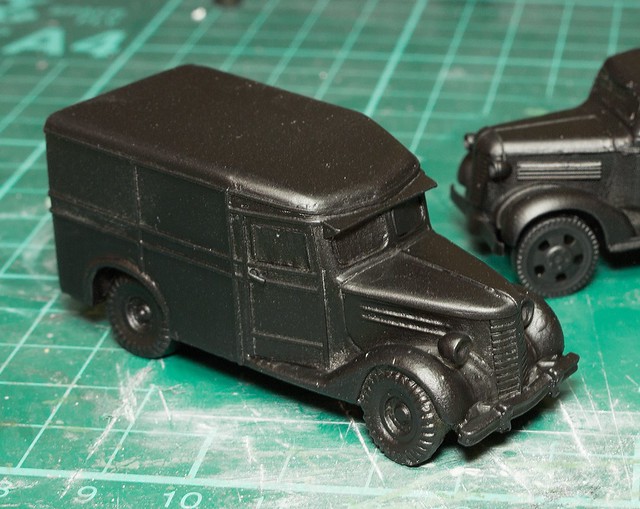
The base colour I went for was my usual Humbrol Light Olive as you can take that colour either way. You can darken it with shading or bleach it with some streaking and highlighting. I believe proper modellers call this process 'modulation'.

Choice of camo scheme
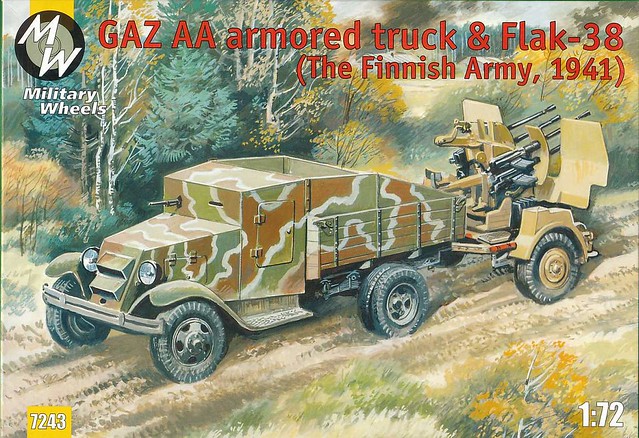
As this vehicle is something of a 'what if', I have chosen a suitably speculative camp to go with it. It's actually a pre-1943 Finnish pattern - before they made a proper effort to standardise on a three-colour scheme. Though as little reference exists for what individual units did (it seems to have been mainly up to them) I went with a scheme I saw used on MW's model of a Finnish armoured AA truck (because I liked it)!
Having chosen that pattern, I then had to work out how to actually paint it. Airbrushing at this scale seemed out of the question (though technically not impossible with a lot of masking) so I plumped to go old-school with my brushes.
First thing was to outline the pattern using a soft white chalk pencil. This took a couple of attempts as the pattern has to 'wrap around' the vehicle and join up logically.
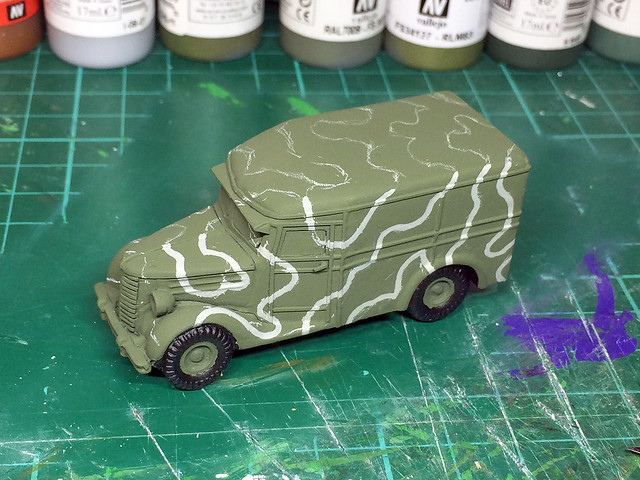
The good thing about using chalk to mark out the pattern is that you can easily erase it using some blue tack. (At this point I should mention that this initial try at drawing the pattern failed. I got a bit confused by all the lines and when I started painting I realised that the patches of colour would not join up correctly. So I have to re-apply the base coat and start again.)
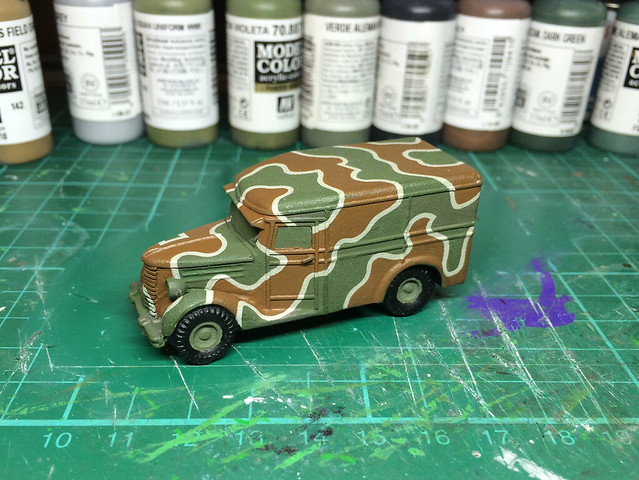
My second attempt went better and I ended up with a reasonable end product. All the patches joined up properly and the balance between the two main colours was roughly 50/50.
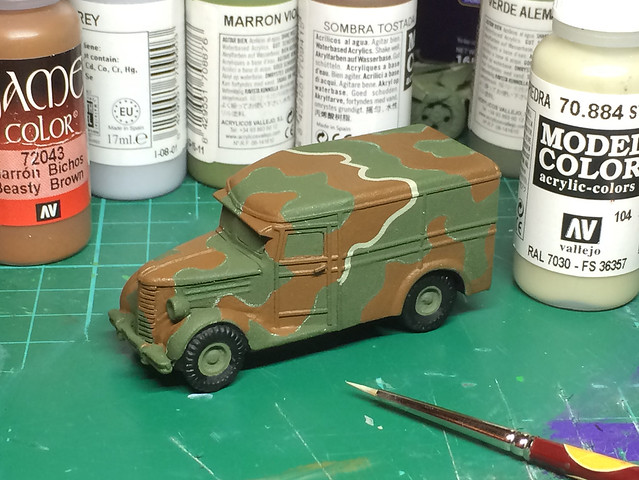
The outlining with the oatmeal-grey was - as you can imagine - a bit of a bitch. It is also probably far neater than the real camouflage actually was applied! But that's a result of the graphic designer in me - lines have to be neat.
And that's where we have got to. I'm touching up a few things and then I will apply a satin varnish before weathering.
The main disaster (there's always one) was the horrendous base coat or rather the reapplication of the base coat. I applied it too thickly in my cold damp attic and it has crazed a bit. I thought o could get away with it but it really niggles me now, but I have gone too far to strip the paint back now (as I would have, were this a display model).
The moral: stick a heater on for half an hour or so before you spray with rattle- can aerosol paint!
No comments:
Post a Comment