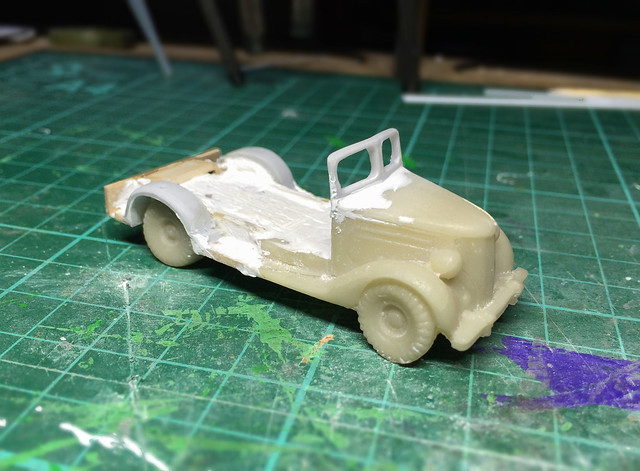
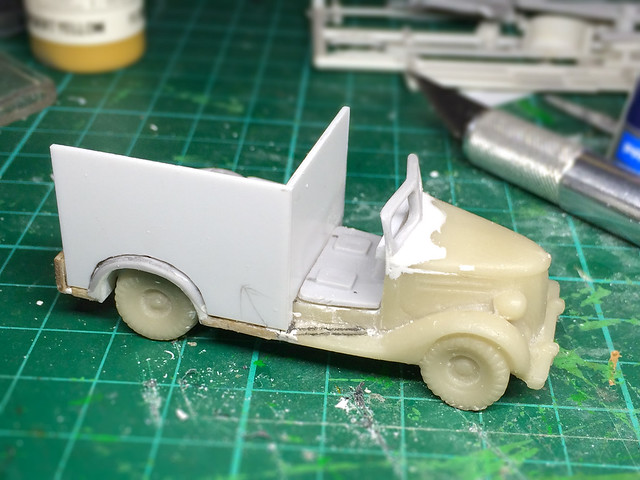
Rebuilding the windscreen worried me the most as I thought this might be tricky. Luckily I found a spare windscreen in my scraps box (one of the good things about getting time under your belt modelling is that the longer you do it the larger and more useful your scraps box becomes). I also found a nice set of wheel arches for the rear wheels.
The cab interior
Why go to the bother of making an interior? Well, I had the spare parts on hand and it didn't take five minutes to cobble together a simple bit of detail...
Now, because this interior will need painting (and a driver figure installed) I will leave off boxing it in and instead get on with the van framework instead (everything to the rear of the cab).
You might remember that it was my original intention to built a model of the 1937/39 Chevrolet
 |
| How can you not love this van? |
(And being 'boxy' makes it so much more easy for me to make!)
Well, you get the idea. It's a pretty simple conversion - stripping down the resin parts aside (thank you Dremmel) - and although the initial phase seems a lot of work I find this sort of project very enjoyable as the end product is somewhat unique. Or rather I should say the product is very satisfying as I would never say that it's as good quality as an equivalent plastic kit.
(I mention this - the satisfaction derived - as a couple of people have pointed out on forums that this seemed a lot of work and that there wasn't much left of the donor vehicle. Yes, I guess I could have searched around to find a donor model closer to my finished idea thus negating all the tedious and messy Dremmeling, but I don't think the project would have been so interesting and enjoyable for me. That's just me!)
Next: The finished van bodywork and the cab fitting.


No comments:
Post a Comment