Having finished the weathering on the vehicle - I've applied the pin-wash and chipping now - it's onto the the bit I've been dreading...Painting the vinyl tracks.
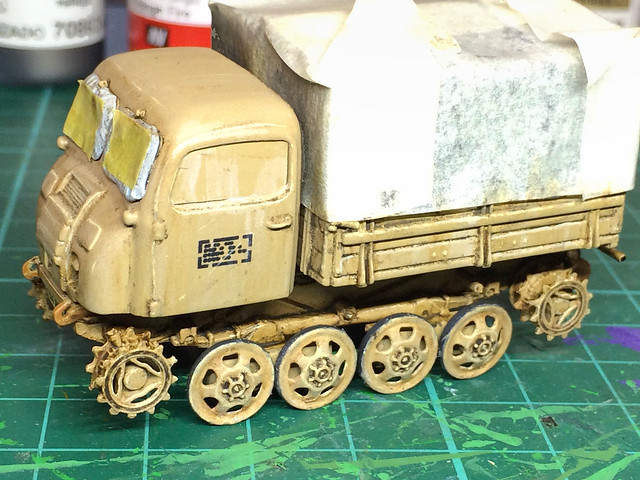
Before get onto that, though, just a quick word on the state on the weathering and chipping. I haven't gone mad with the wear and tear effects on this RSO, it's mainly dirt. This is because the RSO was a fairly recent addition to the Finnish inventory in 1944, so unlike some of my other trucks for this project they wouldn't have seen heavy wear.
As usual, really grateful to Engines of the Wehrmacht web site for excellent reference.
How to paint vinyl tracks?
Oh, now the tricky bit - painting 'elastic band' tracks. The problem, of course, is the flexibility and elasticity of the material. Painting them with acrylics and then stretching them for fitting may be liable to flake the paint right off.
Now, it's been suggested that the easiest way to paint these is when they are fitted in place - so there is no need to stretch the tracks again. But after putting so much effort into painting the track wheels I don't fancy doing this. (The other approach would be to cut the track bands and paint them flat, gluing them back to get
So, I'm going to begin with a test to see what effect spraying the tracks and then stretching them has...This could end badly!
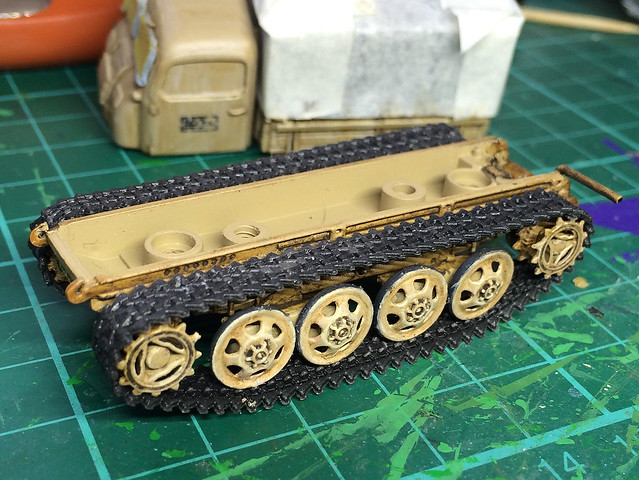 |
| I've put the tracks back in place to see how much I have to stretch them. They actually don't need to be stretched that much, but will it flake the paint? |
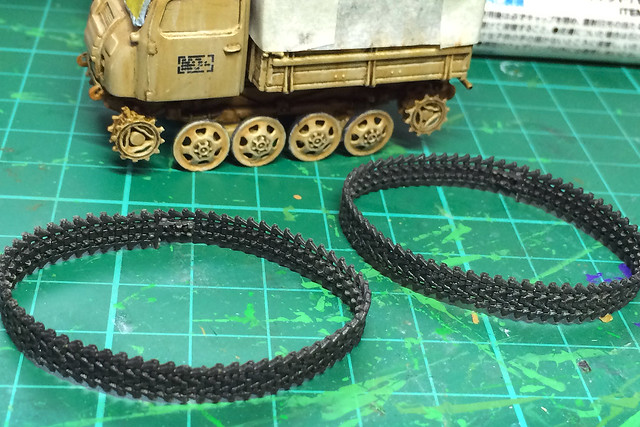
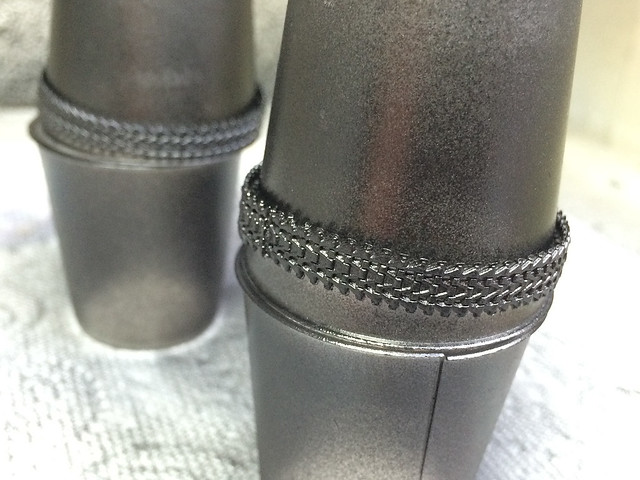
So, I began by spraying my 'elastic band' tracks with my usual black primer - cheap Hicote auto primer. I mounted the tracks on some make-shift supports and first sprayed the inside of the tracks and then the outsides...
I have to say that when I turned the flexible tracks inside-out between sprays I didn't experience any flaking of paint at this stage. So far so good, but what about when I spray on some normal acrylic paint?
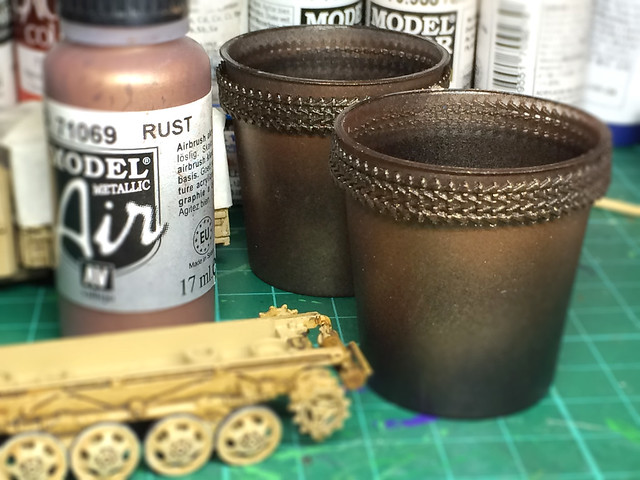
For the next stage of the track painting I am using Vallejo's Model Air Metallic [71069] Rust...
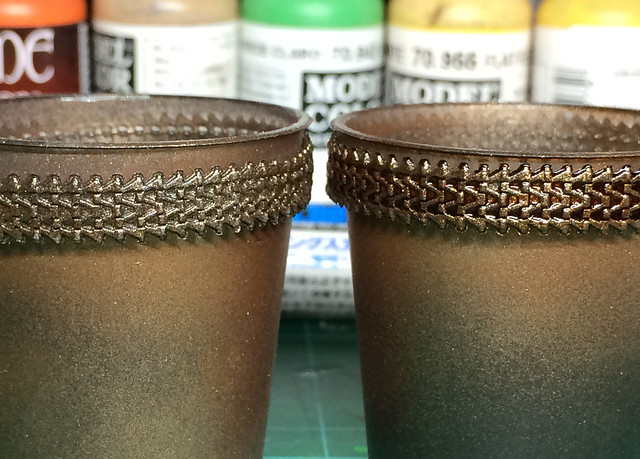
And then, to give the track some depth, I tried out a light wash with some Sienna Ink (below, right). I'm probably going to play about a bit with different colours and shades of washes to see what effect they have and which brings out the detail best...
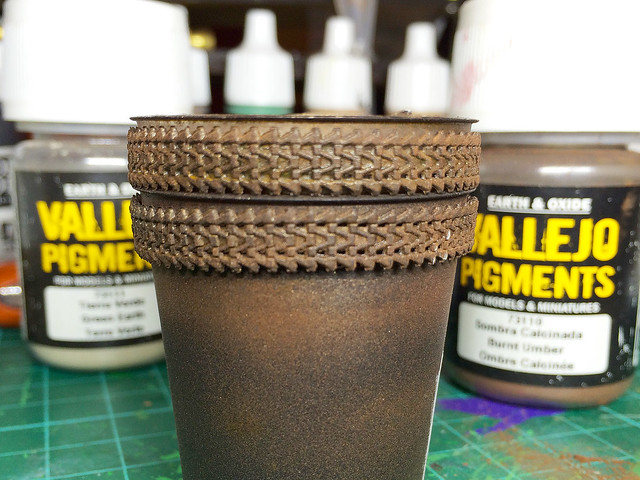
Having got the metallic, rusty base that I wanted it's now time to tone it down! I will be doing this with Vallejo's [powder] Pigments, notably 'Burnt Umber' and 'Green Earth', which give a dried mud and dust colour (the Burnt Umber also adding to the rust effect)...
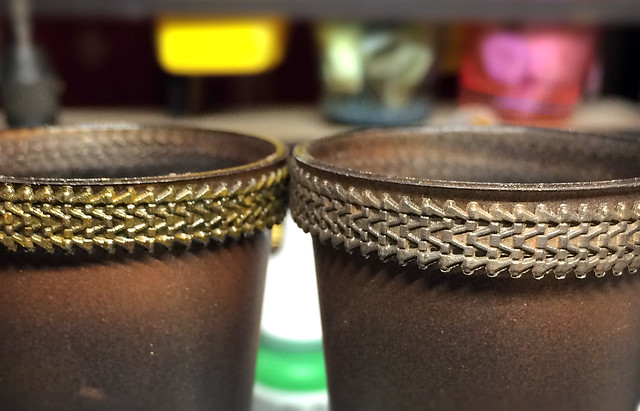 |
| On the left is the 'rusty' un-weathered track, on the right the pigment treated track. |
There are ways you can get around this, by adding a fixer medium to the pigments to begin with. But I wanted to experiment with a more dusty looking effect (so this may go wrong)...
Hooray! A couple of very light passes - at medium distance - with Humbrol Matt Varnish did no harm. The tracks have retained the dusty effect created with the pigments, but the pigment is now 'fixed'. There's still an underlaying metallic sheen which gives the impression that the rust is surface rust which is good. But there's not glint or 'sparkle' of bare metal, so that's next...
Graphite pencil - steel highlights
The final stage in this process is adding the steel 'glints' or accent to the tracks. Of course you don't have to add this IF you decide you want heavily rusted or muddy tracks I suppose.
My 'go to' tool for metallic highlighting is my 4B graphite pencil. It's a terrifically easy and effective technique, in this case I just gently run the pencil over the raised bits of the track and the edges...
I'd probably be tempted to finish this effect off with some small touches of silver acrylic here and there for those scratches which show the bare steel and for extra extra shinny highlights.
But that's it for tonight. I'm quite satisfied with that and the good news is that the paint doesn't appear to be flaking.
Next: Fitting the tracks and making the base.

Great idea
ReplyDeleteCheers
Matt