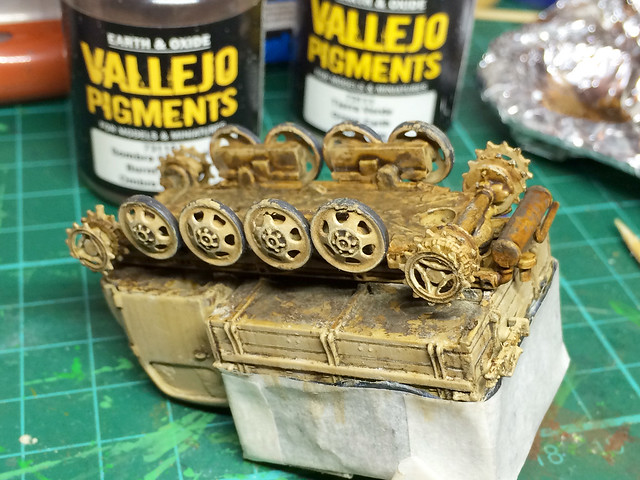
Having finished the underside I can now add the tracks. in doing this I have to use some strategically placed spots of superglue in order to give the impression of realistic track droop...

This all worked out OK, I suppose, but the vinyl tracks deform very easily and I hate the obvious join. Still, I guess this is one of the downsides of die-cast models compared to quality plastic kits.
And lastly...
Making the model base
Well, you know the routine by now, although this base will be slightly different because of the tracks (rather than the usual wheels). So it will be interesting to see how this will work out.
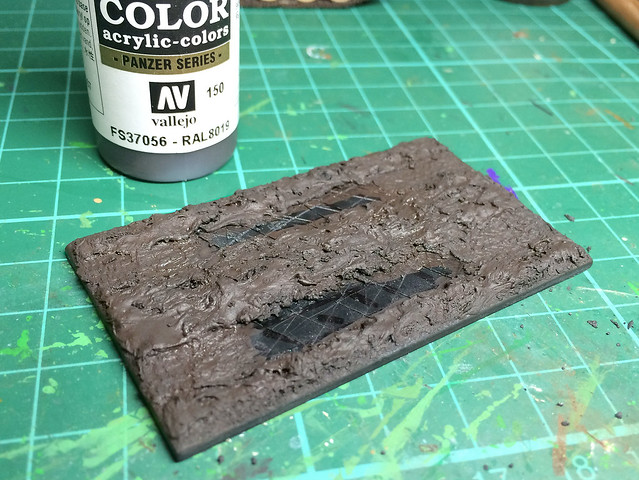
I begin with the usual rectangle of black plastic sheet, cut down to give a 5mm border all round the circumference of the vehicle to be mounted. I then start daubing on some Polyfilla, which has been coloured black by adding some acrylic paint, to represent a muddy road or country track...
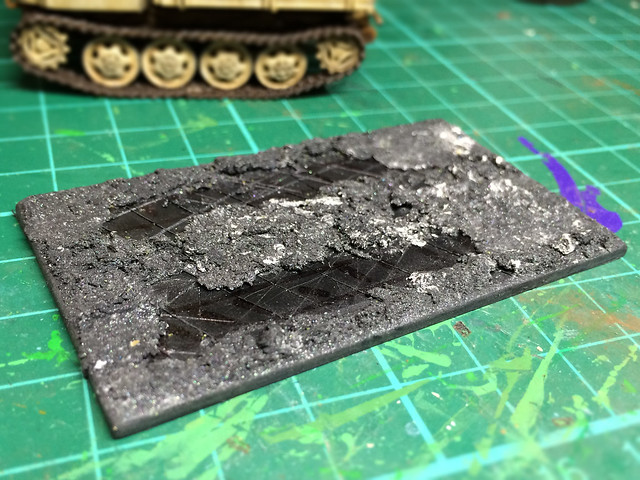
I try to leave a flat area without any 'mud' for the tracks (or wheels when doing trucks) to sit on. The reason for this is so I can build up some mud around them so they appear to be depressed into the ground. It also gives me a good piece of the bare base with which I can glue my vehicle securely.
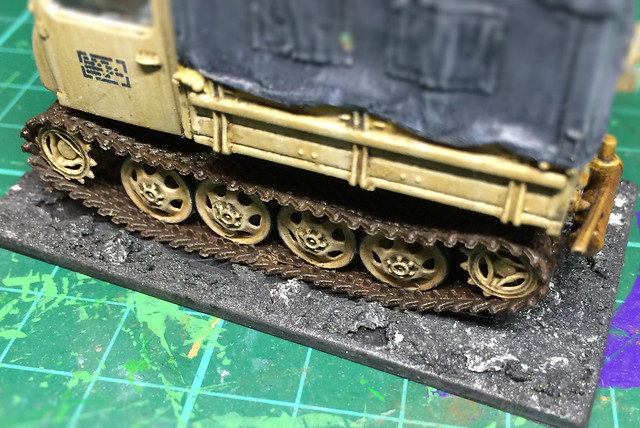
A quick check with the vehicle in place gives me an idea of how much more 'mud' I need to add and where to add it. I want to make sure the vehicle tracks look like they are pressing into the ground (Polyfilla is excellent stuff, I particularly like the quick drying version that comes in a tube)...
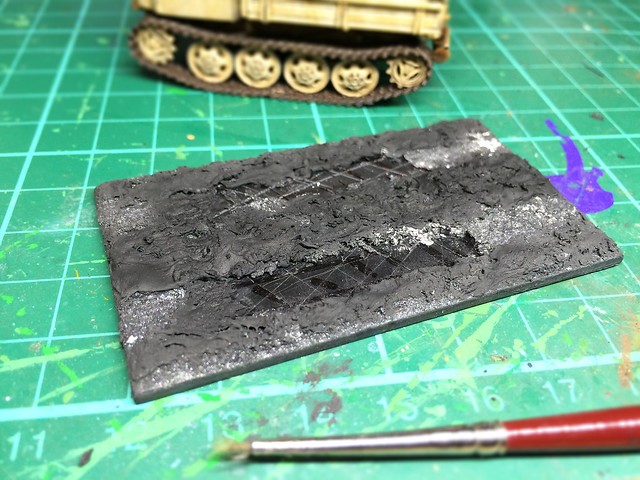
With the 'mud' added right up to the tracks now I can get onto painting the base and adding grass. My basic earth coloured coat is Vallejo's [822] German Camo Black Brown...
After a light wash of very dark brown to pick out the detail and texture in ground I add the grass. This is a simple sprinkle of static mid-coloured grass on top of a thin mix of watery PVA glue...
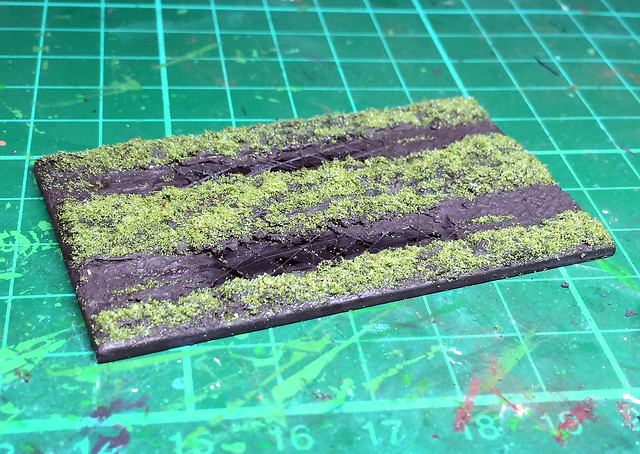
Grass sown, it's onto creating the mud tones. For this I have been using Tamiya's Weathering Sticks (as I got them cheap) - I lay down some of Tamiya's 'Mud' and then highlight it with Tamiya's 'Light Earth'...
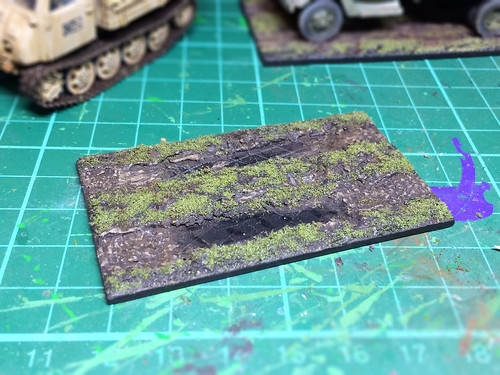
And that's that really. I'm ready to mount the RSO and then all that's left to do is take the completion photos.
Improving die-cast models to fit in with plastic models has it's own challenge, but I enjoyed this project. Which is probably just as well as I have a small collection of other 1/72 die-cast vehicles I will be converting for my Finnish Continuation War project.
But, it will be nice to have a break and get back to a bit of kit making..
No comments:
Post a Comment