 |
| The oil 'streaking' complete, a nicely 'aged' effect. |
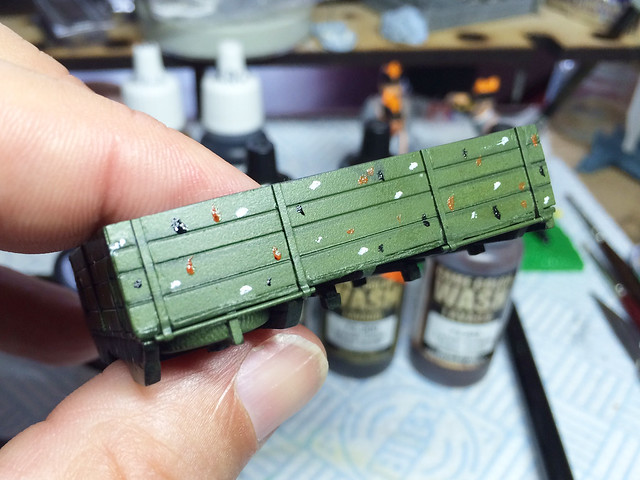
I use black for an aged or dirty patches, mid-brown for dust and oil smears and white for bleached patches (not very sophisticated I admit, but I will save the more complex subtleties for when I am a more advanced modeller).
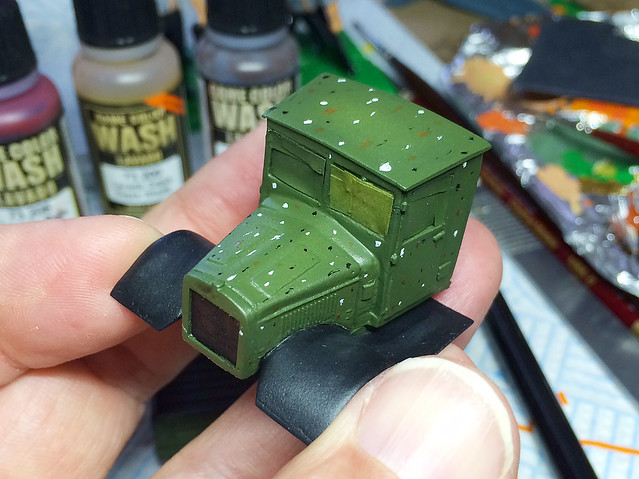
One of the interesting things about oils is that they remain 'active' for a very long time (remember that and try to avoid touching or brushing your model accidentally until the oils have dried or have been sealed). Therefore I have developed a technique of dabbing on a pattern of oil dots all over the model before I start the real work. (When I say 'I' have developed a technique in this blog I merely mean I have just discovered it for myself - I am sure this sort of stuff is all 'old news' for experienced modellers).
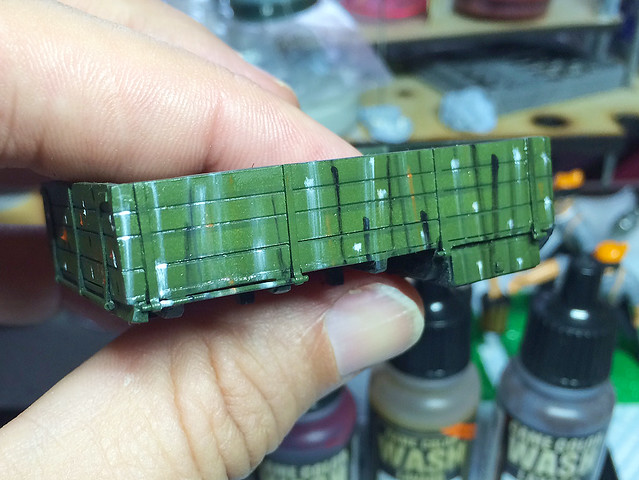

What I have learned is that you need to lay down a satin of gloss varnish base coat and you do not need to use a brush loaded with too much thinners in order to streak your oils. The varnish - of course - protects the paintwork you have already done and also allows the oils to slide and smear across the surface of the model.
The slightly damp brush is critical to get the right effect - too wet and you risk washing away your oils completely (and then you have to start again). It's a bit trial and error but honestly I have been surprised with just how little thinners I need to have on the bristles to do this job.
However, the best thing about this 'streaking' technique is that you can play with it - it doesn't matter if you don't get it right the first time, just wipe it off and try again!
You can move the oil about, blend it and go back a bit later and change your mind and fix anything you don't like (because - remember - the oils stay wet). So it's a very forgiving technique - great for novices like myself.
I finished off todays work by applying some pin-washing using AK's Enamel wash. This in itself added an extra touch of grim as well as the definition to the shadow areas and panel lines.
 |
| Amazing how a change of camera can effect the colour. My nice new Canon 700D gives a truer representation of Vallejo's 'Russian Green' than does the over-saturated green that the other - iPhone - snaps do on this page. |
No comments:
Post a Comment