 |
| Not how my 'Mad Max' car will look exactly, but inspiration! |
I was hoping to move quickly on to the next stage of this kit's construction - the interior cab - but I decided that the engine is going to be a lot more of a feature of the finished model than I first imagined. By default the Revell Willy's Coupe model has the engine mostly hidden away under a bonnet, but this seems such a shame - as it's such an attractive component of the kit - that I have decided that my design for this car shall do away with the bonnet (or hood) altogether.
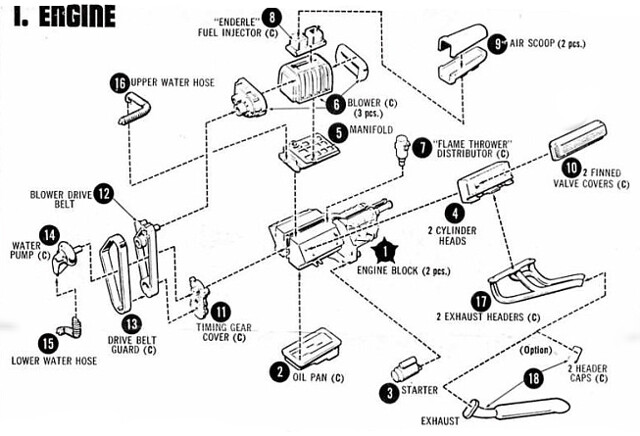
The upshot of this is that I now have to give the engine extra attention as it will be on show. But this adds a new set of problems (typically) as I now feel obliged to at least have a go at doing some minor detailing and paint the engine somewhat more accurately than I was originally going to. This also entailed my learning the names of the various parts of the engine so I could more easily research the parts for photographic reference.
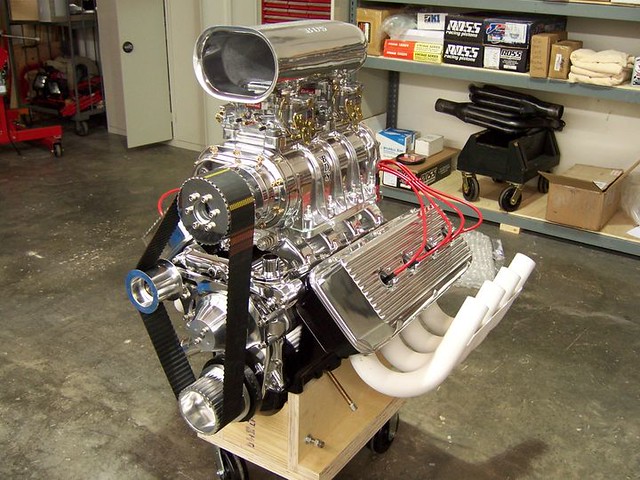
Thanks to Google I managed to actually find the actual engine that this model's power unit is based on. It turns out it is what is called a 'Blown 391 Hemi'...
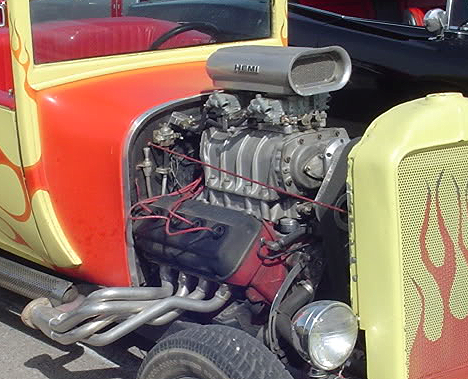
Obviously, this has the same issue as my original kit parts - it's far to shiny and pristine! What I want is a photo of this engine, but one that shows a well used and less polished example. Luckily Google comes to my rescue once more...
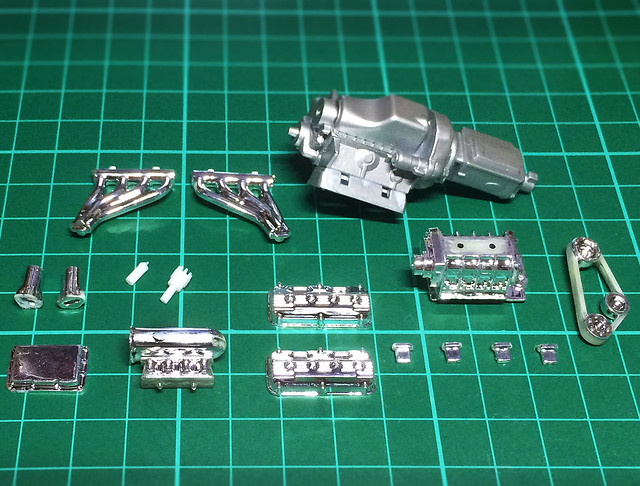
This reference gives me a better idea about how I will treat the various parts of my engine (though I do want to keep a couple of chromed parts, but will weather them). So, ironically, I have to take a step back to move forward and I begin by disassembling the engine again...
However, I had anticipated this and had used PVA glue to temporarily glue some of the parts together. This turned out to be such a good move that I will use this technique again to 'test fit' future models - a very useful thing to do so you can examine fit and see if there will be any construction problems before gluing the parts together permanently. (I used craft PVA this time, which isn't the stickiest available, so I will look for a PVA that is a little more instantly tacky.)
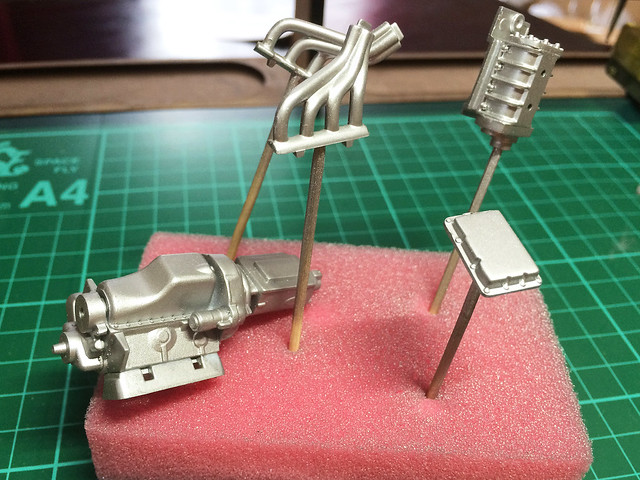
I started my painting by spraying the flat aluminium parts using a Humbrol acrylic aerosol. I hope to dull these down and weather them so they get a bit more grimy! (I gave the engine block another quick coat.)
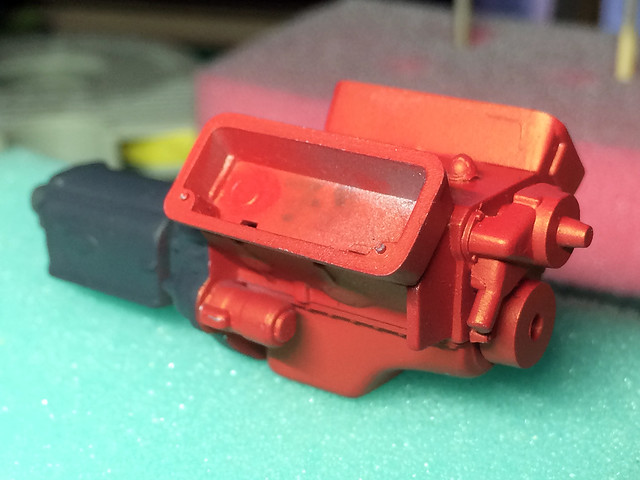
Next I started work on the final colours for the engine block. The main block will be a nice red over the aluminium, the rear gearbox will be a dull mid grey (these seem to be quite popular colours for the Hemi engines). I'll be using the hairspray technique to chip and flake the top coat colours (red/grey) so that the dull aluminium base colour shows through in places where the engine would be worn...
A light coat - just a couple of quick passes- of an aerosol hair spray over the silver base and then allowed to dry for about 10 minutes or so. Then I airbrushed the top-colour over the dry hairspray - I used a fairly 'dry' (or undiluted) paint mix without too much thinners as I have found that if you spray paint that is too 'wet' (too thinned) then the paint tends to run or 'crack' because of the hairspray.
You don't want the paint to 'crack' until you reactivate it later when you apply water to the top coat with a small brush in order to get the flaked paint effect that the hairspray technique is designed to produce.
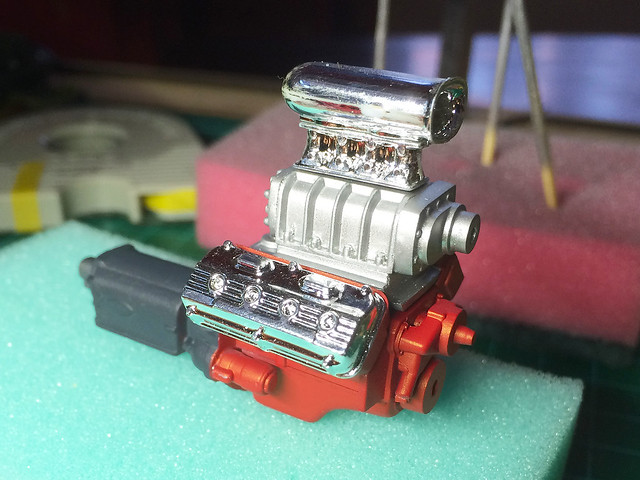
I couldn't resist popping together some of the parts to get an impression of what the finished engine would look like. The flat aluminium colour really contrasts nicely with the high shine chrome parts.
All the components of the engine are now in their base colours and ready to put back together again ready to shade and weather. And that's whats next...
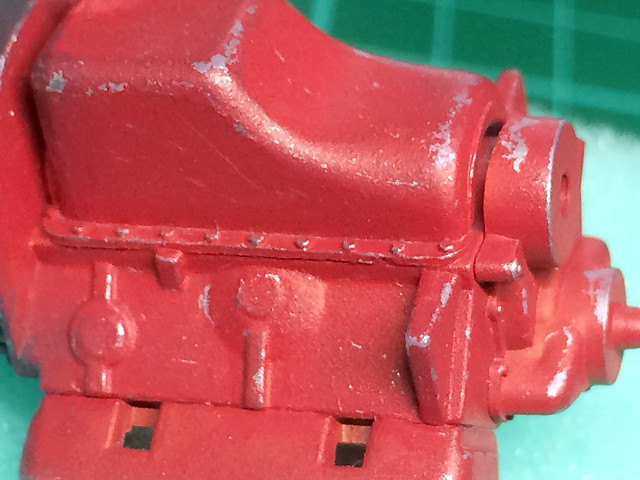
Update: Woke up this morning to find the progress I made before bed last night (either that or the 'hairspray technique' elves had visited in the night)! Quite pleased - having a smug mug of tea to celebrate - as I seem to have cracked this effect (excuse the pun)...
Now the first time I tried this effect I didn't have an airbrush and this seems to be the game changer if you want to do this effect properly. I wasn't happy with the result the first time I tried it using rattle-can spray paints but it seems that was because they spray on a layer of paint that is too thick. The airbrushed top-coat on this V8 engine really 'chipped' away just as the tutorials say it should - the thinner paint coat giving way with ease and far more subtly than with aerosol paints.
(I'm glad this worked as the hairspray technique is pretty fundamental to doing a rusty model car - so this was a useful test.)
Right...Now it's onto the usual weathering techniques - pin-washing and streaking with oils and washes - to finish off the weathering on the engine block.

No comments:
Post a Comment