First of all I have managed to produce a better canopy. I had to start from the beginning again (luckily I bought several of Airfix's P-40s so had spare canopies) and I managed to apply the Johnson's Klear successfully this time. There's definitely a knack to working with Klear...
Scale Model Guide - Cockpit Canopies-Acrylic Coating tips
Next I painted the canopy frame by hand. The result was quite acceptable, which just goes to show that even though you can do a lot with an airbrush there is a lot to be said for the good old fashioned paint brush - despite my shaky hand!

I first painted the frames using an enamel - Humbrol's Matt 105 (Marine Green) - as the varnished transparent plastic of the canopy seemed a little 'slippy' for acrylics. Once dry I then applied a coat of Vallejo's acrylic RAF Dark Green over the top of the enamel layer. I finished this all off with a coat of Humbrol's Satin Cote varnish (over the painted frame only, not on the transparent parts).
Gluing the canopy in place
At least I'm back on familiar and trusted ground again now. I attached the canopy pieces using Pacer's Formula '560' Canopy Glue. This despite the fact that I am not entirely sure how it differs from normal PVA - I suspect it's just very, very good quality PVA glue. But it's worked well for me up to now...

I should make a point of saying that the Airfix canopy parts are a very good fit and there were no problems. They simply slipped into place snuggly and very little glue was required.
Satin coat and decaling
Up until now I have been using Humbrols aerosol spray-can varnishes for my models, but now I want to move up a step and start applying my varnish coats using an airbrush. Obviously I am looking for a lighter, thinner varnish layer, aerosol spray layers being a little too heavy.
I have bought Humrol's Gloss and Satin Cotes, these are solvent-based varnishes and need to be used in conjunction with enamel thinners. This raises a lot of questions about thinning and how to use these varnishes with an airbrush, luckily Humbrol has produced a neat little video calming m trepidations about using a new medium (or at least an familiar medium in a new way)...
 |
| Nice side-effect of the light gloss coat was to slightly darken the RAF camouflage scheme. I had been worried that my version of the pattern had been too light. |
This gloss coat should ensure that the AML decal set I bought for my Tomahawk adhere to the model without 'silvering' (tiny air bubbles caught between the paint layer and the decal).
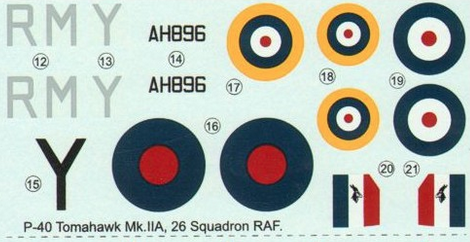
The decals - 26 Squadron, RAF, England 1941.
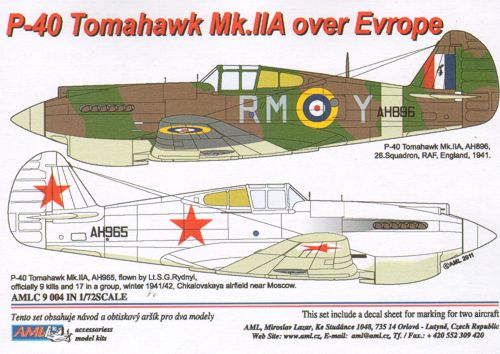 |
| Interestingly, AML's decal set for European theatre Tomahawks include not only the RAF example that I will be modelling but also a lend-lease Soviet P-40 which appears to be ex-RAF. It comes in a striking winter camo scheme. |
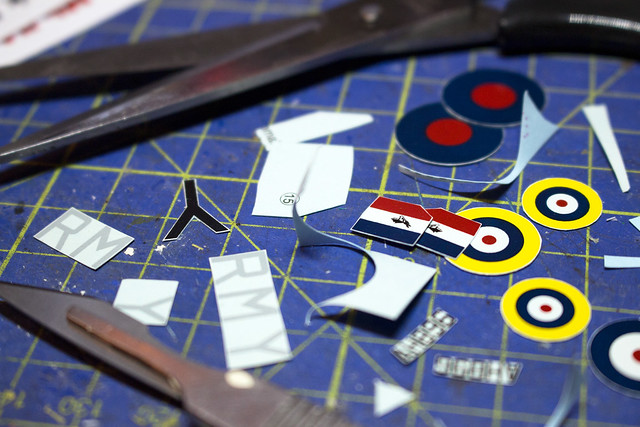
Trimming the decals is a time consuming and nerve wracking process - or at least it is for me! No room for shaky hands here, the closer to the decal the better but lettering can be a bit of a bitch...
Problems...Sticky varnish
I suppose when I am always trying out new things it means I'm always coming across problems, in this case the Humbrol Gloss Cote varnish remains sticky to the touch. I've searched on the internet and found that a few people have had this problem - and some have decided never to use this varnish again! Oh dear.
What I've decided to do is persevere and return to using my trusty Humbrol acrylic spray varnishes. They may not be as fine but they work and I am pretty sure that a layer of these over my Humbrol Cote layer will solve the stickiness issue. We shall see.
In any case, I've continued on and applied the decals...
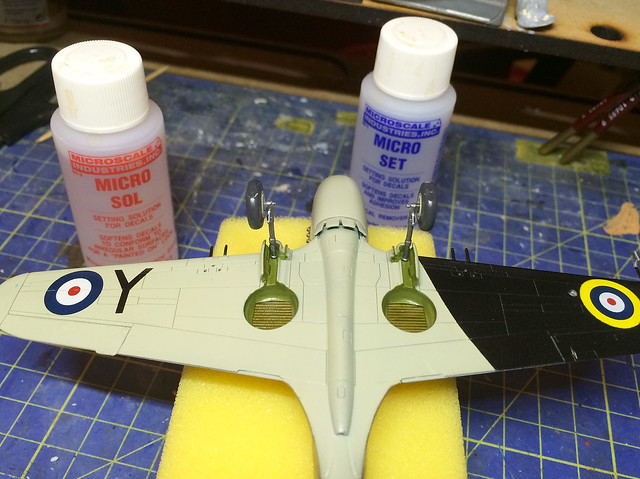 |
| A good excuse to show off the rather novel underside of the model - which, sadly, will be mostly hidden when mounted on the diorama I will be making. |
Next: Another coat of varnish to protect the decals and then onto the panel lining and weathering.
No comments:
Post a Comment