...So, moving along briskly, it's on with the painting. And, because I've a pretty well defined painting plan for these Soviet tanks 'briskly' is the operatively word...
[Note: I took the pictures as I went along with my mobile phone - for convenience sake - so, unfortunately, the colour reproduction varied wildly, depending on the lighting. My apologies.]
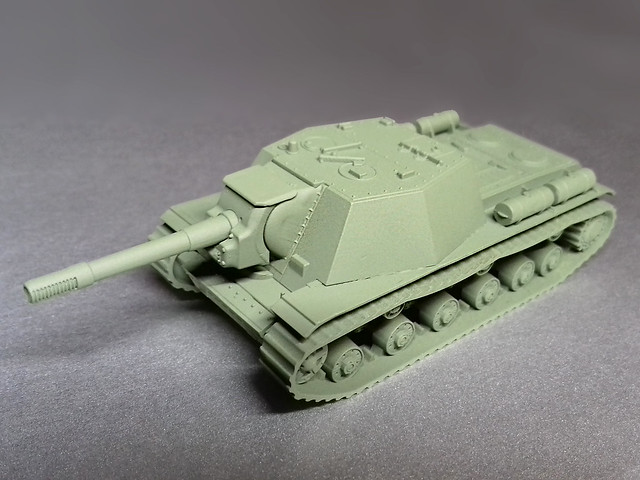
1. Priming - Humbrol Light Olive Green
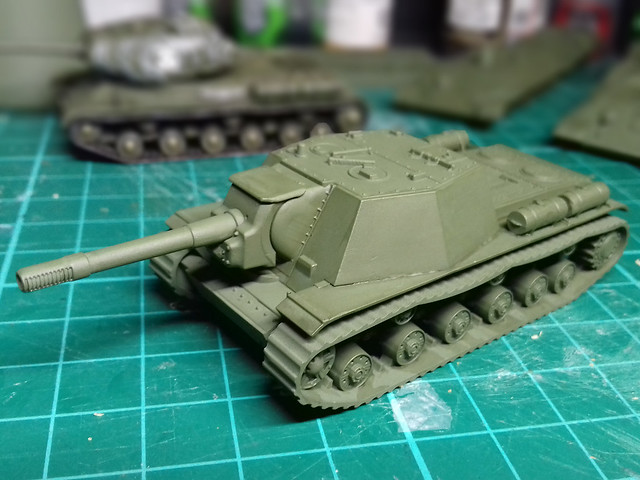
2. Modulation - Vallejo 'Russian Green' Wash
3. Painting Tracks - Basics
First stage in my track painting (for these 1/100s) is to base coat the tracks with a mix of 70/30 Vallejo Model Color 'German C. Black Brown' [822] and Game Color 'Plata Silver' [052]. This just gives the tracks a vaguely rusty-metallic lustre...
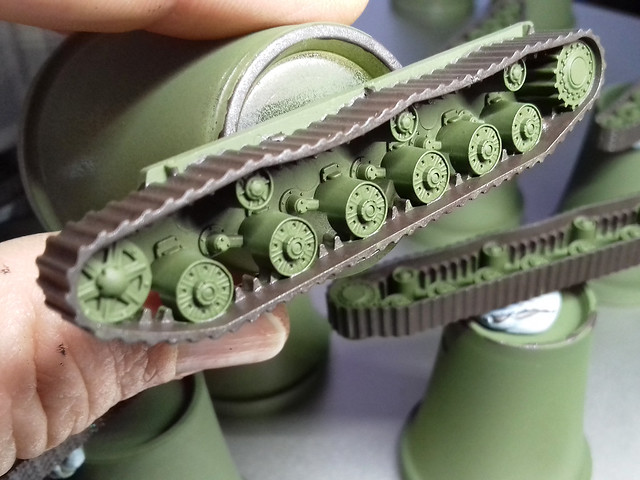 |
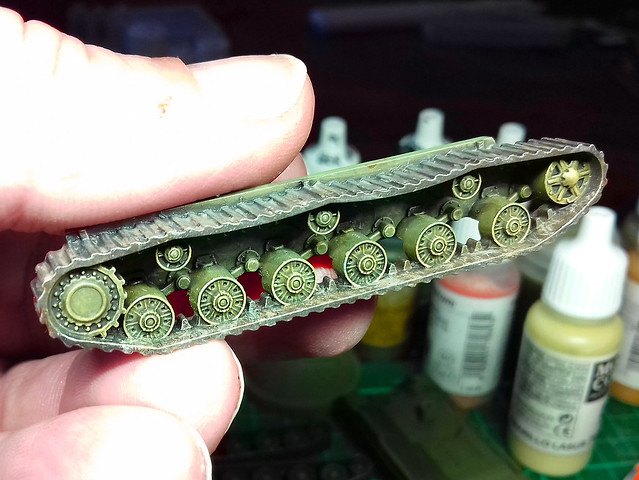
| This shot shows the very basic nature of the track detail (or rather, the lack of track detail)! |
Anyway, the wash gives nice definition to detail and gives the base colour a slightly dirty look...
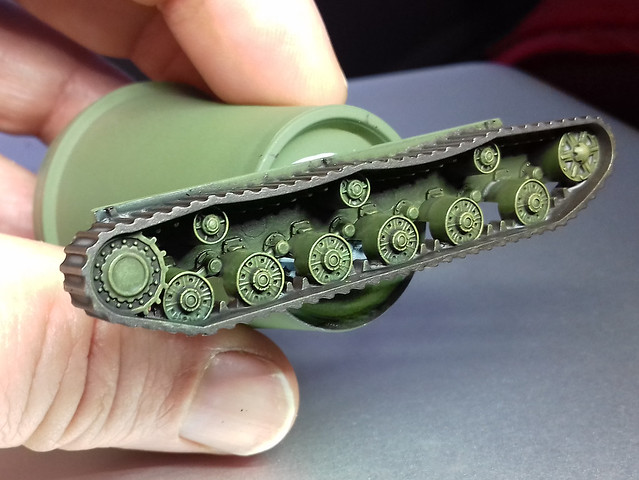 |
| Compare this to the picture above. Notice how the wash has picked out the details of the road wheels in particular. |
And finally (prior to weathering anyway), I do some pin-washing using Citadel's Nuln Oil shade [wash]. This is to deepen some of the most shaded detail in the road wheels...
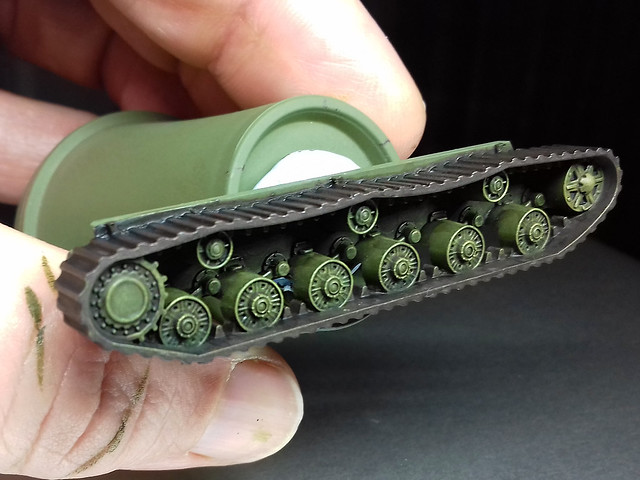 |
| Yes, subtle I know, but believe me, some of the deeper detail is now better defined and shaded. I may re-highlight a it, but otherwise onwards we go! |
These stages repeat the wash, highlighting and pin-wash processes described above. This stage is very subtle so I've skipped photographic it. BUT, it is worth doing as once the next stage of shading wash has been applied it gives some very subdued highlighting to raised edges and panel lines.
(As these are war-game models I've started experimenting with some high-contrast highlighting by using a little white. It's not very realistic per say but it is a nice effect. I highlight with my yellow/green mix, then dry-brush a little whiter mix on top - just on the very most prominent features.)
5. Shadow Shading - Citadel Agrax Earthshade
6. Pin Wash - Citadel Nuln Oil
With the pin-washing done, this brings the hull and the tracks to the same stage of basic painting.
7. Decals
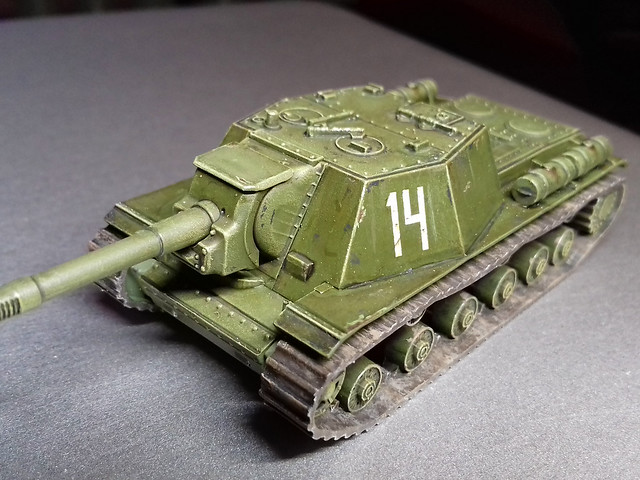
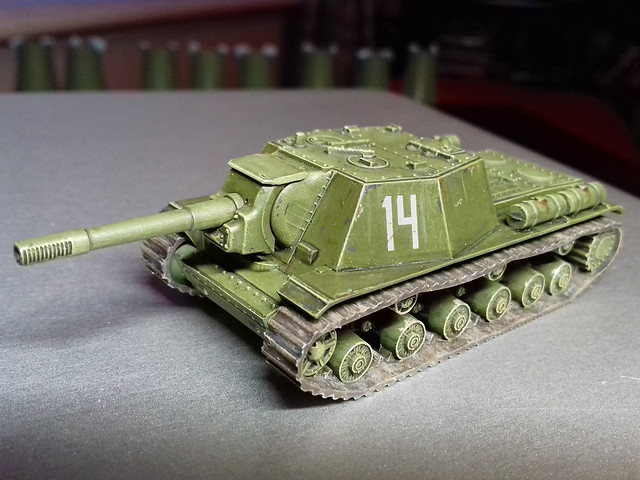
I'm not basing this tank on any specific historical vehicle, so the decals are just to add character to the model. I begin by a flicking through my collection of spare decals and found a set of - appropriately - large Cyrillic numbers ('14') that I thought would compliment such a big tank.
The model was prepped with a light patch of Humbrol's 'Gloss Cote' on the hull where the decal would be placed. As usual, Microscope's Micro Set was used to help seat and set the decal in place...
Sometimes less is more with Red Army armour!
(Another light coat of Humbrol varnish would be applied on top of the decal to seal the transfer permanently.)
8. Chipping, Grime & Weathering
As this is a war-game model there will be plenty of character about it, and this includes a slightly exaggerated amount of weathering. This is definitely 'just for fun' and not strictly historical.
I'll start with chipping as, it seems to me that, grime and dust would naturally occur on top of chips and scratches (maybe). I use Vallejo's Panzer Aces Dark Rubber [306] and dot and dab it in minute patches and scratches on areas I think would see wear and tear...
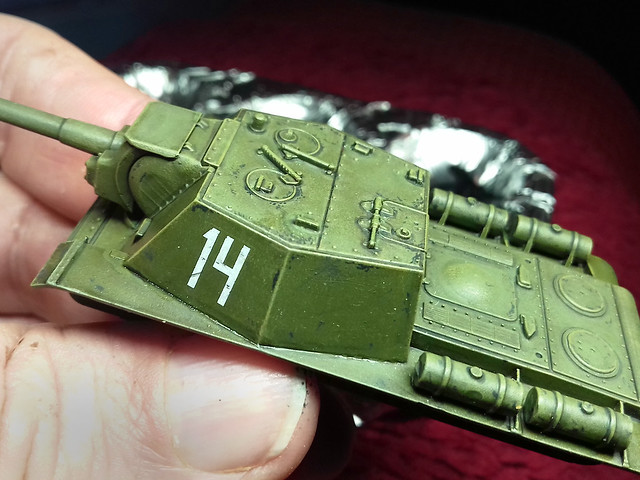 |
| It's debatable whether - at this scale - small detail effects like chipping are needed. I shall decide when I see the finished model. |
And finally, I'll add a few grime, stain and oil streaks to the hull and slightly discolour the decals to get rid of that 'new' looking brightness.
9. Finishing Tracks - Weathering
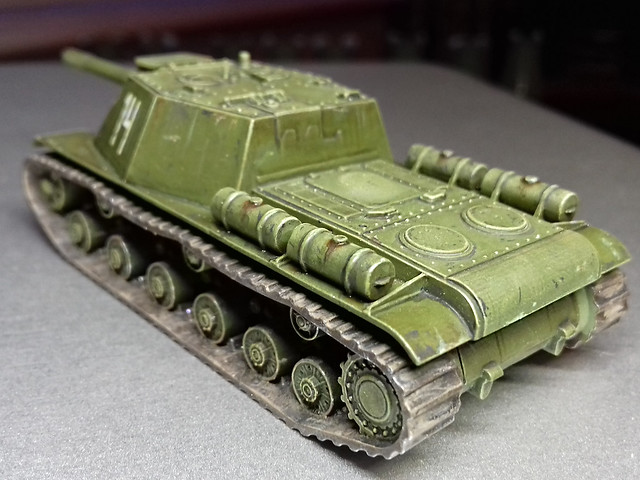
As above, there will be a touch of chipping and silver flecks to imply scratches (I also did a little silver dry-brushing to give a metallic sheen to the steel tracks). But the main job will be to add dust and dirt (or mud if I want a very weathered look). This is the bit I always dread as it's so easy to get carried away. So, before the mud...
(Edit: I thought the tracks looked a bit flat - in tone - so I added a wash of Vallejo's Game Color Wash in Sepia Shade [200]. This added a nice tinge of rust to the bare steel of the track links.
And, after the mud...
 |
| I'm not happy with my 'mud' technique yet. I keep trying out new medium, in this case it's Tamiya's Weathering Sticks. I think I prefer powders. |
Well, I just can't resist tinkering and I did some more chipping and streaking. But that's normal with me - I just can't leave well enough alone!
I'm fairly pleased with this model, though a little disappointed with how the tracks turned out. It's perhaps half to do with how simplified the tracks were - offering scant detail - and half my poor 'mud' painting technique (I shall have to practise with some other medium).
But, let's not get too negative...This is a perfectly fine war-game piece for GF9 Tanks, and that's the main thing.
All that's left if to varnish the model. I'll probably go with several light coats as it's intended to be handled. Other than that, it's on with the next models in this project - my T-34s.


Nice work
ReplyDeleteI really look forward to following your guide in the not so distant future! I have Soviets hoards beckoning!