Cleaning, Priming & Base Colour Planning
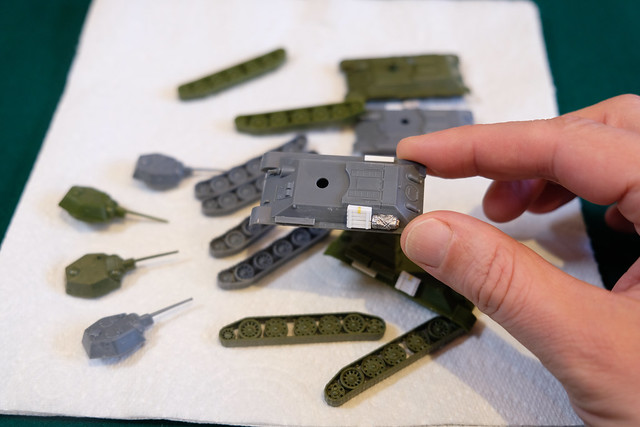
A process I - and other modellers - do, and yet I have never mentioned it on this blog, is to wash the 'raw' plastic sub-assemblies before priming! I don't know why I have never mentioned this before as it is quite an important stage in the painting process.
It's also a very simple process (maybe that's why I have overlooked it before), but novice modellers tend to either not know about this process or chose to ignore it.
To be fair, I didn't clean my raw models before priming when I started, but when I did eventually try it I immediately understood why people do this. For example, I tend to file and sand my models a lot - either to remove sprue nubs or moulding seams or to correct details - and this causes microscopic particles of plastic dust to cling to the surface of your kit.
For some reason, you only seem to notice these small grains of plastic once you have primed, and then it's too late. Sometimes the tiny blemishes can be scraped off and the primer can be retouched, but there is nothing more annoying than discovering particles of dust spoiling you nice neat primer coat!
So, I bath my sub-assemblies in warm, soapy water. This gets rid of most particles and any surface grease left behind by your fingers (this can be just your natural skin oils, but can form a barrier to the primer paint).
Priming
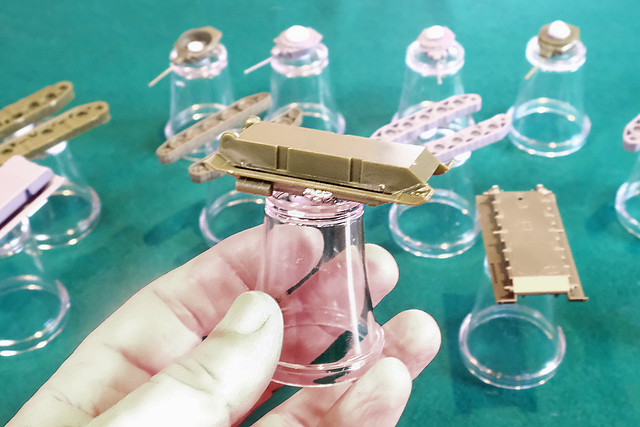
Before spraying I mounted all of the sub-assemblies onto little plastic shot glasses that I got from a local thrift store. I like to mount parts for spraying and painting as I like a 'handle' to hold onto the part. It makes it easier to manipulate for painting details.
I have used cheap corks before, but I prefer these shot glasses as they can put down and stand on their own, which is great for when paint is drying. I stick the parts to the glasses using BluTac...
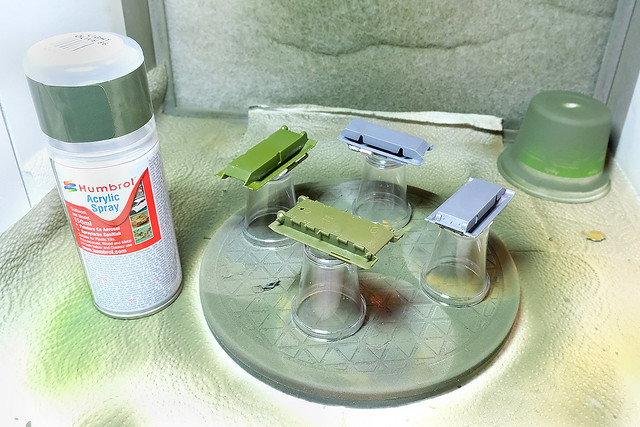
And from there it was onto the spray booth turntable. As usual, I'll be breaking out the Humbrol [86] Light Green Olive Acrylic Spray as a light base for my 'Russian Green' wash...
As much as I am enamoured by this particular make of rattle can, I'm starting to question the economics of aerosols as primers, more especially when you have several identical models to spray. I'm considering moving across to airbrush primers once I have gotten back to using an airbrush again.
But, in the meantime, I am still impressed with the nice smooth coat that the Humbrol spray gives me...
Planning the Colour Scheme
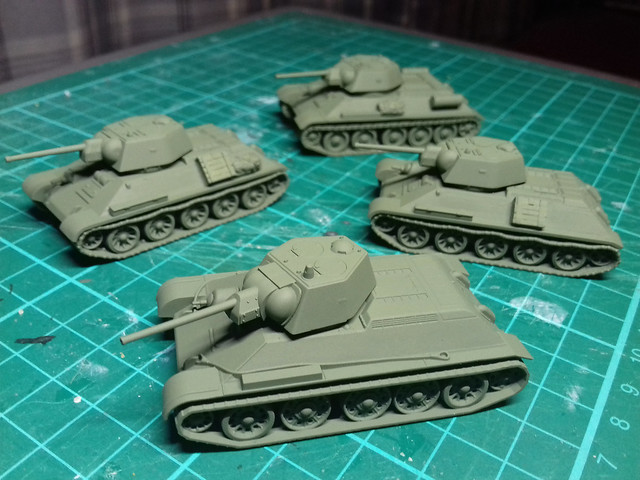
Being mid-war Soviet tanks you could get away with a very simple colour scheme, Russian Green. But I'd like to do something a little different, just to give some visual variety (I know some people like uniformity when it comes to war-game tank squadrons), so I looked around to find examples of those rare occasions that the Red Army used camouflage schemes.
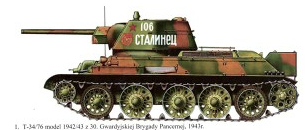
While the Soviets made great use of winter schemes, summer multi-coloured camo patterns are relatively rare as far as I can see. But I found one example that looks interesting...
I've seen this two-tone green and tan/brown scheme a couple of times and quite like it. I'll probably just do one of my T-34s in this, just to imply that different regiments are involved in my game. Just for fun! :)
As for the other three, variously weathered plain green, I think.
Next: Painting.
No comments:
Post a Comment