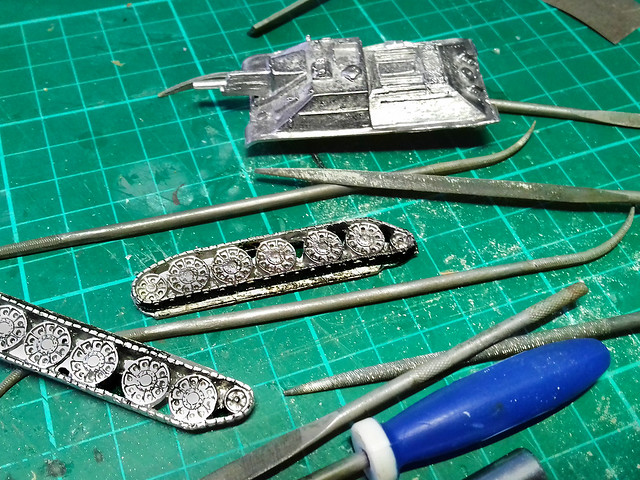
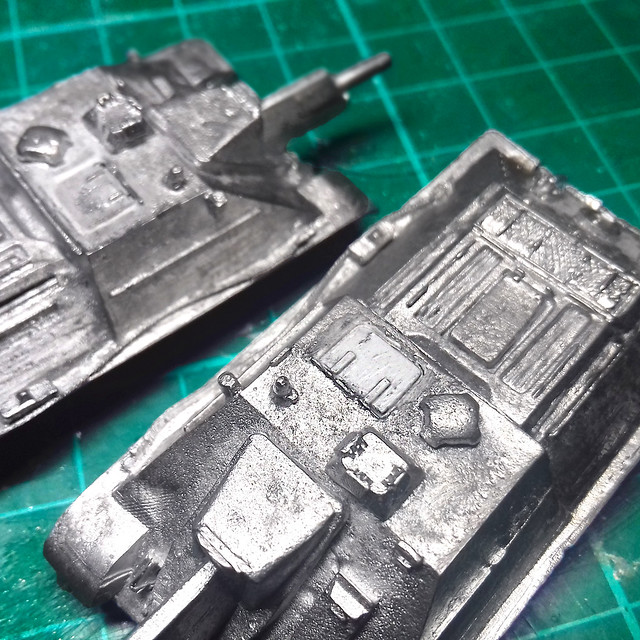
On with the prep work...This is the downside of white metal models and I find it a little tedious.
My main grumble about white-metal models is the inherent volatility of molten metal and it's propensity to distort and 'boil' (for want of a better word) during the moulding process. This effervescence of the molten metal during its transition into it's hardened state invariably results unpredictable flaws and blisters...And, sadly, such is the case with my SU-122.
I don't know why, but 'flash' always seems to form right at the most obvious point on a component, rather than at a point that is easily hidden or not seen...
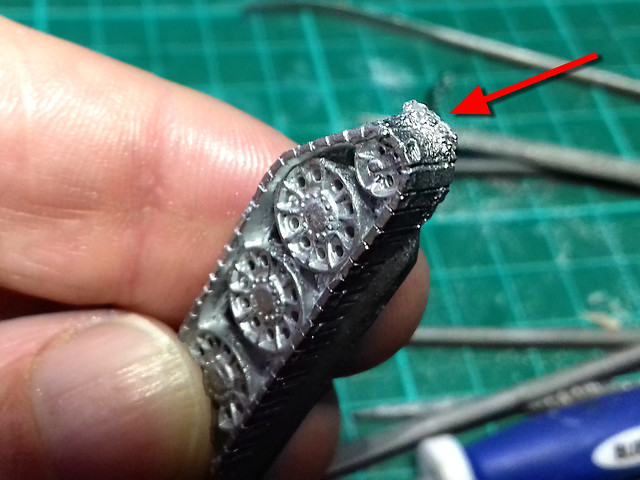 |
| This carbuncle of metal 'flash' had to form *right* on the front of the track! |
Simply removing the unsightly protuberances and neatening up may suffice for a war-game model...
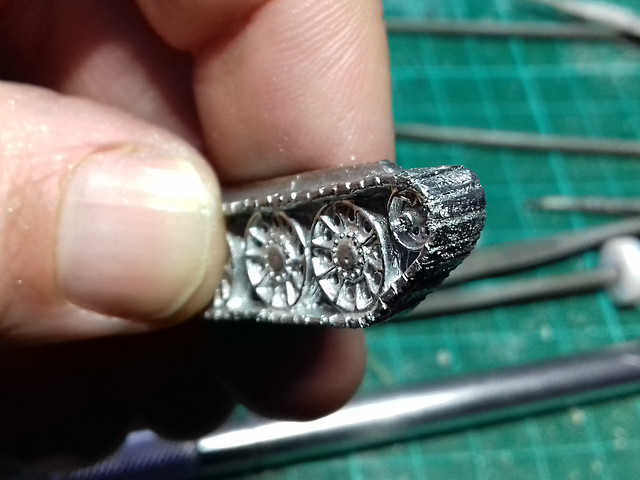 |
| Sadly, in filing down I have also lost some of the track pattern detail. :( |
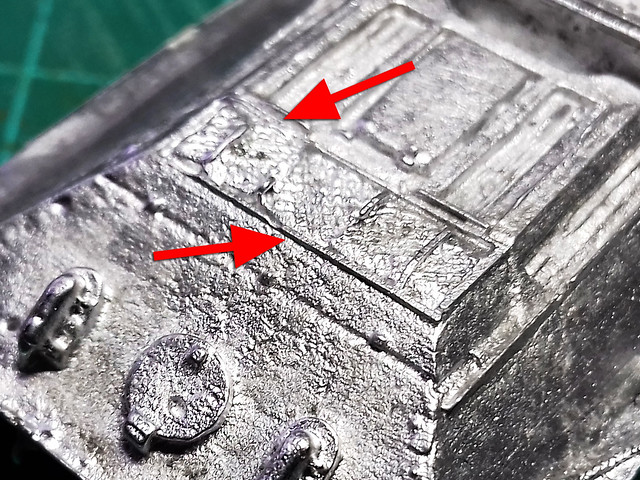
It's the same on both models and is very disappointing. As I said, I don't want to try and rebuild flaws like this using Milliput or styrene strips and filling down in preparation to rebuild might actually do more harm than good. Perhaps a bit of judicious painting might help camouflage the broken detail.
On piece of work I did have to do, though, was on of the commander's hatches which I lost to the infamous Carpet Monster! However, it was a very simple job to cut a new rectangular hatch from a piece of styrene sheet and then to glue a couple of thin hinges on...
 |
| My replacement commander's hatch. |
Priming
Having got everything prepared (there was LOTS of labourious filing) I started to add the extras to the hull using superglue. I was a bit disappointed that the external fuel tanks had to be just glued directly to the surface of the hull - without any guide pins or holes - and the side mounted tool boxes did not fit at all (I had to make my own out of plastic). Also, it turned out that the metal unhitching logs were a bit oversized and looked a little odd so I ended up leaving them off completey.
You do have the option to leave off the fuel tanks (reference photos show the SU-122 with and without them) and if you do that there is enough space for adding an unhitching log. But I would still recommend that you make your own log out of thinner diameter plastic rod.
All that done, I primed with Humbrol's Light Olive acrylic spray, just as I have with the rest of my Soviet armour for this project...
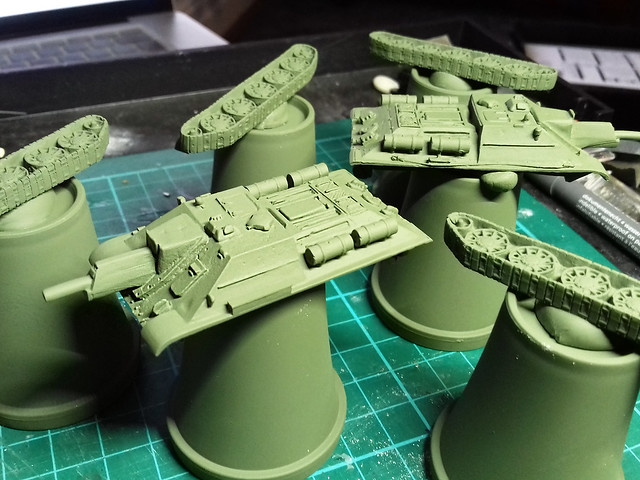
Well, they don't look quite as bad as I had imagined that they might when I looked at these model in the raw metal. Hopefully, as I apply more painting effects they will look even better!
I do have to keep reminding myself as these models are intended to be seen at tabletop distance (say, at least two feet away - don't ask me what that is in centimeters). So, we shall see.
Next: Operation 'Disguise the shoddy detail with paint' begins!
No comments:
Post a Comment