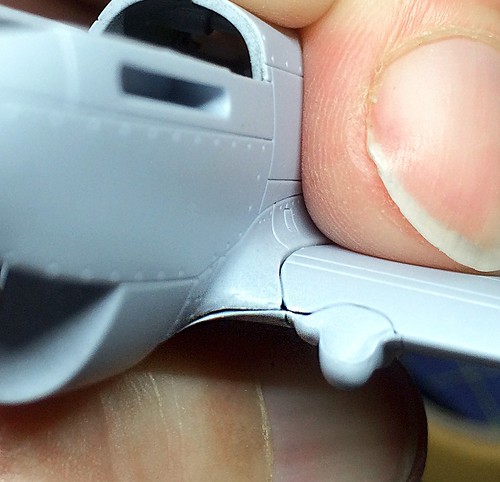
As I showed in my last instalment of this build I had already noticed - during a 'dry fit' - some gaps where the wings and fuselage joined. My problem now was how to rectify this or how best to manage this problem at the gluing stage. Putting the glue to plastic always seems a permanent action and not the time to suddenly think of a better way of doing this once you are done sticking things together.
I did a bit of jiggling about and decided in what position all the various parts sat together best. It was a case of choosing the least bad fit!

The wing root seam was a bit adrift with a noticeable gap between fuselage and wings. Though as I showed in my last post the main gaps were at the front of the wing roots where all three parts - lower wing, upper wing and fuselage - meet.
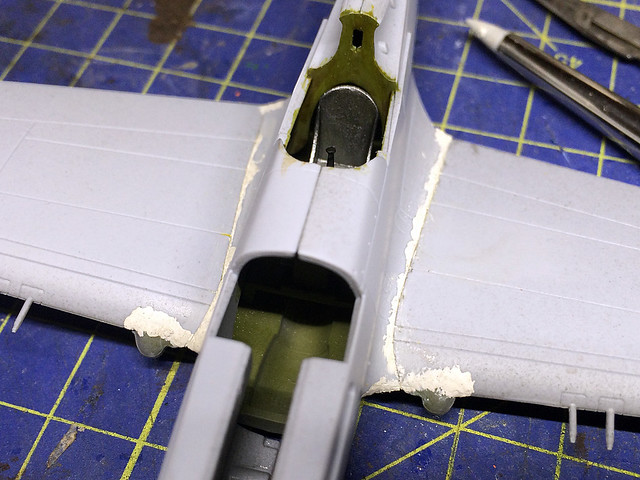
There are various ways you could try to rectify this, I've seen some modellers try and 'pull' the wings up and together to get rid of the seam gaps but I don't think this will work for me. I think it's a straight forward job of filling and sanding...So it's Milliput time...
I found this tricky as I did want a join line to show, I didn't want a smooth and seamless merging of wing and fuselage.
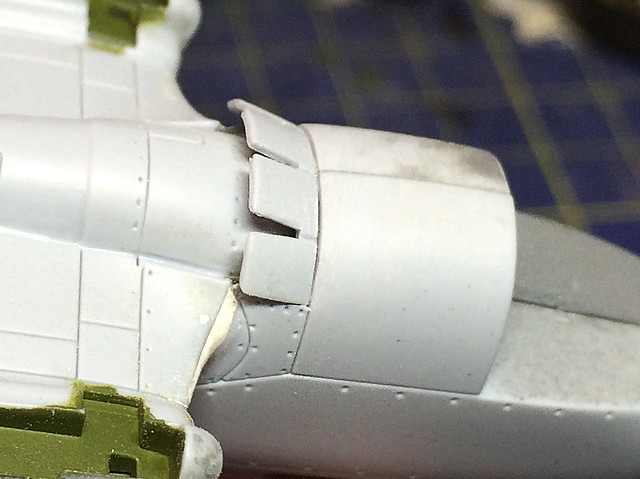
The cooling flaps
Panel 7 of the Airfix instructions relates to the fitting of the cooling (or cowl) flaps, which sit below the nose just aft of the air intake. Airfix offers optional parts for this, the flaps in 'open' position and flaps in 'closed' position...The question is, when/why do you use either of these parts?
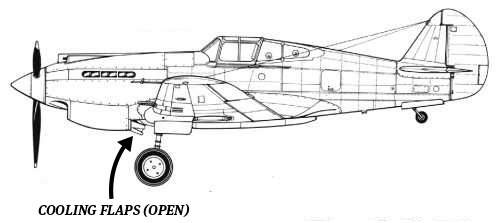
From what I understand - the flaps aid in the air-flow over the radiator. The air goes in through the P-40's big 'mouth', cooling the radiator and exits via the cooling flaps. So, the more open the flaps are the more efficient the cooling but - as a consequence - the greater drag. So, I believe that - in order to maximise combat effectiveness (regarding high-speed aerobatics) - the flaps are designed to close when the throttle is opened thus reducing drag, and open again as the throttle is closed! [Feel free to correct me if I have this wrong!]
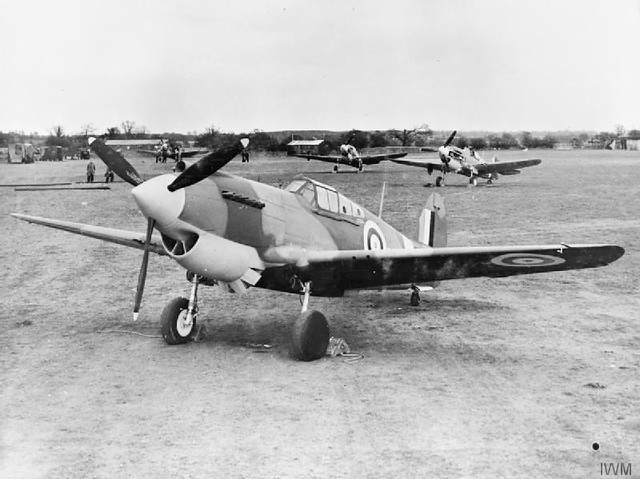 |
| This Tomahawk of No. 403 Squadron RCAF at Baginton, Warwickshire shows the cooling flaps fully open (I guess because the throttle is fully closed, the engine being off in other words). Photo source: © IWM (CH 17252) |
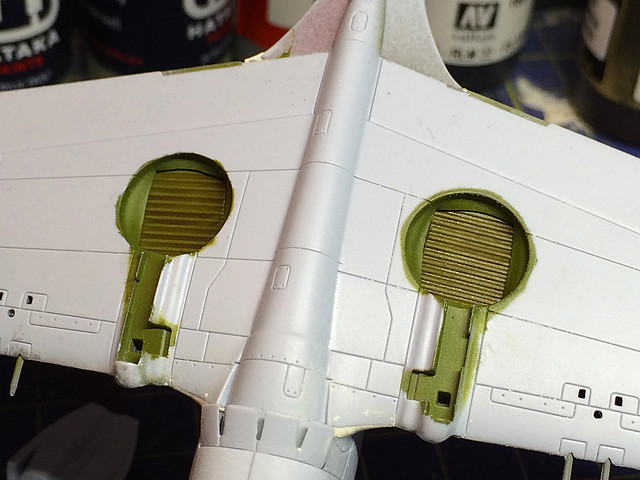
While looking at the underside of my Tomahawk I should mention that I finished painting the undercarriage wells. I had already painted the 'top' of these wells which are part of the underside of the upper wing components (these consist of a square shaped louvre - or striped - pattern). But you also have to paint the lower part of these wells which are integral to the lower wing section. Again, I have used Vellejo's Interior Green shaded with a tinge of yellow.
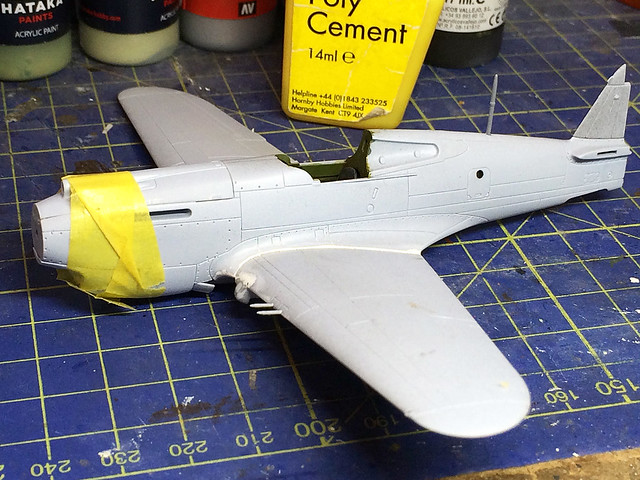
And finally, I come to the bit in the modelling of this P-40 that I've been looking forward to...The fitting of the signature nose components.
The Airfix approach to creating the distinctive P-40 nose is novel, but I can appreciate why they have done it the way they have (rather than simply making the upper and lower nose integral to the rest of the fuselage halves). In giving you these components as completely separate parts they have been able to create smoother and more realistic models of the Tomahawk. For example, the tubular carburettor air intake on the top of the nose is beautifully shaped by Airfix, which might not have been the case had it been a two part construction with a centre-line seam.
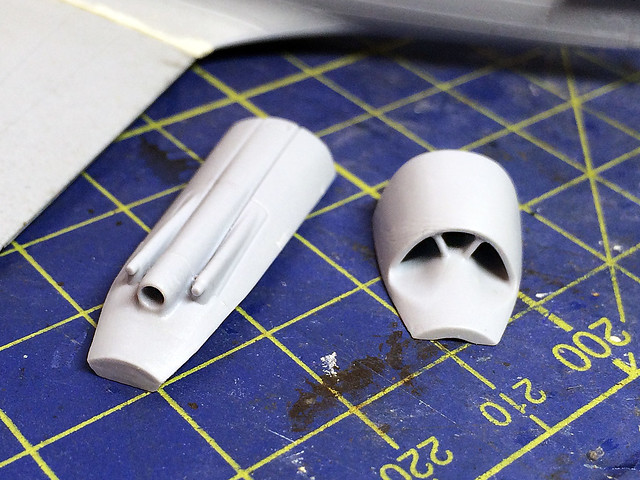 |
| Lovely mouldings, the Airfix nose detail really makes the P-40. They're the most distinctive features associated with the legendary aircraft that would have suffered had they been moulded as part of the fuselage pieces, in two parts. |
I believe cowl flaps are opened when you are at high power but low airspeed to aid in the flow of air over the engine. They then are closed as airspeed increases and they become less necessary to aid airflow.
ReplyDeleteIt's all complicated stuff isn't it! Glad I'm just making kits and not flying planes. Thanks for the information, at least I know a bit more now.
DeleteKnowing is half the battle!
ReplyDelete