Diary of a novice scale model maker and his adventures in the wacky world of Braille Scale.
Sunday, 31 August 2014
Pegasus 1/72 German Army Truck - Part 4
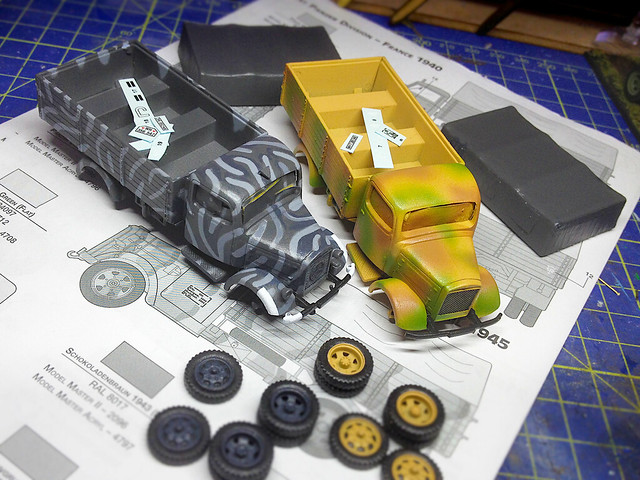
Before I begin the application of the decals there were a couple of little jobs I needed to do to prepare for this stage, the most important of which was sourcing some suitable decals to begin with! As the Pegasus kits do not come with decals - and only offer a vague paint scheme suggestion as part of the box artwork - it's pretty much up to you to research an appropriate finish for these trucks.
Luckily for me I also happened to be working on a conversion of an Italeri Opel Blitz and this offered some painting ideas and a set of suitable decals (while these were for variations of the Blitz truck in German service I figured they would be similar markings to those which would have appeared on Mercedes L3000 as it was in service at the same time).
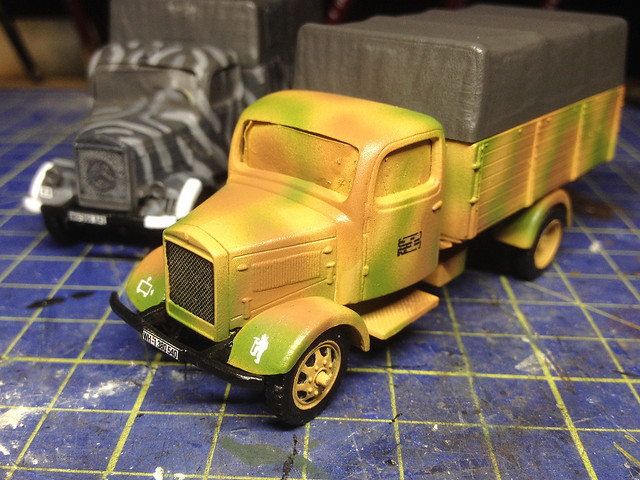
I used Microscale's Micro Set and Micro Sol decals solutions to set and to soften the decals so they went onto the surface nicely. Micro Sol softens the decal so it conforms to any moulded detail on the surface of the model - for example, the unit decal on the side panel of one of the trucks sank into the gaps between the planking so that it looked like it had been painted on. Micro Sol is also good for getting rid of any noticeable edges on the decals, it smooths them out so that they look as if they are part of the surface rather than stuck on the top.
The end result is very pleasing. To finish this stage off, and seal the decals on, I give the models another light spray of Humbrol's Acrylic Gloss Varnish - this also sets me up for the next stage in the project, the weathering stage.
Subscribe to:
Post Comments (Atom)


The Late -war pattern could of come from the box cover pic. really nice job on both trucks.
ReplyDelete