Showing posts with label Warlord. Show all posts

Sunday, 19 March 2017

Bolt Action British Commandos Part 8

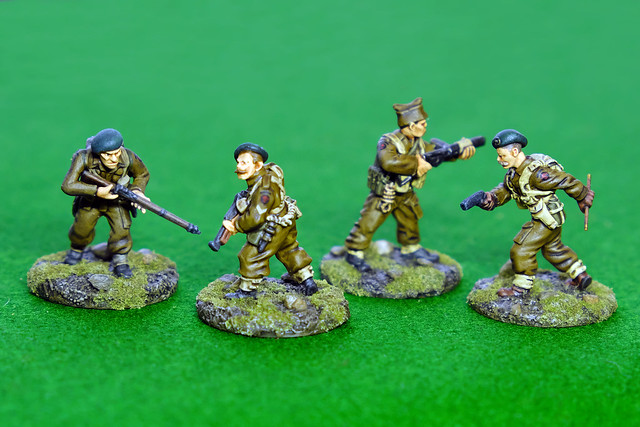
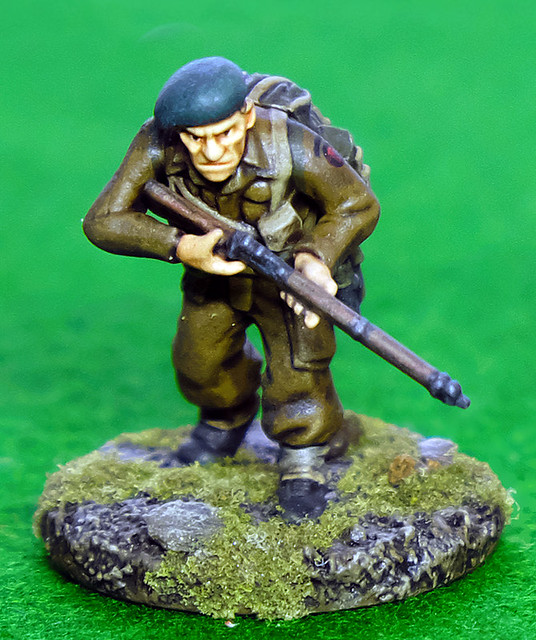
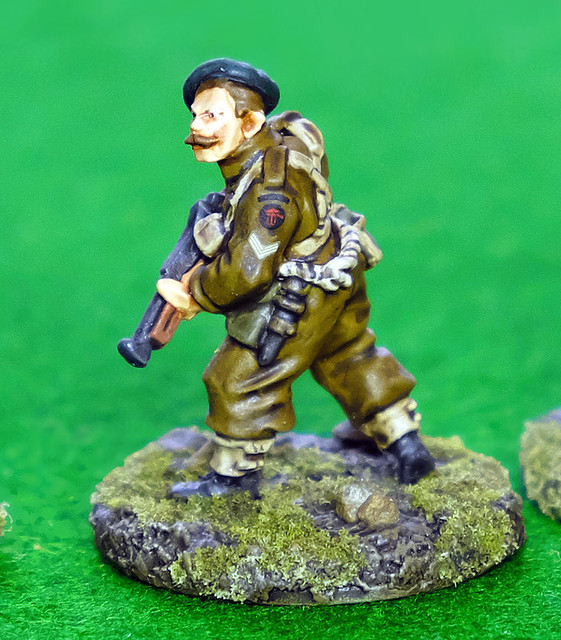
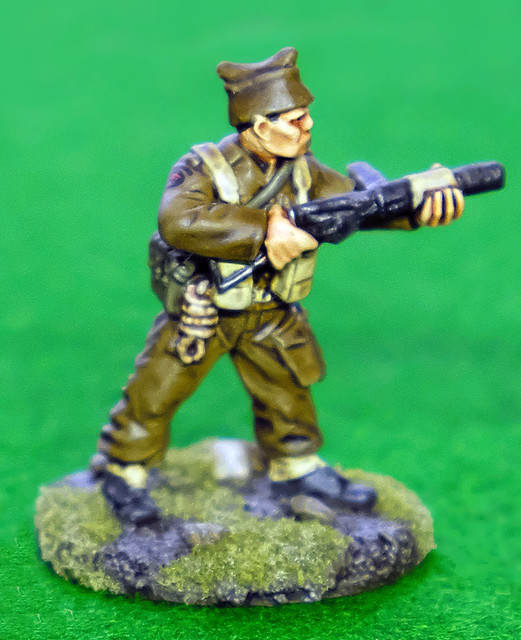
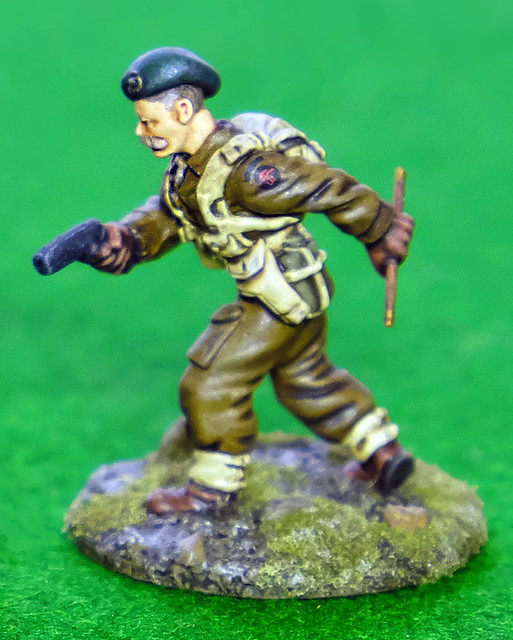
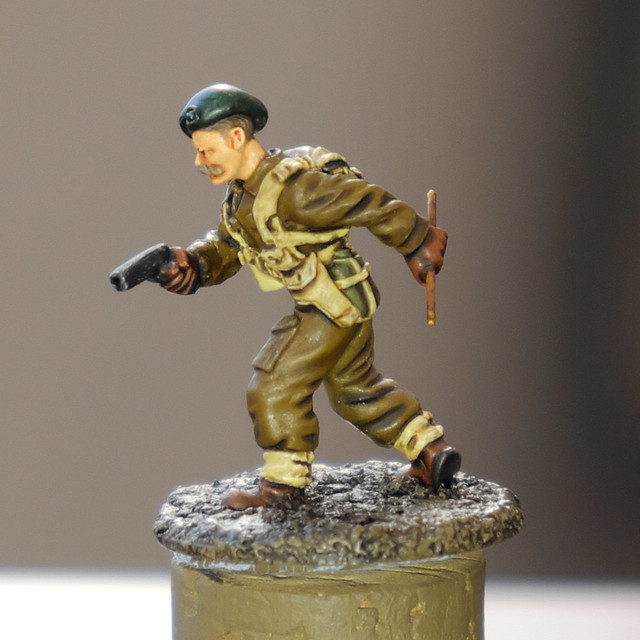
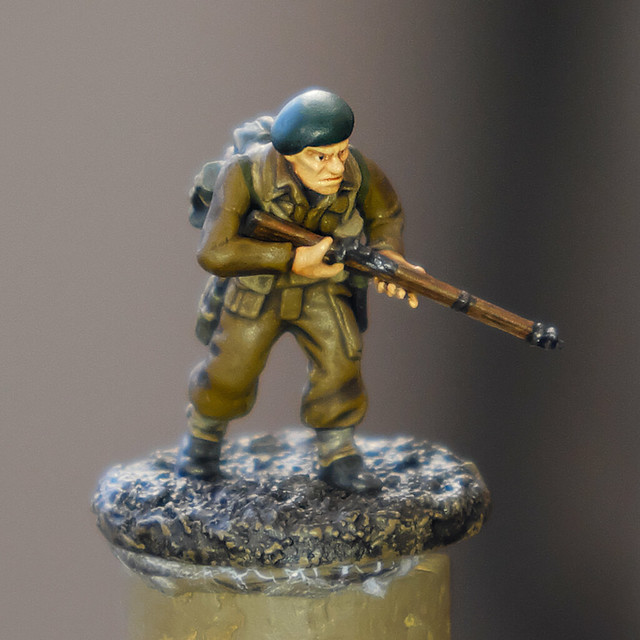
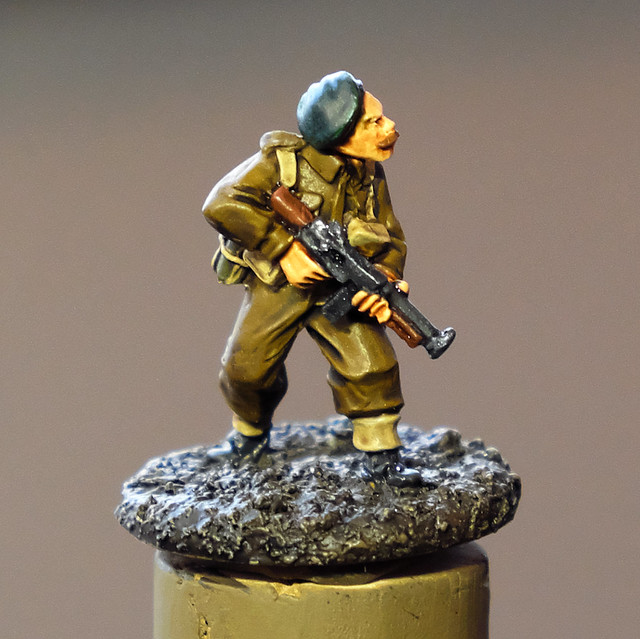
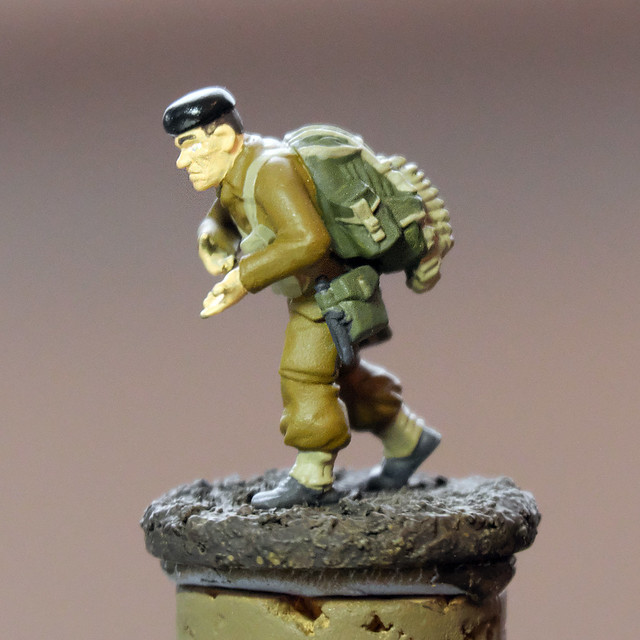
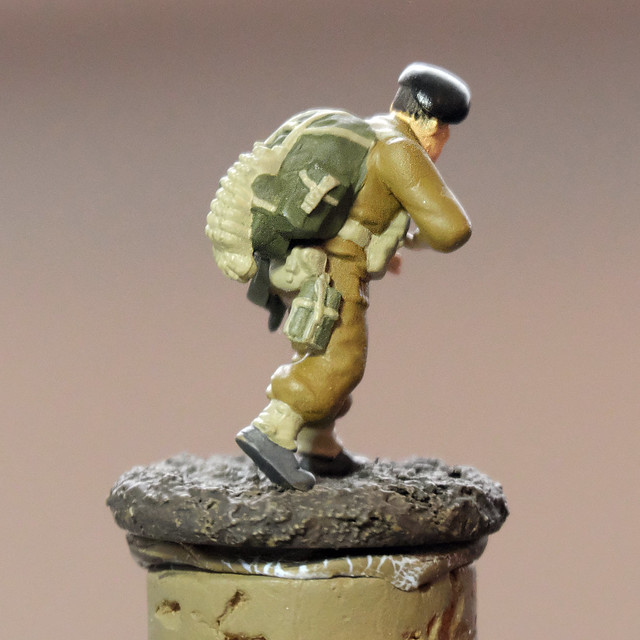
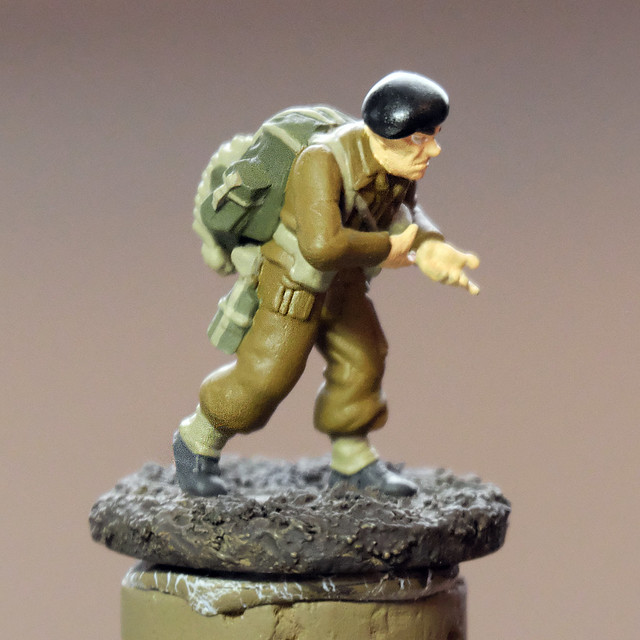
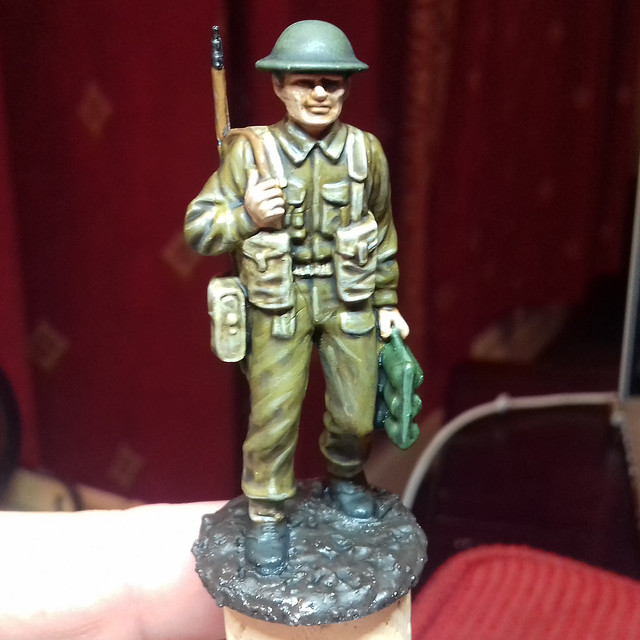
Finished the initial test figures...
Well, about time I finished something! Because these were my first experiments with 28mm figure painting it took a bit longer than I expected, mainly because I changed my mind about my colours a few times.


Like I said in an earlier post, the colours aren't exactly historically accurate. Rather, I have modified the colour palette used to suit tabletop gaming (so the contrast and lightness is somewhat exaggerated). Having said that, I am quite pleased for my first attempt.


That done, now the real work begins...I shall be starting to put together my first Bolt Action Commando platoon!

Tuesday, 7 March 2017

Bolt Action British Commandos Part 6

Just some minor progress as I continue to experiment with my 28mm test figures. I'm slowly feeling my way with the 'Bolt Action' style of painting - which has been described to me as 'heroic' (in the vein of 28mm fantasy figures) - and I think I'm getting somewhere...

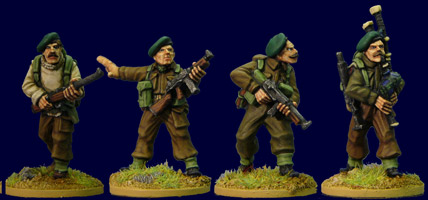
My four 'guinea pigs', brands from left to right - Artizan, Warlord, Black Tree & Dixons.
It's slow progress as I have repainted certain parts a couple of times as I adjust and refine my colours. And I have finally come up with a palette that I am happy with. Ironically, it's not entirely historically authentic.

Drab World War 2 Uniforms being what they were (with good reason), the earthy tones tended to blend at a distance. This is not necessarily so attractive for a tabletop game where it's nice for your army to be easily identifiable and distinct from your opponent. So I have exaggerated contrasting colours a bit to make these figures something of a caricature of WW2 British Commandos.


Overall, I'm pleasantly surprised and pleased with my progress. 28mm is turning out to be a very nice compromise between the 1/72 and 1/32 scale figures that I have worked on before, a nice amount of detail but not too big a 'canvas' (1/32 does take quite a bit of paint)!

Things left to do:

• Finish base terrain (add grass and some 'rocks')
• Maybe add some highlights to faces and berets
• Gloss figures and apply shoulder decal badges
• Apply light matt varnish coat to flatten gloss coat

Friday, 3 March 2017

Commando Raid!

Oh, nice delivery by Mr. Posty! Though, in a way, this arrived a little sooner than I might have wished it as I'm still tinkering with my Commando test figures...


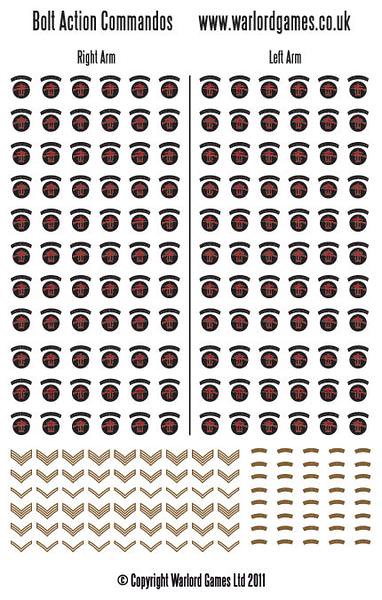
A useful advantage to buying the Warlord Commando starter set - aside from the cost - is that this set includes a set of decals for the Commandos' shoulder badges...


Should be interesting putting all these on (though I'm pleased to see that they include - in theory - enough decals to do 66 Commandos...IF you don't spoil any of the transfers!)

Still, I guess I now have to decide how my Bolt Action Commando force will be put together. At this stage, I am looking at just a modest 500 point army, so the core will be two infantry squads. And I know I want to take advantage of the Commandos strong points, particularly for close-in fighting, so one of those squads will be heavily SMG based (the other being rifle for longer range engagements).
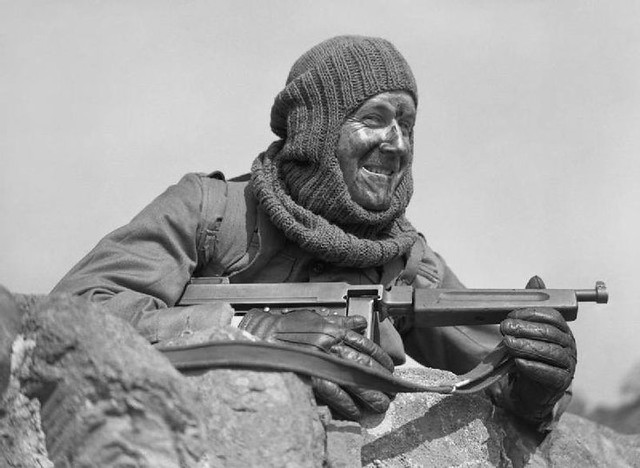
The 'coolness' of the knitted Balaclava helmet was a short lived thing! LOL
I'm sure my opponents at the Scarborough Games Society will soon show me (and take advantage of) any errors and weaknesses in my organisational skills! :)

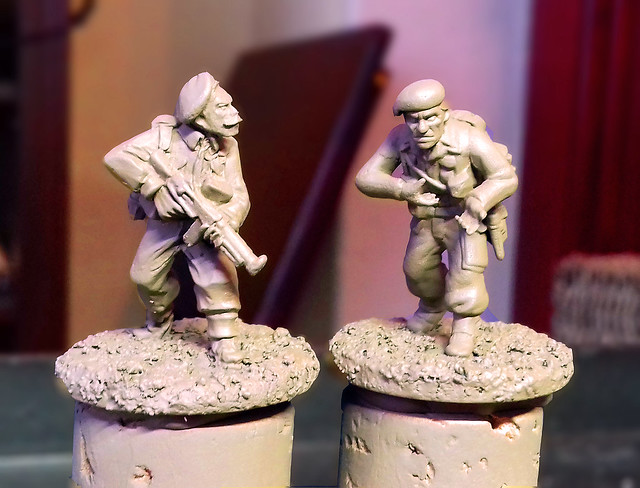
Another new arrival was a couple of figures I ordered from Black Tree Designs. While the bulk of my army will be made up from Warlord's plastic figures - to keep costs down - I still want special characters within my army to be ones from the Artizan Designs range. But, at the same time, I also wanted to have a look at other makes of 28mm Commandos out there.

Here's a little selection of some of the samples I've bought so I can compare them...


All of the metal figures I ordered are a smidgen taller than the Warlord plastics, but not as much as you might notice when they are mixed in together. The tallest figures are the Black Tree Commandos, which is a shame as this is the only range that includes things like silenced weapons and specialist demolition teams (the downside is that they are wearing the comforter - or 'watch cap' - instead of a beret).

The Dixons Miniatures figures are rather nice in their own way - and are closer in design to the Artizan ones if you want to mix and match - and they have some nice individual poses. I bought the officer with Colt 1911 (or possibly a Browning HP35) and the walking radio operator as they are something the other ranges don't have. One advantage of Dixon's Commandos is that the poses come with the options of headgear - beret, comforter or helmet.
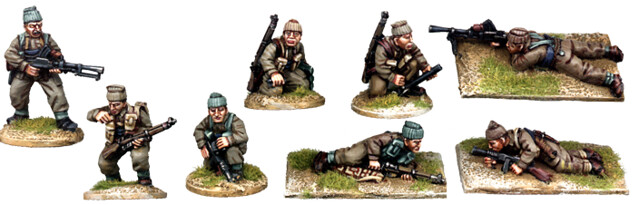
Foundry Commandos
 I came across two other ranges - Foundry (wearing comforters) and Westwind's Berlin or Bust (wearing berets) - but they were both a bit pricey, with basic sets coming in at £11 so I didn't bother with them. But, they did look very interesting. Let me know if you know of any other 28mm WW2 Commando miniatures out there!
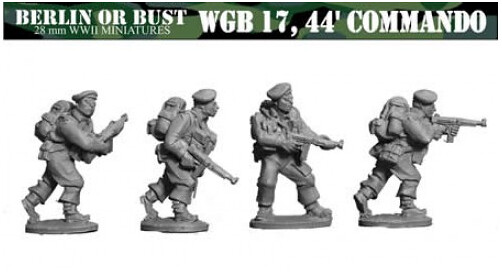
Westwind Commandos

Wednesday, 1 March 2017

Bolt Action British Commandos Part 4

Painting Tests of 28mm Figures - Base Colours
All the tinkering and cleaning up done, my two test figures are ready for priming. As an experiment, I decided to prime the figures using Humbrol's 'Dark Brown' Acrylic Spray...


Normally I would use the normal priming colours of either black, white or grey but I was curious to see if using a colour more in harmony with the overall tones used in the figure would be advantageous. These British Commandos will be predominantly Brown/Khaki uniform and tan flesh tones so a mid/dark brown base seemed logical.

Aside from this change, I am using the same basic colour procedure/recipe that I used in my first 1/32 test figure. So, I will be starting with the uniform and Vallejo's 'English Uniform'. This is pretty much standard for many figure painting tutorials for these figures I have seen (though some suggest a browner mix) and I have gone with this in the hope it goes a little browner after a wash is applied (as with my painting test).

Colour rendition on the web is all over the place, but I
have decided to go with the above reference (left) for
my British Commando uniform. Source: Unknown.

Webbing Woes...
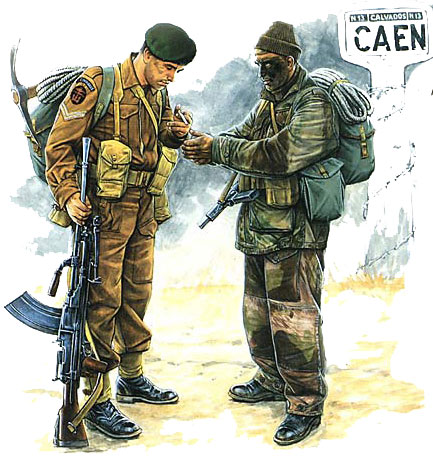
The webbing is *still* a bit of a quandary - do I do it early/mid-war khaki/beige or do I go for a later war khaki olive to represent webbing which has had 'Blanco' applied? In the end, I plumped for khaki as the majority of reference material showing Commandos I have found shows them with the khaki 1937 webbing set, even though the use of 'pea green' Blanco (a dye applied to the webbing) among some units became more widespread later in the war. But which colour to use for the khaki?

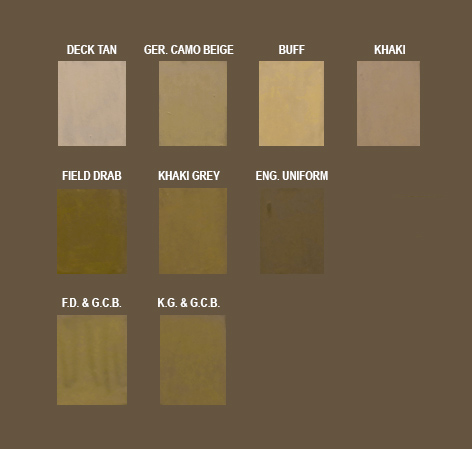
Here are some of my paint test swatches based on the Vallejo Model Color range of paints...


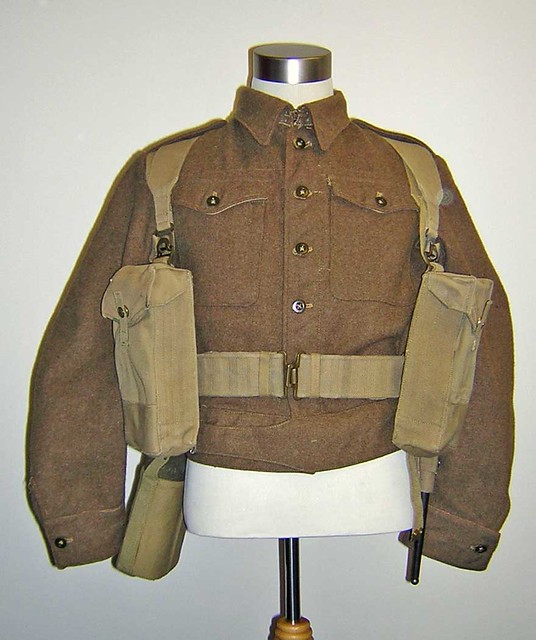
Infantry Set, Battle Order, Late War, circa 1944-45.
Source: www.karkeeweb.com
A very unscientific comparison leads me to believe that - from my swatches - Ger. Camo Beige is the closest match to the photographic sample from Karkeeweb.

Resulting Base Painted Figure
The basecoat stage always looks nice and clean and flat (I'm a graphic designer so kinda like the unshaded 'cartoony' look to this stage), and the colours are a little bright at this point. But, this is just the preparatory stage before shading...


Vallejo Colours used:
• Uniform: Model Color 'English Uniform' [921]
• Webbing (Khaki): Model Color 'Ger. C. Beige WWII' [821]
• Bergan Backpack: Model Colour 'Cam. Olive Green' [894]
• Bergan Trim: 'Ger. C. Beige'
• Webbing Items (Olive): 50/50 mix of 'Ger. C. Beige' and 'Cam. Olive Green'
• Boots: Panzer Aces ' Dark Rubber' [306]
• Flesh: Model Color 'Flat Flesh' [955]
• Beret: Model Color 'Black' [950]

I've gone for a mid-colour flesh tone rather than starting with a darker base. We'll see how that works out. I'll be applying a shading wash, so didn't want to start too dark.

For the boots and other black items, I've started using 'Dark Rubber' (a dark, bluish-grey) as a base. Again, once a wash is applied (black) it will give a subtle shading effect.

Finally, I have begun with a flat black base for the beret. This, of course, will end up being the famous Royal Marine Commando green beret - but I want a dark undertone to the green, which I will then shade and highlight so that will turn out (hopefully) a deep rich forest green.

Next: The shading washes and highlighting.

Wednesday, 15 February 2017

Bolt Action British Commandos Part 2

The results of my first paint test for this project allowed me to work out which colours I am going to use for my 28mm British figures...


I have some tweaking to do, but I want to try any further tests on an actual 28mm figure instead of another 1/32 plastic soldier. The scale of the brushwork for this sort of painting means it doesn't exactly work on a larger model, I'll only really know if it works when I apply it to a smaller figure.

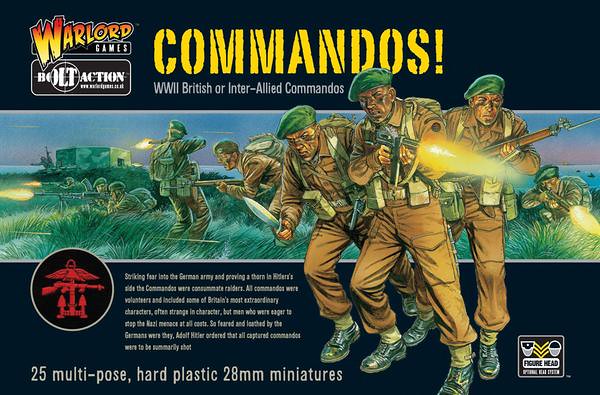
My next practice figures - a sprue of Warlord's plastic Commandos.
So, I ordered a sprue of the Warlord 28mm plastic Commandos (yes, you can order them by the sprue) to try out this paint method on 'the real thing'. Though, I've actually chosen miniatures made by a company called Artizan Designs for my final 'army'. They are wonderful little figures, superior to Warlords - in my opinion- so I don't want to make a mess of them.

Artizan Designs wonderful and characterful 28mm Lord Lovat's Commandos.
I want to be absolutely sure I know what I'm doing before I put brush to these.
 
One of the things you might notice when you compare the above two pictures of Warlord's and Artizan's 28mm figures is both the difference in painting style and colour selection.

Actually, neither set of painted figures is all-together wrong (though I would probably take issue with Warlord's very light coloured webbing) as the real Commandos and British Infantry, in general, changed the colour of their webbing - from Khaki to a pastel Olive Green - in about 1944. But, I have read that both types and colours of webbing co-existed in use until the end of the war.

The painting style is a different matter. Artizan's painted example figures are far more blended in a naturalistic style, as opposed to the higher contrast style of Warlord's example (and, indeed, the guide I worked from). And, while I do not have a tutorial for how they achieved this look I do have Artizan's Painting Guide, which tells me the colours they used, and I have found a rather informative painting tutorial which gives an alternative method of painting these miniatures...


I'll be studying this tutorial before I try out my next painting test and I will try out both methods on the smaller scale in order to compare them. Hopefully, my Warlord 28mm sprue will arrive today.