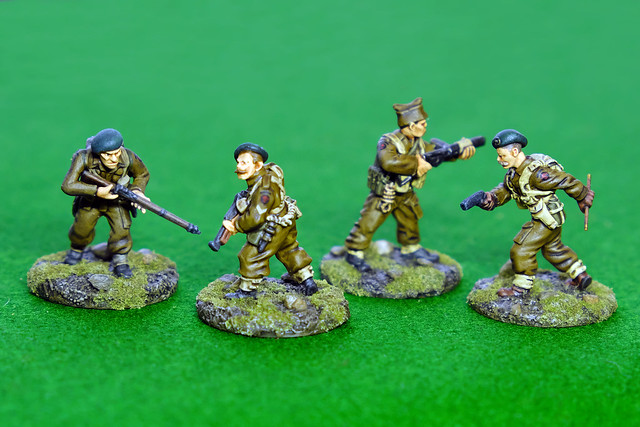
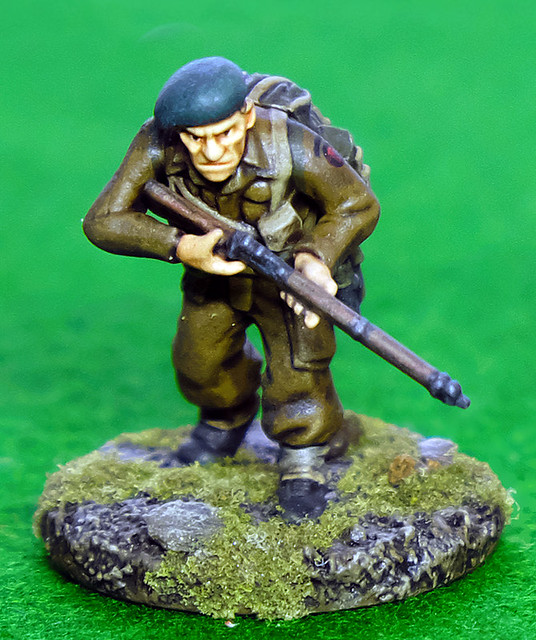
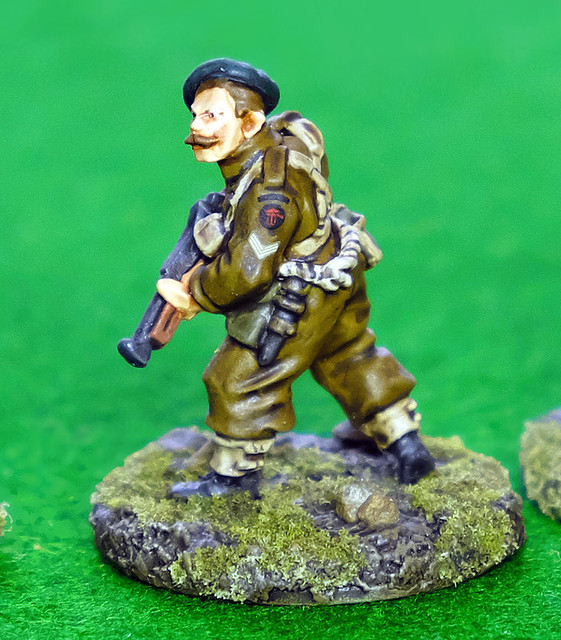
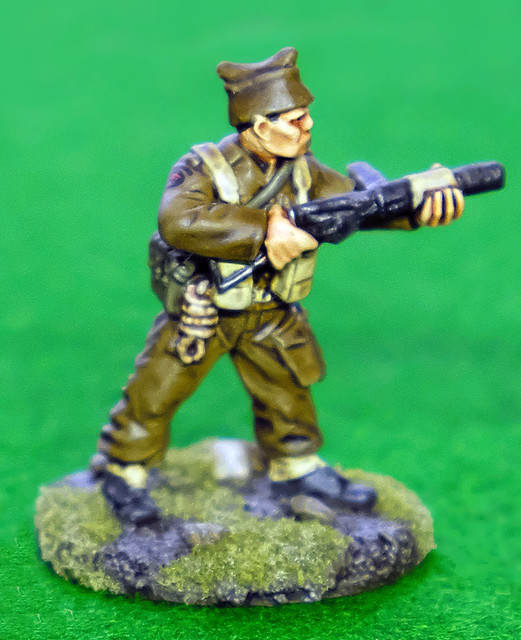
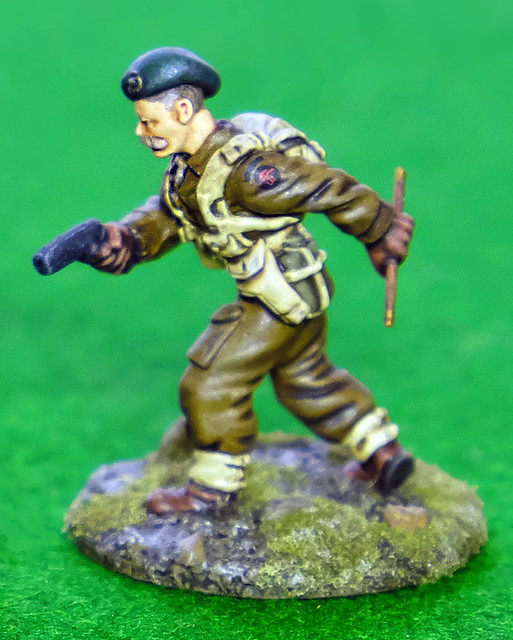
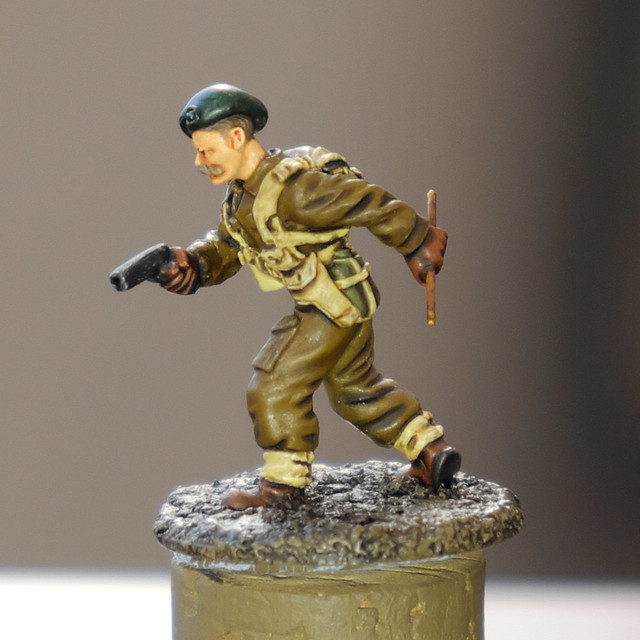
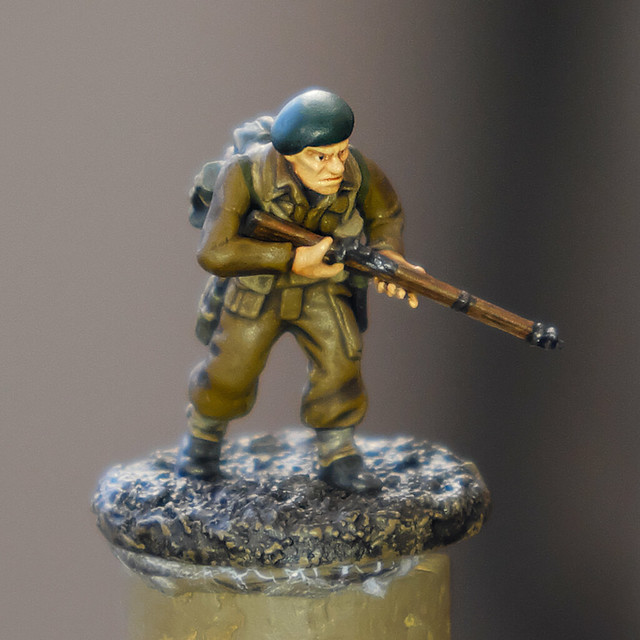
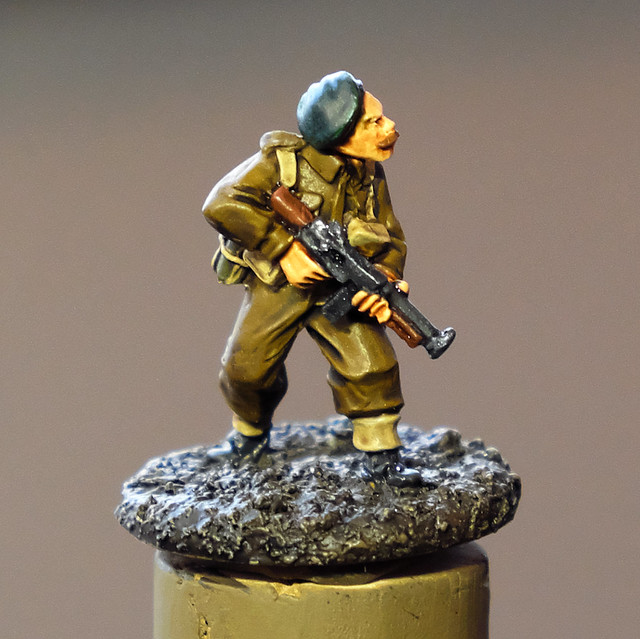
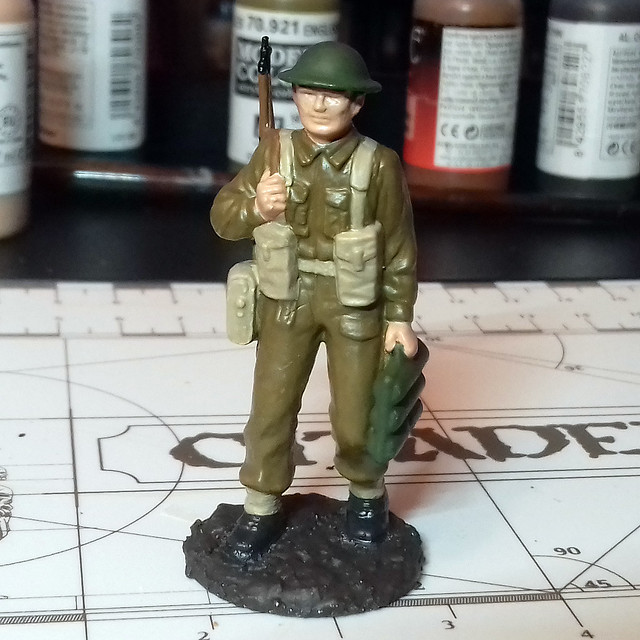
Those 2017 Resolutions didn't last long...I'm back to my old easily distracted ways already!
To be fair, my recent involvement in Bolt Action games probably made it inevitable that I would want a little army of my own to play with at the club (my 1/72 Bolt Action project is for home practising/learning the rules on the kitchen table). But which?
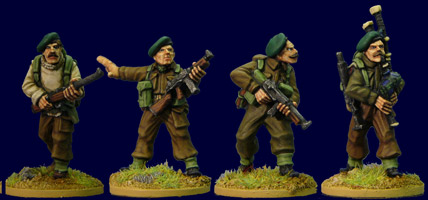
It may sound a bit 'boring', but I fancied good old British. Though I thought I would spice things up by doing commandos. This is probably because I still have fond memories of playing with Airfix's 1/32 plastic commandos in my garden as a kid!
Now, before I start collecting a little hoard of 28mm miniatures, I thought a painting test might be in order...
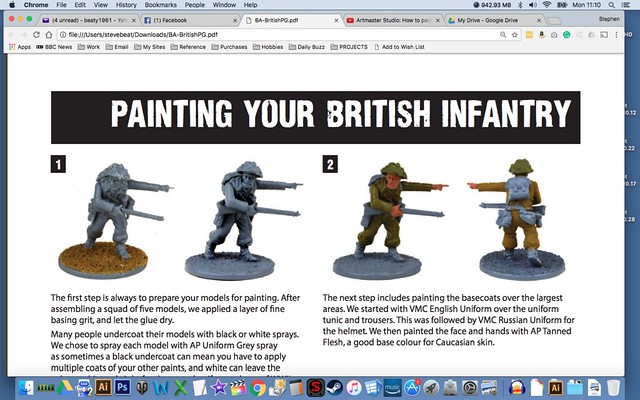 |
For my first attempt at painting a 'British Tommy' test figure, I'm using Warlord
Games Painting Guide...It has a good list of the Vallejo paints required. |
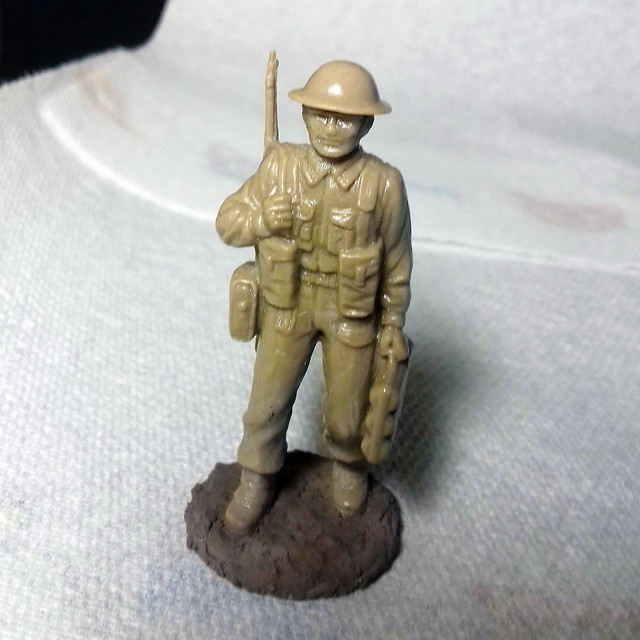
By sheer coincidence, I happen to have a bag of Airfix's 1/32 British Infantry Support figures (think I bought them for the 1/32 Vickers), so these seem a convenient test figure for checking the British colour scheme...
As usual, with my Bolt Action figures, I mounted the figure on a metal base (a 25mm Repair Washer) and build up the ground with Polyfilla mixed with dome Vallejo German Camo Black Brown. In fact, I tried out Wilko's own 'Polyfilla' and that worked just as well as the real thing (but is cheaper).
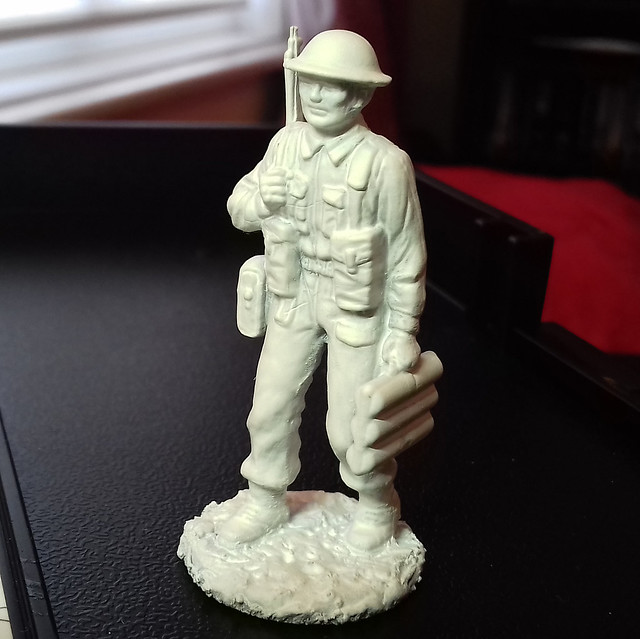
Stage One - Priming and Base Coating
Next, I decided to go for a white primer as I want the colour to 'pop'...
I'm going to use Warlord Games British Infantry painting guide (available free on their website), as that is mainly based on the Vallejo Model Color paint system, which suits what I have. Though, I don't have all the paints they suggest I have near equivalents so I will have to do a bit of swapping colours around...
Colour recipe (British Infantry, mid-WW2):
Flesh base: Vallejo 804 - Beige Red
Uniform base: Vallejo 921 - English Uniform
Webbing base: Vallejo Game Color 72.061 Khaki
Helmet base: Vallejo 894 Camo Olive Green
Wood (rifle) base: Vallejo 72.043 Beastly Brown
Boots base: Vallejo Panzer Aces 306 Dark Rubber
Ground base: Vallejo 822 German Camo Black Brown
Stage Two - Applying a Shading Wash
These colours from the base of a triad of a colour system, going from a darker base to a mid-highlight, to a super highlight. However, the above base will be further 'dulled' down by the addition of an overall wash, which is designed to create shadow areas in the creases of clothing and between different material areas (outlining areas).
Warlord game suggests using
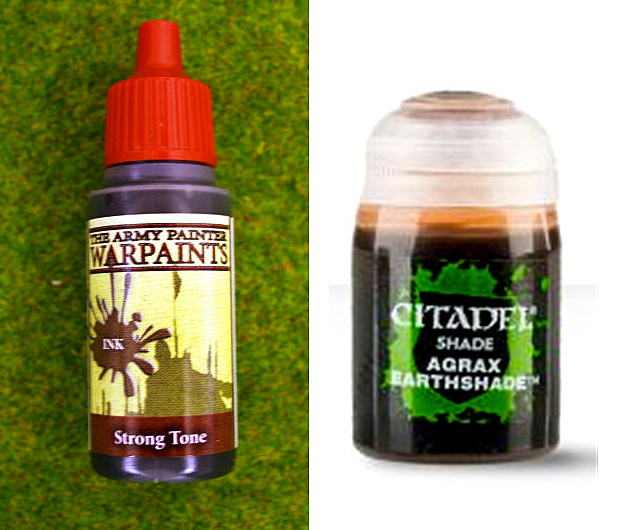
Army Painter's Strong Tone Wash. Now, I've never used one of these 'quick shades' for figures, but I know lots of wargame figure painters swear by them for getting quick shading results. I looked it up (see above link) and it is rather pricey at £24.99 which I don't want to spend as it seems quite an invasive technique. Apparently, you can get a smaller bottle as an 'ink', for £2.25, which is more like an acrylic wash, so don't get the two confused.
Instead, I am looking at a Citadel product called
Agrax Earthshade, which has been suggested to me as an alternative
(particularly to the AP Strong Tone Ink, which from looking on YouTube looks almost identical)...
"Citadel Shades are specially formulated to flow over other paints and into the recesses on your miniatures, defining details and accentuating recesses. Once applied, they dry to provide very effective shading for your models."
Fingers crossed - this is why you do paint tests - here we go...(I'm a bit nervous!)
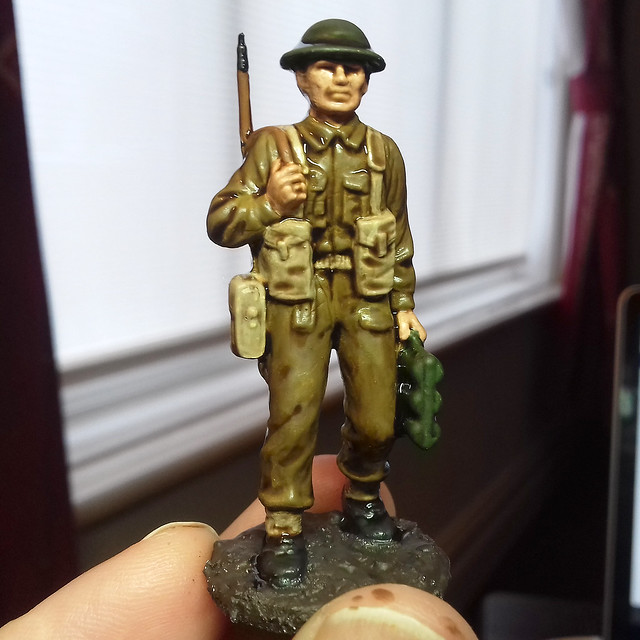 |
The wash has, indeed, toned down the base colours a shade or two. This is why
you must begin with base colours a shade lighter than what you want to end
up with. |
As a first-time wash user, this technique seems to be something of a dark art, as you do get a bit of a fright when you first apply the liquid. The above photo shows the wash when it's still wet and as you can see there is plenty of pooling as the wash settles into any crevices in the model.
You can draw any excess wash out with your brush or a paper towel, and you can move it about a bit to more evenly distribute it across the model. I guessing that experience is needed to understand what is too much wash.
Now the awkward wait for the wash to dry completely and then we shall see how effectively it creates shadow tones in the folds of material...
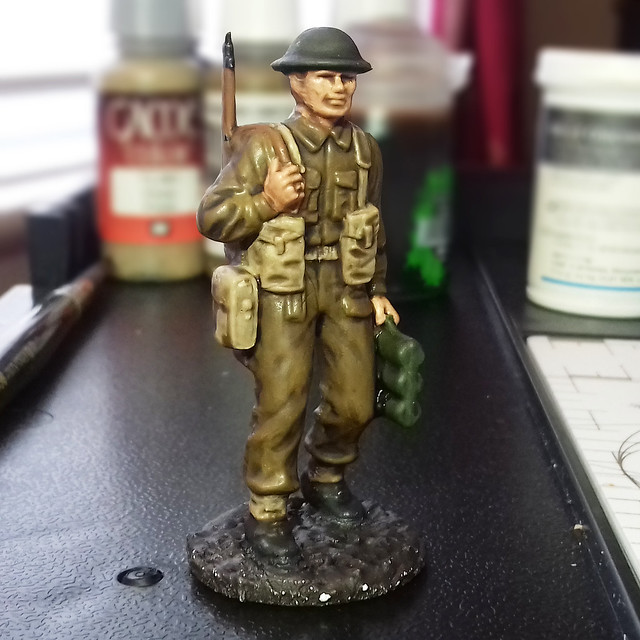 |
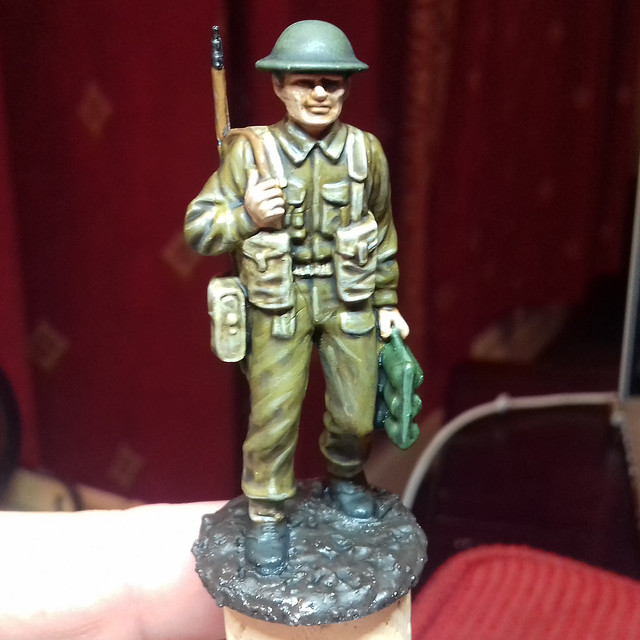
Now dry, overall, it doesn't look too bad. Though, it definitely needs mid-tones
and highlights to be added as it looks very flat as it is. |
It's still a bit jarring, compared to blending shadows. But, I'm determined to see this technique through to the end. Will the addition of the remaining 'triad' colours (two intensities of highlights) pull the whole thing together into a satisfying model? I hope so (but I do have a plan B, just in case).
Note: One final comment I should have added. While these sort of high contrast painting techniques are a bit unsubtle or exaggerated looking on a big 1/32nd figure, I think you have to bear in mind that they are really designed for 28mm (1/56) scale miniatures. And the effects are deliberately exaggerated so as to be seen at tabletop distance.