 |
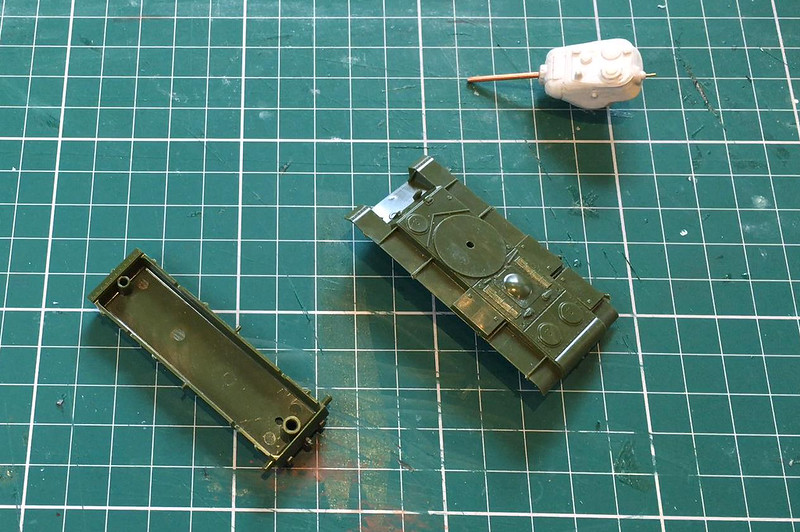
| Here's the various parts I shall be working with in this next stage of this build. |
The Zvesda hull has a pin-type turret attachment hole, this is going to have to be considerably enlarged, to 10mm. But even before that I will have to cut a nice clean circular hole precisely in the centre. I do have a circle cutter tool - like a drawing compass but with a small blade instead of a pencil - but I will need to fill the existing hole so I can draw the circle using it...
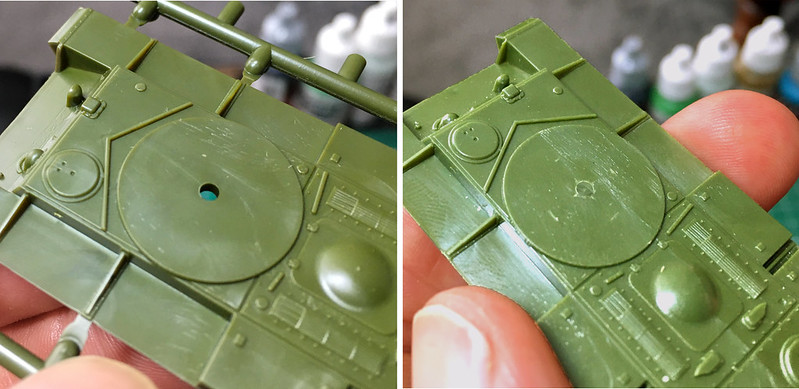
The hole filled, I can now set the hole cutter pin firmly in the middle of the turret ring and draw the blade around in a circle. This will provide me with an accurate guide by which I can cut out the new attachment socket...

Using a small drill bit I drilled a pilot hole on the inner edge of the guide and then used a Dremmel cutting bit to cut all the way round the guide. Although the quick way of getting the hole the bit left the soft plastic a little rough, so I then neatened up the edge of the circle - right up to the guide line - using a file...


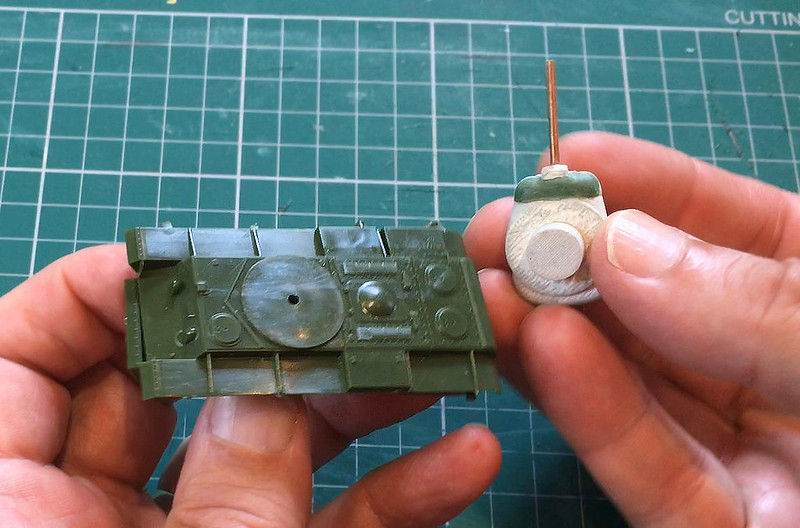
I kept trying the turret in the socket hole until I eventually got a snug fit. After a wee while in she popped and I had a tank with a turret!

Well, that's the first part of my turret attachment plans - next I want to add a couple of small magnets to the model so that the turret stays in place but is easily removed and exchanged (I'll explain why later - as I have a 'cunning plan')! 😉
Next: Adding the magnets!
-----------------------------------------------
Link to the KV-1S Conversion Project series.
No comments:
Post a Comment