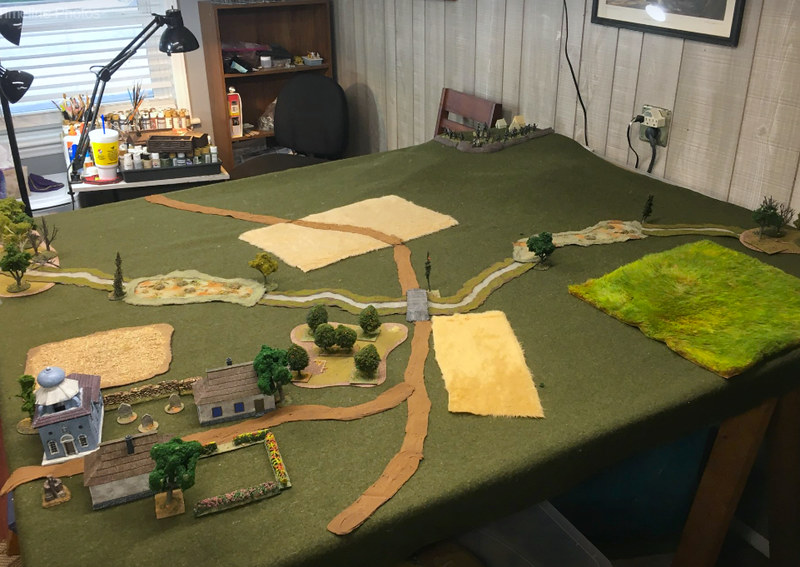
[I still have to work out how to do modular rivers and hills!]
And so... To hold me over until I have proper scenery made I decided to replace all my old crappy - and very tatty now - paper printed terrain (basically just printed-out stretches of textured patterns) with something newer and neater - felt scenery!
 |
| My selection of felt pieces and some printed out templates to act as guides for cutting out my felt scenery. |
There are plenty of examples online of wargamers who have been using felt terrain to great effect...
 |
| Felt battlefield example by Ronald Bingham. |
This means that any game I plan has to be something that can be put together and taken apart quickly and easily. I also need all the relevant parts of my battle table to be easily stored, preferably in a number of small or medium-sized boxes. This is why I decided to make my own modular scenery in the first place.
BUT meanwhile...
As I said, until I can make all the bits and pieces I want for a better-looking battle table, felt seems to be the way to go. It's very cheap, very flexible (in that you can quickly and easily cut-out custom shapes to make new designs for any situation), fold-able and light.
 |
| Here you see the paper templates I cut out laid on top of my felt pieces ready for me to trace the outlines of my scenery onto the felt... |
But What About the Look?
Felt is a very simple solution - given - but it can look quite nice even mixed into pre-built scenery. But I actually like the simplistic and clean look of an all-felt battlefield, my favourite battle mat is - after all - a simple piece of green baize cloth (the type used to cover pool and snooker tables).
Cutting out my felt scenery was very easy using paper templates as guides...
The main trick to getting nice neat felt pieces is to use sharp fabric scissors (and have a steady hand). I did a bit of Googling and apparently there is a very handy rotary felt cutter that would be ideal for this, but as it was £20 I settled for scissors! 😁
The end product looks surprisingly OK once a few pieces are laid out. I managed to find some nice mottled textured felt that lends itself nicely to fields. These came in a variety of colours so I could make different 'crops' or perhaps use them to indicate marshy land...
I'm still cutting away with my scissors at the moment so I don't have a full table of scenery objects yet, but I thought it would be interesting to post up what I have so far so you can get an idea about what a minimalist looking table setup might look like...


No comments:
Post a Comment