 |
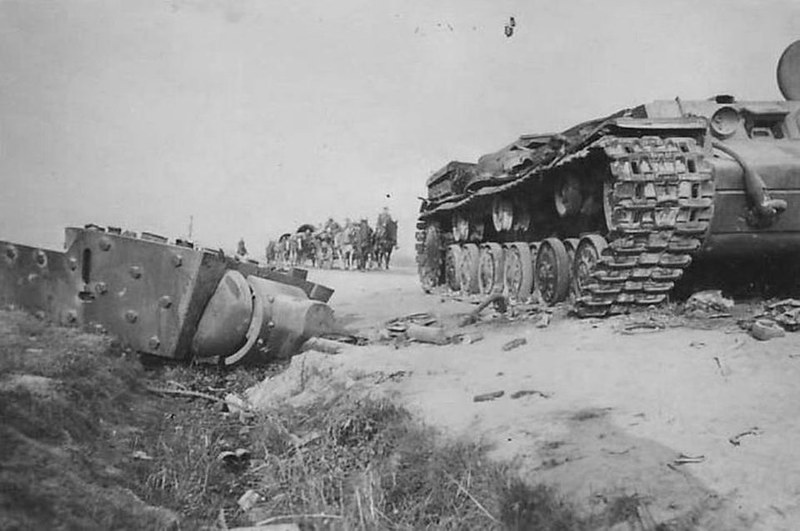
| Turret blown off a KV-1E, Soletsky District, Novgorod Oblast - July 1941! What is Russian for 'oh, crap'? 😄 |
In my last post on this project I had just cut the hole in the chassis for the turret 'plug' (for want of a better word) so I could fit the two together. The hole was 'snug'...Very snug. So snug, in fact that one in the turret didn't want to come back out or even turn!
Never mind, I thought, a couple of good twists with free it , I thought...And then...
...SNAP! 😖 😭
I forgot that a 3D printed component like my turret is a flimsy hollow part with quite thin walls. Twisting the turret wrenched the turret plug off the bottom completely off...

Oooopsie! BUT, after the initial shock I realise that this was actually a bit of fortuitous accident. I was still trying to decide the best way in which to add a small magnet to the turret and the separation of the plug element gave me a good idea how I might, now, achieve this.
After I tapped the snapped-off plug out of the turret ring it became obvious that I now had a nice neat little 'pocket' I could glue my magnet into...


That done I then super-glued the plug attachment back onto the base of the turret (I wisely did some sanding of the turret ring hole to make sure that the fit wasn't so snug this time)! 😂
...All I had to do then was mount another magnet into the hull of the tank and the two parts should then snap together perfectly! (As long as I have the magnets' POLARITY correct!)
Some very rough measuring and mental arithmetic ensued and I worked out that I needed to raise the hull magnet up about 4mm so that it met with the turret plug and it's magnet. These little magnets are quite strong so they don't need to be directly connecting with each other, they just need to be very close to each other.
I glued together a couple of 2mm thick styrene pieces to act as my platform and glued them onto the floor of the hull and a magnet (ensuring it's polarity was correct) onto the plastic strips...


And then came the moment of truth! I placed the turret in the hole and with a satisfying 'snap' (a good one this time) it popped into place, attracted by the hull's magnet! HOORAH!!! 😁👌

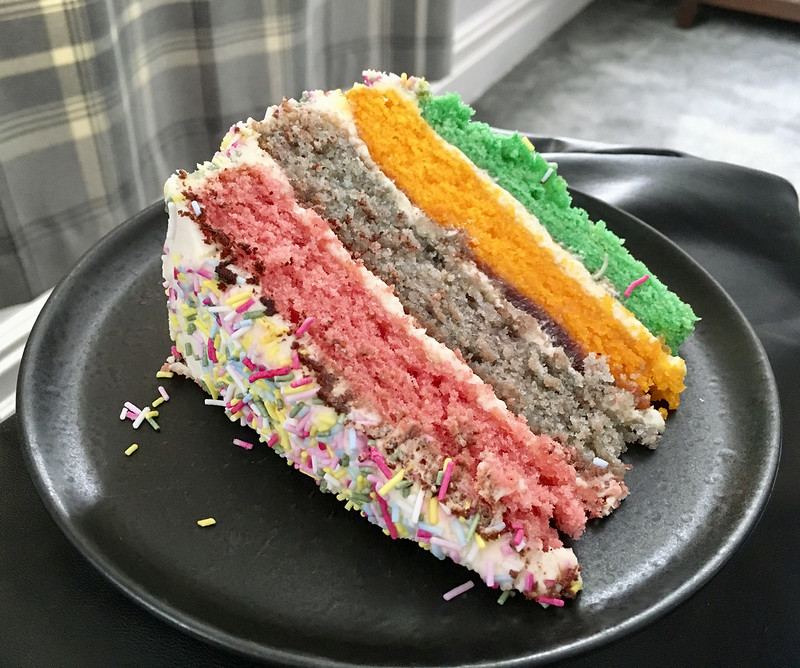
Phew! Time for a cakie... (Interlude music!)
Well, that's the majority of the construction of my KV-1S conversion (there were only 6 parts to the Zvesda KV-1 kit in total), all that remained were the tracks but they are of the one-piece type...

NOW...I could attach these now - a lot of war-game modellers would - but I prefer to prime and paint these parts separately as it's a bit awkward to get the top of the tracks done as there ain't a lot of space once they are fitted onto the chassis. But that's a personal preference.
NEXT: Priming and painting.
--------------------------------------------------------
👉 Link to the KV-1S Conversion Project Series of Posts.
Looks like serendipity to me :-) Looking forward to seeing more of your progress.
ReplyDelete