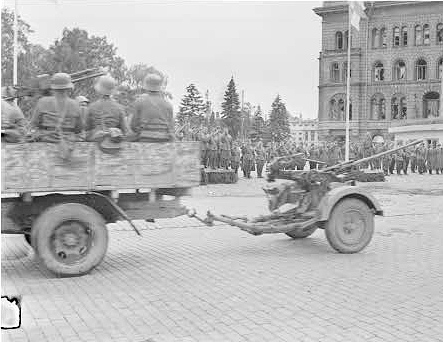
Right, I am now at the stage now where I have to think about both the truck's base and the accompanying base for its Flak 38 tow!
As a wargame model, this truck will be representing a unit in two modes; static (gun deployed) and mobile (gun being towed). So, there will be two different models of the Flak 38 and one of these will be made so that it looks like it is attached to the tow hook of this Gaz truck.
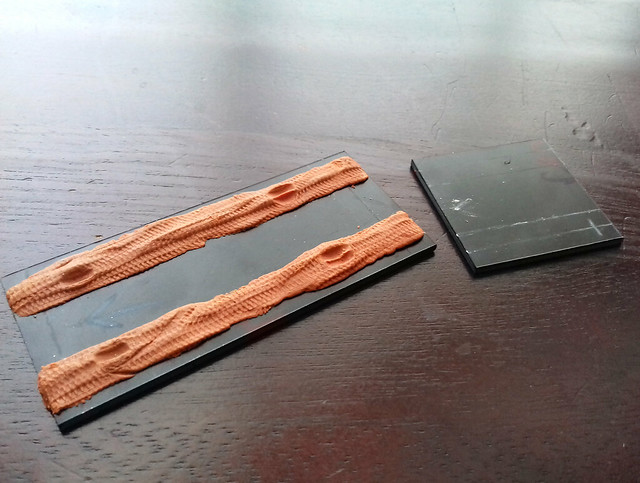
To begin with, though I start the truck's base in my usual manner...

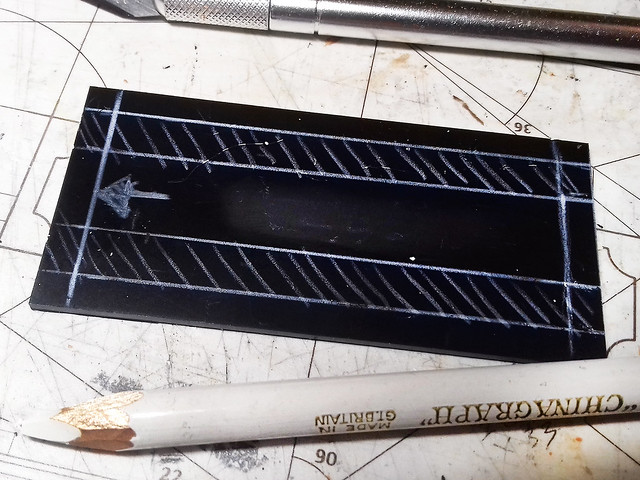
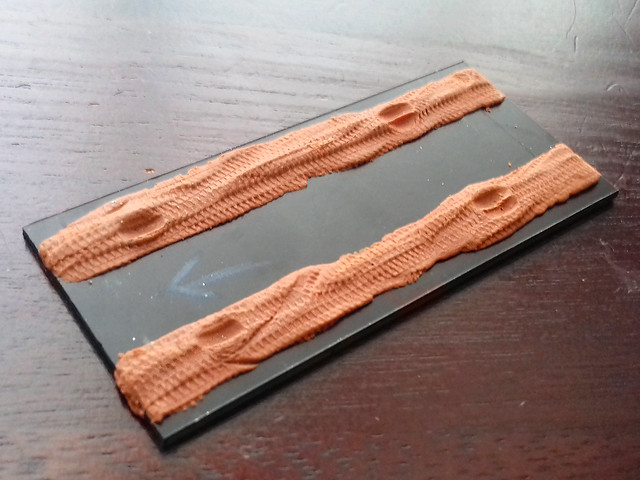
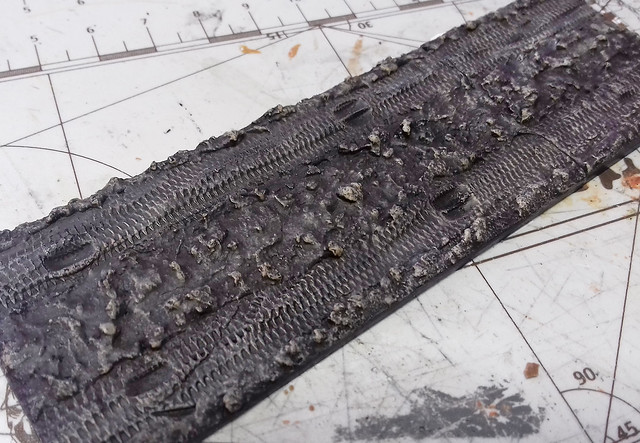
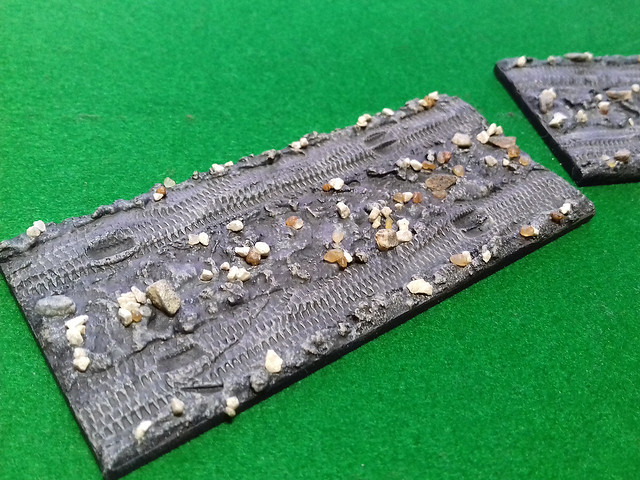
I'm pretty settled on my use of Milliput putty for the road tracks now. The putty takes the imprint of tire tracks very well. It also allows you to impress the wheels of your model into the putty for a better and more realistic placement. The tread was made by rolling a 1/72 diecast model truck back and forth over the putty...
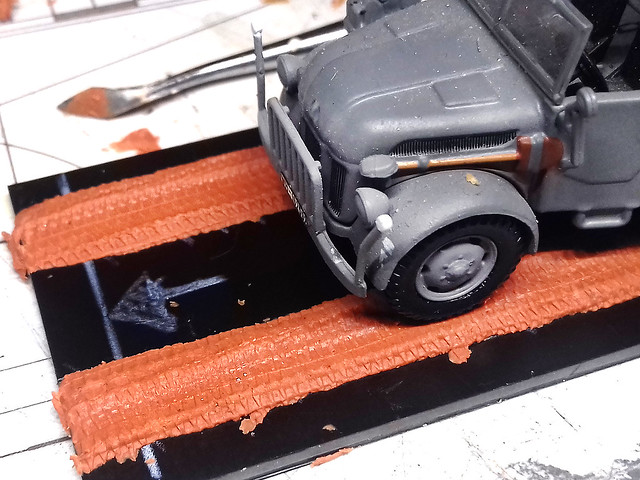 |
| I used a diecast model that I have which has a nice tire tread pattern to make the track patterns... |
Next, I cut the second piece of plastic card to base the AA gun. You have to do a bit of measuring and working out of how big the base needs to be taking into consideration that the gun's tow bar will overhang the truck's base and attach to the truck's tow hook...
The idea is that when used in the 'mobile' (towing) configuration the two model bases will just be placed on the table immediately adjacent to each other (they aren't, however, connected in any way as I couldn't think of a way of doing that). So, when moving the models across the table you will have to move both parts in conjunction.
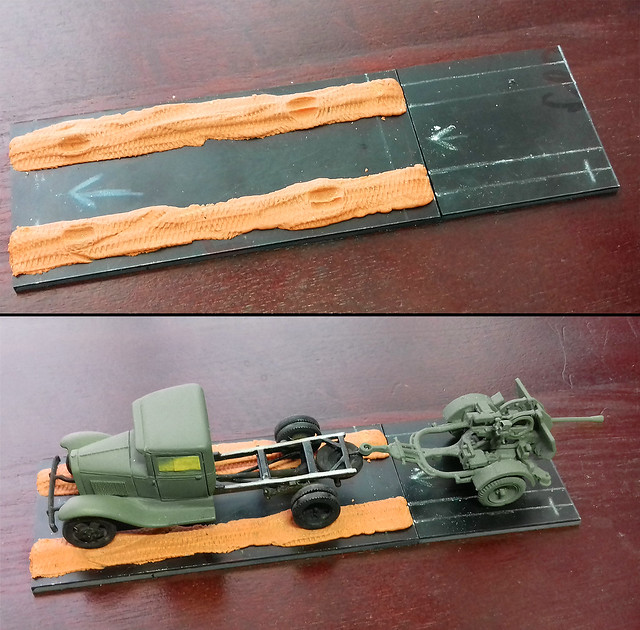
I suppose I could make a movement tray to put both parts in and then I can move them as one? Then, when the AA gun is deployed, I remove the mobile gun model off the table and replace it with the 'static' gun and its accompanying figures.
Anyway, on with the making of the base/s...
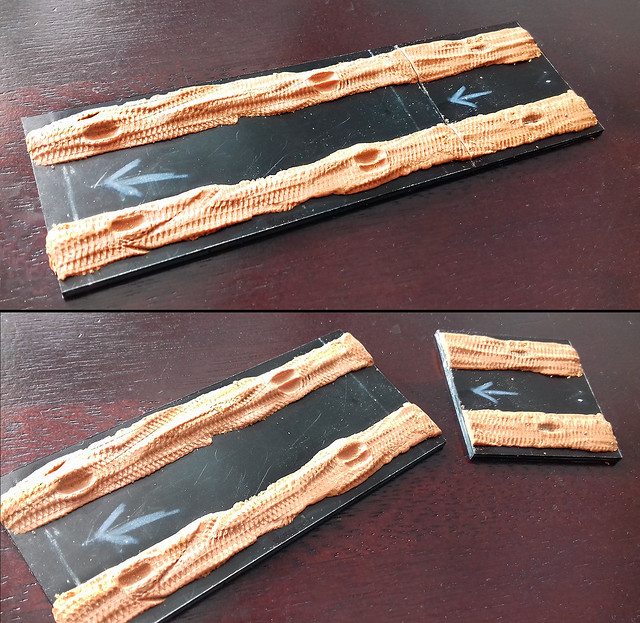
The two bases - now with their road tracks - should match and fit together as if one long section of road...
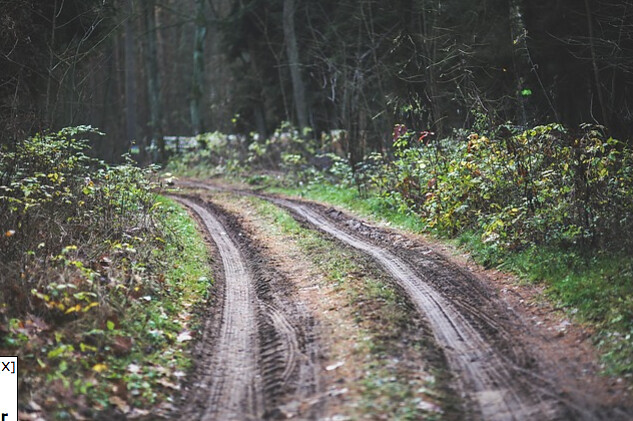
The next job is to and the rest of the ground terrain between and outside the road tracks. Now, obviously, I decided that all my Finnish models should be placed on a 'country road' base (my collection is based on the campaigns which took place between the summer of 1943 and late 1944 - part of the 'Continuation War' with the Soviets - which were conducted on the forested borderlands of Finland). And this look of rough earth and meadow will be created using coloured PollyFilla (quick drying plaster)...
I begin by mixing up my 'secret recipe'...Actually, it's quick-drying PollyFilla, fish tank gravel and a big blob of Vallejo's 'Black Lava'...
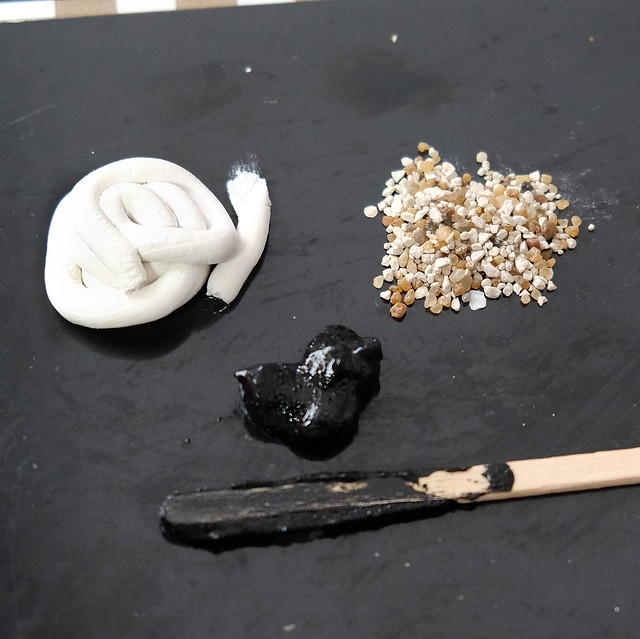
Mixed together the make a gooey, sticky, gritty substance that forms a lumpy uneven surface...It's a bit of a messy job, but someone has to do it!
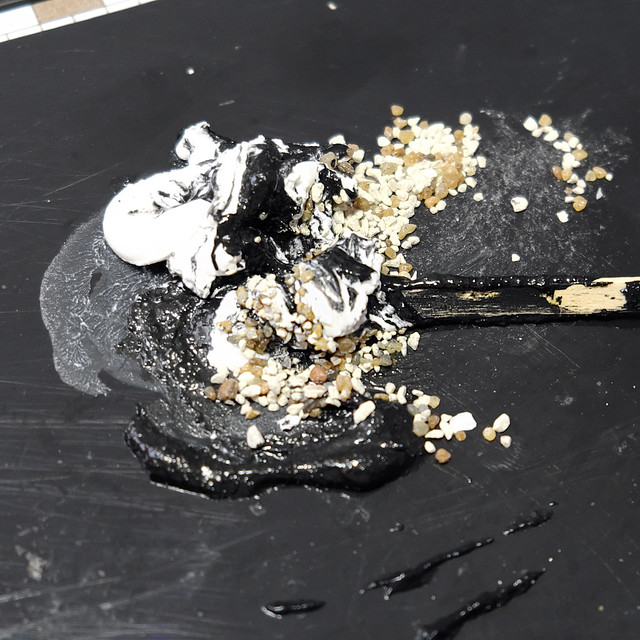
The resultant sticky mass is quite hard to work with, but - ironically - that's the very reason I like it because the resultant effect is always very random and organic (it sort of takes the heat out of trying to design something so that it does not look designed).

You just trowel the stuff on and it sort of just finds it's own 'look'. (Conversely, by the way, Vallejo's 'Black Lava' is great for creating nice flat and smooth Tarmac roads for dioramas and they also do a 'Sand' version for doing desert bases, too.)
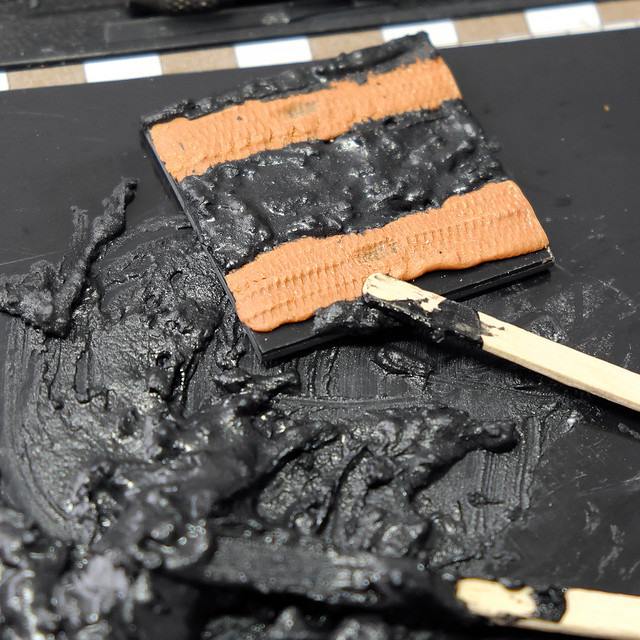
It takes a wee while to dry - a couple of hours - but dries pretty hard...But, whatever you do, try hard not to get this goop on anything you don't want it on!

Once dry, it's time to apply the primer coat. I simply use Wilko's own Satin Black acrylic spray, because it's cheap. It's OK for this sort of work, but probably a little too thick for priming models...
Time to start painting! I begin by applying a diluted coat (a thick wash really) of Vallejo's lovely 'Black Brown', and then I build up the shading of the 'earth' from there - dry-brushing dark to light, ending with a light dry-brushing of Vallejo's Stone Grey...
As you can see, I err on the dark side when laying down my ground colours. This is for two reasons, first of all, I want my 'earth' to be the black peaty type you find in northern coniferous forests, but, also, I want to get my 'grass' flocking on before I finalise my earth tones. I like an underlying dark base for my grass.
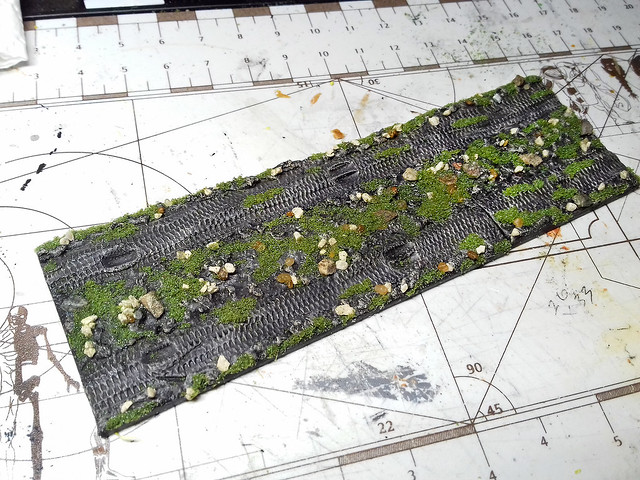
But, before I start to apply my flocking, I like to add some 'rocks' to my scene. These are just little chips of stones - I use fish tank grit and stones collected from the yard - which I glue on in random patterns across the ground-base...
With the stony ground done it's time to add some 'grass'. I still don't have a very sophisticated technique for applying scale model grass - I don't have one of those fancy electric static grass applicators. I just sprinkle on some basic 'flocking' material onto some PVA glue in patches.
Even my flocking is pretty 'no frills', as I go for a single colour material (mid-green) and prefer to discolour it myself with small amounts of diluted paint rather than buying 'multi-tonal' flocking...
Well, nearly there...The final stage - before mounting the vehicle model and gun tow - is to 'weather' and add the last detail touches to the scene. I think it still needs some patches of more earth tones on both the muddy track and the grassy ground.

In Conclusion
The one caveat to this design - with its very dark colouring - is that I'm pretty much locked into this style for the project I'm doing (my Finnish project). Having done my first few like this when I was less experienced I now have to follow through with this same style for continuity sake.
I have learned a lot since I started modelling again and reckon I could make a better job of colouring the muddy earth now, even adding some 'wet mud'. But as a simple base for my models, it's fine (it's not a diorama).
Neat!
ReplyDelete