 |
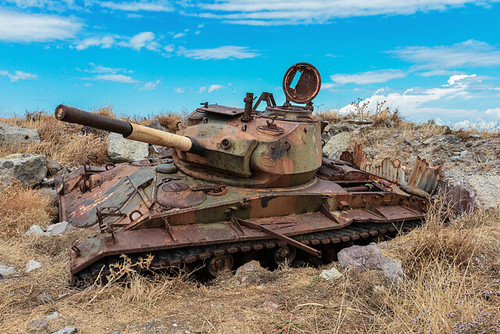
| Rusty M24 Chaffee tank. Photo source: Peter Bromley |
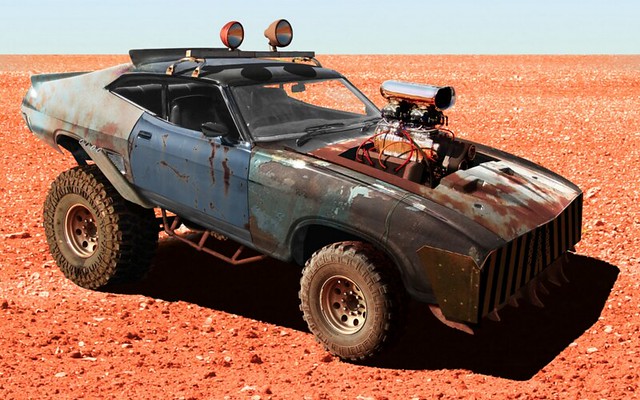
I've dabbled with light rusting techniques in 1/72 but I've always hankered to attempt something a little more adventurous (like all military modellers I will undoubtedly take on the inevitable knocked out tank diorama at some point) and the chance arose when I recently started my 1/25 'Mad Max: Fury Road' themed project.
The larger scale gives me a bigger canvas to work with to try out larger areas of corrosion that is perhaps unachievable on Braille Scale models - unless you rust up a whole small scale vehicle.
I've decided that there will be two parts to my rust experiment; the base coat and preparatory paint effect stage and the second chemical treatment phase.
Stage 1 - Prep and base painting effects...
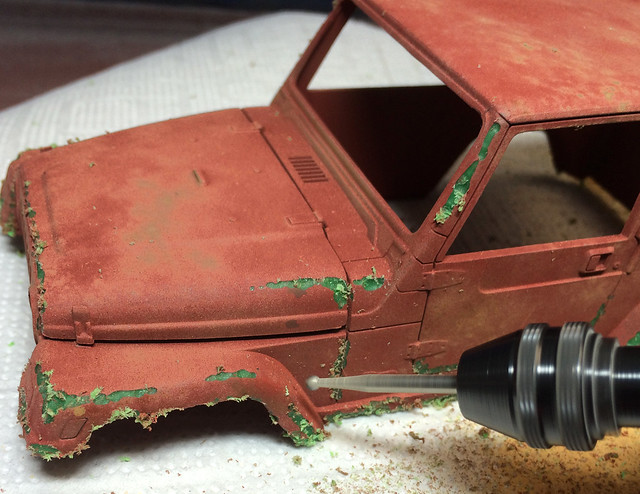
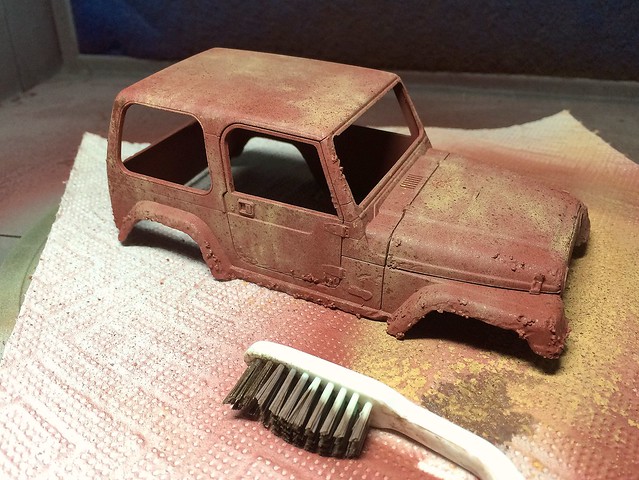
OK, without further ado, onto my experiment. The first job was to get a 'willing guinea pig' on which I can try out my basic rusting techniques. As usual eBay came up trumps and I found a nice and cheap 1/24 scale toy jeep (which incidentally supplied me with a nice set of off-road wheels which I could use for my Mad Max car project).
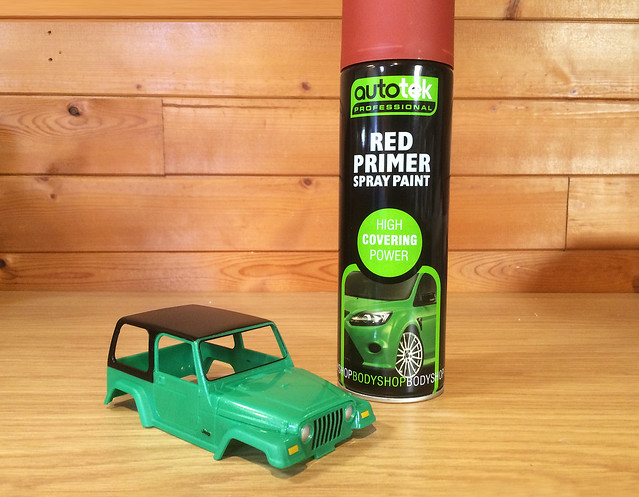
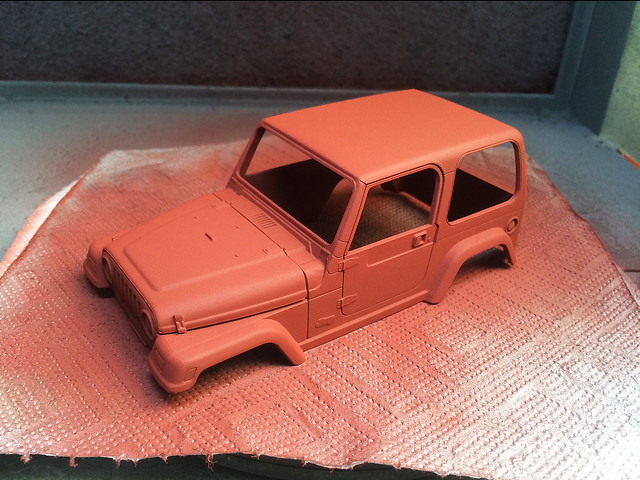
I began by giving the donor body a quick clear with soapy water and a then a light wipe with a tissue dampened with some thinners (to get ride of any lingering grease or finger marks). Then I applied a coat of AutoTek red primer (any car primer will do but the red seems a good base colour for this particular project)...
Note: Before you apply the primer... There is additional work you could do depending just how rusty and old you want your vehicle to look. Going straight for the primer is fine for light or surface rust effects, but if you want that 'junk yard' look you may wish to 'modify' the vehicles bodywork to show the effects of long term neglect!
 |
| Areas like wheel arches, door surrounds, wing panels, etc, are likely to rust right through given the 'right conditions'. Depending how much of a 'junker' you want your vehicle to be you can take your rusting to extremes! |
Then, for extra texture, on one side of the car I added a PVA and sand mixture which I dabbed on with a paint brush around the damaged areas...(I only did one side as I am not entirely sure about this technique so I wanted to compare it with a side without the addition of the sand texture.)
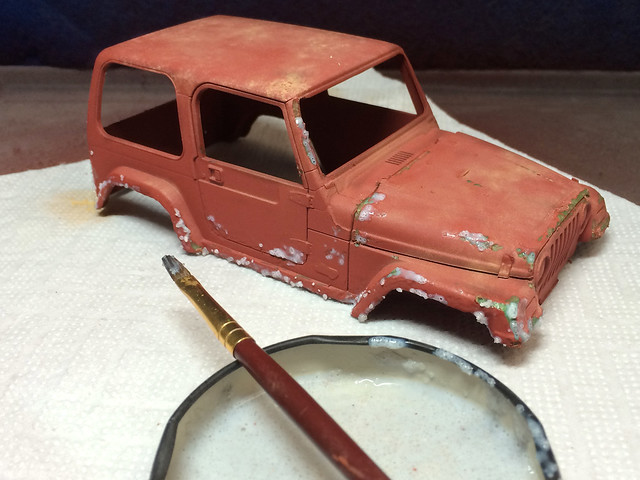

It worked rather well and I got a nice random paint pattern...
 |
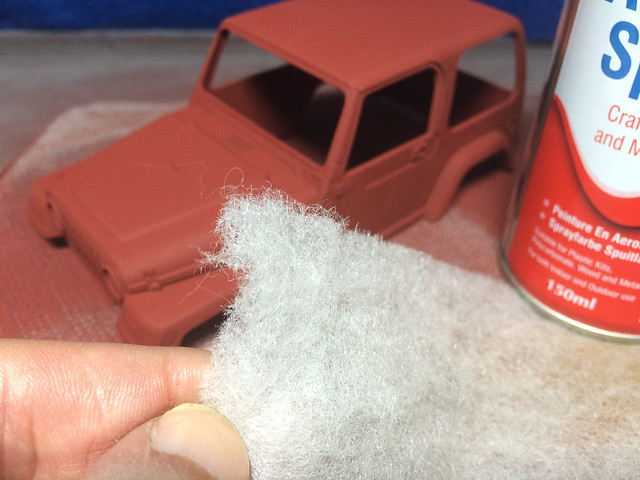
| This is what I was doing before I decided to add extra damage texture after all! |
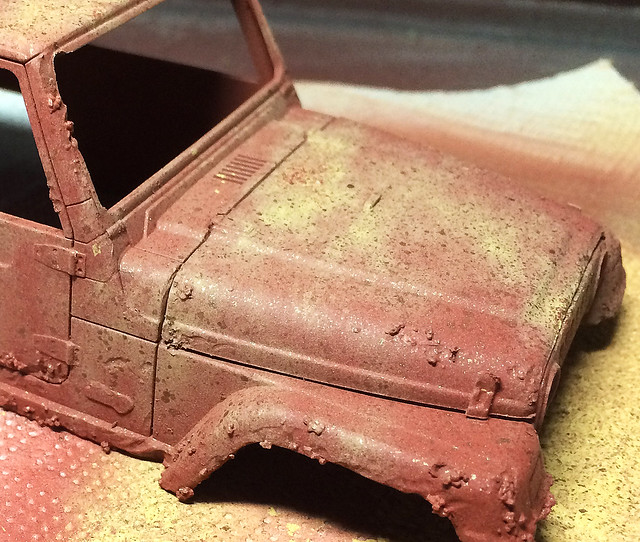 |
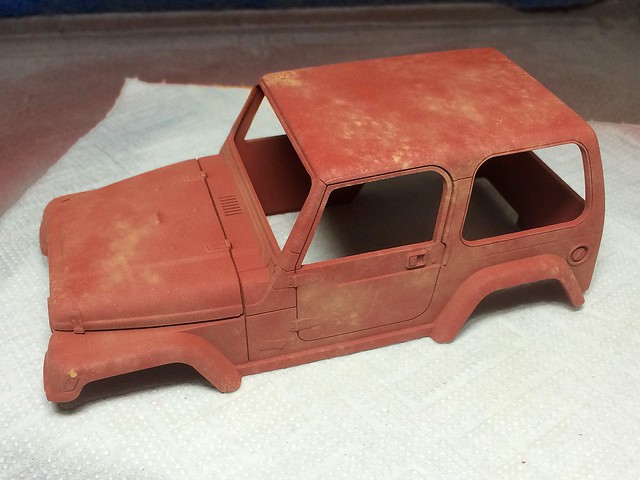
| This is the sand texture side of my test model, still not sure about it. |

This will be the first time I have used a chemical effect instead of simply painting an effect using acrylic or enamel paints. The advantage of Deluxe Material's method is that is produces real rust and from the examples I have seen the end result looks pretty impressive and realistic (well, it would be as it is real rust)!
The Deluxe Material's web site has a few very useful tutorials on using their products and they also have a pretty interesting video which illustrates their rusting technique...
Next: Deluxe Material's Scenic Rust.
That's some good work. i'll be trying the dremel tool effect out on my experimental guinea tank.
ReplyDelete